I am loving the versatility of today’s craft. This wooden headband is durable, sturdy and paint-able!
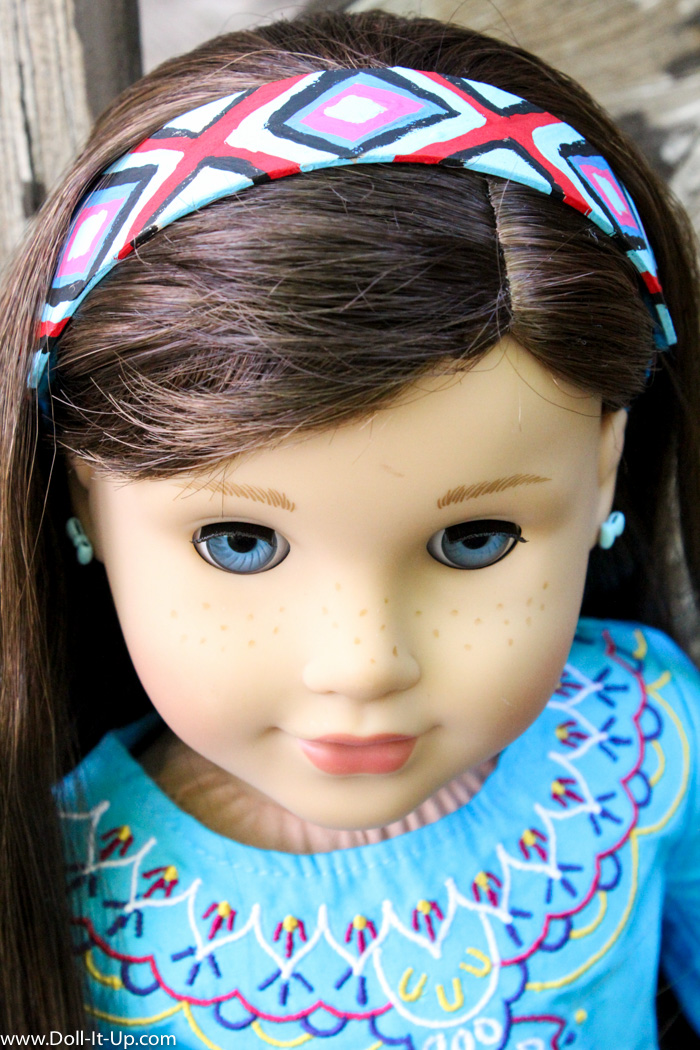
First, the headband needs to be put together by an adult.
Painting it is fun for all ages. Get creative! Add a simple or a detailed design. My daughter is on the young side at four, and it’d be a perfect afternoon craft. I’m thinking that painting the headbands would also be a fun birthday party activity for a group of kids.
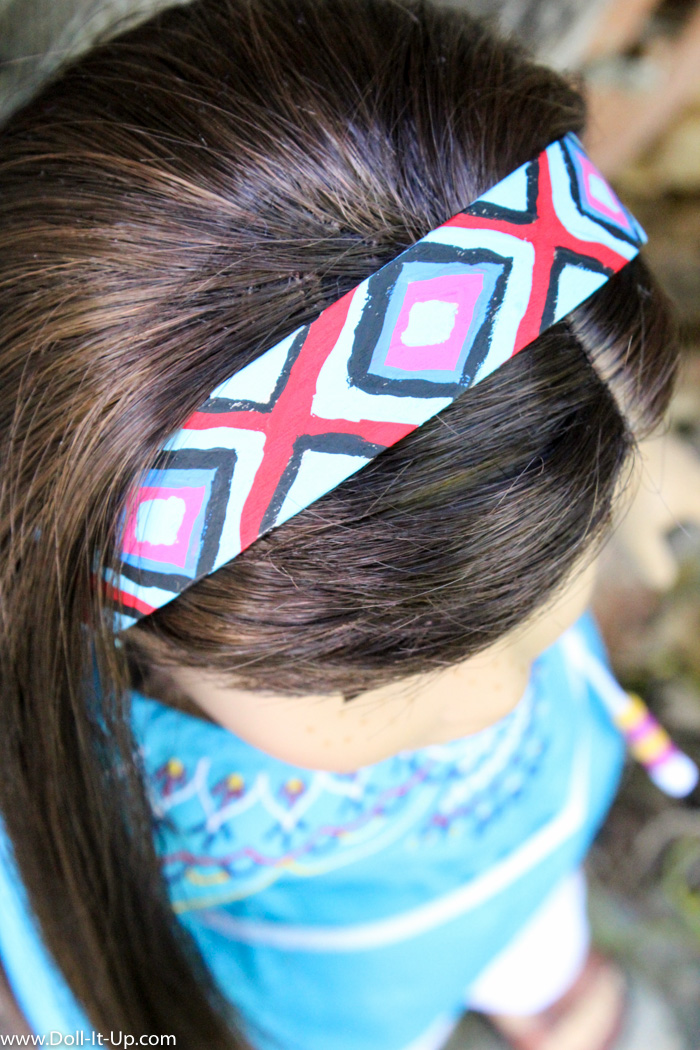
This wooden headband uses the most basic craft supply, a craft stick!
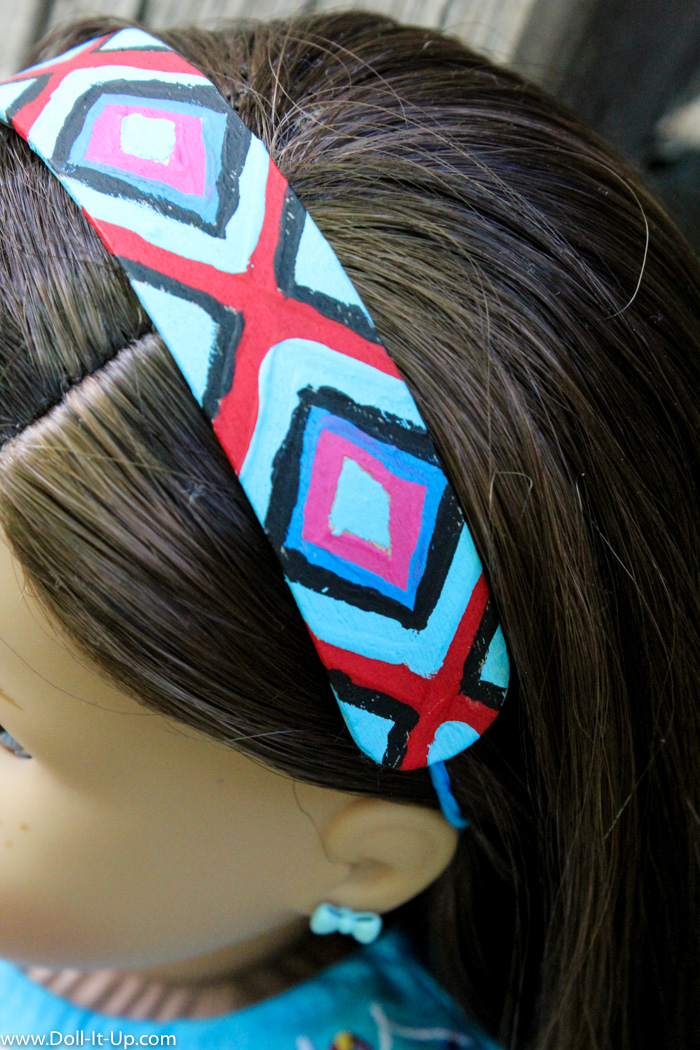
We will bend and mold a craft stick into a doll headband! You’ll be surprised how easy it is!
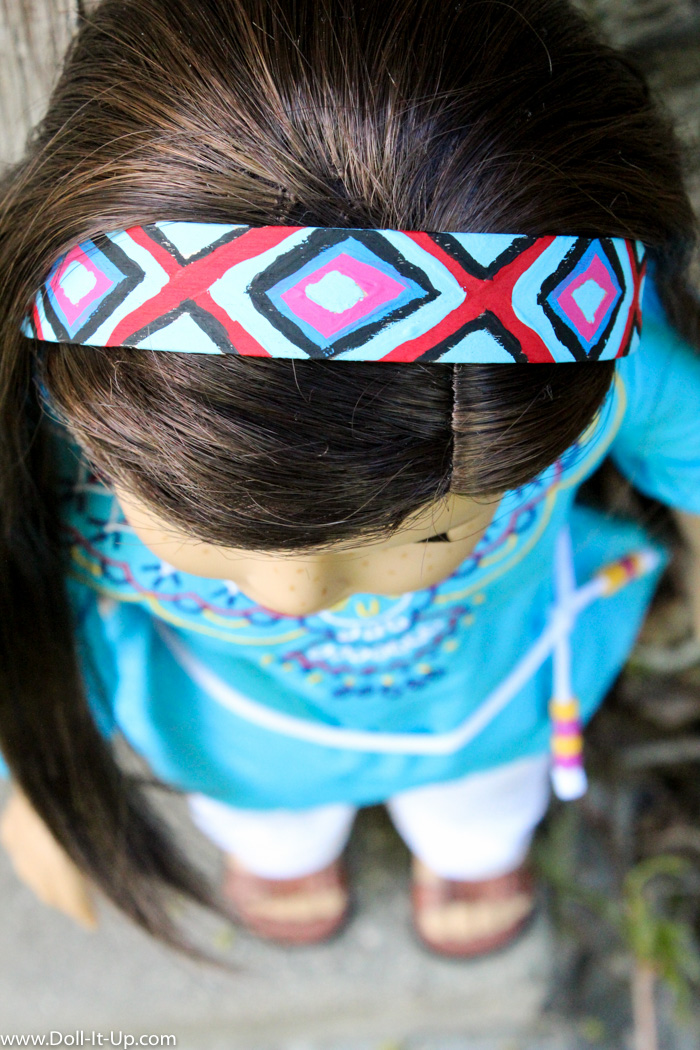
Once we make the basic headband then it’s time to paint. If you want one painted just like mine, I’ll show you how!
Wooden Headband
Supplies:
- large 6″ craft sticks
- paintbrush
- pencil
- paint
- felt
- measuring tape
- scissors
- tongs
- mug
- elastic cord
- pan
- glue gun
- rubber bands
- water
- stove
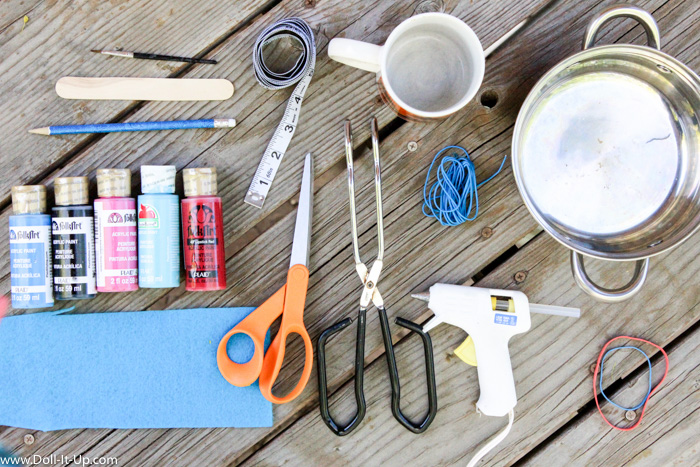
This project should only be done with an adult. Use caution, we will be working with boiling water over the stove.
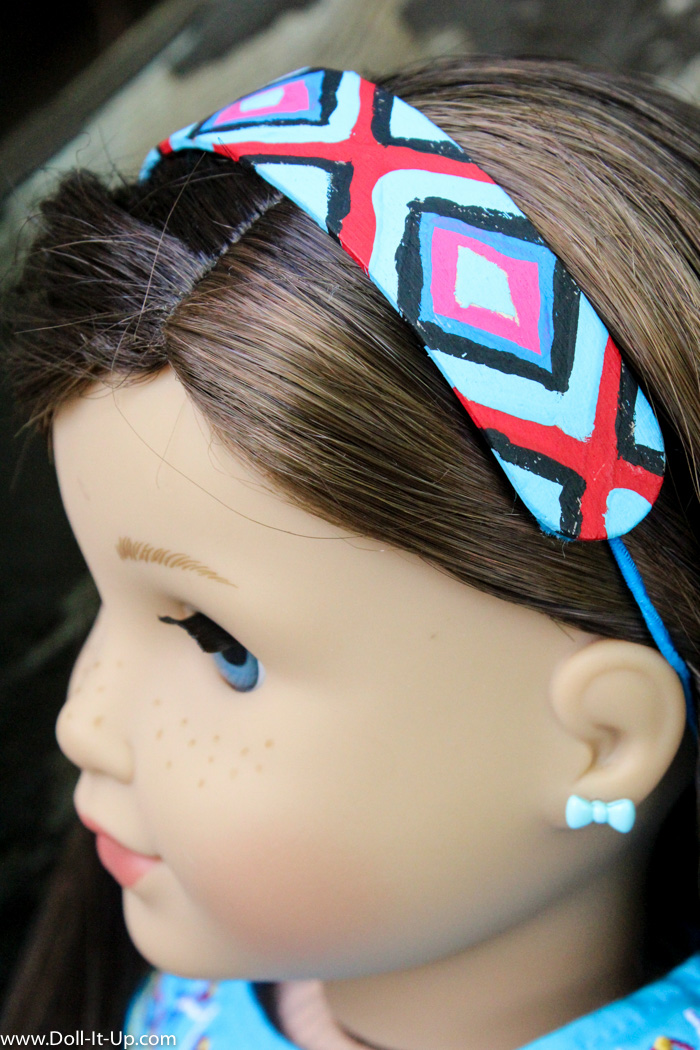
Be sure to use the large 6″ crafts sticks. They are longer than the regular craft sticks. You can see in the photo above how the 6″ craft stick fits. If the craft stick is shorter the doll hair won’t cover the ends of the headband.
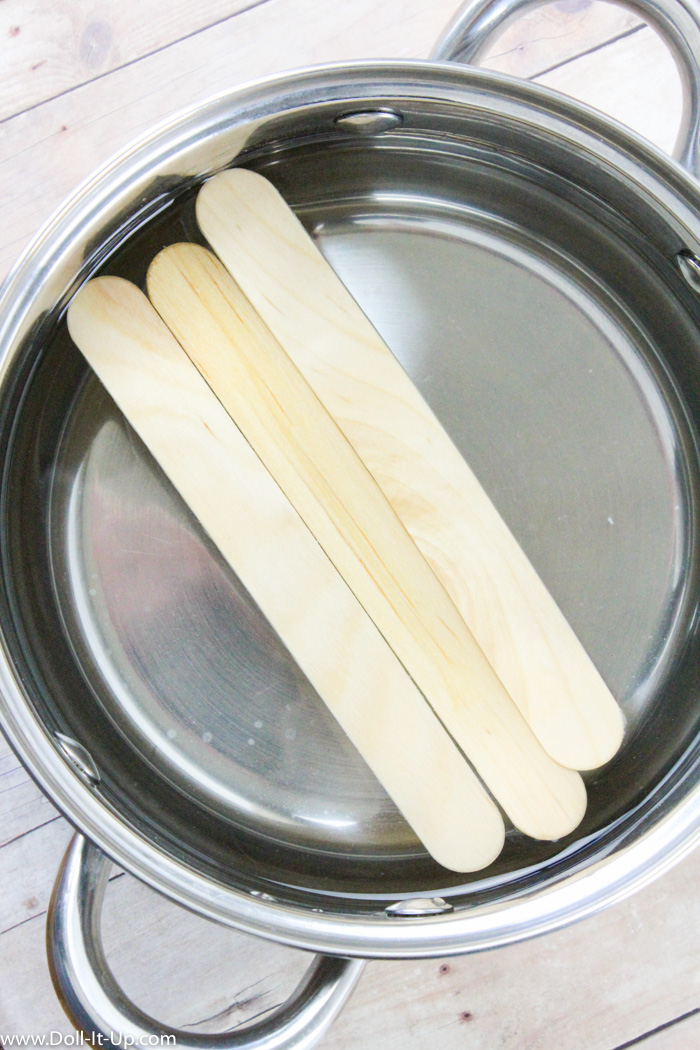
Let’s start! Place a few craft sticks in a pan of water.
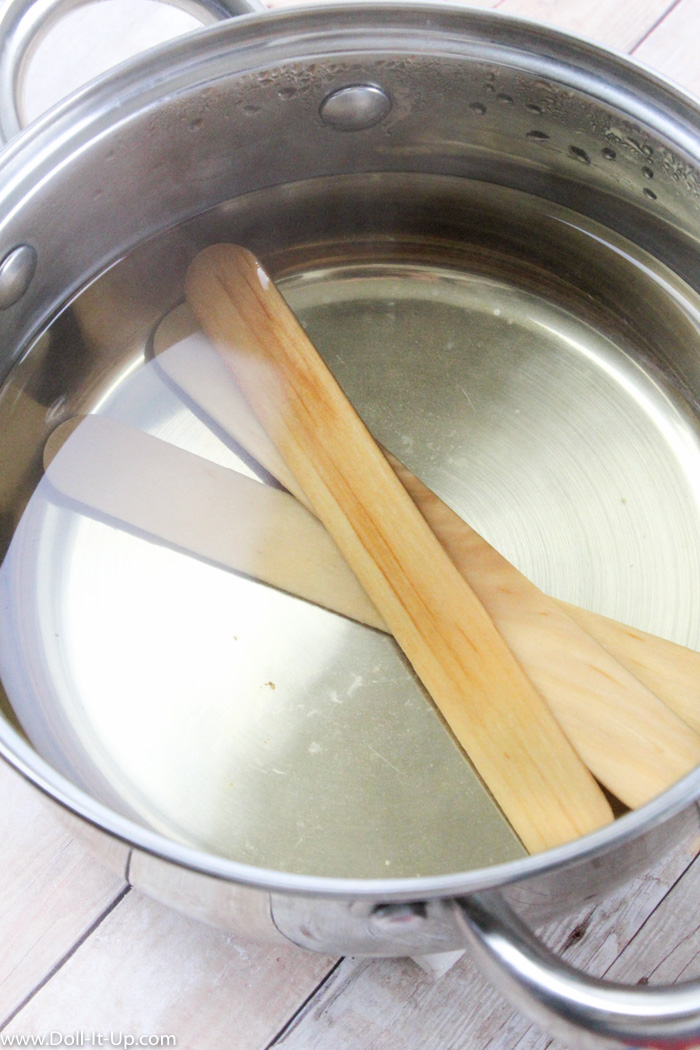
Heat the water over the stove and simmer for 20 minutes.
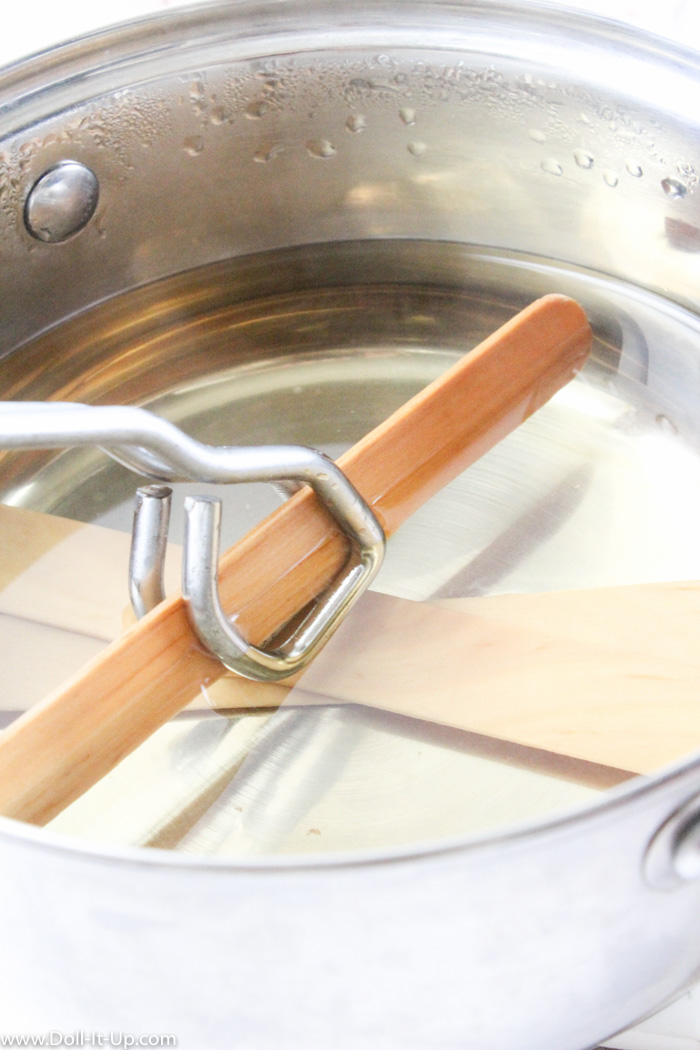
Pull a craft stick out of the water with tongs.

Set it out for a few minutes until it’s cool enough to handle.
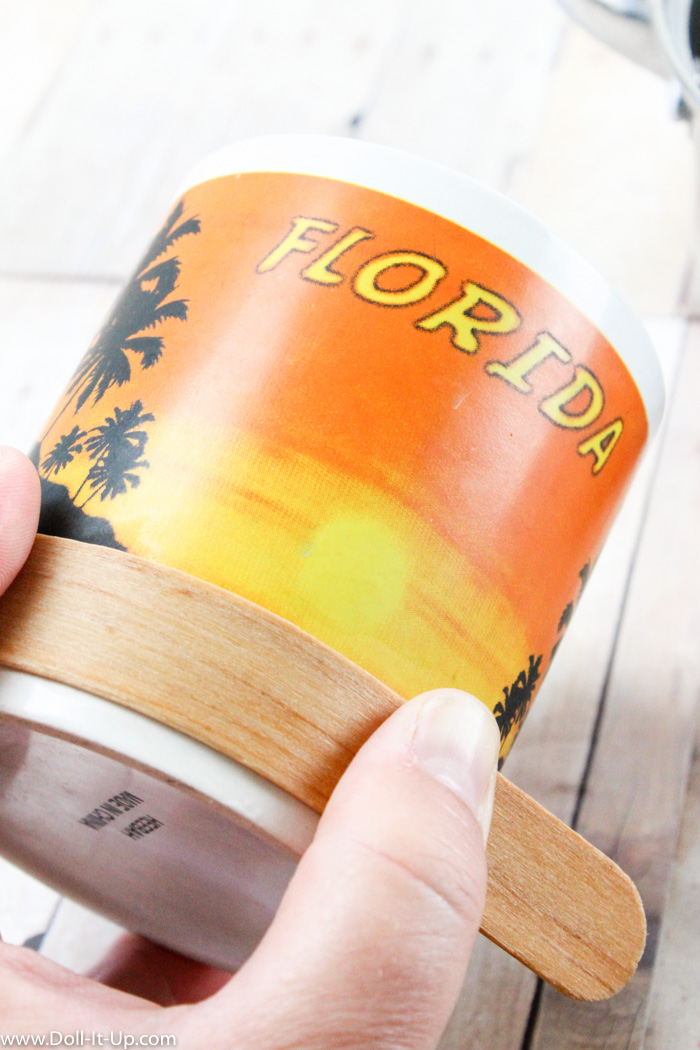
The hot water has softened the wood. Slowly bend the craft stick around the bottom of a mug. Sometimes the craft stick will split at this step. No worries! We have back ups because we softened several extra craft sticks.
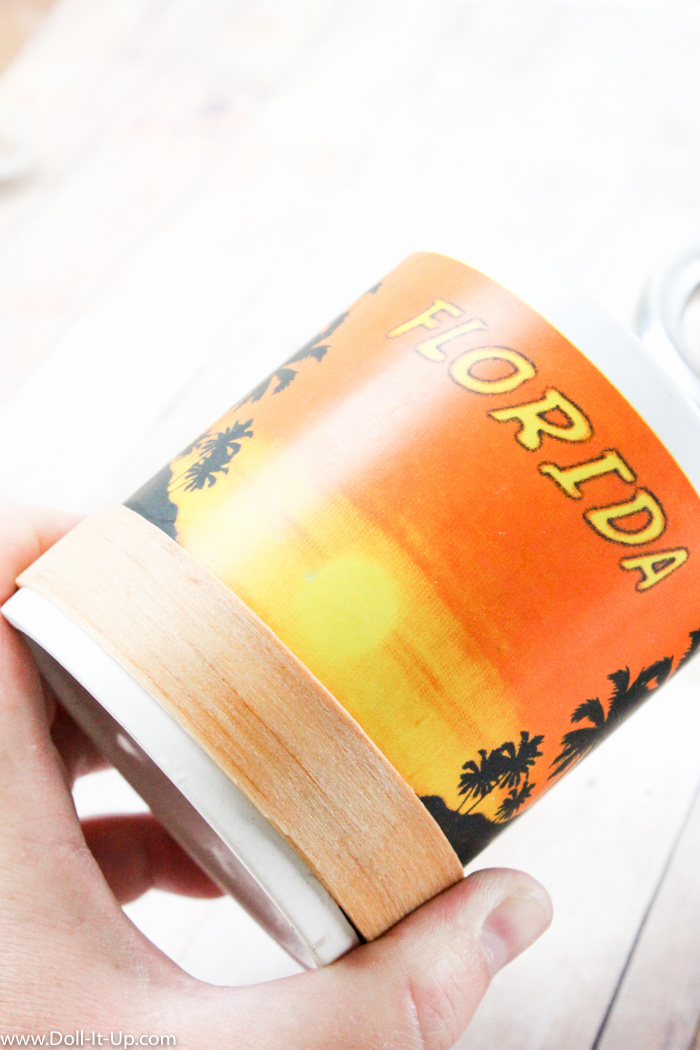
Curl the ends of the craft stick against the mug.

Wrap rubber bands around the craft stick to hold it in place.
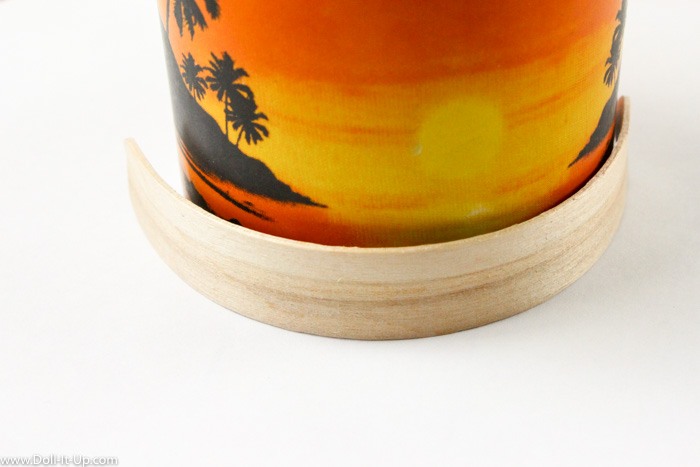
After 24 hours, and the craft sticks are completely dry, take off the rubber bands. It is normal for the craft sticks to relax just a bit.
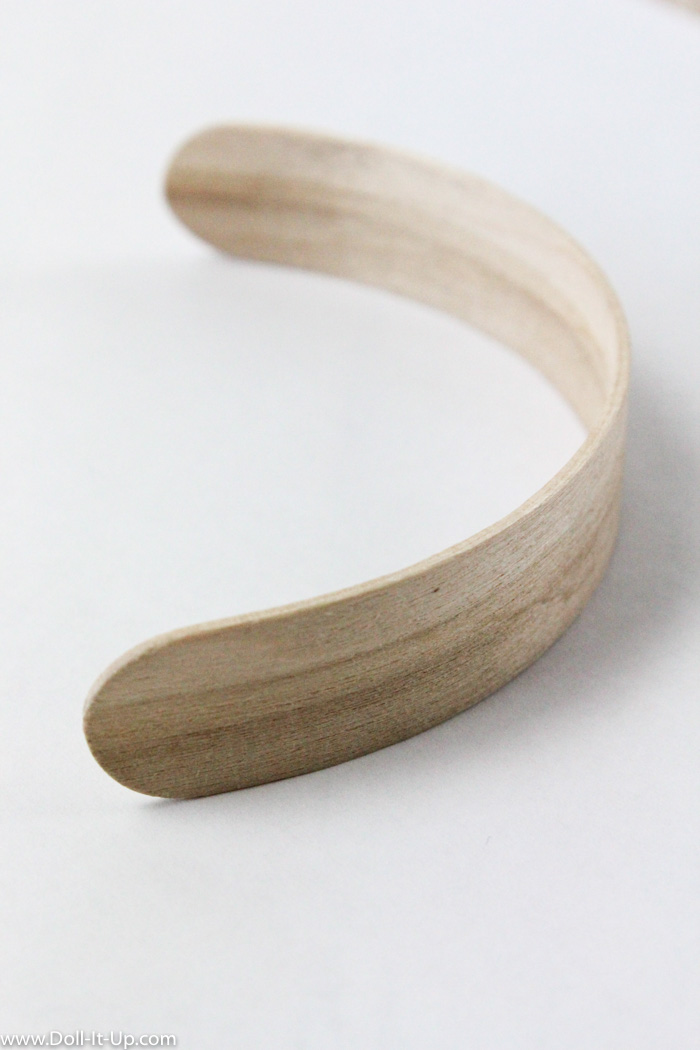
Otherwise, it should basically hold it’s shape.
Now to add a design to the headband! Come up with your own design or follow along and I’ll show you how I made mine.

Measure and mark the center of the craft stick. Mine is a 6″ stick, 3″ marks the center.
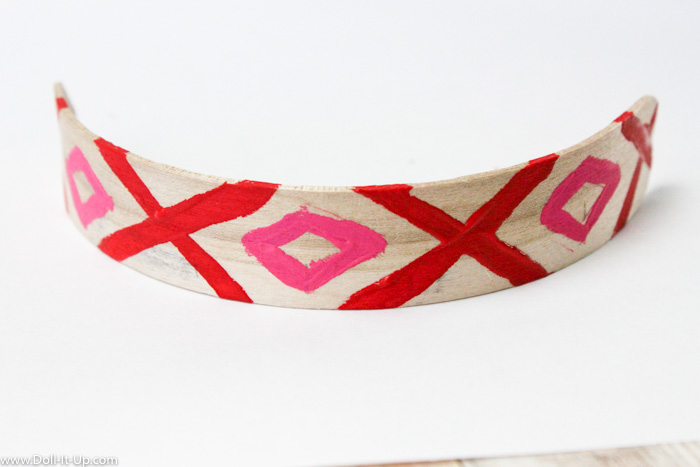
Start with a diamond in the center. Work your way out, with an X on each side, then diamonds, and an X on each end.
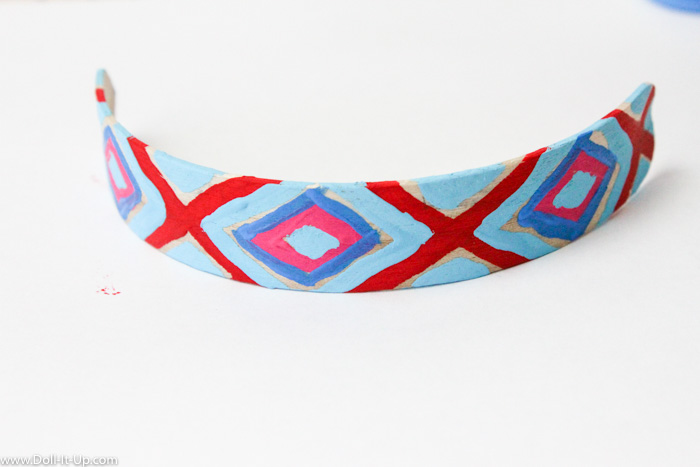
Paint a diamond touching the X patterns. Paint a diamond touching the small diamonds.
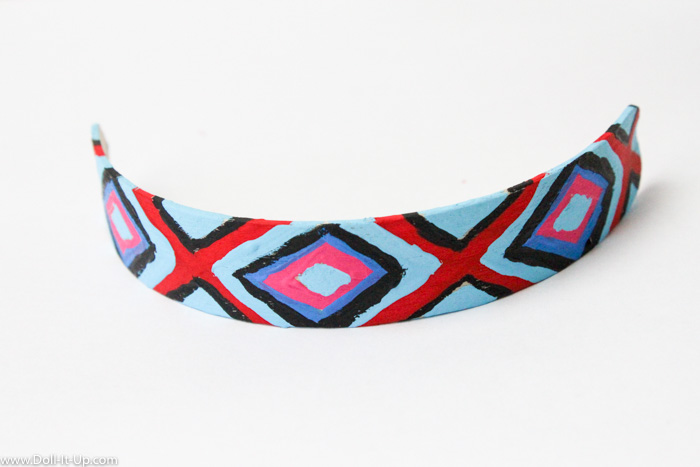
I added the black last, so the colors wouldn’t mix, layering and accenting the pattern.
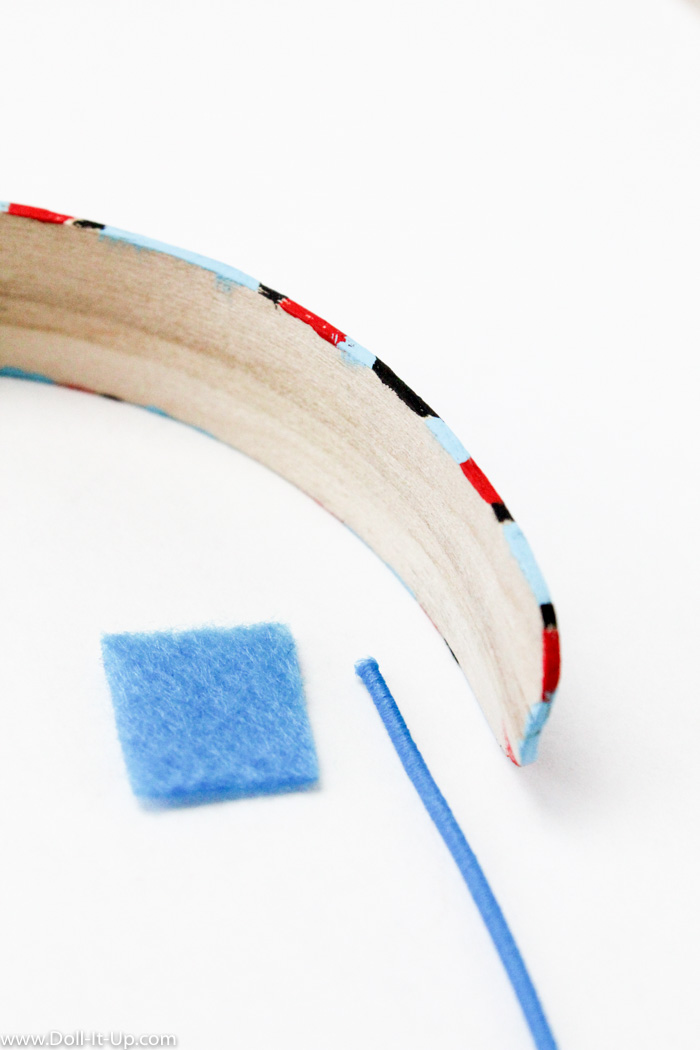
To add the elastic, try the headband on a doll and measure the length needed to complete it.
Cut a square of felt to cover the elastic ends.
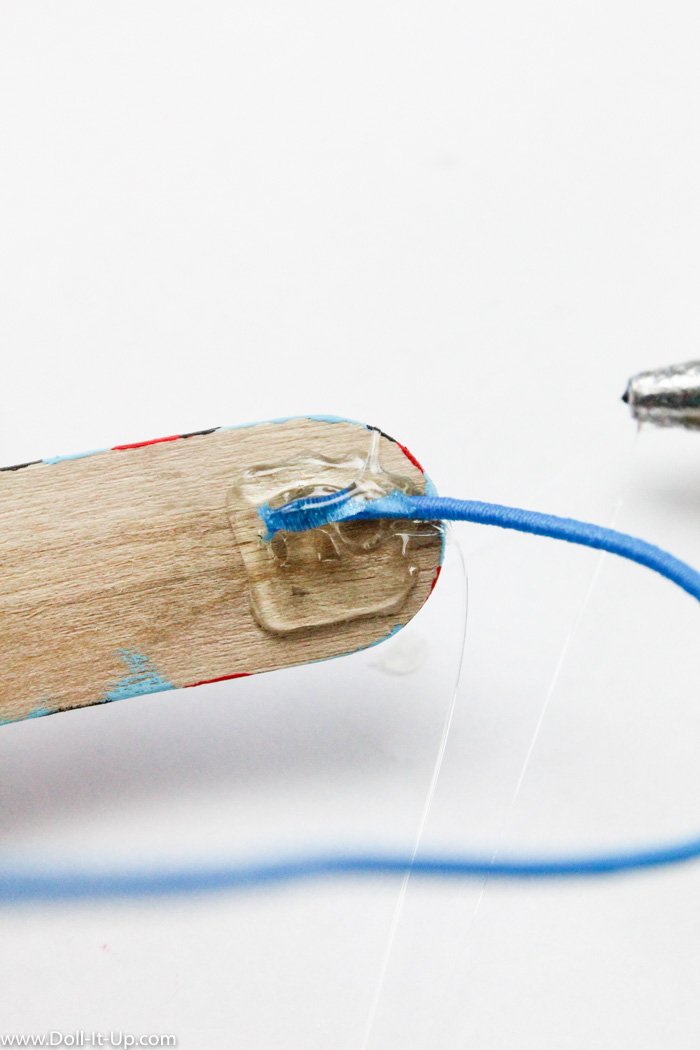
Place one end of the elastic on the inside edge of the headband. Fill a layer of hot glue around it.
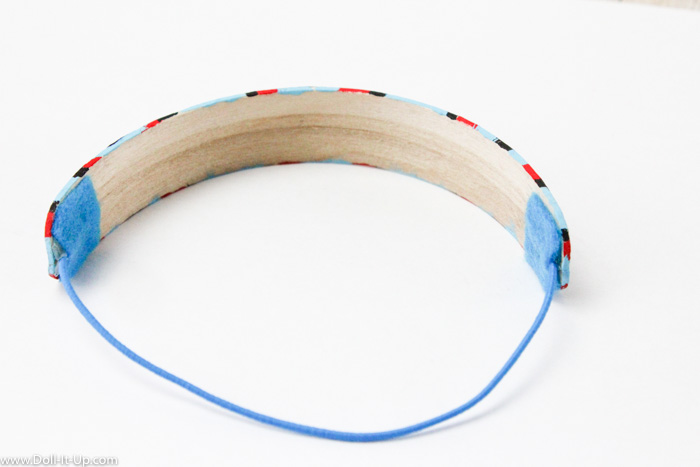
Press and hold the felt over the elastic ends, to get a strong adhesion. After it cools try it on your doll.

It’s amazing that we can mold a simple craft stick into a doll headband!
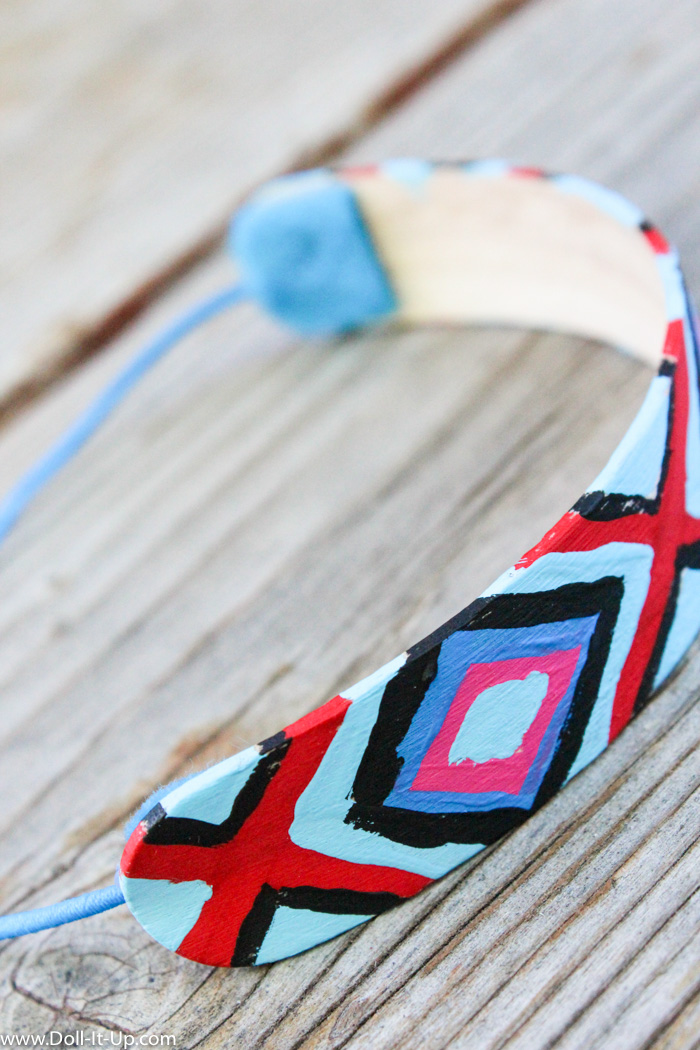
The options to decorate this wooden headband are endless!

Get creative and make a few doll headbands to go with different outfits!
Anna
Post details for you: Doll- Grace is GOTY 2015 doll for American Girl. Outfit- Saige’s Tunic Outfit from American Girl.

That is the most brilliant idea I’ve ever seen for a doll headband! Great job! I want to make one just as soon as free time comes! Thanks so much for sharing this wonderful craft!
~Light4theLord
https://dollsnall.blogspot.com
Thank you! So glad you liked it! I love how durable it is! I love that it is paint-able! I hope you get a chance to try it sometime!
This is a great idea! And if you can’t find the craft sticks near you, just ask your doctor for a few tongue depressers on your next visit. 🙂
Thanks Verna! And tongue depressors are a great idea!
Great idea, thanks and will definitely try.
However, I’ve tried the exact same thing in making bracelets with popsicle size sticks …The wooden sticks kept relaxing so by the end of a week they had the same arch as a banana.
Will that happen with these larger craft sticks too or will they keep their shape once completely dry while being strapped to the mug?
I made my first headband a couple months ago and it has kept the same shape. I am wondering if your bracelets relaxed because they were exposed to moisture. Even if they didn’t get wet there is moisture in our skin. That being said I live in a very dry place so I’m wondering how these would hold up in humid climates. I would love to know if anyone tries it out!
I made Popsicle bracelets using the jumbo sticks and I live in a very humid area. They kept their shape fine. Just be sure they are VERY DRY before releasing the rubber bands. I had to dry mine more than 24 hrs. More like 2 days.
Thanks Robin! I love that you shared your experience from a humid climate! That makes sense that the wood just needs to be completely dry. Thank you!
Awesome craft!
Thank you Nonna!
This is very artistic and cute!! 💕
It is OOAK!!
Nice idea!
Thank you! It is a fun project and it can be decorated so many different ways!
Love this idea, but had a question. How do you pierce a dolls ears for earrings?
Hi Sue,
I haven’t pierced my dolls ears. My dolls that have pierced ears came that way. I have seen tutorials online where others have pierced their dolls ears. If you do a google search you will see how others have done it. Hope that helps!
This is so cute! I might have to try this… 🙂
Thanks Gracie!