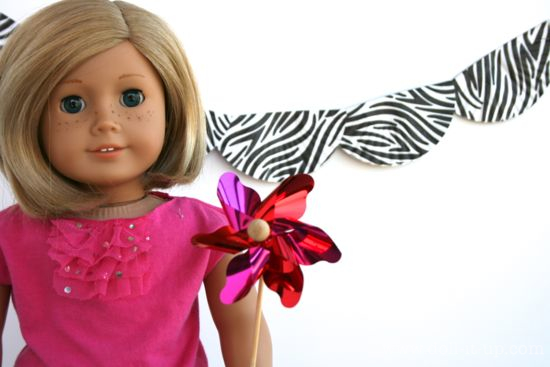
I’m having more fun with cupcake liners! After I finished the mini banner I knew I wanted to try the regular sized cupcake liners as a party banner for dolls.
Cupcake liners are fun to work with in general. They come in the cutest prints and seem widely available. I don’t know about you, but I always have a few extra liners on hand after a batch of cupcakes. I like that this craft supply has a duel purpose. I’m making cupcakes AND using up the rest of the liners with a little craft project with the kids.
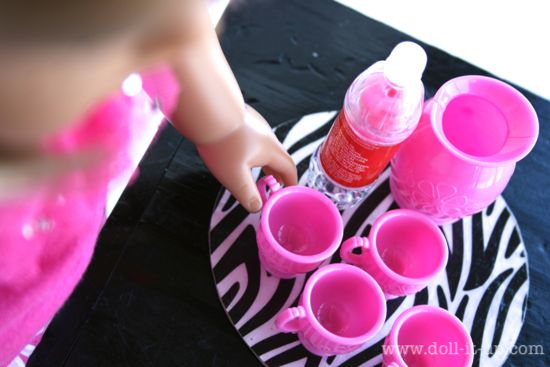
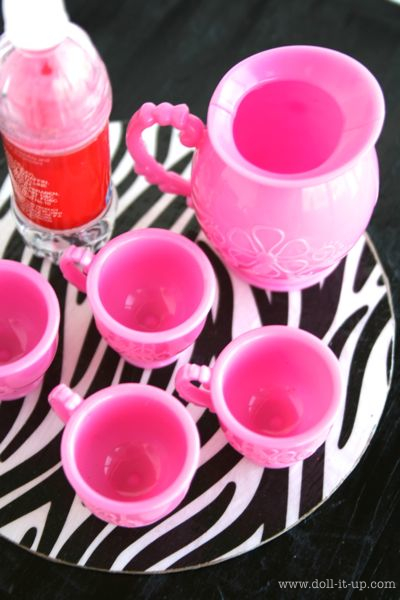
So do you want to know what else is cool about cupcake liners? When you glue them down with a wet adhesive like Mod Podge they smooth out almost completely flat. Taking advantage of the fact that they are also a nice round circle, I made one into a doll sized serving tray. Cute and quick to make is always a good combo!
I took some pics to share a visual of the two projects.
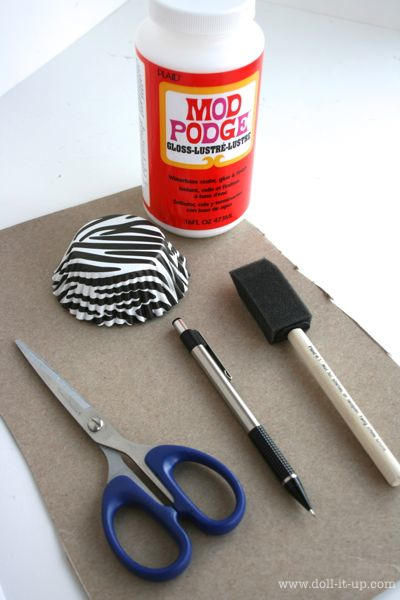
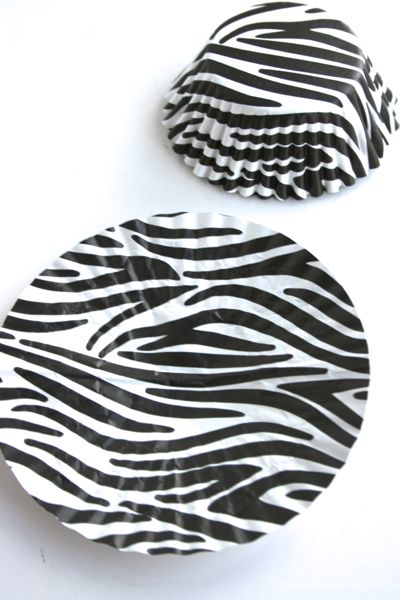
First the supplies.
Supplies:
- thin cardboard
- Mod Podge
- regular size cupcake liners
- scissors
- pencil
- foam paint brush
- string (not pictured)
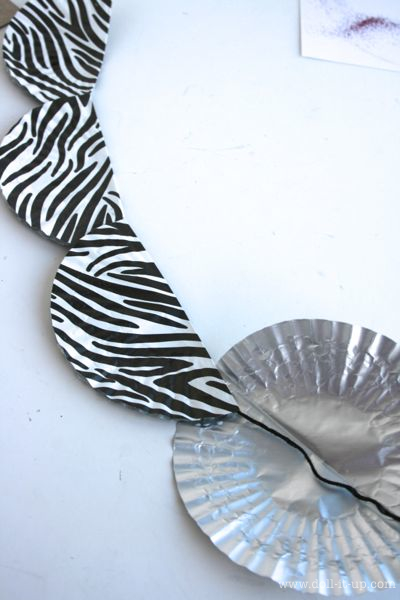
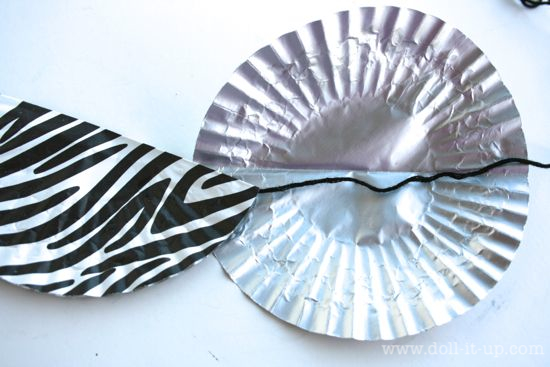
I laid out a piece of embroidery floss the length I wanted the banner to be. Smoothed flat and folded in half enough liners to fit on the string.
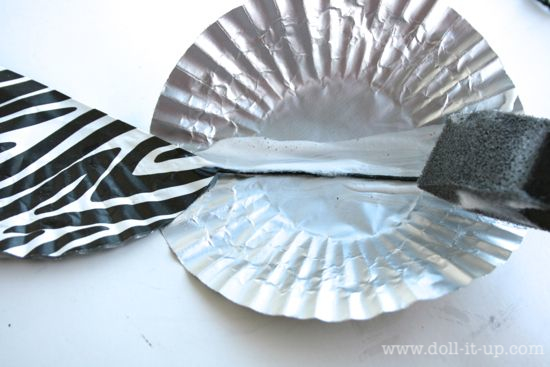
Spreading glue down the crease of each liner I positioned each so they overlapped the last and created a curve.
This curve makes the banner swoop down in the middle and come up on each end to really look like it’s hanging. There you have it! A fun party banner!
Now for the serving tray.
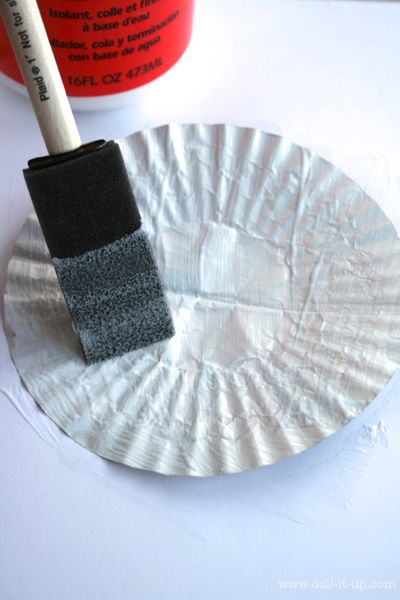
Smooth a liner out flat.
Coat the plain side with Mod Podge.
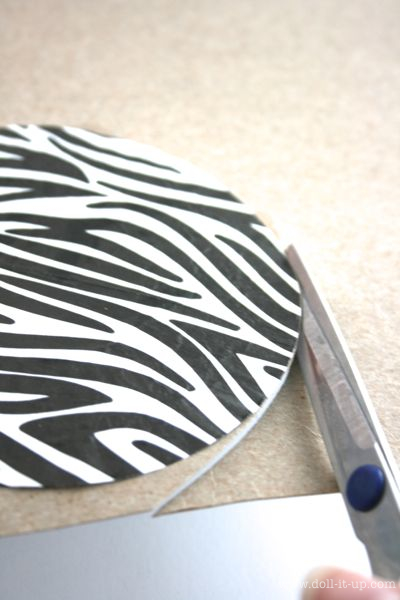
Place it onto a piece of cardboard and smooth out any wrinkles. Cut around the edge.
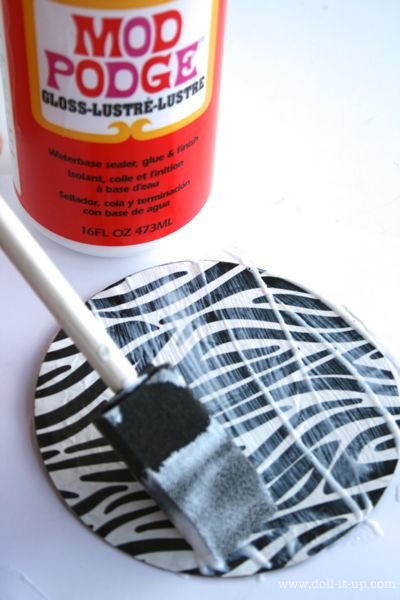
If you want, glue another liner to the other side of the circle. Then coat the outside with Mod Podge to make it more durable. Let it dry before coating the back side of the circle.
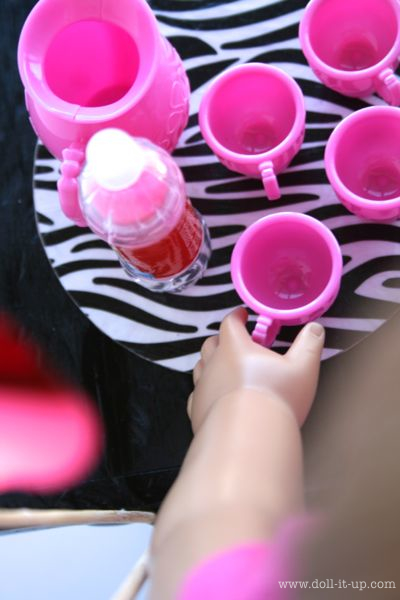
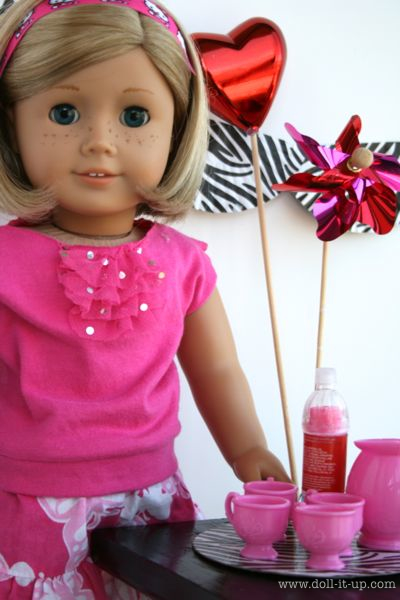
A simple serving tray to add to your doll play.
Two doll crafts from the same package of cupcake liners.
Not to mention a batch of cupcakes for the family! 🙂
Anna

This is so adorable. Thanks for sharing.