Thank you for your response to the survey yesterday! I have loved checking out the votes as they come in and found them fun and interesting! I am excited to keep creating and sharing with you! I will keep the survey open for two weeks to give everyone the opportunity to vote. Thanks again, your feedback is awesome!———————————————–
I have a super duper easy ruffle skirt for dolls to share with you today.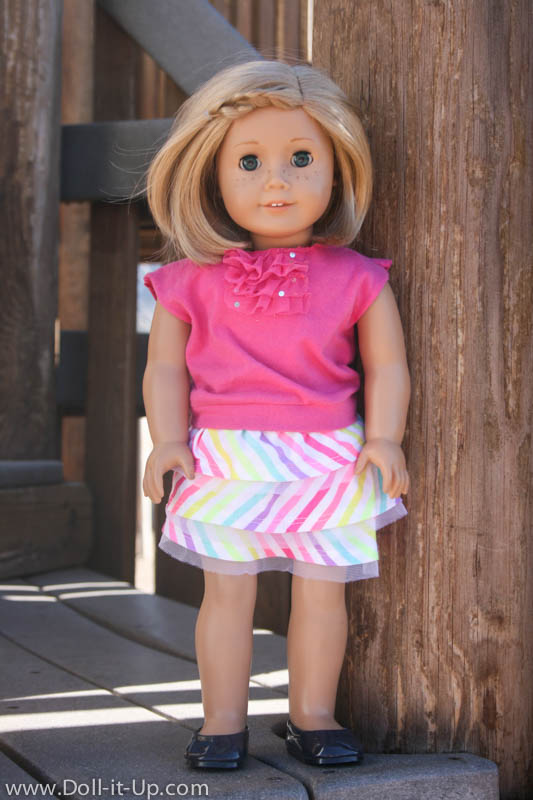
Are you suspicious of why this cute ruffly skirt is so quick and easy?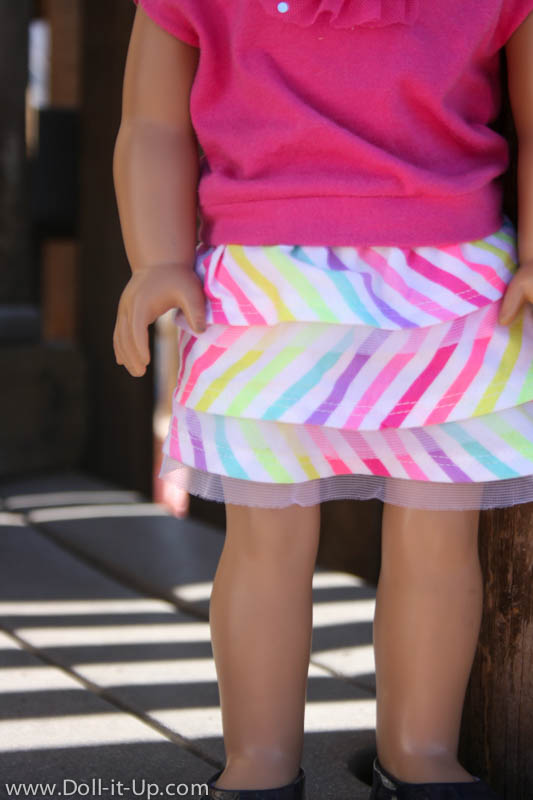
You should be! You know I love sewing shortcuts in the form of repurposing girl’s clothing into doll clothes!
Today is no different! We will transform these playful ruffles into a doll size skirt with only a few modifications! Let’s dive right in! 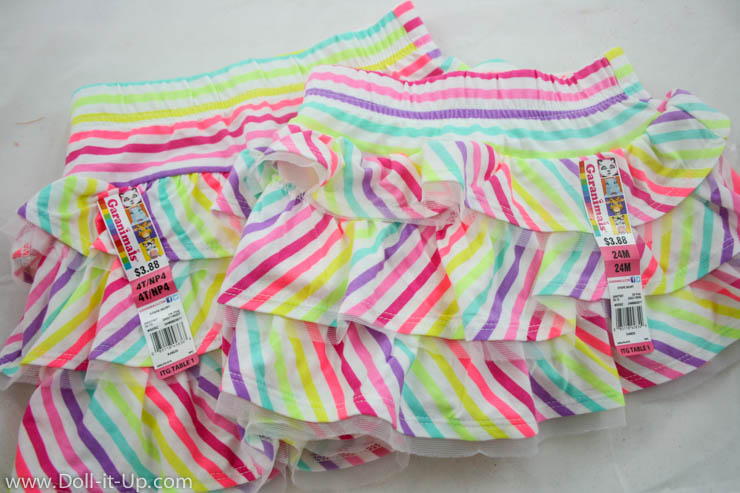
The Skirt
You will need a tiered ruffled skirt with two or three ruffles. These type of skirts have been very popular the last few years. You can find them in new colors every season at Walmart, at many other clothing stores and even at the thrift store.
I used size 24m but a little larger would have been even better. To make sure the skirt is large enough, wrap it around the doll’s waist. If the two side seams meet in the back with a little extra room for a seam allowance you should be set!
My skirt is from Walmart for $3.88. The second skirt is for my daughter, so she could have a matching skirt.
Skirt Basics and Starting the Waistband.
Lay out the girl’s skirt flat and cut along the side seams. This will leave you with half of a skirt.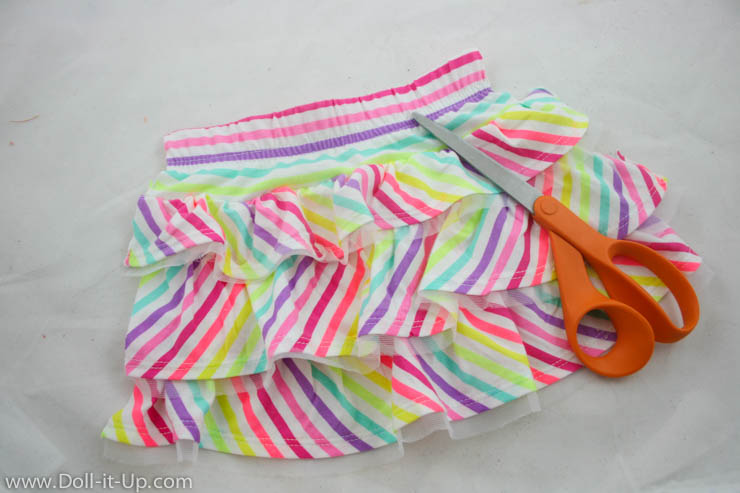
Open up the waistband with a seam ripper. The elastic is attached to the waistband on our skirt. This will give us more fabric to add a waistband for the doll’s skirt.
You can experiment with how wide you want the waistband by folding it over and trying it around the doll’s waist.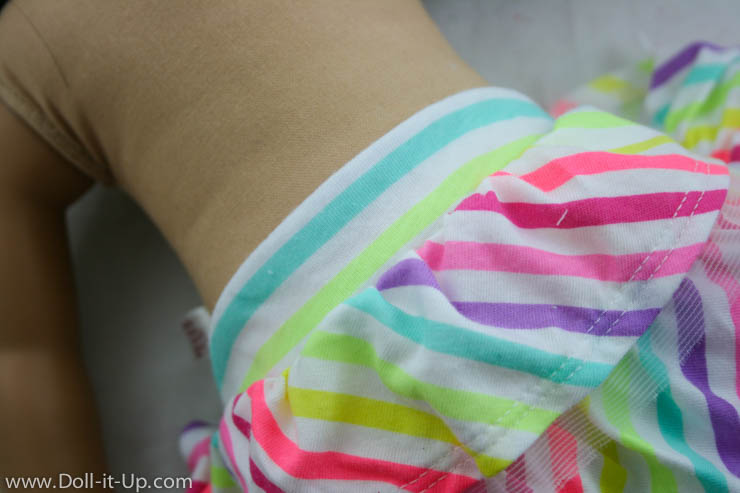
I cut the waistband to about 1 3/4″.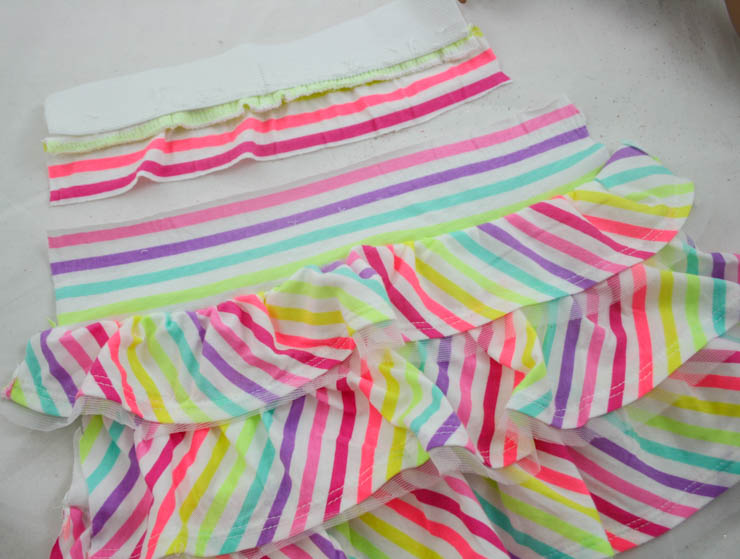
Shorten the Ruffles
We need to shrink the proportions of this skirt to make it doll size. We will shorten the ruffles to make the skirt smaller. To shorten the ruffles we are going to shorten the distance between the ruffles. If you lift up the first ruffle you can see the liner that the next ruffle is sewn to.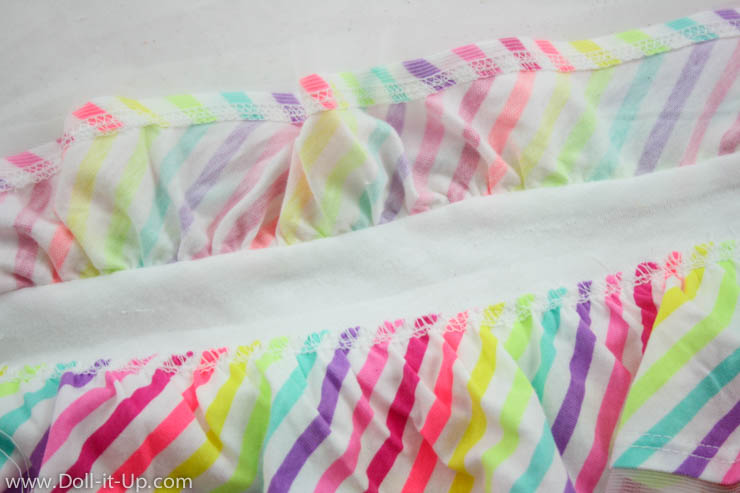
Pick up the top of the 2nd ruffle and place it along the base of the 1st ruffle.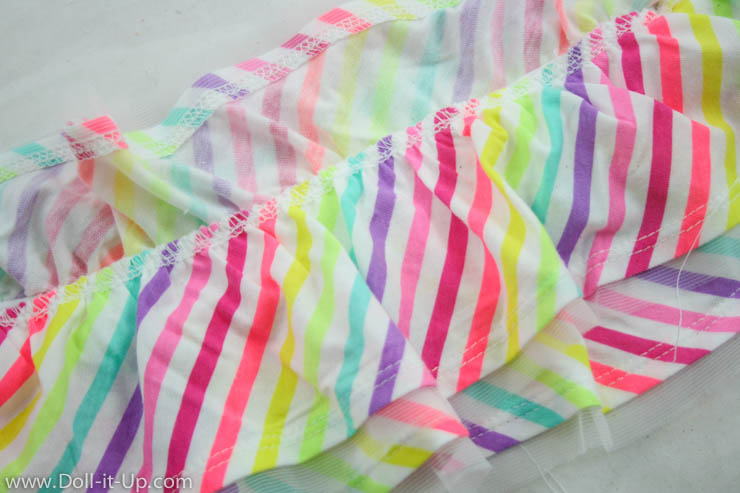
Repositioning the ruffle is going to create a fold in the liner on the back. With the back of the skirt facing up, pin the fold in the lining. Make sure the edge of the 2nd ruffle is lined up as you pin, so it doesn’t drift out of place.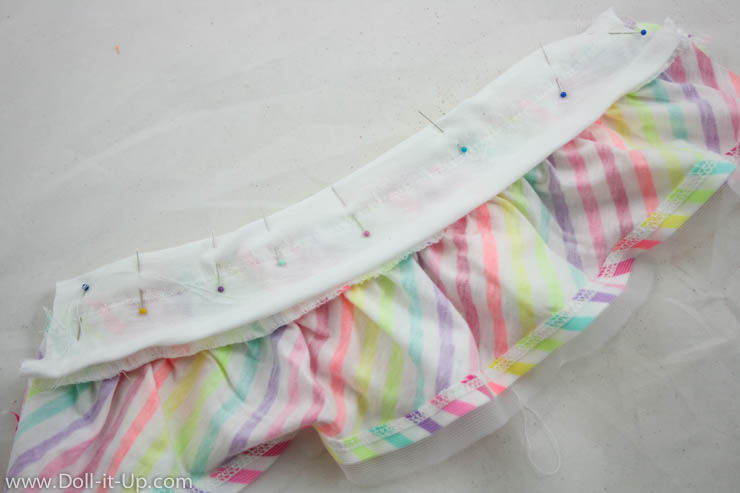
Repeat the process with the 3rd ruffle to shorten it. I did not shorten the 3rd ruffle as much as I did the 2nd ruffle because I wanted the skirt a certain length and adjusted it accordingly.
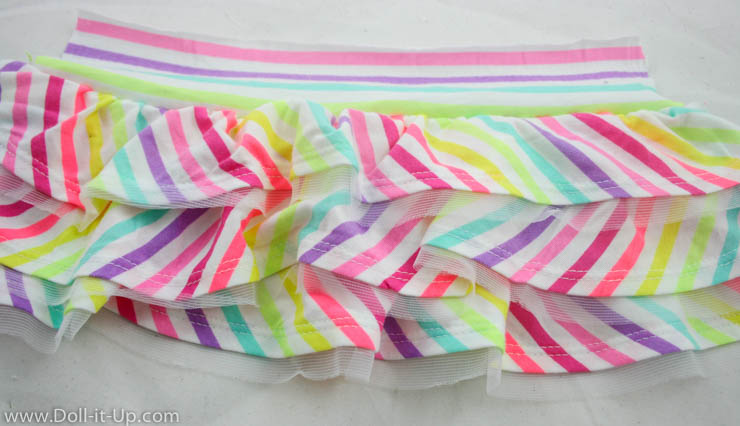
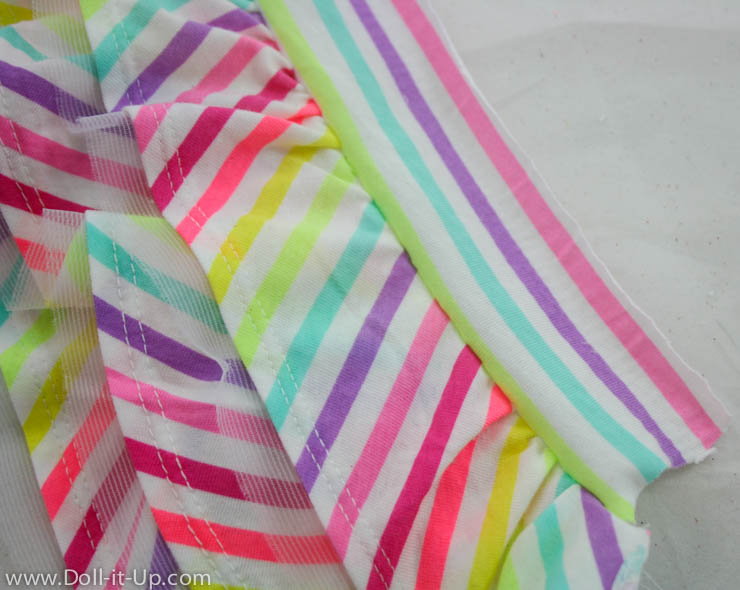
Now the ruffles have all been shortened to doll size!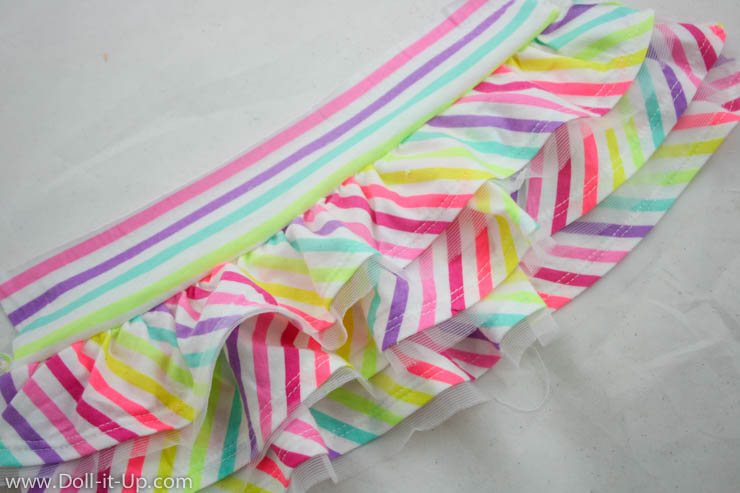
If you lift the first ruffle you can see the position of the second ruffle.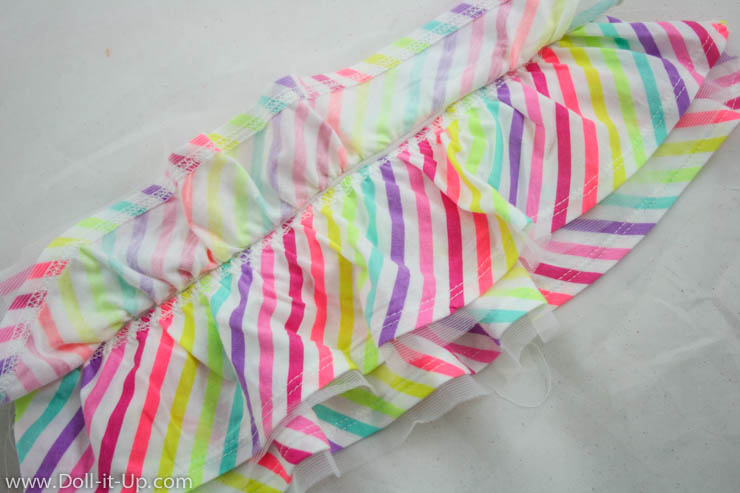
Lift the second ruffle to see the position of the third.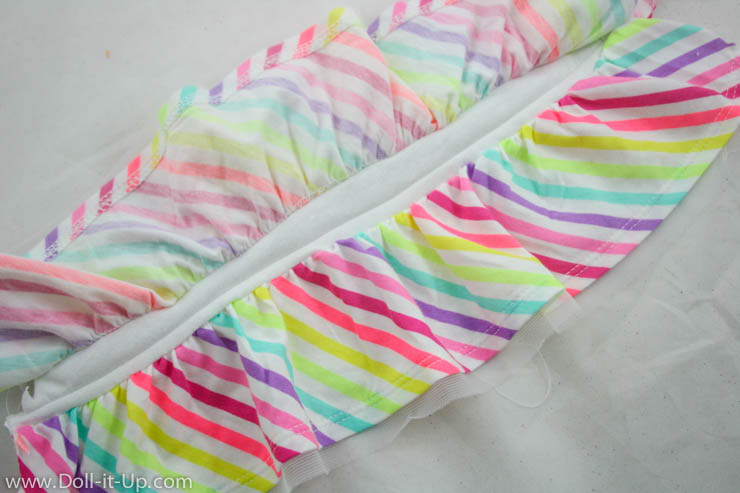
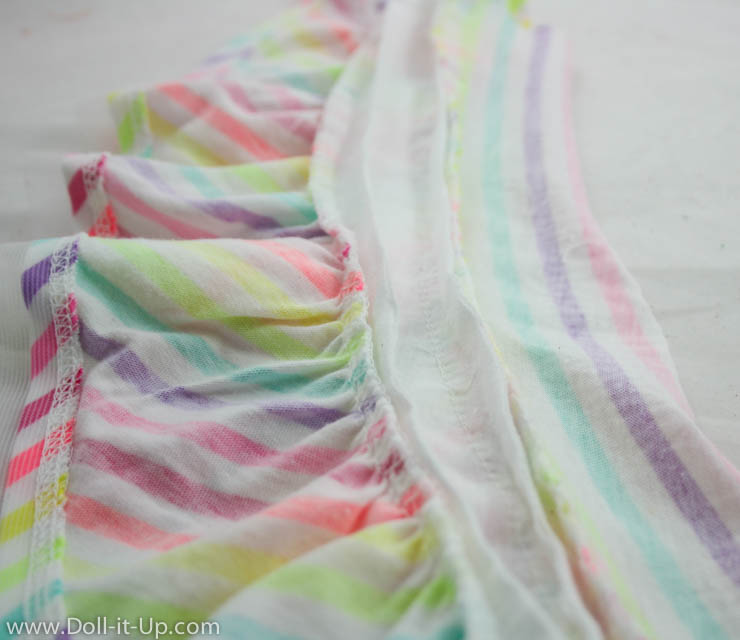
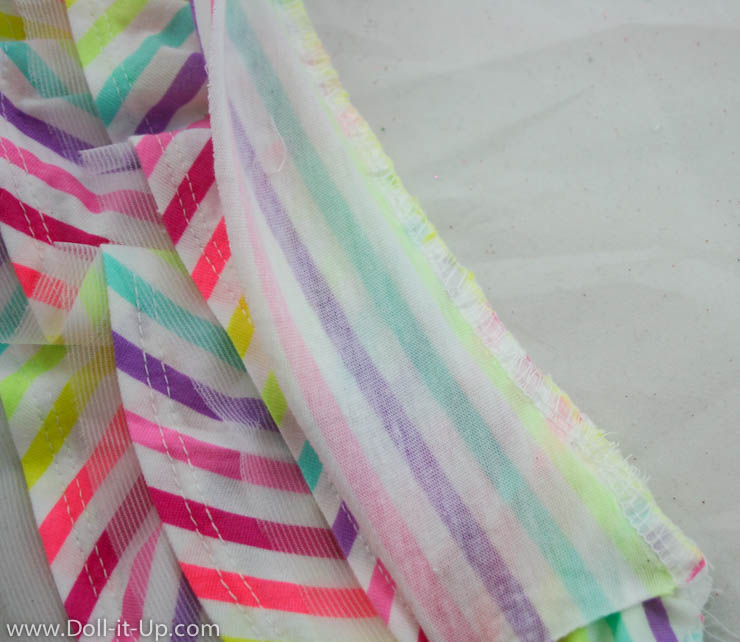
Flip the whole thing over and you can see the lining sewn along two folds.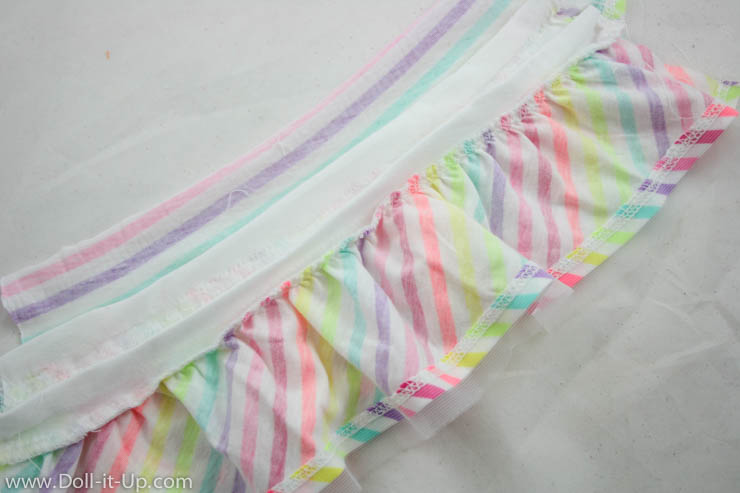
Here is a close-up of the folds. It’s extra fabric that adds bulk to the skirt, so we want to trim it down. 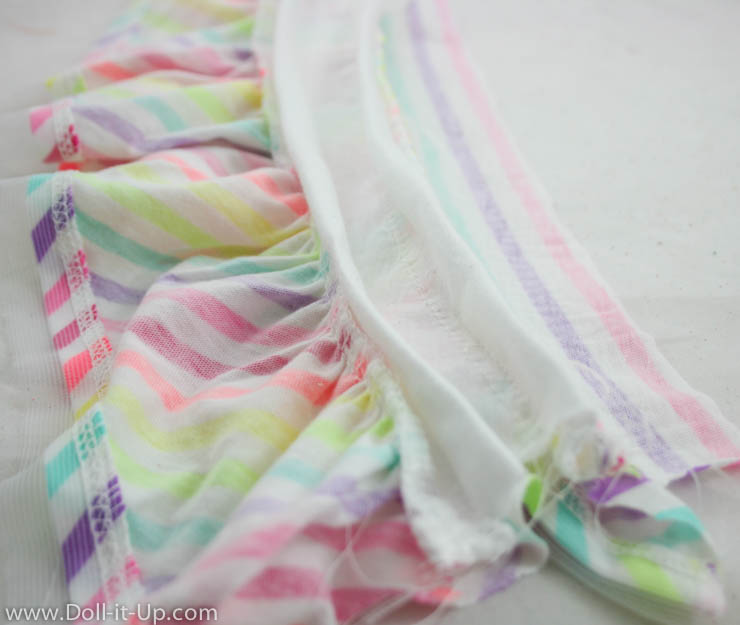
Finishing the Waistband
Fold the waistband in half, matching the edge with the inside seam. Pin in place.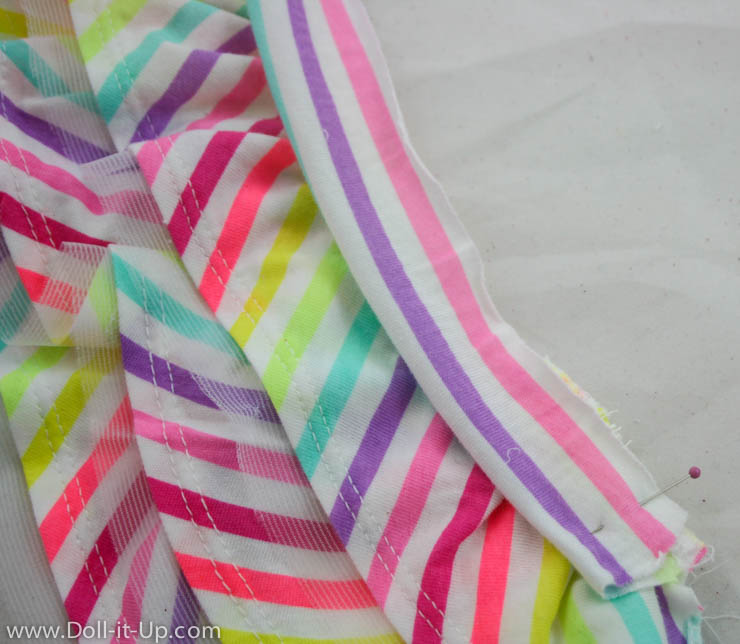
Fold the waistband back into place and we have the casing for the elastic.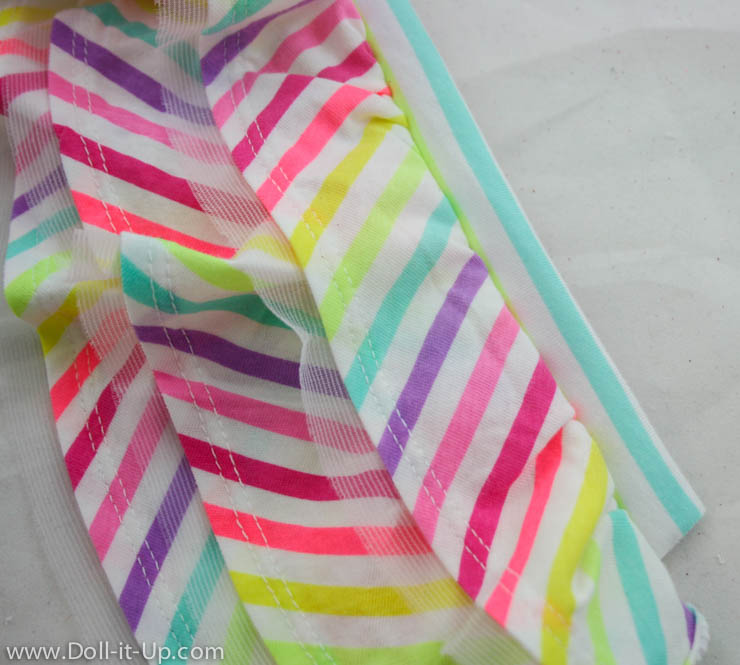
Adding Elastic
Cut 3/8″ elastic to 11″ long.
To thread the elastic through the casing, pin a safety pin on the end of the elastic.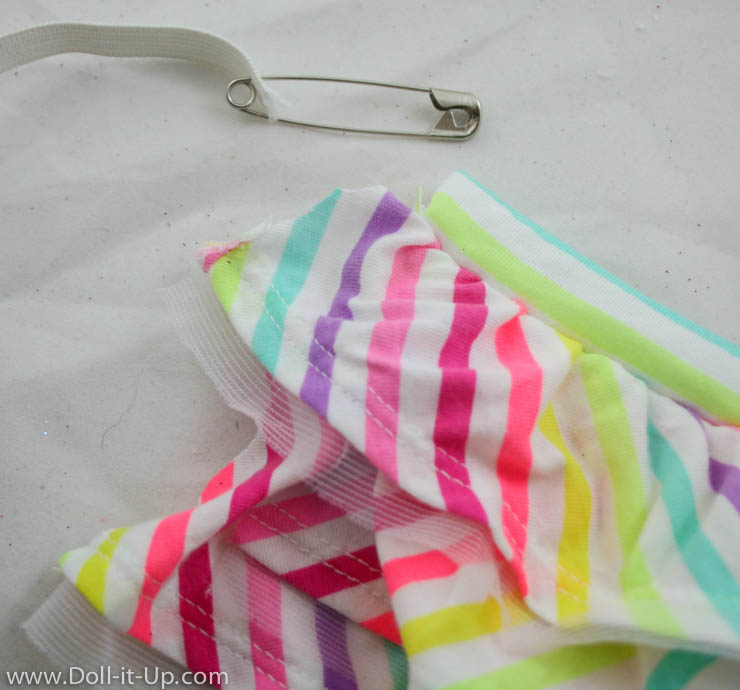
Pull the elastic out each end of the casing to keep it from sliding back through.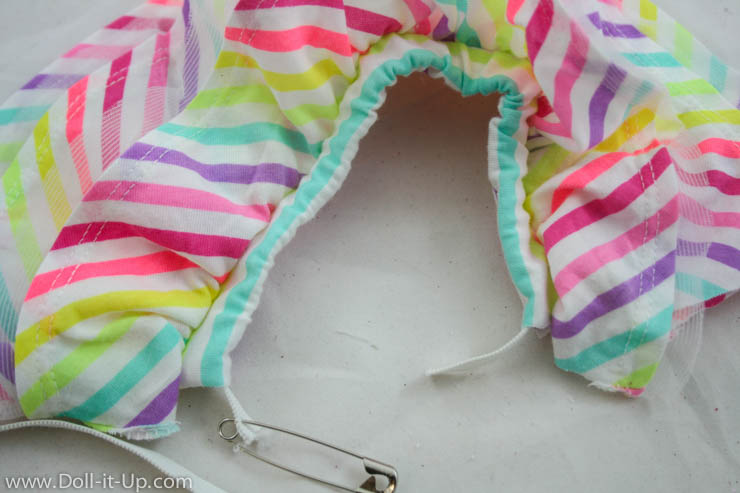
Line up one end of the elastic with the edge of the casing and pin in place. Stitch the ends together.
Repeat with the other end of the elastic and casing.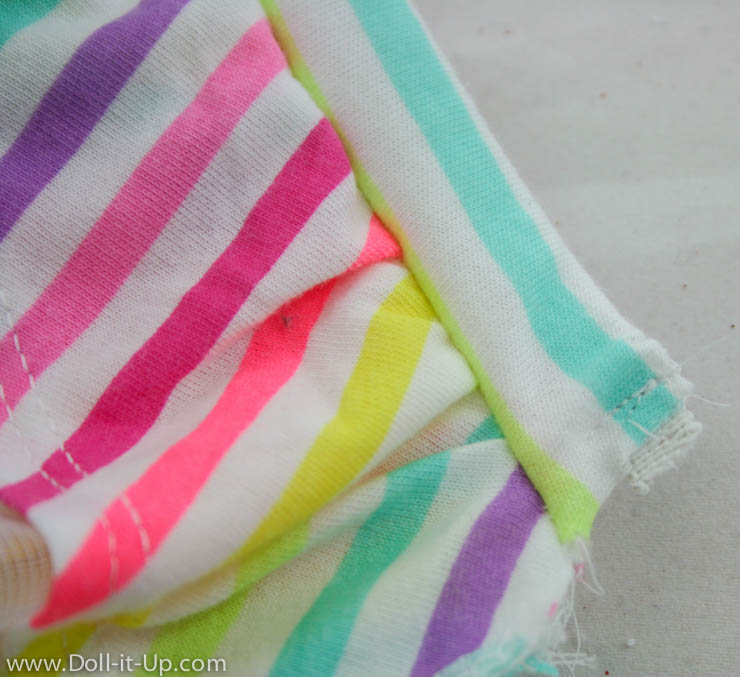
The Back Seam
Now we need to line up each layer in the skirt to sew the two ends together.
Fold the skirt in half with the right sides together. Lift up the ruffles until you can see the first ruffle. Line it up and pin it in place.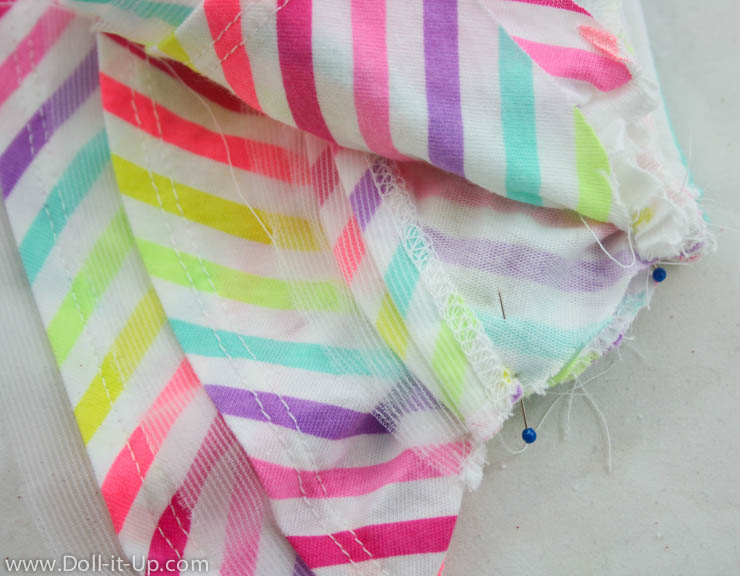
Line up the second ruffle with the first, pining the layers together.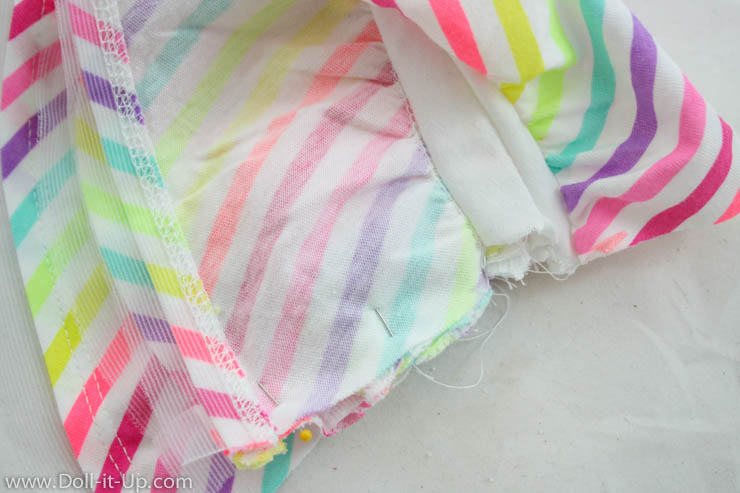
Lastly, match up the 3rd layer, along with the other layers and stitch in place.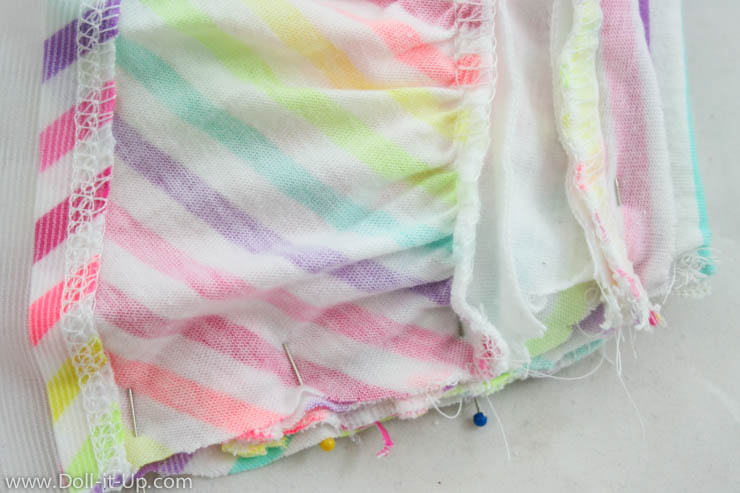
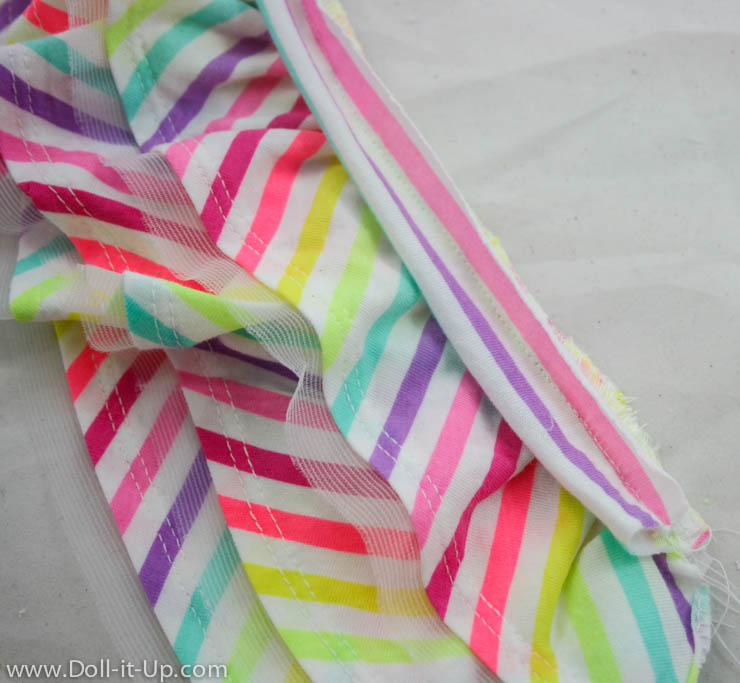
Turn the skirt right side out and check out the back seam!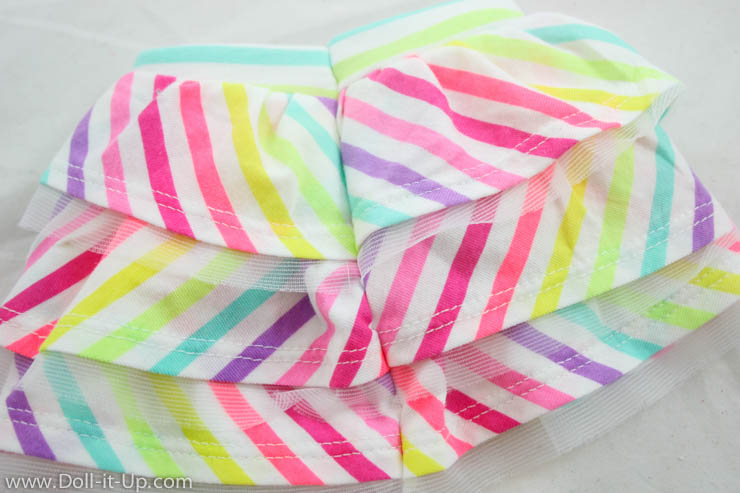
Here is the finished skirt from the front. The ruffles aren’t as full as the original skirt but they the layered ruffles are still so cute! I think with a larger size of skirt to start with the ruffles would have been a little fuller. 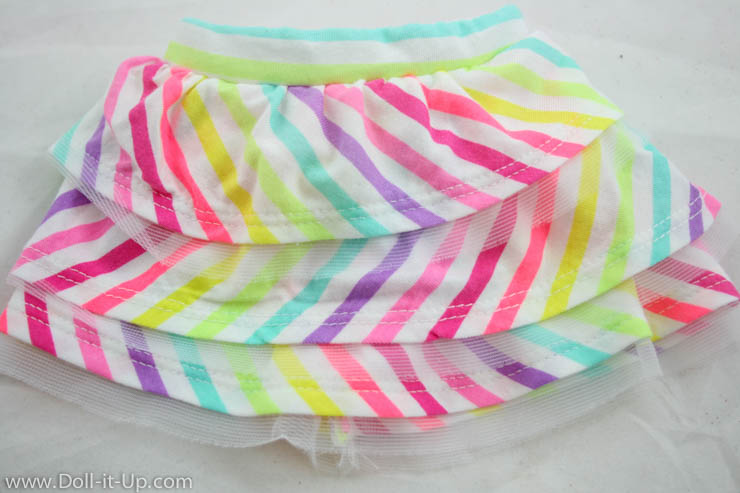
With a few adjustments we transformed a skirt for a 24mo old into a doll size skirt. It is a fun way to size a skirt to fit dolls and it is an awesome way to adjust clothing to make matching sets for girl’s and dolls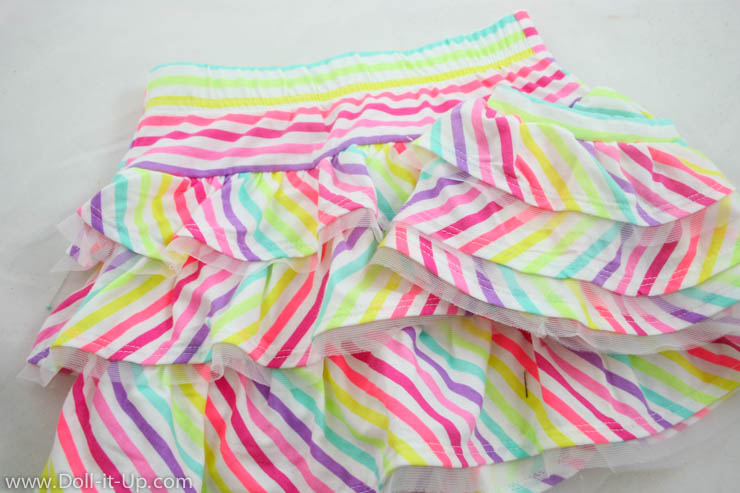
I love, love, love to repurpose clothing for dolls!
It is fun to have such a quick project…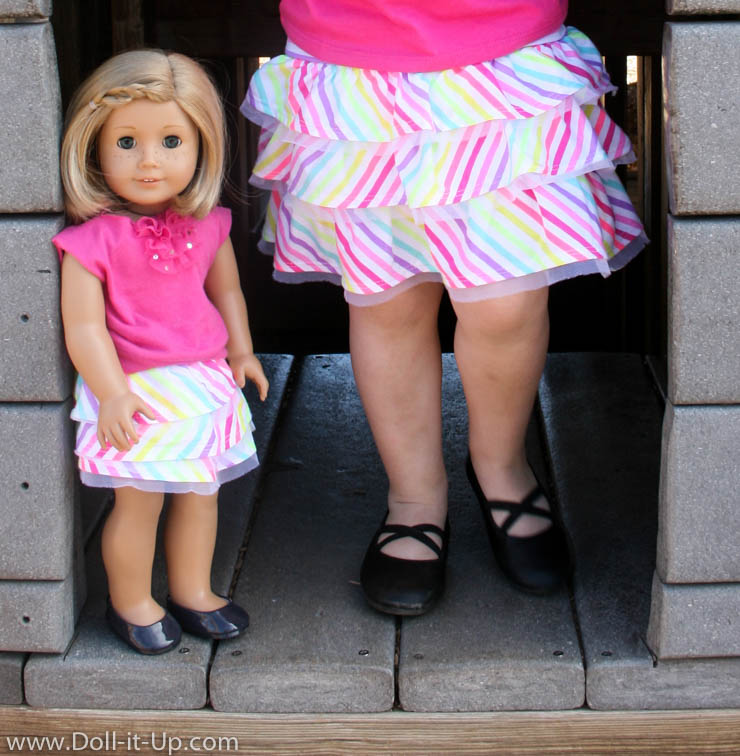
and time and time again I’m amazed with the finished product!
-Anna

Great project! You explained it really well and I think even I (who hasn’t sewed since 4-H in middle school) could maybe do this. 🙂
Thanks Farrah! A great thing about sewing from girl’s clothing is that you take a short cut and it still looks so good because of the details already on the clothing! No need to be a great seamstress! 🙂
Wow this is a cool craft! You should open an Etsy shop and sell some of your finished products!
Thanks Abby, for your encouragement and suggestions! It’s so good to hear what interests you and others that comment. I hope to grow Doll It Up in 2015 and maybe a shop will be part of that growth!
How cute!
Thanks Rebecca!