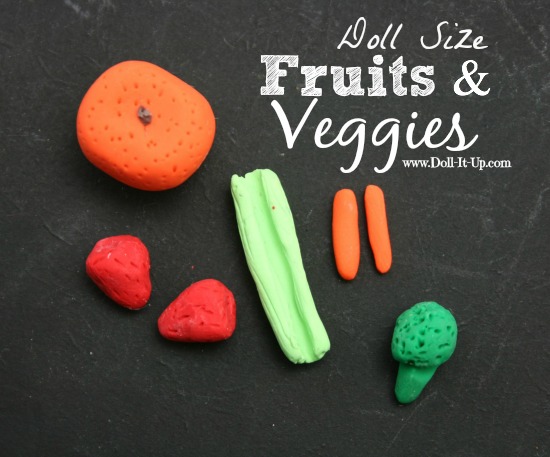
Ever since I made doll size lollipops last month out of clay I have been wanting to try my hand at other doll foods! How about a doll snack of fruits and veggies! These were the simplest of simple to make!
Polyform makes Sculpey and many other lines of clay. So far I’ve tried Sculpey Pluffy clay. It is super soft and lightweight. Here and here are a few things I made with it.
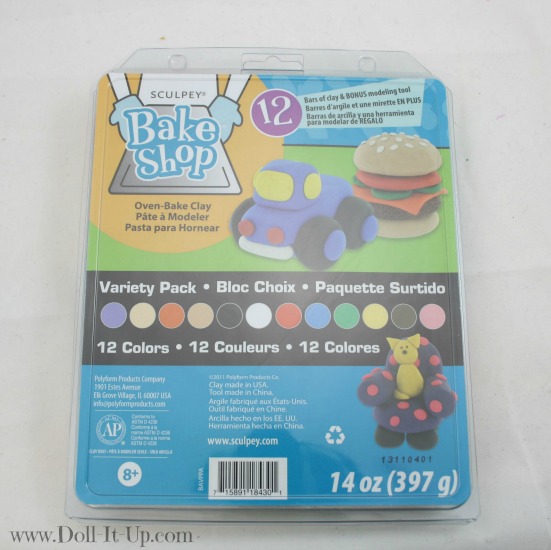
Today I’m using Sculpey’s Bake Shop Clay. It is available at many craft stores. Sorry the product photos are washed out! I didn’t realize the packaging was reflecting the light until I uploaded my pictures! Ooops!
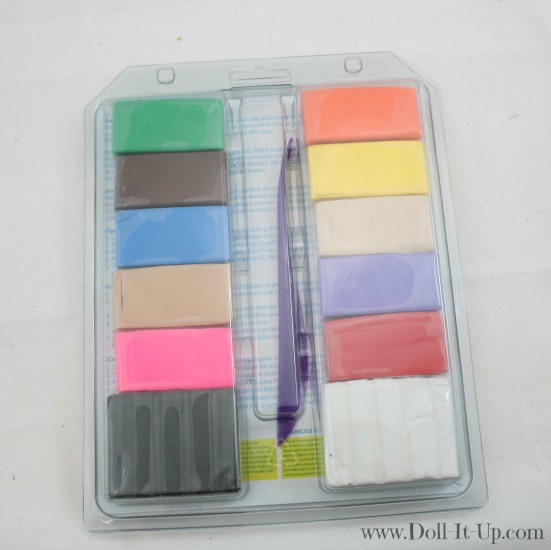
If you are not familiar with the Bake Shop clay, here are the colors it comes with. From these basic 12 colors you can combine colors to make oodles and oodles of colors! That’s how I made the color for the celery, yellow and a little green.
This package comes with a basic modeling tool, that is nice for adding detail. I am also using a needle end pointer tool to add detail. If you don’t have a pointer tool you can use a large needle.
The packaging comes with thorough instruction. I will share highlights and tips of the process if you are new to Sculpey Bake Shop clay like me! To get started you will want to work on a hard washable surface. When the clay sits on some surfaces it can leave a residue or stain . You can use tinfoil on a cookie sheet as your work surface. That is what I used when I worked with the Pluffy clay. Today I’m using the Sculpey Work and Bake clay mat. I placed the mat on a cookie sheet, so when I’m ready, I can pop the whole thing in the oven to set the clay.
The Bake Shop clay line is designed with kids in mind. Once you condition it, softening it by working it with your fingers, it stays soft and easy to work with. The clay will only harden once you bake it. Yes, that means it will not dry out when left out!
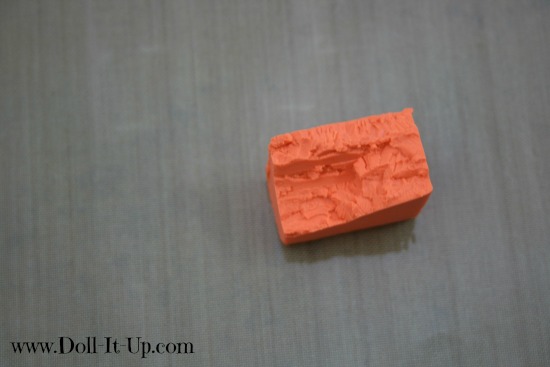
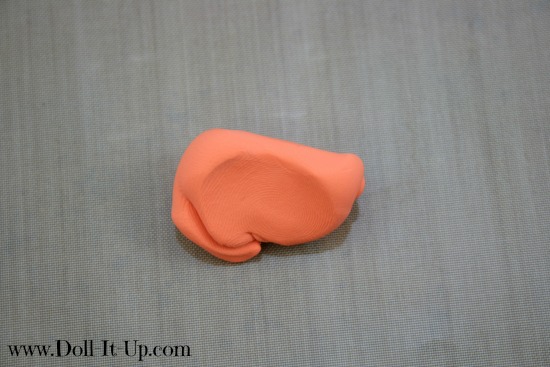
This is what a piece of clay looks like right out of the package. It is a little firm and crumbly.
Squeeze and squash it in your hand with your fingers and it will soften and become smooth. Now it is conditioned and ready to sculpt! I store left over colors in individual ziplock baggies. When you want to use a different color, use a baby wipe on your hands and work surface. This will keep the colors from mixing. Now we are ready to get started on some fruits and veggies!
Strawberries
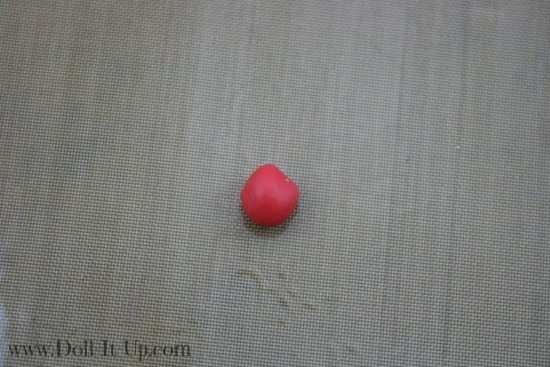
Roll a small piece of red clay between your hands until it forms a ball.
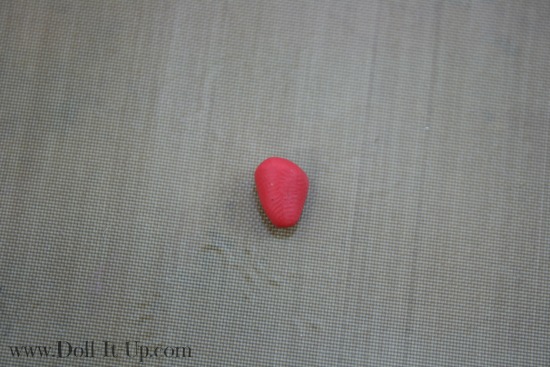
Roll and pinch one end between two fingers to get the basic strawberry shape.
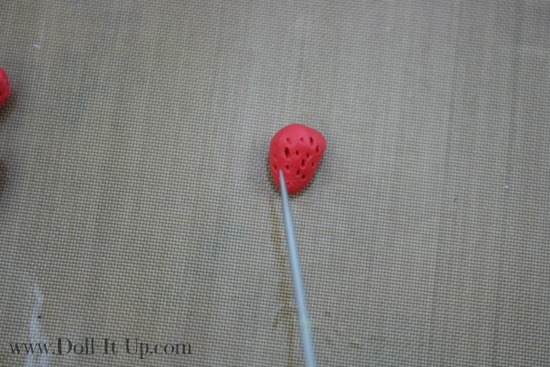
To give the strawberry some seed details, poke it with Needle End Pointer tool or a needle. Gently turn the berry and poke it on all sides. Set it aside to be baked.
Baby Carrots
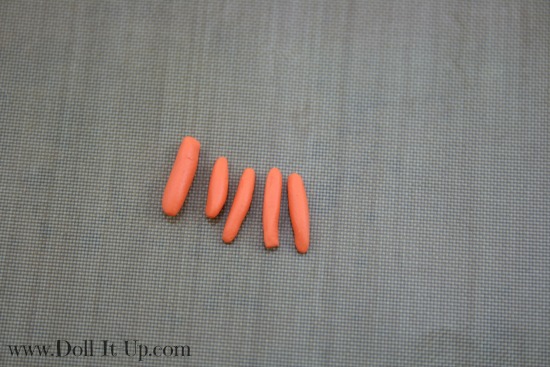
Using a small amount of orange clay roll out small “snakes” of clay. Round the ends against your finger. Set them aside to bake.
Broccoli
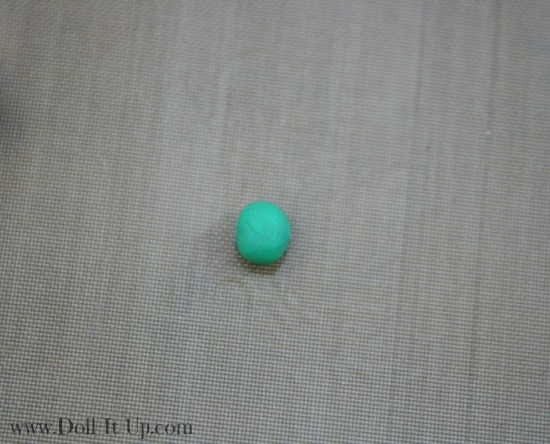
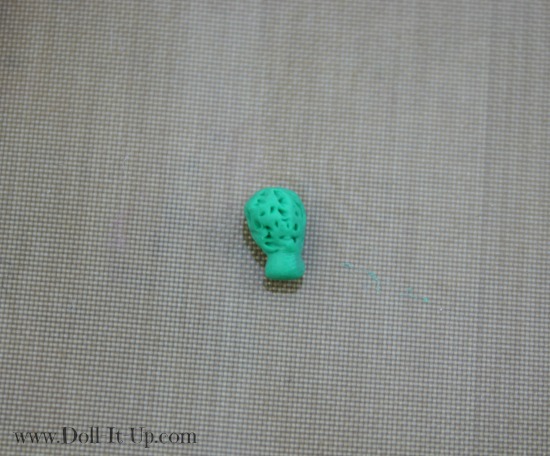
Roll a ball of green clay between your palms.
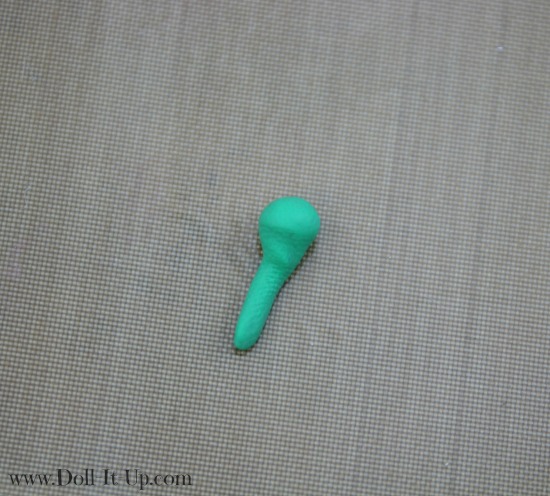
Pinch one end. Roll the pinched end between two fingers until it gets longer and forms a “snake”.
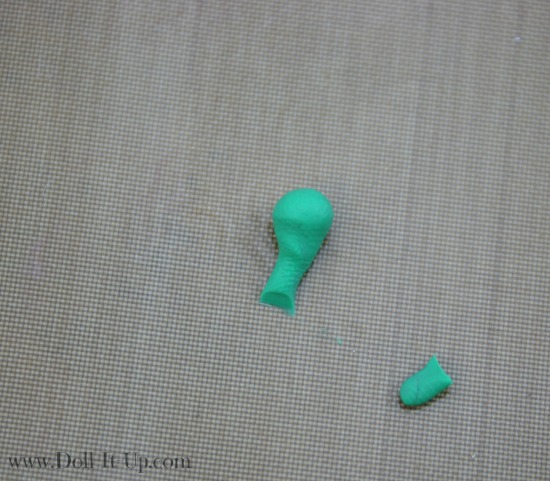
This will be the stem of the broccoli. Trim the “stem” with a clay knife tool or a plastic knife. Gently round off the end of the stem against your finger.
Poke the top to add detail to the broccoli floret. Gently turn it to poke it on all sides and set it aside to bake.
Oranges
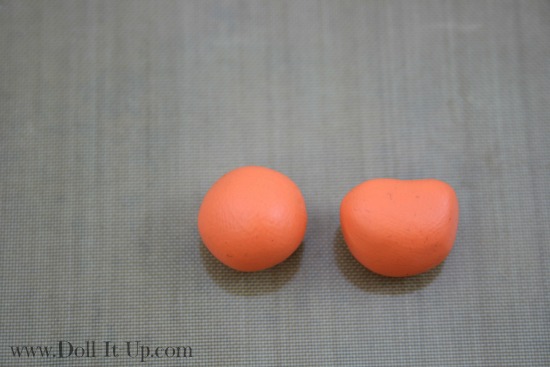
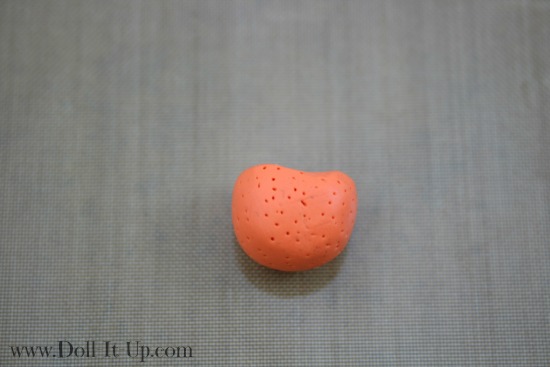
Roll a ball of orange clay between your palms. With a clay rounding tool or your thumb, press the top a little flat. Make an indention in the middle of the flat side.
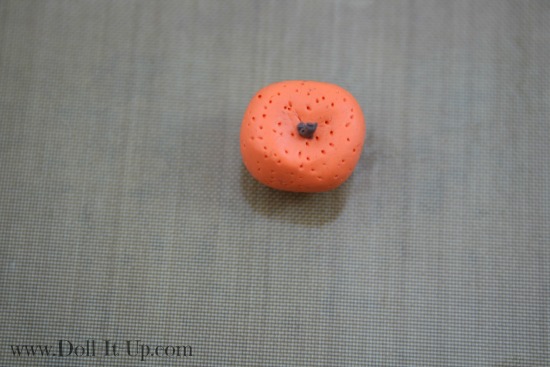
Add details and poke the orange with the Needle End Pointer tool or a needle.
Roll a tiny piece of brown clay for a steam. Gently press it to the top in the middle of the indention on the orange. Set the orange aside to bake.
Celery
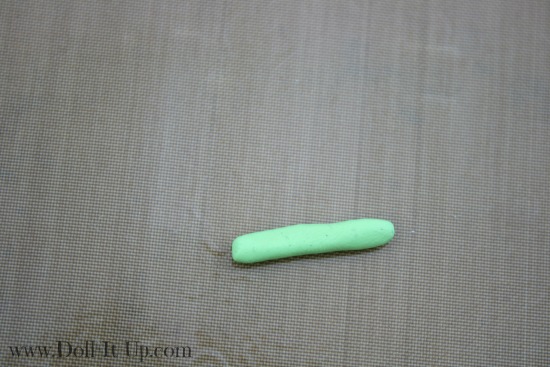
The pack did not come with light green. I mixed the yellow with a little green to make a celery color. Roll out a “snake” of light green clay. Trim the ends and round them against your hand.
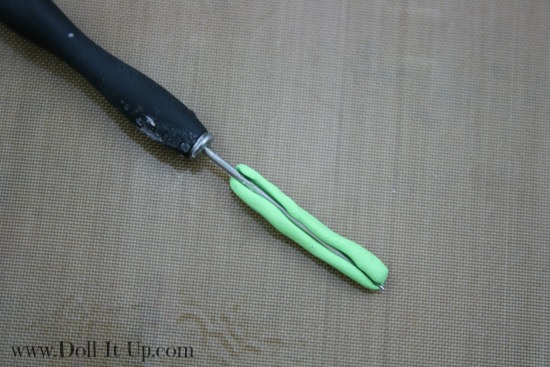
To create the crescent shape of the stalk, use the Needle End Pointer tool or a thick needle. Gently press it into the side of the clay. You want the tool to sink into the clay. The sides will come close to touching on top. To widen the space, roll the tool from side to side.
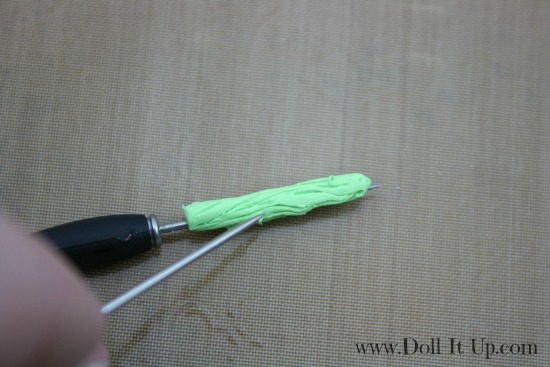
With another Needle End Pointer tool or a needle, add stripes on all sides. Poke the ends of each stalk to add detail. Gently pull the celery off the tool and set aside to bake.
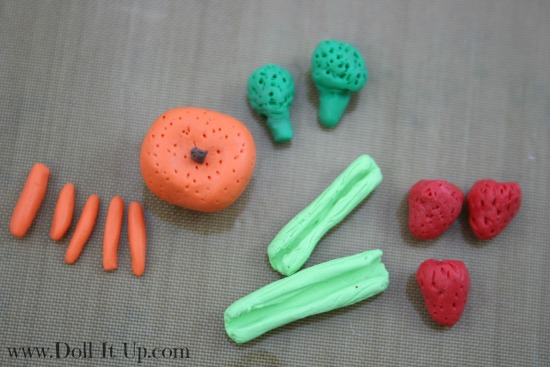
Preheat the oven to 275 for the Sculpey Bake shop clay. Bake it for 15 minutes. Add 15 minutes for every 1/4″ in thickness. This doll size food hardened in the oven in just 15 minutes!
Remove from the oven and allow to cool and it’s ready for play!
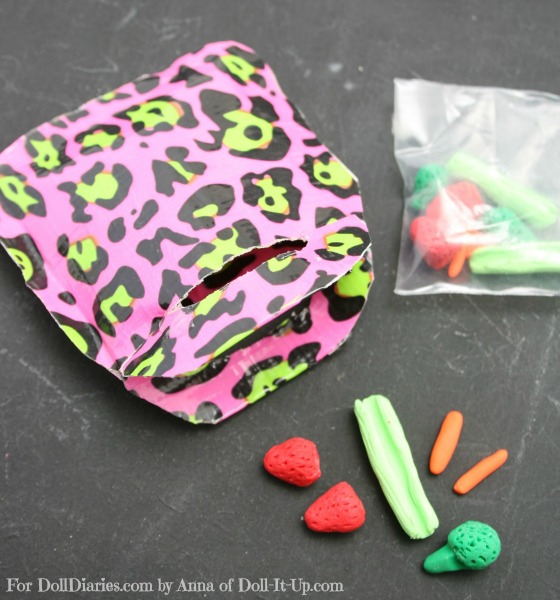
These little snacks went perfect with the insulated lunch bag that I made for Doll Diaries. Check it out here if you want to make one for your dolls!
Clay is a great medium for making your own doll food. With a the Bake Shop variety pack you could make any doll food!
-Anna
Disclaimer- I received the Sculpey products to create with. As always all ideas and opinions are my own!

cute! i cant wait to make these to go into my dolls insulatined lunch boxes!!!
They are a quick make and fun!
Thanks so much for sharing your creations! I bought some Sculpey when it was on sale late last year. I had these types of projects in mind (doll food). I haven’t had a chance to work with it yet, but maybe I’ll get some time this week.
I think clay is great for doll food! Enjoy!
Cute! I will definitely do this! 🙂
Thanks Ella!
Super cute!!!!
We made dolly food out of this same clay. We made pizza, chocolate, and blueberry pie slices, hot dogs, chocolate chip cookies, and dark chocolate chip cookies. We also made hamburgers and sandwiches. There is all kinds of food you can make with clay.
It sounds like you have made some fun things with the clay! I love how the possibilities are endless!