Warning: This project should be done with adult supervision. The materials can be sharp and precautions should be taken to ensure safety. Removing the top and bottom of the can is the most hazardous step and should be done by an adult.
I first heard about these soda can flowers from my niece, and boy are they cute! The shiny colorful metal has a unique look all it’s own.
We tried our hand at them one day when we had the cousins over. I’m sorry I didn’t take pictures of us creating all things aluminum because it was a great memory. 
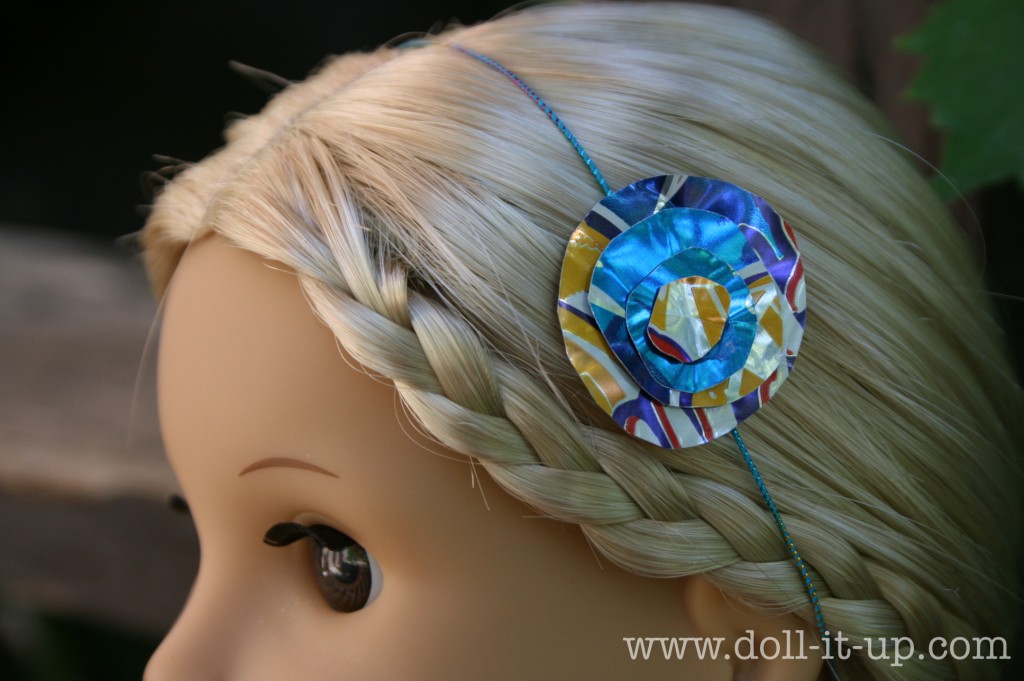
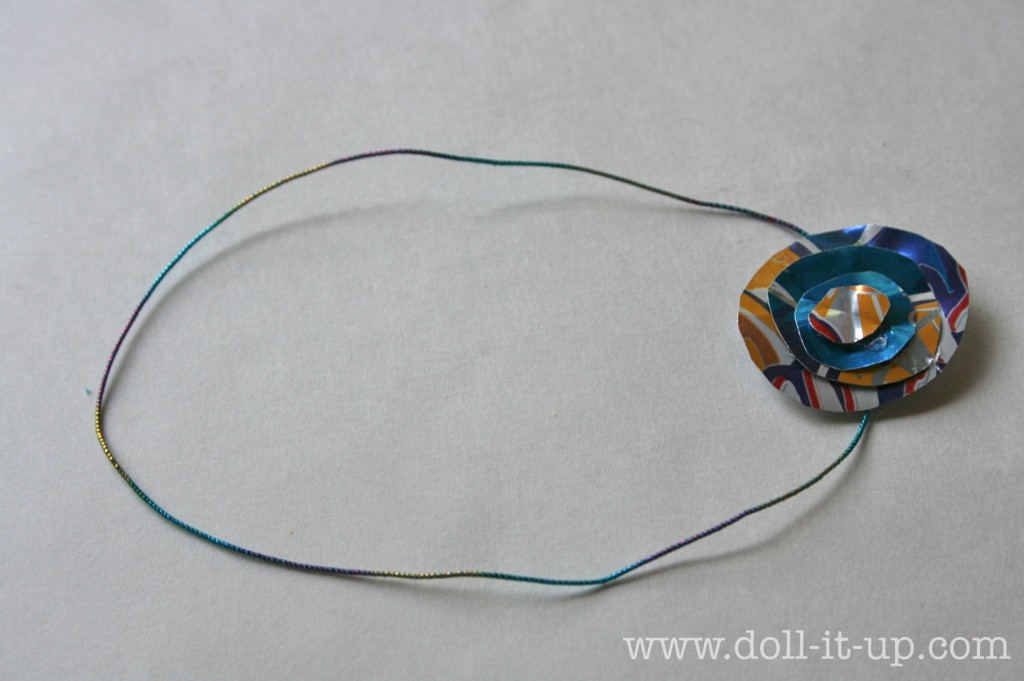
This is what I made the next day when the designers went home and/or were still in bed. It is based off of what my niece made for her doll after she had tried several intricate designs for her own head.
So simple and so cute!
Before we get started I have to show you my boys’ creations. I did take a moment the next morning to take pictures of what they made. I have to say I love doing projects with kids. I really truly do. I think when my kids are grown and gone, and if I don’t have grandkids close by, I’ll be inviting the neighborhood kids over for “all things aluminum” day.
Here is my younger sons’ boat that he did “experiments” in the bathroom sink with while the others were still creating. He would periodically run out and announce some of his findings. Love it.:)
FYI, it was very hard to cut the can this way so I do not recommend it unless you wear leather gloves.
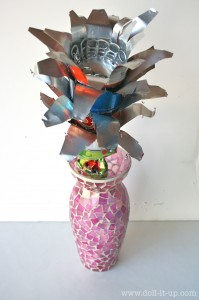
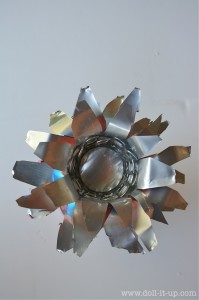
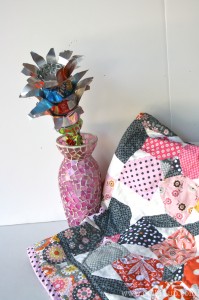
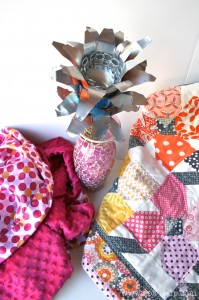
This is what my older son made.
We brainstormed some ideas and I suggested he make something for his baby sisters’ room.
He came up with this, and I’m glad he did because it looks awesome with her colorful bedding.
Now back to the headband! Lets get started!
What can I say, this was the last can left of the dozen or so variety we started with. Nice bright colors to work with.
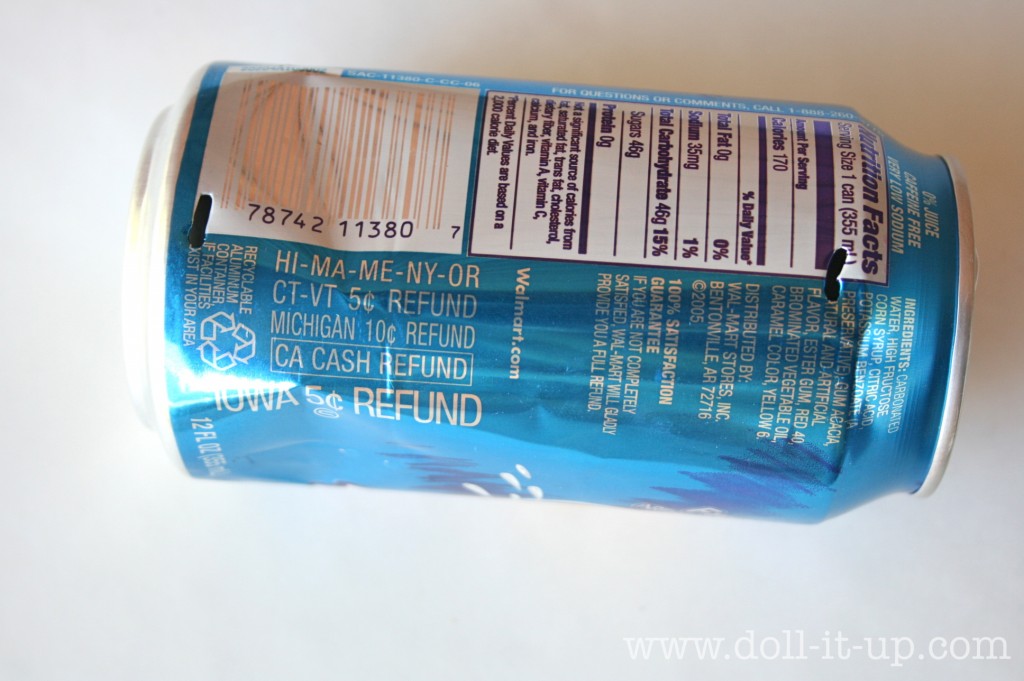
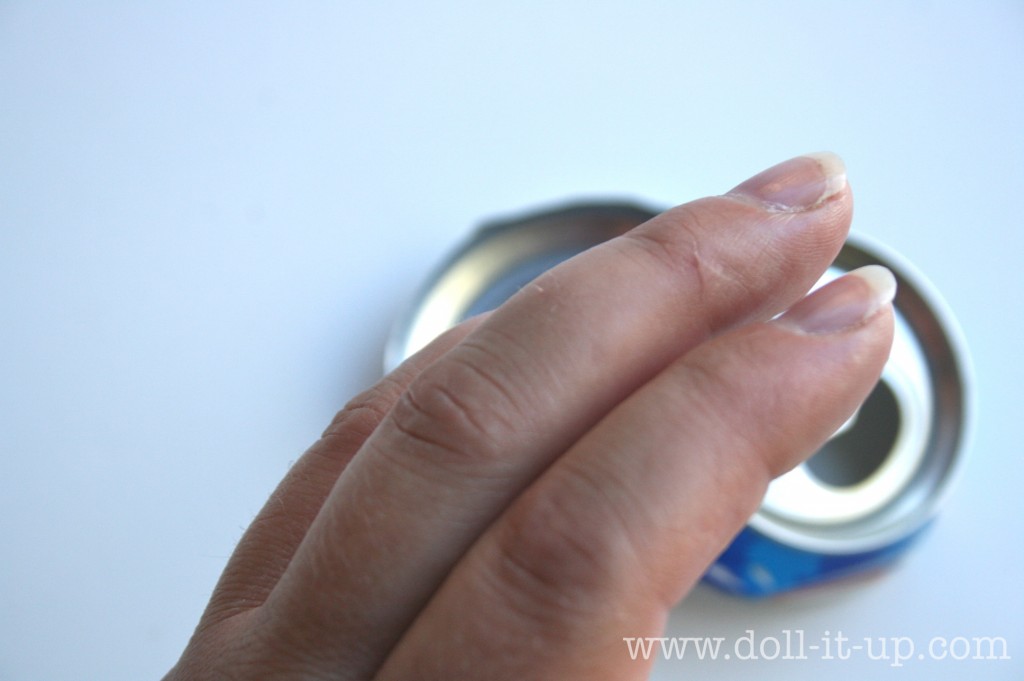
Poke a hole near the top and bottom of the can with a sturdy needle. 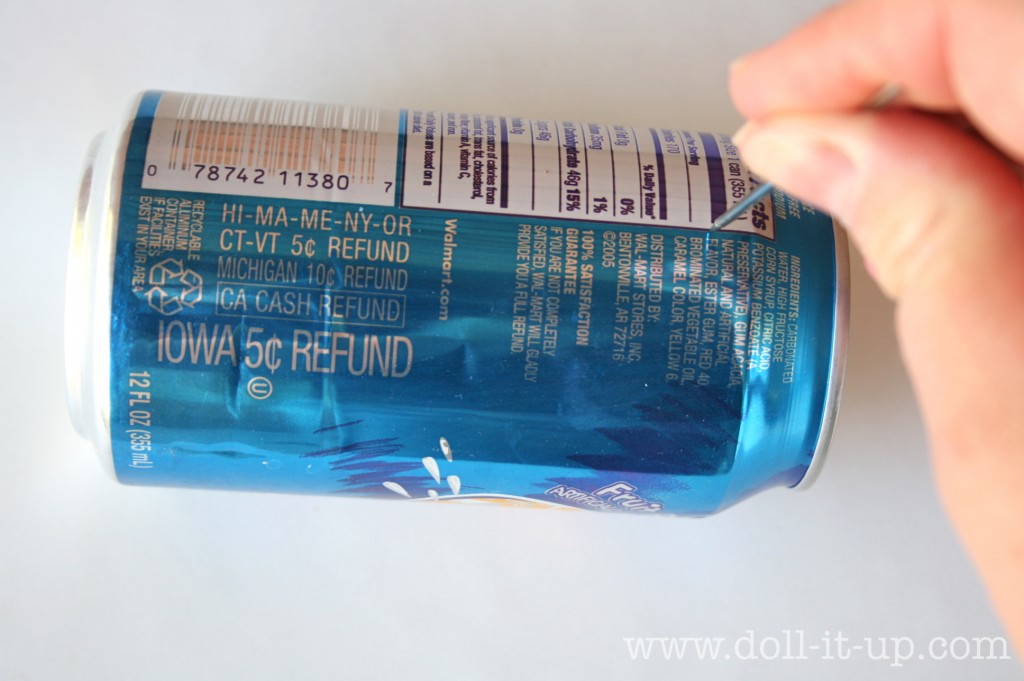
Place the hole where the aluminum is thin.
Wiggle and pull the needle to stretch your hole so scissors will fit into the openings.
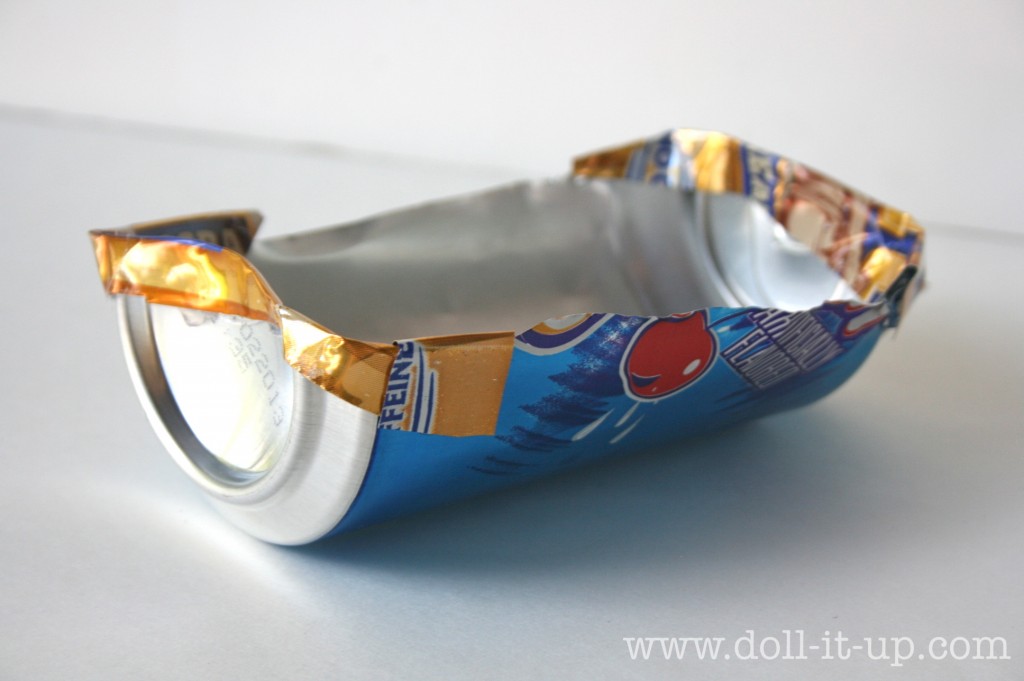
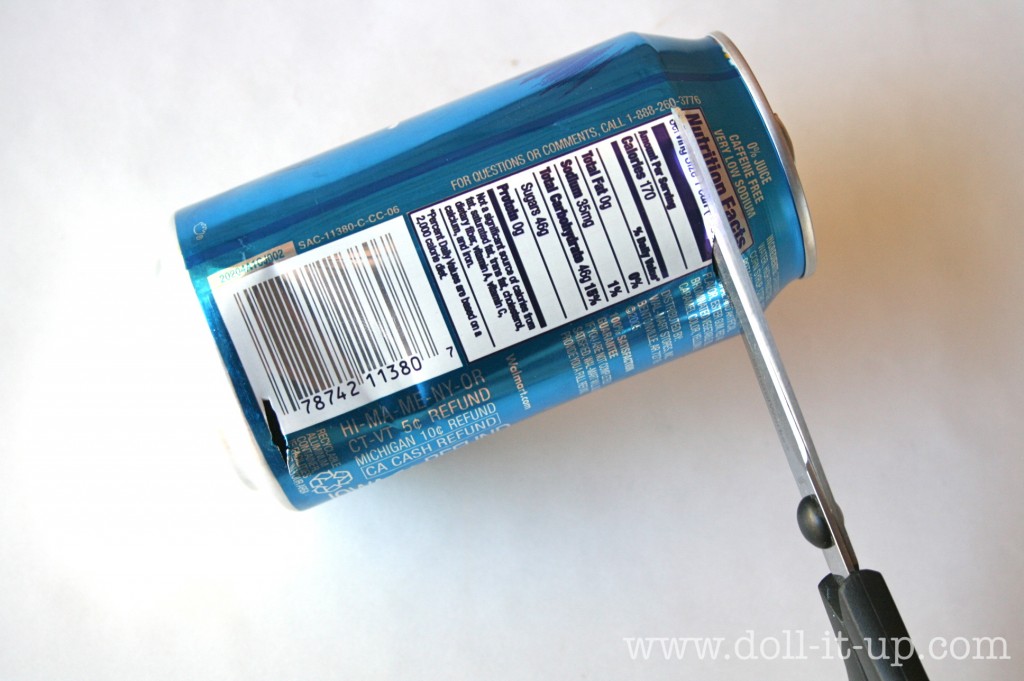
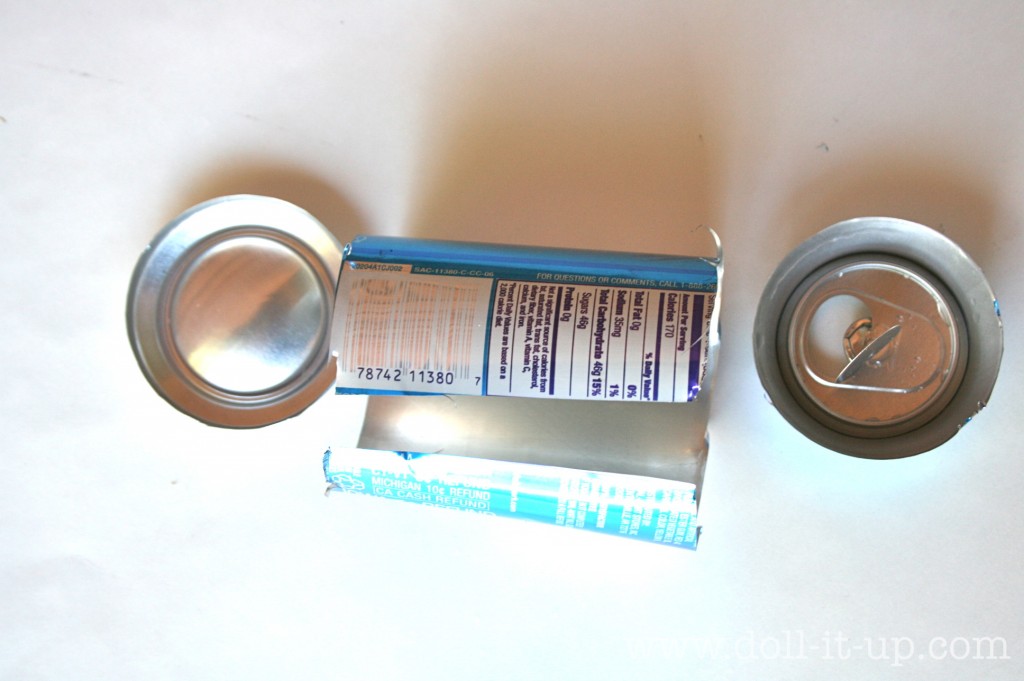
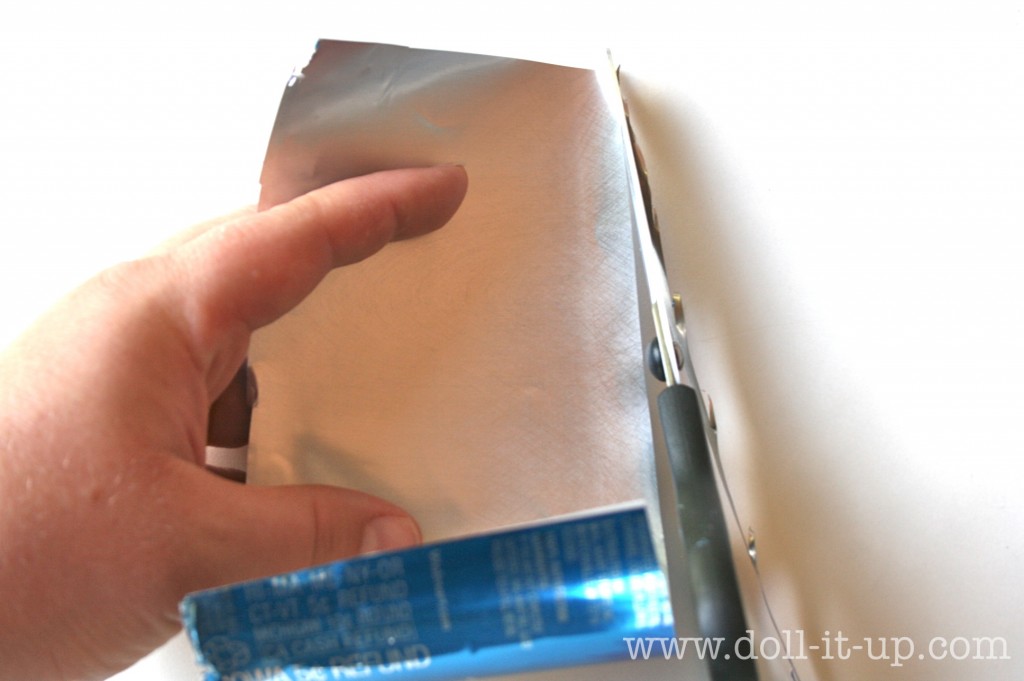
Cut the top and bottom off.
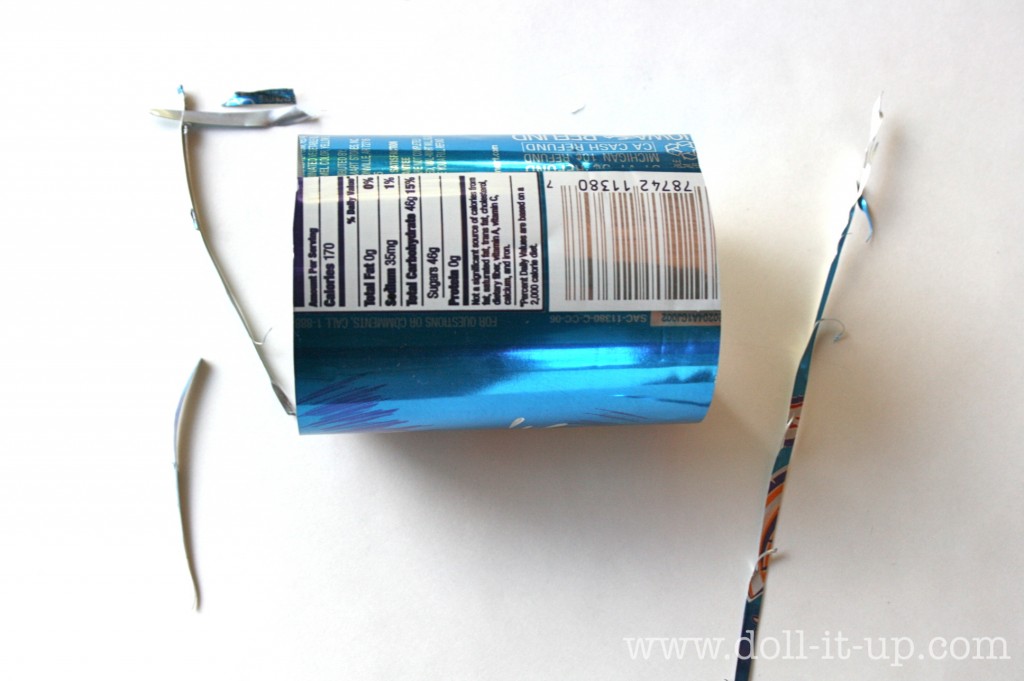
Split the can down the middle.
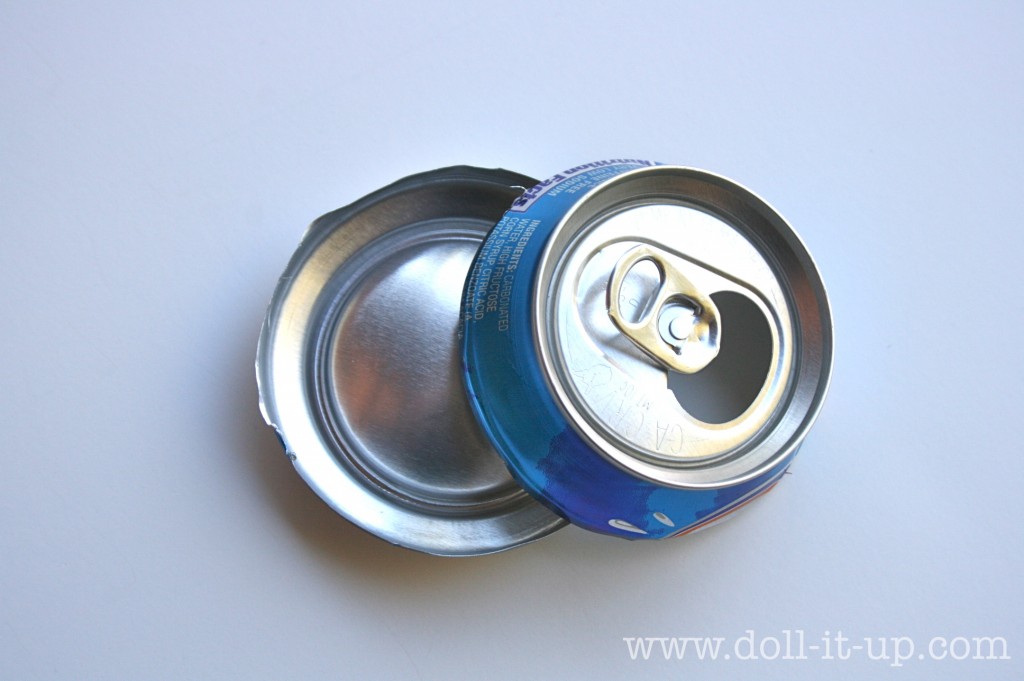
Now a word of caution about the top and bottom of the can. The aluminum is thicker here and you will get cut if you are not careful while handling.
I know this from first hand experience. Be more careful than I was in handling this part!
Trim off the jagged edge.
It will be much easier to handle and you won’t get poked by the sharp edges. Yes, I know about that too!
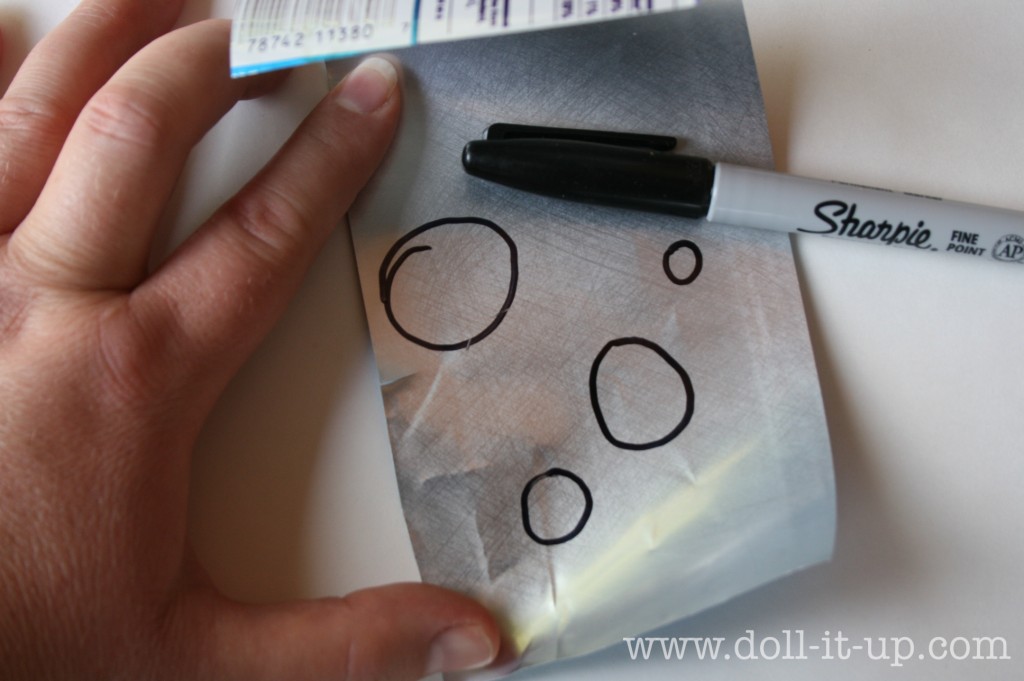
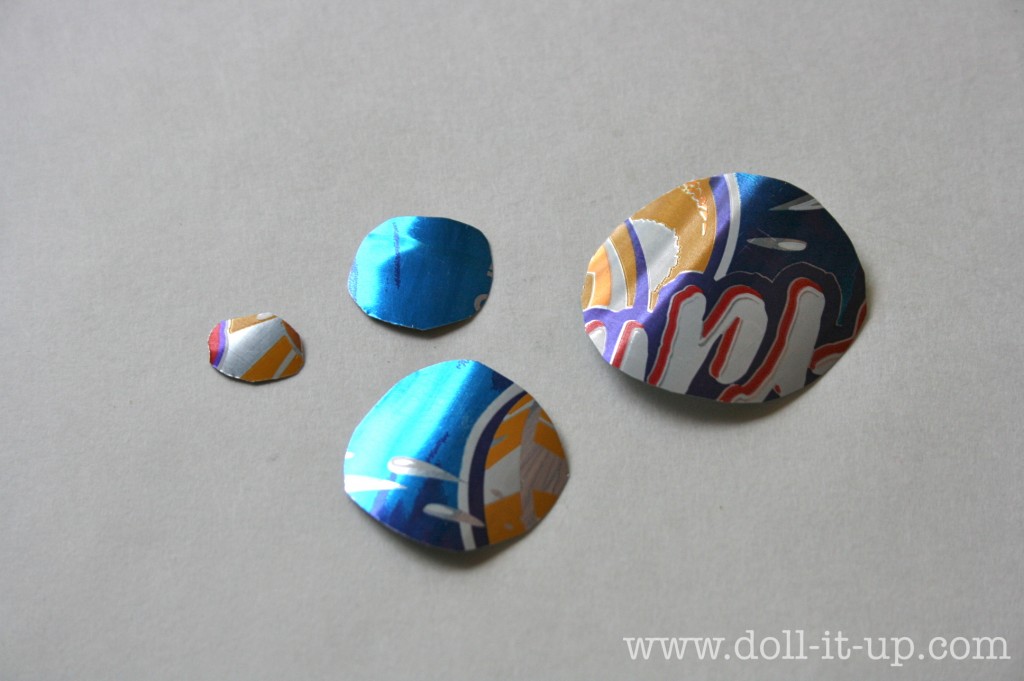
Draw a variety of circle with a permanent marker. I placed my circles over parts of the can I thought would be cute on the flower.
FYI: If you are doing this project with younger children you will want to prep the can up to this point, so they will not be exposed to the sharp edges.
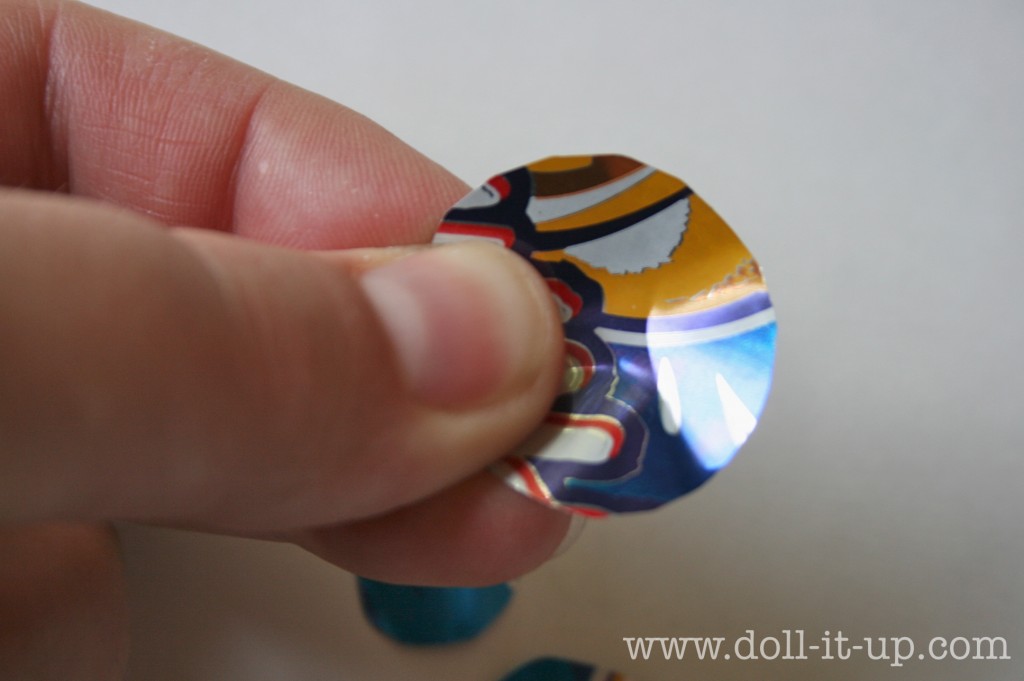
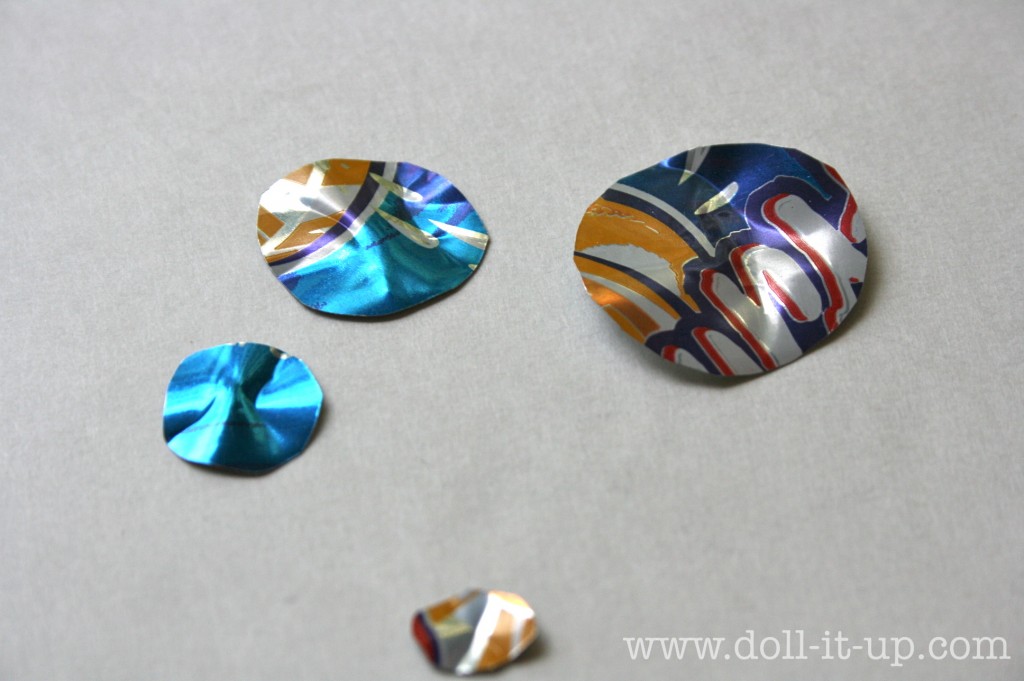
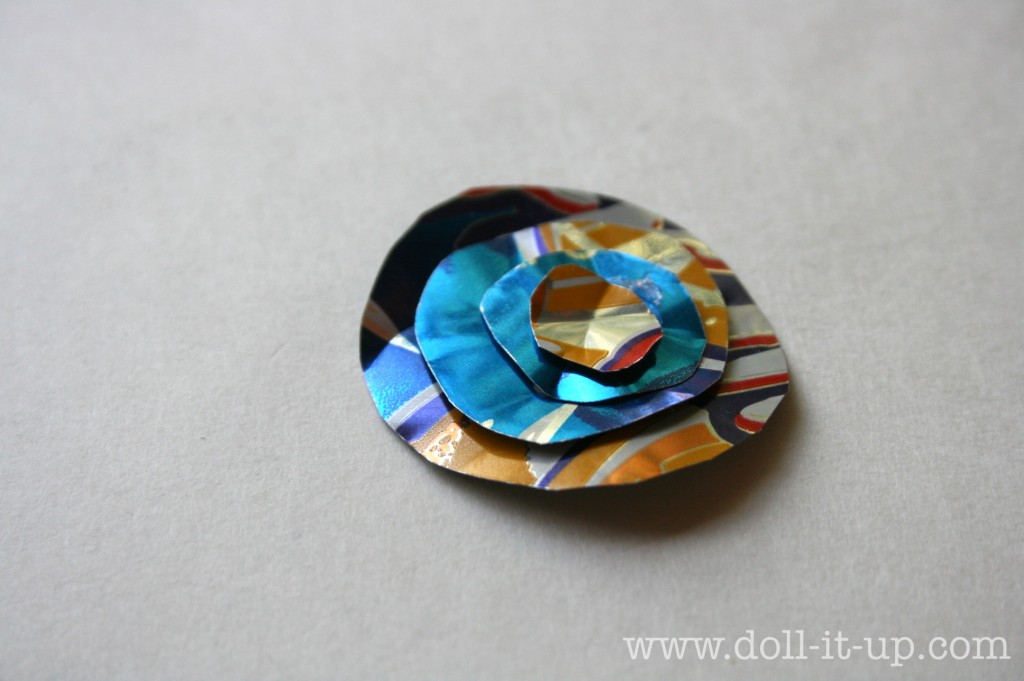
Bend the metal to give it more dimension.
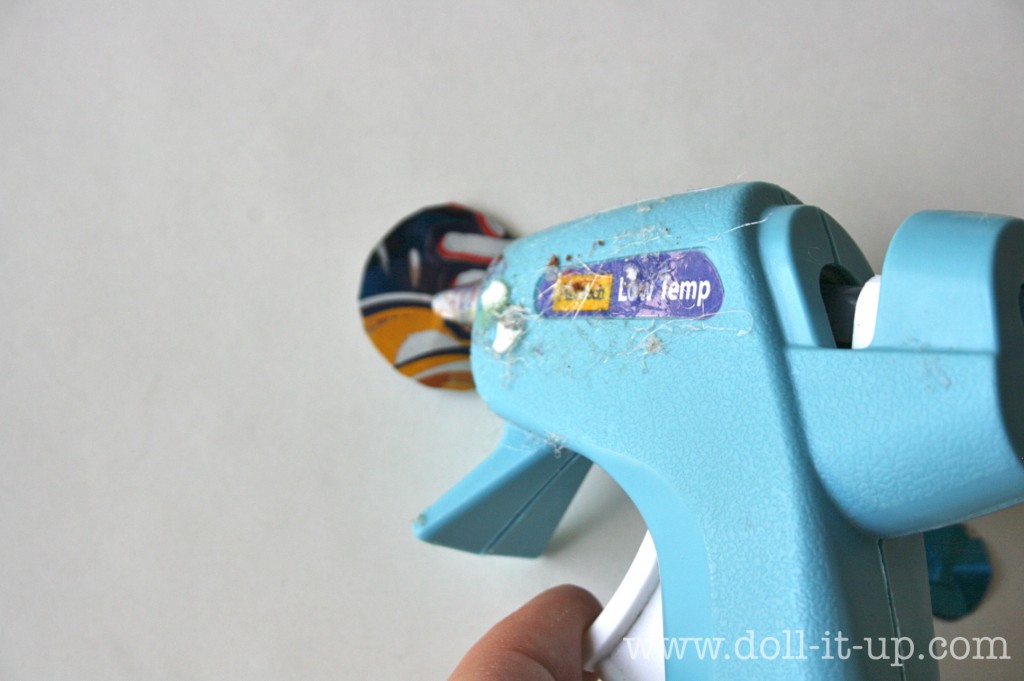
Get out your much loved glue gun and glue the layers together.
All stacked up and beautiful!
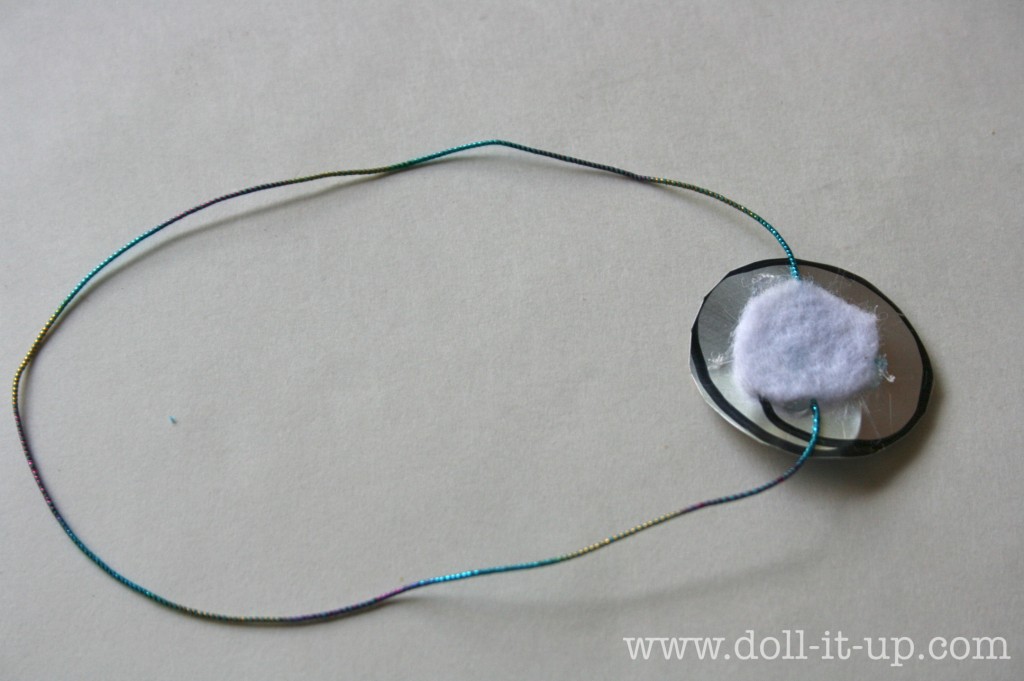
If you want a few more details about the elastic, I added it the exact same way I did here.
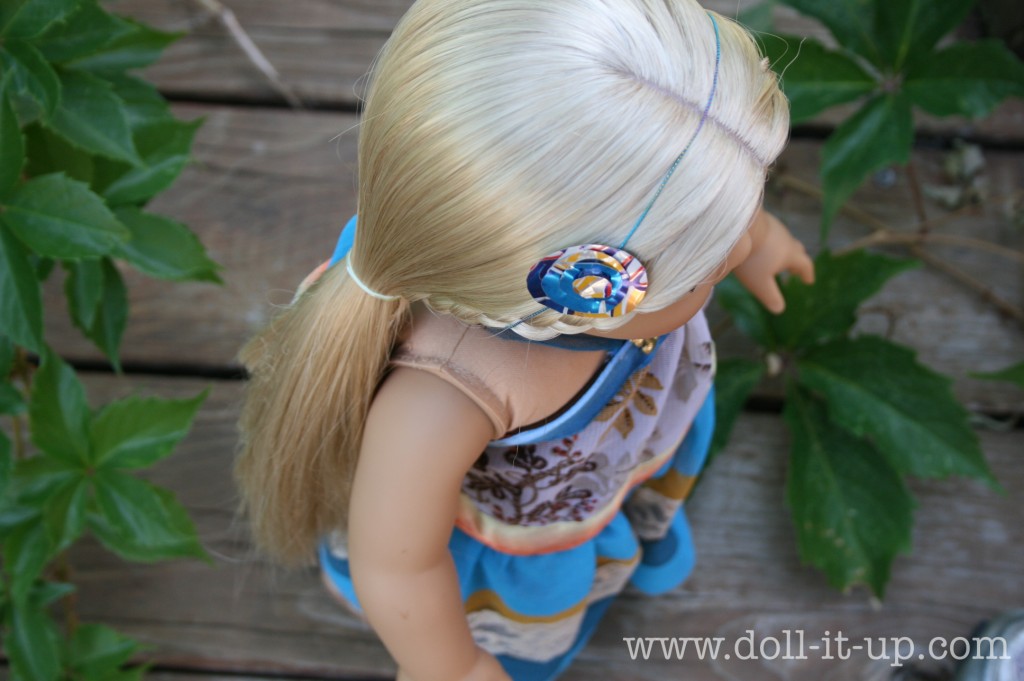
Now for the best part! Trying it on!
Now try it for yourself! Make a simple soda can flower or create something entirely new out of your next soda can!





hey !I was just wonder out of curiosity how do you get Caroline hair so perfect
Emily, To fix Caroline’s hair, I comb one curl at a time, combing in a spiral, following the direction of the curl. Hope that helps!