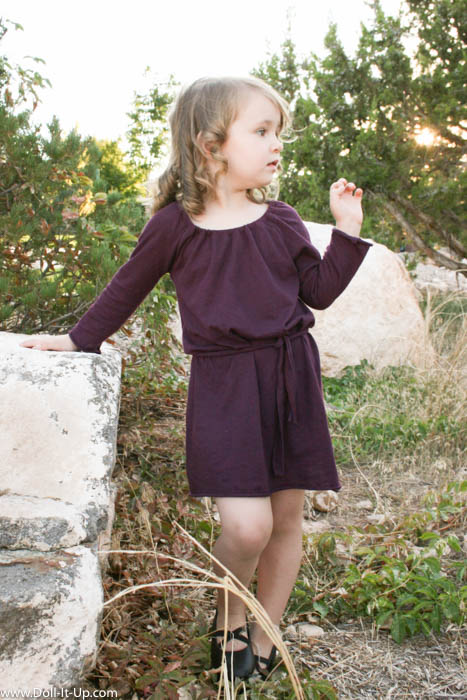
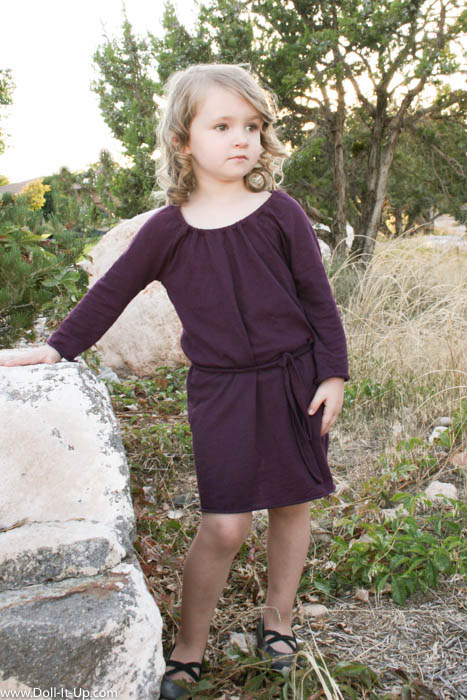
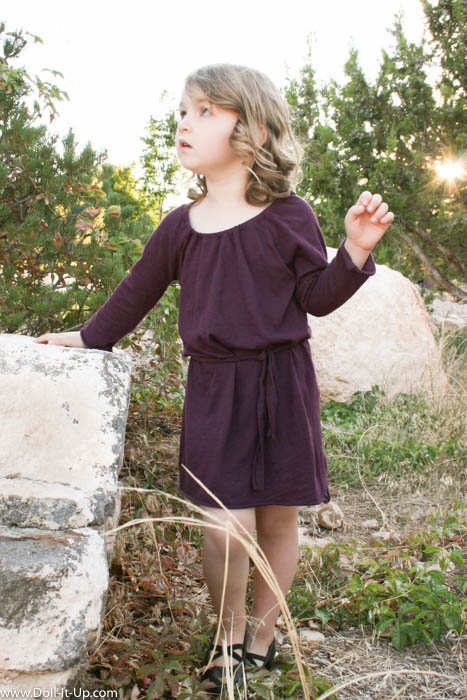
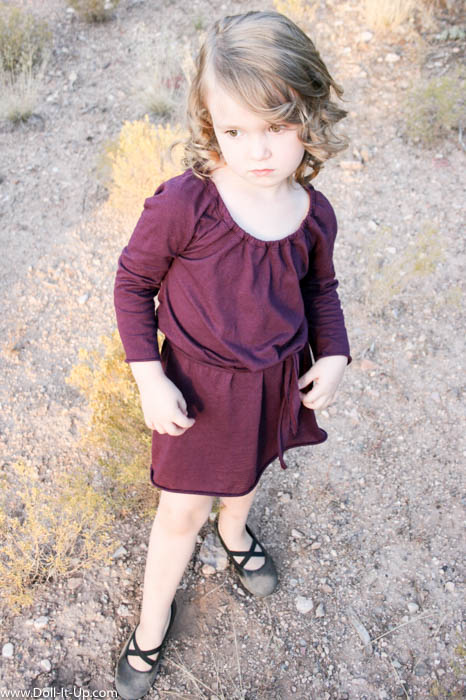
My baby is 3 1/2. I love all the stages but why does it seem to go by so fast!! I have to get out the camera and chase her around, capturing a few moments. It’s the only way I know how to make time stand still, for that very moment.
This little one has been watching over my shoulder at the sewing machine and she is thrilled and amazed with the transformation of fabric into something we can use. With all the sewing for dolls I’ve been doing lately she is also getting the hang of dressing her dolls and enjoys changing them for bed, for the ball, and to go to school.
One day she asked if I would sew her a dress to wear. Yes, yes, yes, baby, I’ll sew for you!
This week we were taking family pictures and she is the only one that still needed something to wear. We live in a small town where shopping is limited and I wasn’t ahead of the game enough to order online!
A women’s shirt caught my eye at the store, it was a perfect deep purple and just what I had in mind for our family pictures. That is where an idea was born. I took the leap, bought a woman’s shirt and stayed up into the night sewing it into a dress for my baby. (Yes, the middle of the night because that’s when a mother can get her creativity on. No, not because this dress takes very long to make!) (Yes, she’s my baby. No, don’t tell her that, she thinks she’s big stuff!)
I showed it to her the next morning and she said “I’ll wear it everyday”. In other words, I love my new dress! 🙂 Ahhh, melt my heart!
She loves dresses, so I picked up another shirt yesterday in her favorite color, pink, to sew into a dress. I’m thinking ahead with the seasons changing and I think this style will be perfect with tights or leggings for the winter.
I sew a lot for dolls around here, but I’m taking the leap that some of you sewing for dolls may also be sewing for little girls. If that’s you I have the quickest, simplest little girl’s dress ever! If that’s not you, I hope you don’t mind. 🙂
When it comes down to it, this little one is my real life baby doll and and I’m soaking her up right now!
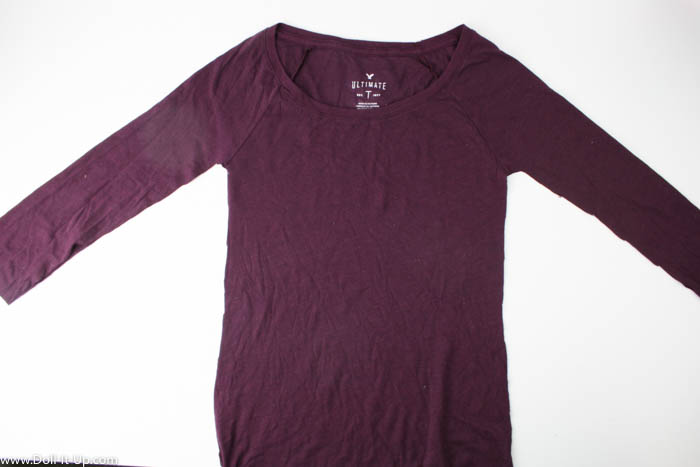
This little dress works amazingly with a certain style of women’s shirt. Don’t let that intimidate you because looking on the clothing rack at just one store I found a handful of shirts in different colors, brands and patterns that would work for this sewing project. You may even have one of these shirts in your giveaway pile or find one for cheap at the thrift store.
Let me show you a few things you need to look for in the women’s shirt and you will be off and running, this project is that simple and that quick!
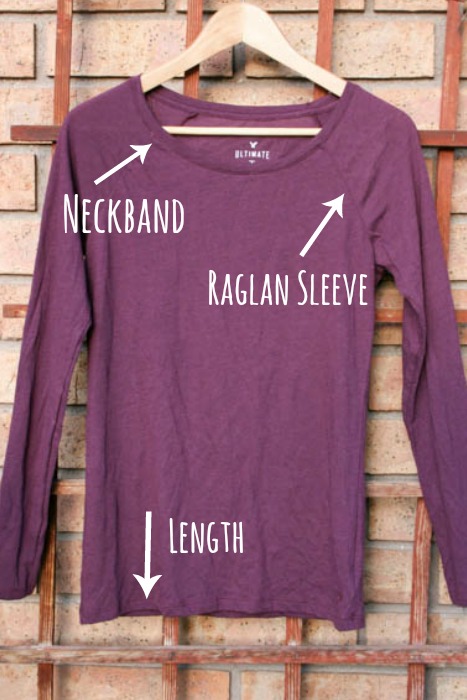
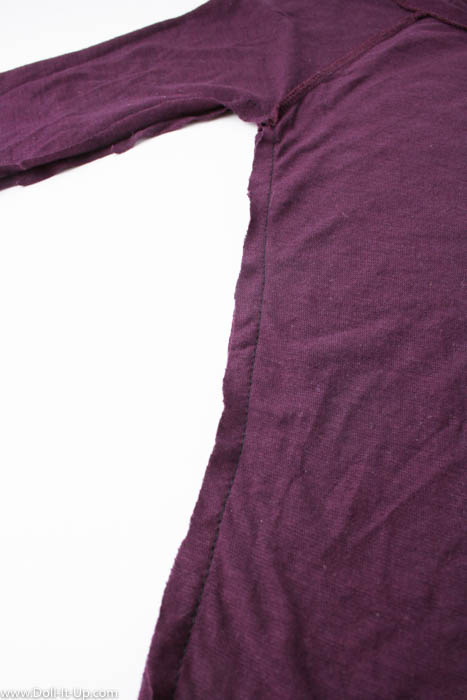
1. Raglan Sleeve
A raglan sleeve is attached at a diagonal, directly to the neckline. The raglan sleeve makes it so easy to cut down the women’s shirt into a girl’s dress!
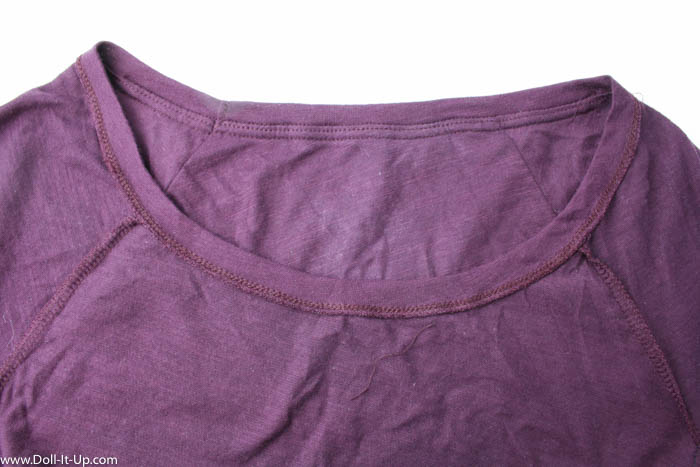
2. Neckband
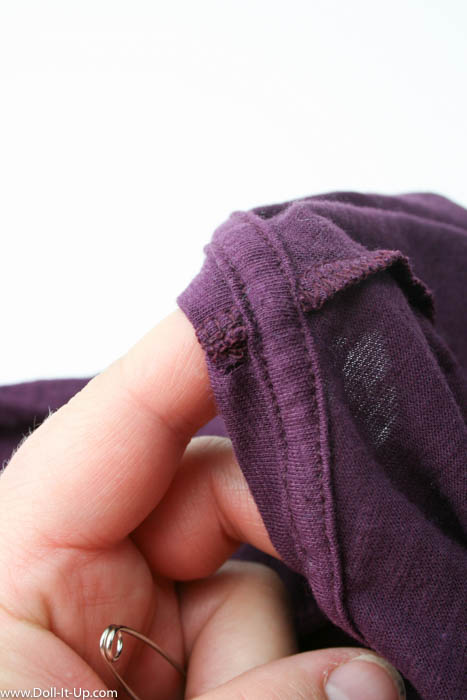
A neckband is used to finish the neckline of a knit shirt. It is essentially a piece of fabric folded in half and sewn to the neckline. Place the neckline between a finger and thumb, rub them together and you will feel the two layers of the fabric shift. The neckband is going to act like a casing for the elastic that we will use to shrink down the neckline. Take a close look and make sure the casing is open and free to thread the elastic through. It should only be closed off where the two ends of the neckband are sewn together.
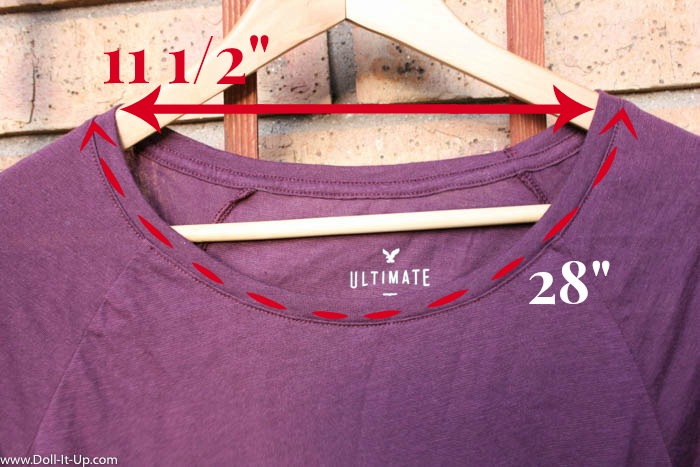
3. Neckline Width
The neckline width needs to be larger than the child’s neckline. For example the women’s shirt I am using is 11 1/2″ wide and 28″ around the whole neckline. We are shrinking the neckline down with elastic. My finished neckline for a child is 8″ across and 20″ all the way around. The specifics don’t matter so much only that there is a difference between the measurements. I would plan for at least 2″-4″ difference across the neckline and at least 6″ difference around the neckline. (For example the difference on my project was 3 1/2″ across the neckline and 8″ around the neckline.) I hope that makes sense!
4. Length
Check the length by holding the shirt next to the girl you are sewing for. (Or measure from the shoulder to where you want the dress to fall and compare the measurements to the shirt.) You need to see whether you will need to shorten or lengthen the shirt for a dress.
Make a Girl’s Dress from a Women’s Shirt
Supplies:
- women’s shirt with a raglan sleeve and a neckband at the neckline
- child’s shirt that fits comfortably, not too loose and not too tight
- extra knit or cotton fabric (only if you need to lengthen the dress)
- elastic
- scissors
- sewing machine
Sizing Note
The shirt I am using is a women’s size medium. My daughter is tall for her age and wears a size 5. As you can see, depending on the size of the women’s shirt, this dress can be sized for a variety of girl’s sizes!
Women’s Shirt Details
Let’s take a look at the women’s shirt you are using and make a plan.
- neckline width– I show the instructions using a women’s shirt with a wide neckline. We will fold the child’s shirt in half, matching up the edges of women’s neckline with the edges of the child’s neckline. That ends up adding extra fabric in the center, making the dress drape. Of course the neckline of women’s shirt can vary, and the only neckline that will not work for these instructions is a small/narrow/high neckline. In order to use this kind of neckline you would have to add fabric to the sides to adjust the shape of the dress for it to fit. This is not complicated but will take some figuring out, so if you are up to making the adjustments, go for it, it’s totally do-able, just not what I cover in the instructions!
- shirt length- The women’s shirt I am using is too long and I cut it to a length that works for a girl’s dress. If your women’s shirt is too short you have a couple of options. 1. You can take out the hem of the shirt to add length. 2. You can add a fabric band at the bottom of the dress out of knit or cotton fabric. (Or use fabric from another t-shirt.) I think a coordinating color or print would be fun. I just might have to try a panel next time, it sounds too cute!
Getting Started
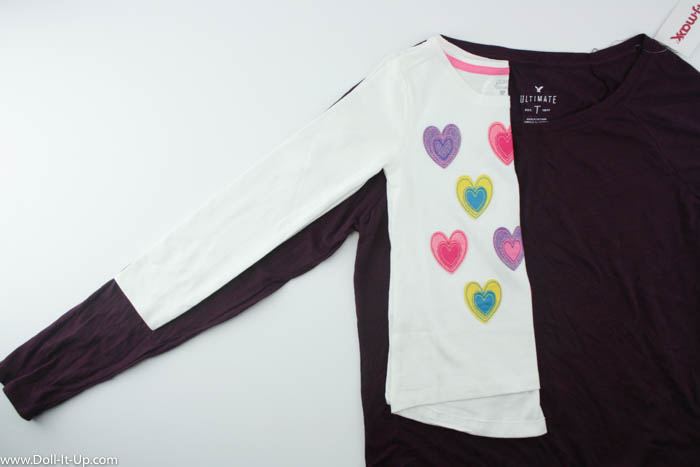
Lay out the women’s shirt flat with no wrinkles.
Fold the child’s shirt in half.
Line up the edge of the neckline and sleeve on the child’s shirt with the edge of the neckline and sleeve on the women’s shirt.
Before you cut, take a look at the shape of the child’s shirt you are using as a guide.
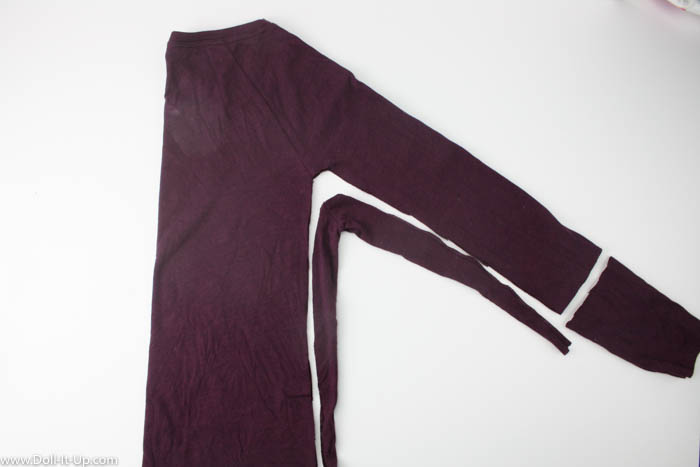
- shape and width-The child’s shirt I’m using flares out, so I am following the angle of the shirt to continue down for the skirt shape. If your shirt is fitted and straight, add a few inches out from the bottom of the skirt and cut the sides at a slight angle from under the arm to the skirt bottom.
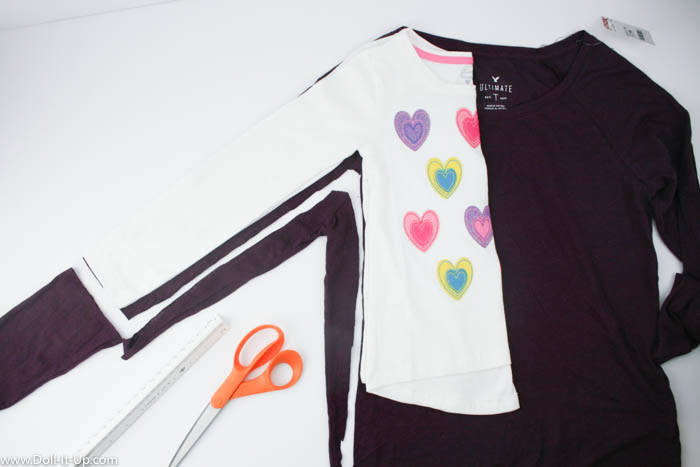
Since I’m adding a flare to the sides of the dress and there is already extra fabric added to the width of the overall dress I am not adding a seam allowance to the side seams. I was worried I was going to have too much fabric in the width of the dress. If you decide to add in a seam allowance on the sides add 1/2″ to each side.
For the sleeve I cut a 1/2″ seam allowance and rounded it to the side seam.
The sleeves on the girl’s shirt are too long on my daughter. I also want to leave the sleeves with no hem, so I cut the length with no seam allowance. Depending on the fit of the sleeves you can add length at this point.
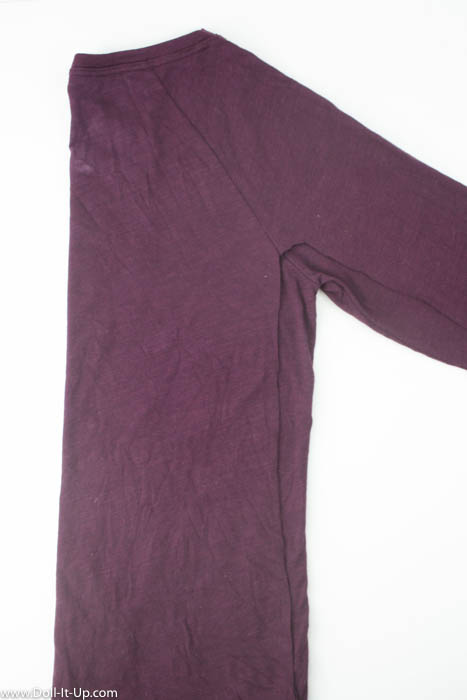
Remove the girl’s shirt and fold the women’s shirt in half. Line up the neckline and upper sleeve edge and smooth out any wrinkles.
Use the cut edge as a guide to cut the second half of the women’s shirt.
Open it up and we have the basic shape of the girl’s dress. We need to stitch up the side seams and shrink down the neckline with a little elastic.
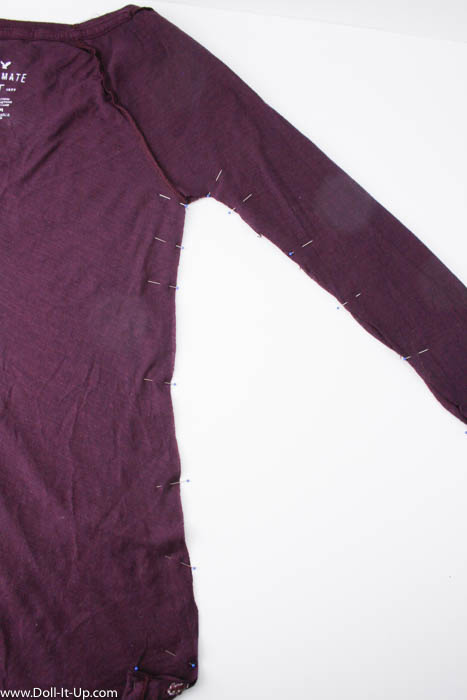
Turn the shirt inside out.
Pin the side seams and sleeves.
Stitch with 1/2″ seam allowance.
The Neckline
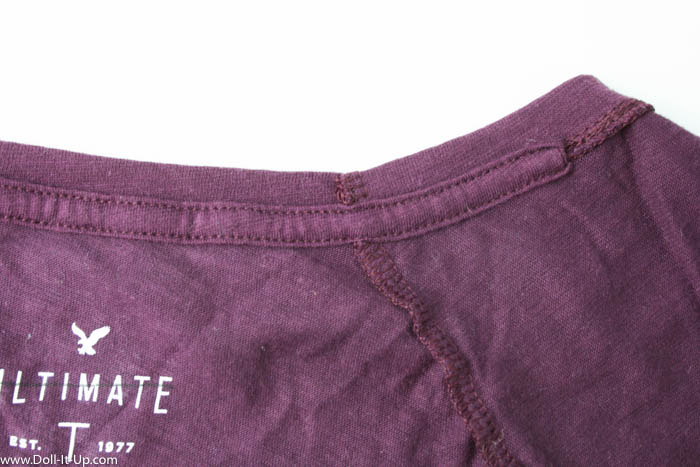
Now to shrink down the neckline. We are going to use the neckband as an elastic casing. To add the elastic we need to open up the neckband. Take a closer look below at the neckband construction. You can see the neckband is sewn together in the back along the raglan sleeve line.
Turn the shirt inside out.
At closer inspection this shirt is constructed in such a way that it is a hassle to open the seam on the neckline. Opening the seam, inserting the elastic and closing the seam back up would be a neat and clean and perfect.
I’m taking a short cut, because I like short cut and besides I don’t think this shortcut will be noticeable, once the dress is on.
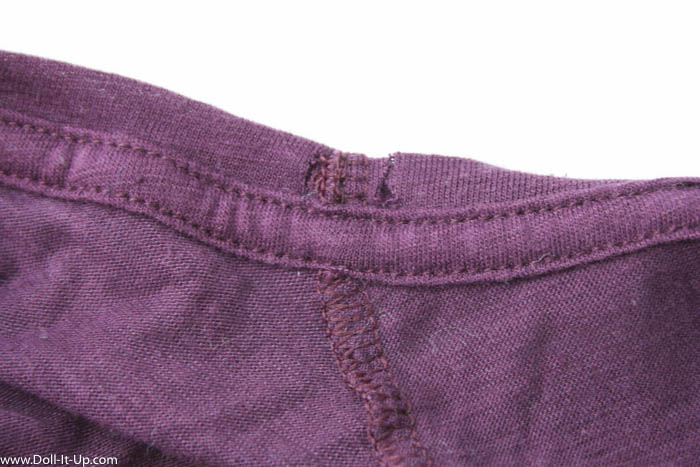
I am making a little slit in the neckline on either side of the seam.
To make the slit, pinch the neckband so you only cut through the back of the neckband and not on the front as well!
Here is the slit on one side of the seam.
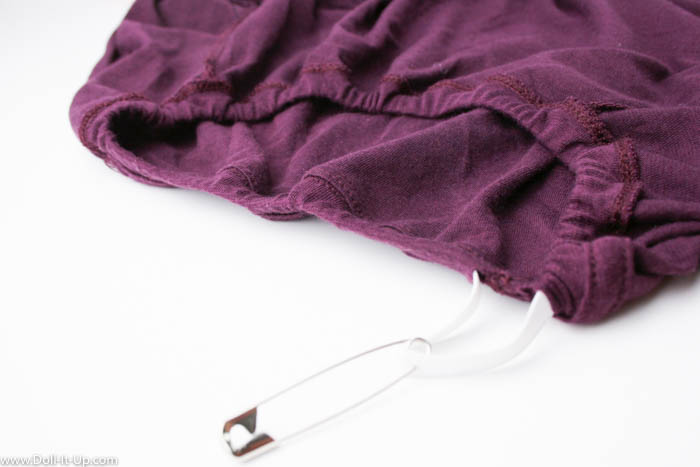
With slits on both sides of the seam we can thread the elastic.
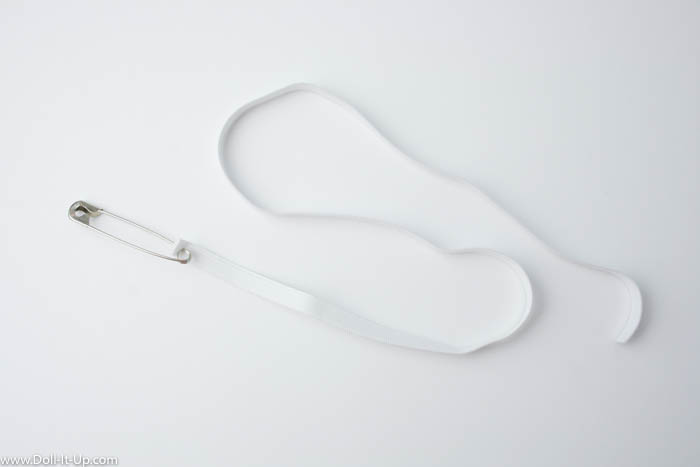
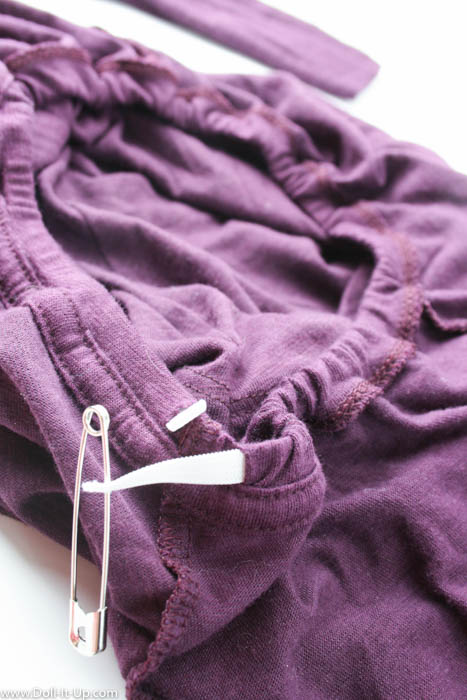
I measured and cut the elastic length to be the same length as the child’s size shirt. Add a safety pin to one end and thread it through the casing.
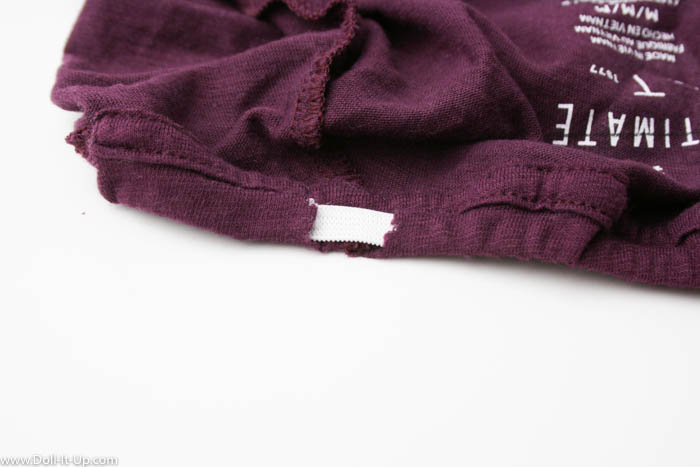
Leave each end of the elastic sticking out the slits in the neckband.
If you want to check the fit of the neckline at this point you can pin together the two ends of the elastic and have her try it on. You can always pull the elastic tighter if you want the neckline smaller. Of course, I’m sewed mine in the middle of the night so my model was fast asleep. I just stuck to the measurements of the shirt I was using as a guide. After all, I knew it fit and it worked out great!
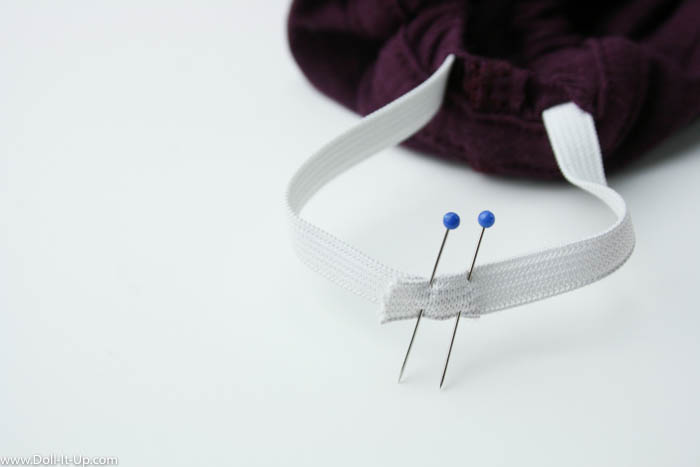
When you have the elastic length right, pin together the ends, one on top of the other.
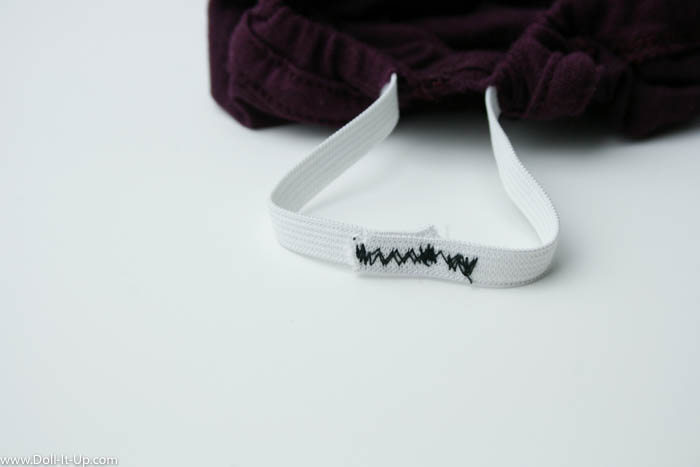
Zig zag stitch through the two layers a few times to securely hold it.
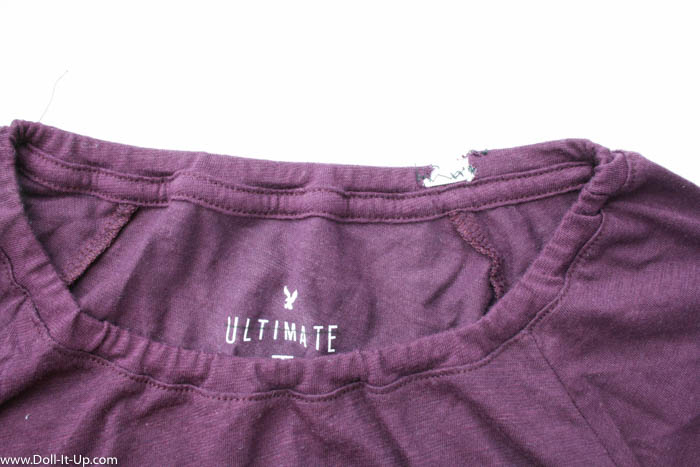
Adjust the elastic evenly around the neckline. As you can see the elastic peeks out on the inside of the shirt.
The elastic draws up the neckline just enough to transform this from a women’s t-shirt into a girl’s dress!
Adding a Tie
The dress is cute with or without the tie! If you want to add a tie at the waist, use a scrap from the sides we cut off or use a scrap of knit fabric in a coordinating color.
The Dress Length
The women’s shirt I used had plenty of length. I cut it straight across the bottom so the dress falls right at the knee. When I added the tie it shortened the length a bit. If you need to ADD length to your dress add a panel at the bottom. The panel should be added at the end, after the shape of the dress finished. You can use a knit fabric or a cotton. Fold the fabric in half and lay it at the base of the dress. For the width use the shape of the dress as a guide to continue the skirt sides down. For the length, just add the inches you need for the dress. Sew the sides of the panel together first. Then sew the panel to the end of the dress with right sides together. You can leave the bottom unfinished if you are using a knit and hem it if you use a cotton.
This dress was so quick, easy, cute and inexpensive to make! I know I’ll be making a few more of these soon!
I hope you enjoy making this little dress for a sweet little girl in your life!
-Anna




Great tutorial! Great to see more posts here! 🙂
P.S. I’m having a giveaway!!!!!
Allie D.
http://www.spreadingmyjoy.blogspot.com
Thanks Allie!
Wow what a great idea, I am going to try and be brave and make a dress for my younger daughters, wish me luck.
You should Katie! You’ll love how easy it is to make! I want to see pics if you make it!