Happy Halloween! Sorry for the confusion if you came earlier and this post was live and then NOT! I accidentally posted it before I finished writing it! Oops! 🙂
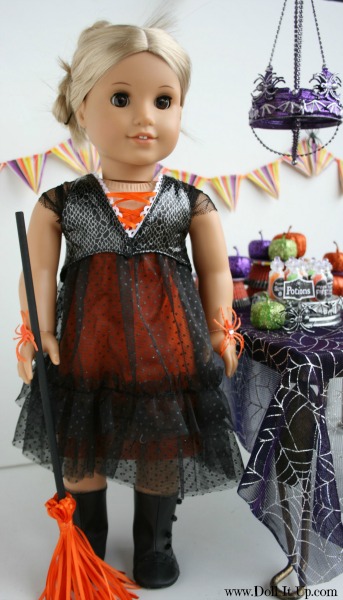
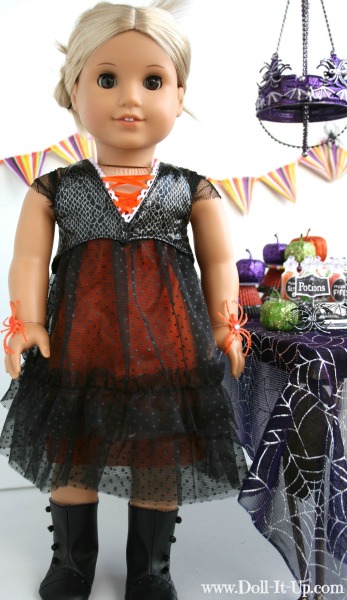
Yikes, the month flew by and I didn’t get my favorite Halloween project out the door until today, October 31st! I was hoping to share it earlier so you could sew along and make your dolls {…or your daughter’s, niece’s, granddaughter’s, and neighbor’s doll 🙂 ) a little witch vest for Halloween!
The high waist style of the vest is cute over many styles of doll dresses, so there’s some versatility beyond Halloween! Change up the colors and fabrics and maybe the little vest can add just the right detail to a princess gown. A witch says Halloween to me, but you and your doll enthusiast might enjoy other dress-up attire for your doll year round. Maybe a little vest for a pirate (Argh! Check this one out! Adapt it for dolls of course!), a Scandinavian Christmas dress (A doll size version of this one would be so cute!), or a fairytale favorite like Little Red Riding Hood (A black vest with red ribbon laces, over a white shirt and a red skirt, like this one!). I’m just getting started! 🙂
If this screams only Halloween to you, you can simply “pin” the vest pattern to your Pinterest Halloween board for next year! 🙂
Now let’s get to the project!

I’ve been making and sharing repurpose sewing projects this past year on Doll It Up. Sewing for dolls for a number of years, I have been designing my own patterns almost from the start. Today I’m venturing out and sharing a pattern I designed and sewed for our dolls. It’s a printable pattern for this lace up doll vest.
Print the Doll Vest Pattern Printable and follow along with the step-by-step instructions on the blog to make your own!
Since the whole sharing-sewing-patterns-and-instructions thing is new to me, I would love feedback from those of you who give this pattern a try! (Did the pattern work for you? Did I completely confuse you? Ya, I would like to know! 🙂 ) I would also love to see pictures of your finished project, (or your own variation of this project) if you would like to share. You can reach me at Anna[at]Doll-It-Up[dot]com.
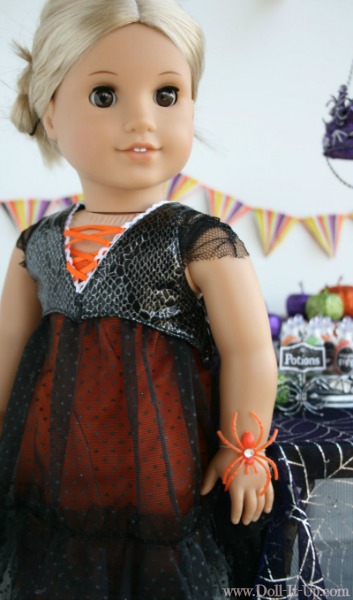
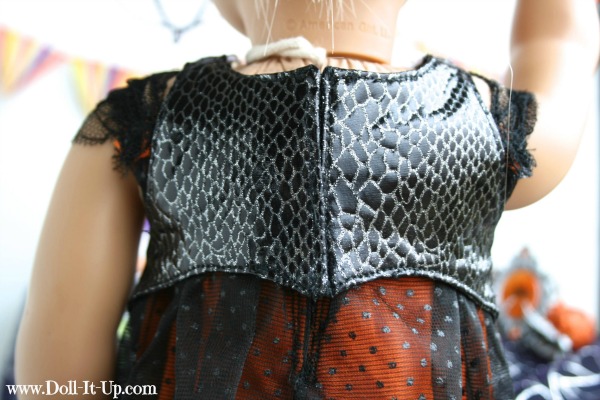
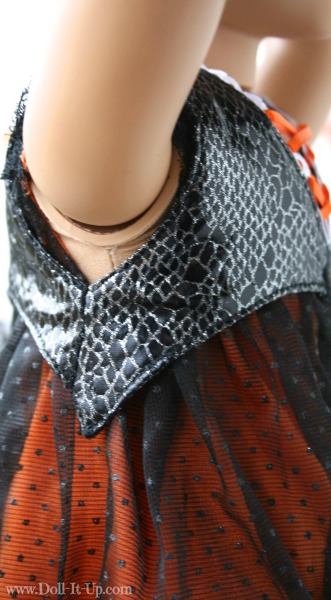
This little vest has a high waist design. The front and back meet at a slight point to add interest and shape.
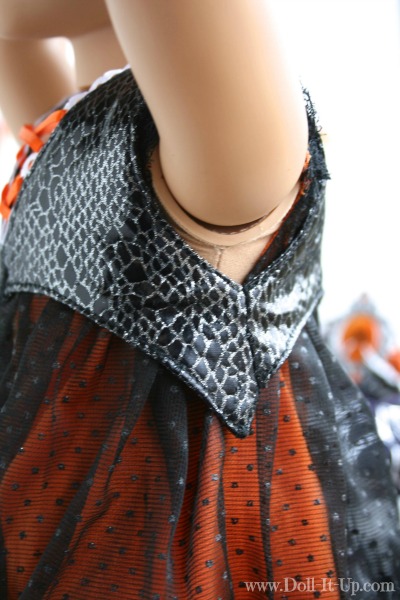
On the sides of the front panel, the vest dips down and swoops back up, joining the back panels.
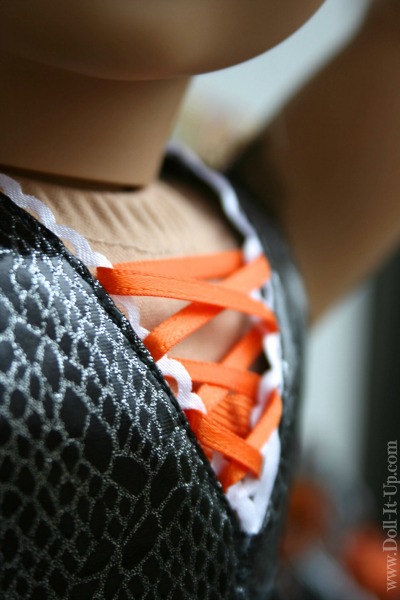
The laces on the front are ornamental. That way they stay put and don’t shift around or wear-out the loops on the edging.
The vest is easy-on and easy-off with a velcro closure on the back.
Let’s get sewing!
Supplies:
- Doll Vest Pattern Printable
- 1/4 yard of fabric (I am using a lightweight costume fabric. It has a slight stretch. I recommend fabric that is lightweight and only slightly stretchy, if at all.)
- 15″ of 1/8″ Ribbon
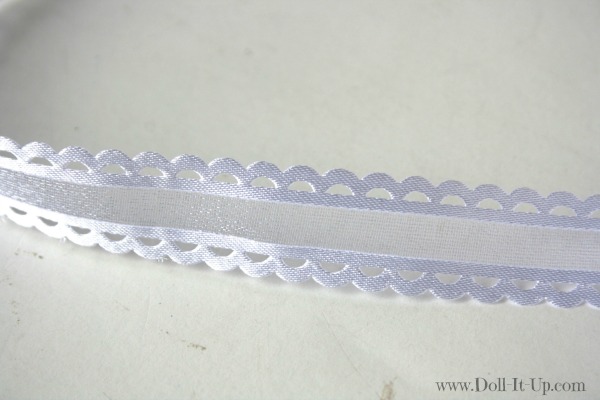
- 10″ of scalloped ribbon (See below for a full description!)
- 4 1/2″ of Velcro
Use 1/4″ seam allowances unless otherwise noted.
To better see the details, I am stitching the vest in a contrasting thread for the tutorial.
Print and Cut
Print out the vest pattern and cut out the pieces.
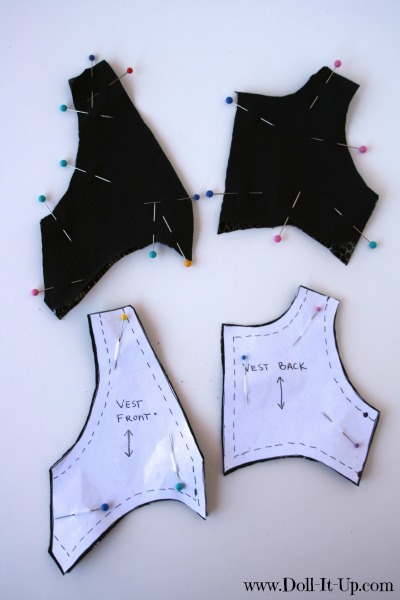
As a side note, while pinning the paper patterns, gently crease the paper on either side of the pin. I found it helps the paper lay flatter, so the cutting is more accurate!
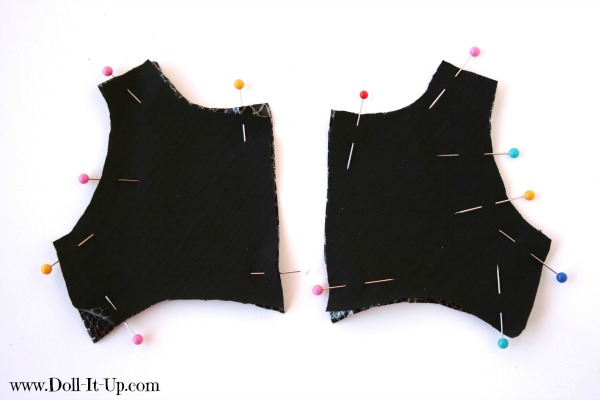
To get started, fold the fabric in half with right sides together. Pin and cut out the Vest Front and Vest Back patterns twice. This will give you 4 Vest Front pieces and 4 Vest Back pieces.
Please excuse the top part of the photo with the black pieces pinned. Oops it’s wrong!
We can’t pin the pieces together yet because this is a lace-up vest and we need to add the scallop edged ribbon that we will thread the laces in!
The first vest I made, I started with another scallop edged trim, from my ribbon stash. I realized if I was going to share the pattern, I should check to see if scalloped ribbon was easily available. Off to JoAnn’s I went. I came across this ribbon. This scalloped ribbon is sold by the spool at JoAnn’s. At my store it comes in white, red, and lavender. Any small scalloped edged ribbon will work. We only need the scallop on one edge of the ribbon. We end up cutting the other scallop off because this ribbon is a little wide at 5/8″. Each individual scallop is about 1/4″x 1/4″.
Attaching the Scallop Edge
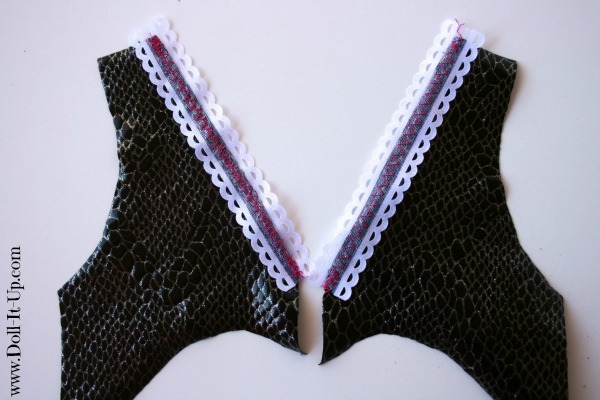
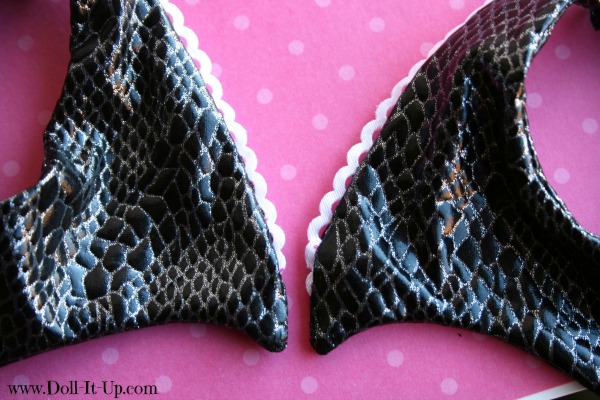
We are sewing the scalloped edge into the seams on the vest. First we need to attach the ribbon to the front of the Vest Front pieces. Let’s look at the placement.
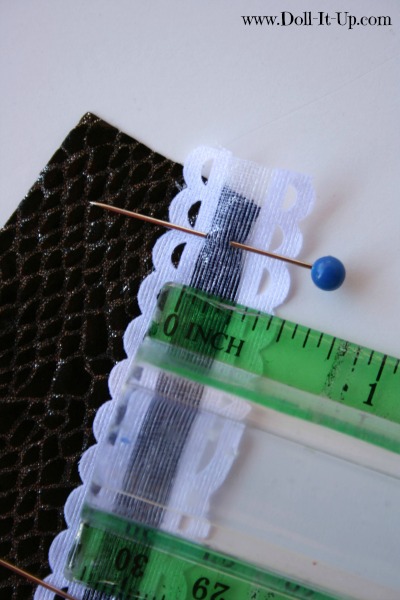
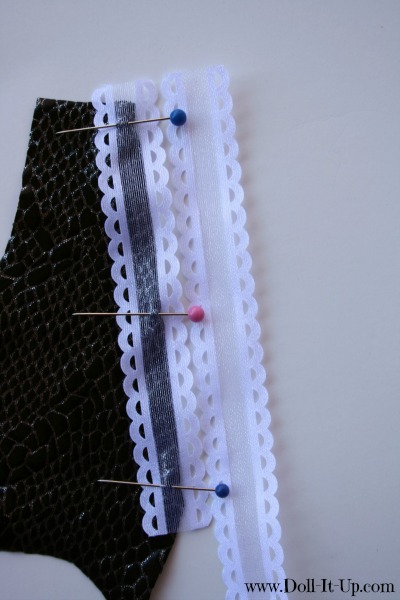
Place the ribbon on the vest, right sides together. Measure in 1/4″ from the edge of the fabric to estimate where the seam will be. Adjust the ribbon so the scalloped edge is beyond the estimated seam. In the photo below the scalloped edge we are using is on the left. The seam will be on the 0″ mark on the ruler.
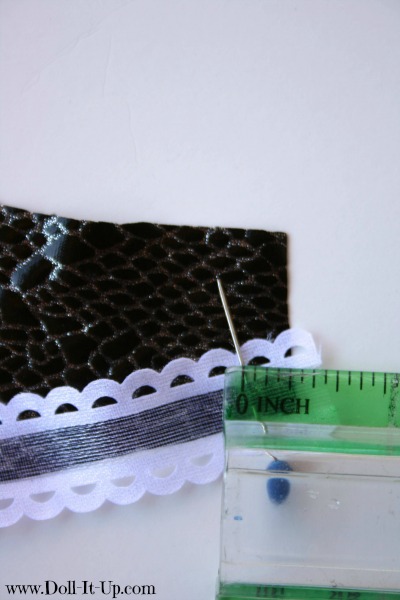
Part of the scalloped ribbon will end up in the shoulder seam. Measure down from the shoulder seam 1/4″ to estimate where that seam will land.
When you are happy with the placement of the first ribbon, line up a second ribbon next to the first. Line up the scallops to be sure they will be even on each side.
Pin on the second ribbon the same as the first and zigzag stitch each in place (using less than 1/4″ seam allowance).
Sewing The Vest Front
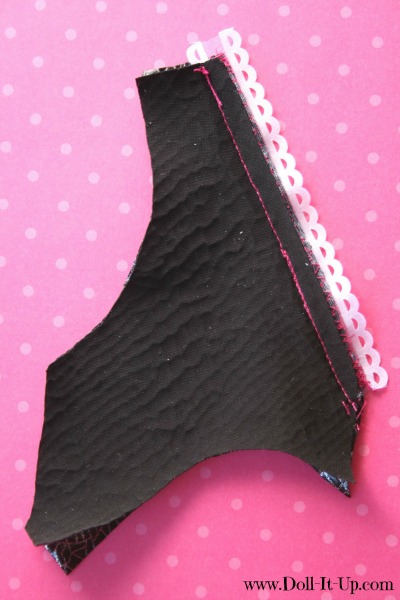
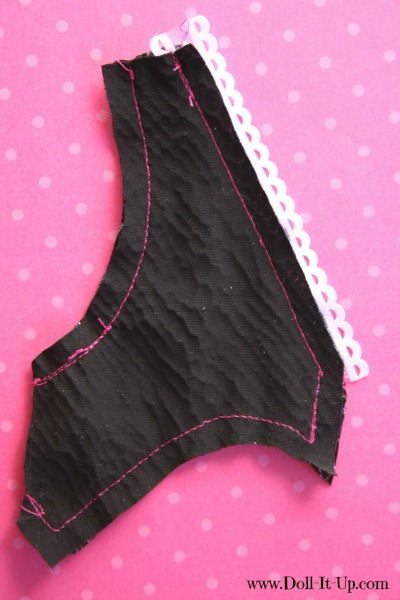
Take another Vest Front piece and pin it to the piece with the ribbon attached, right sides together. Stitch along the ribbon side using 1/4″ seam allowance.
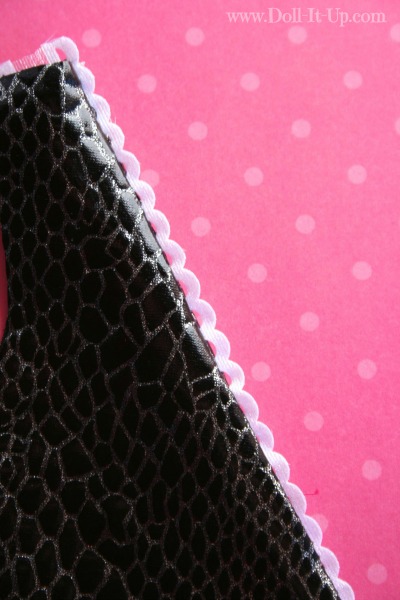
Flip the vest right-side-out to check the placement of the scalloped edge. If the scallops are too far in the seam you can unpick the seam and stitch it again.
Mine was almost too far over. At close inspection I knew I could thread a ribbon through, so I just went with it!
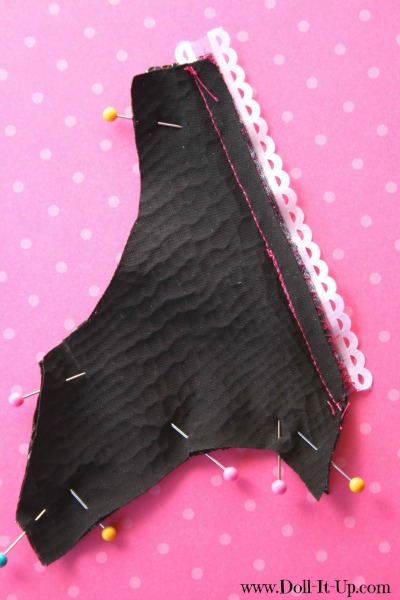
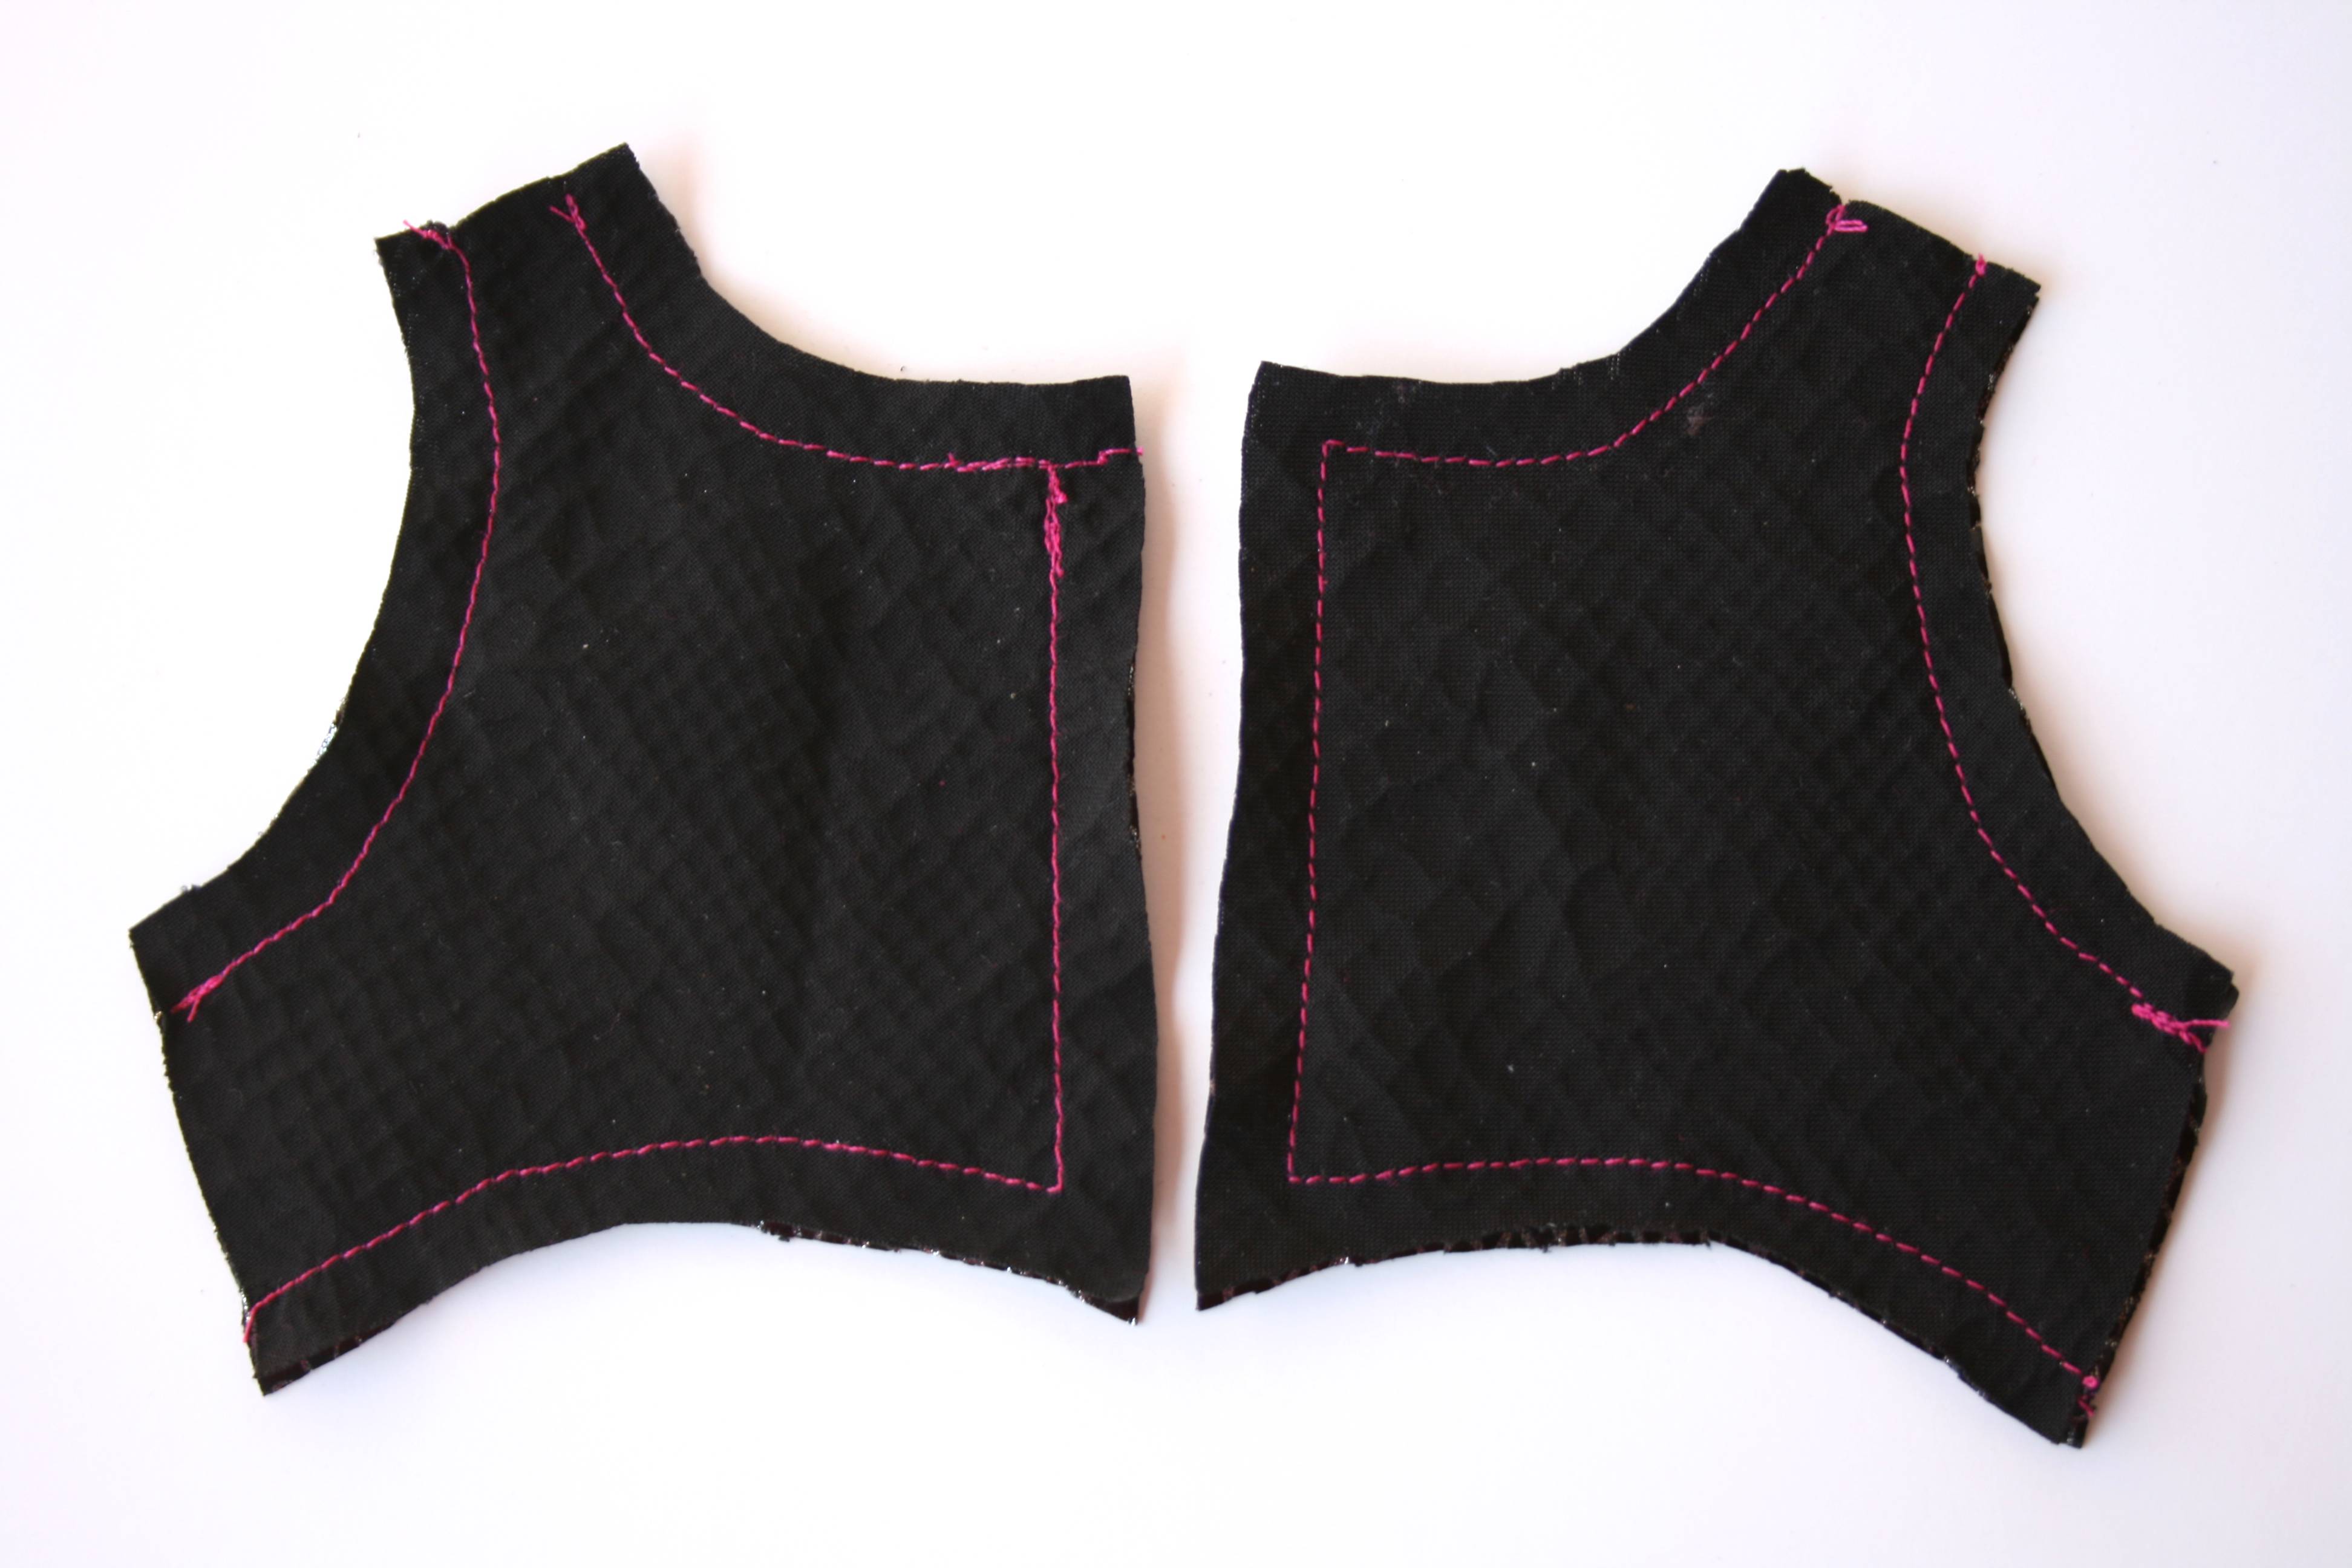
Turn the piece back to wrong-side-out and pin all the outside edges.
Stitch as shown below. Take care to NOT sew across the shoulder seam OR the side seam.
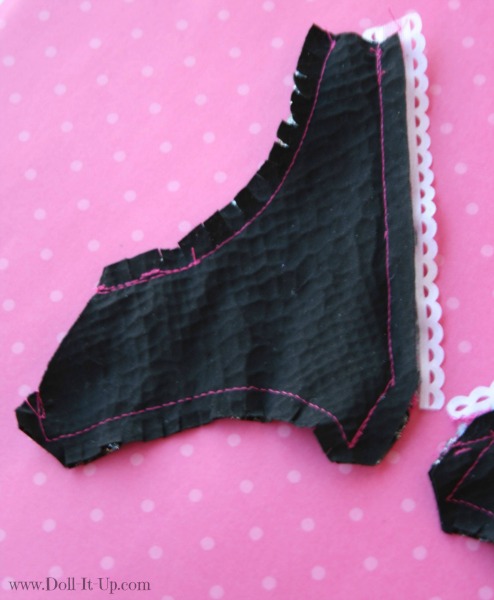
Clip the corners and the curves.
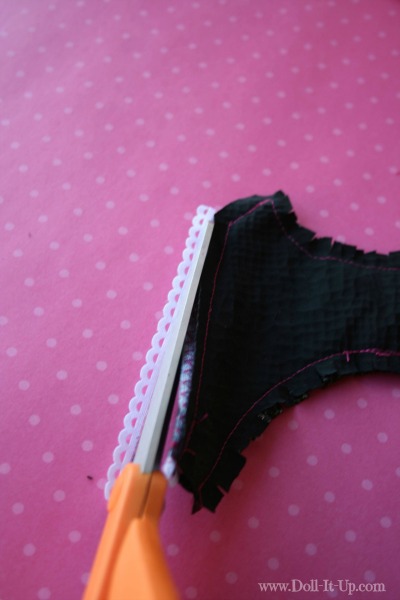
Cut off the ribbon to be even with the fabric edge.
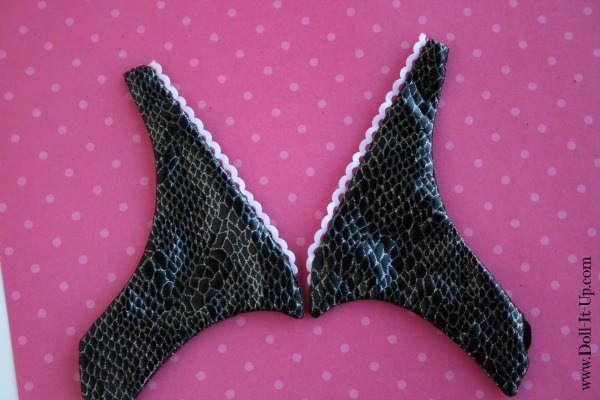
Through the side seam, turn the pieces right-side-out. I used a pin to encourage out the pointy corners.
Sewing the Vest Back
Pin the Vest Back pieces, right sides together.
Stitch around the pieces, taking care to NOT sew through the shoulder seam OR the side seam.
Clip the corners and curves just like the Vest Front pieces. (I don’t have a picture of this!)
Turn each one right-side-out.
Joining the Vest Front and Vest Back
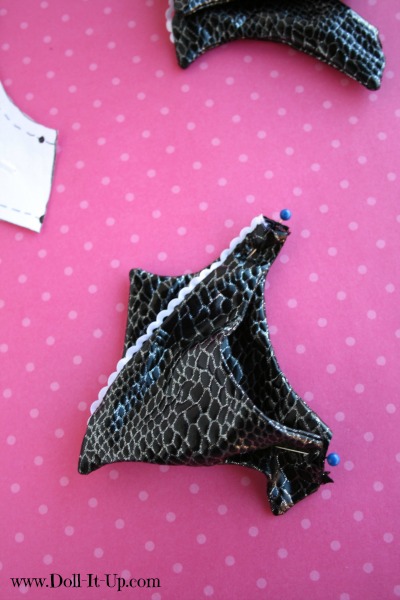
With the Vest Front and Vest Back joined with right sides together, pin the shoulder seams and side seams.
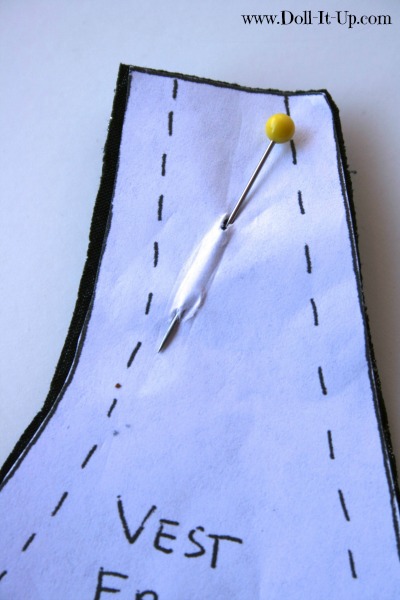
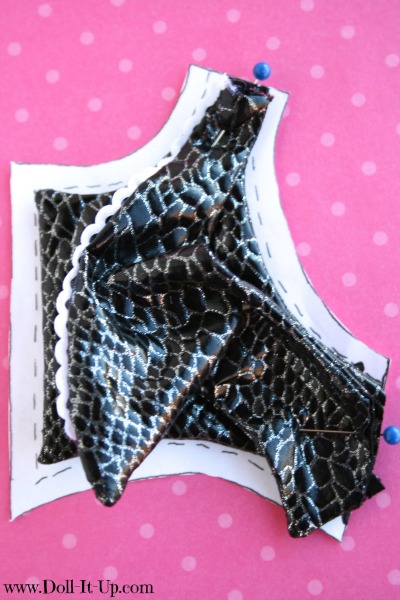
Lay the pinned pieces on top of the Vest Back pattern piece.
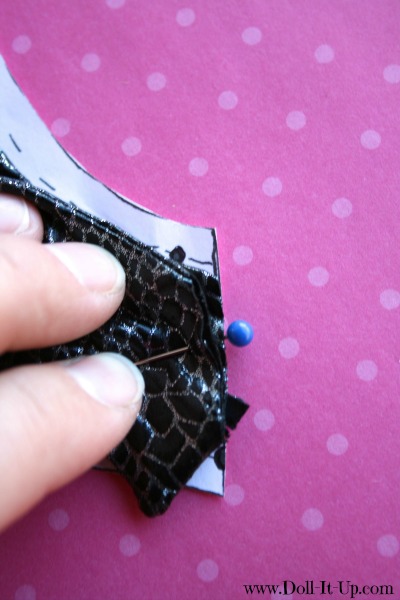
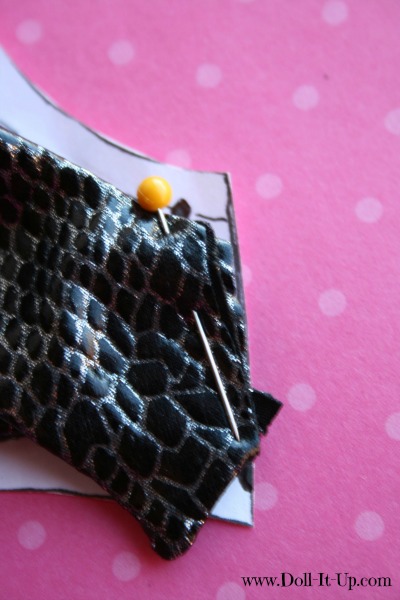
On the pattern piece side seam, there is a dot marked 1/4″ from the side seam on the seam line.
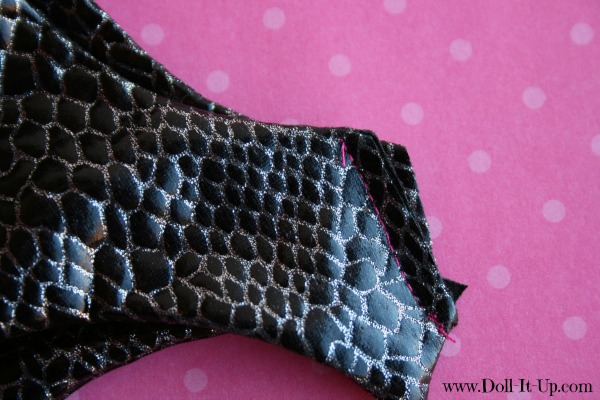
We are going to join the side seam pieces in a diagonal line from the dot on the upper seam line, tapering to the edge of the lower seam line along the side seam. I placed the pin to show the plan.
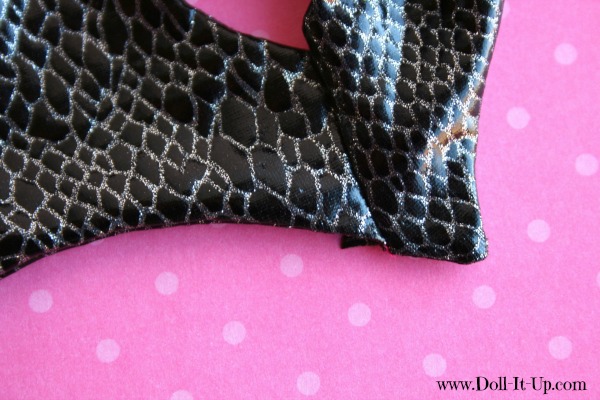
Stitching this diagonal side-seam may seem weird but it opens up…
…right-side-out, to show a smooth transition to the point on the side of the Vest Front.
See?
Connecting the Vest Front Pieces
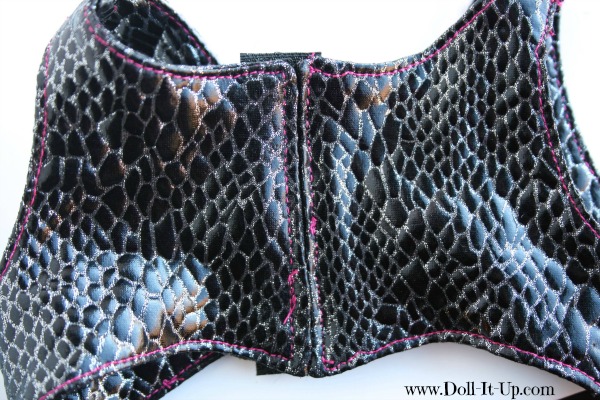
The laces we are adding to the front of the vest are mainly for decoration. We are going to secure the front of the vest together at the two points in the front.
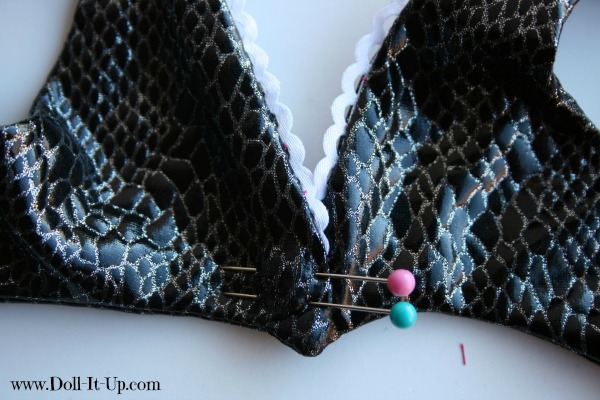
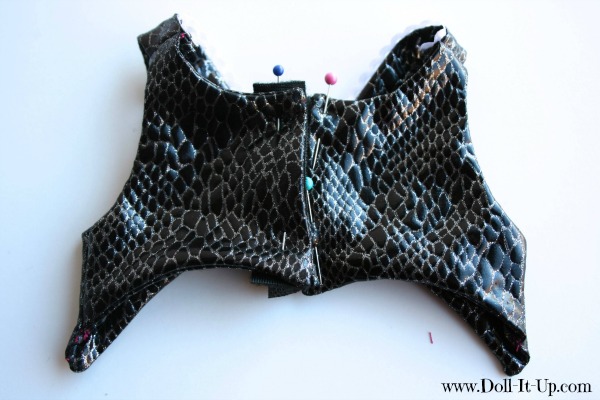
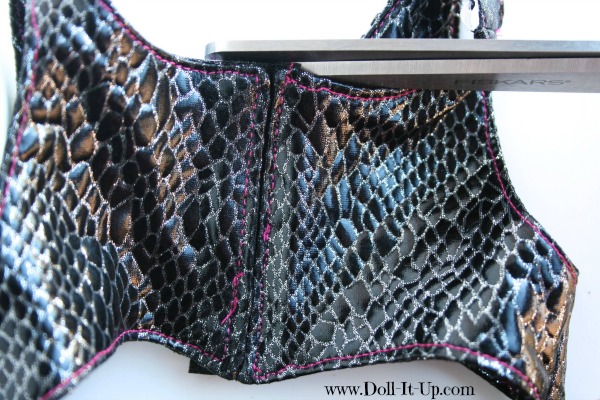
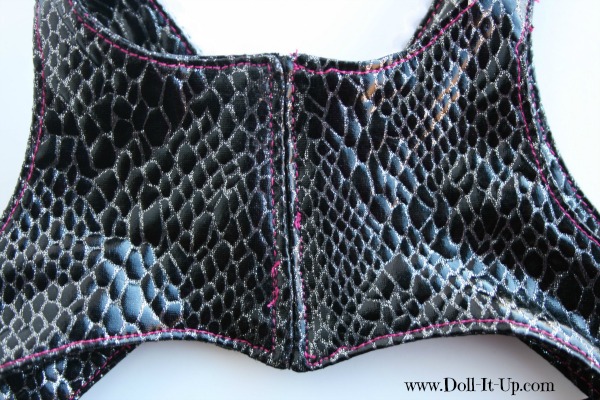
Overlap the two front points just a tad. As in a teeny, tiny, bit. With this vest I felt like I joined them a hair too much. I like it better, just barely overlapped.
Secure the overlap in place with pins.
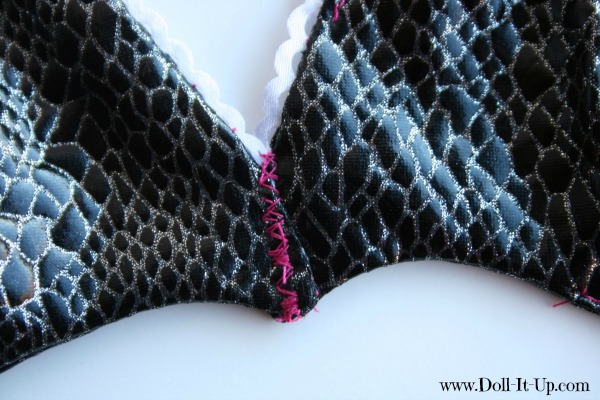
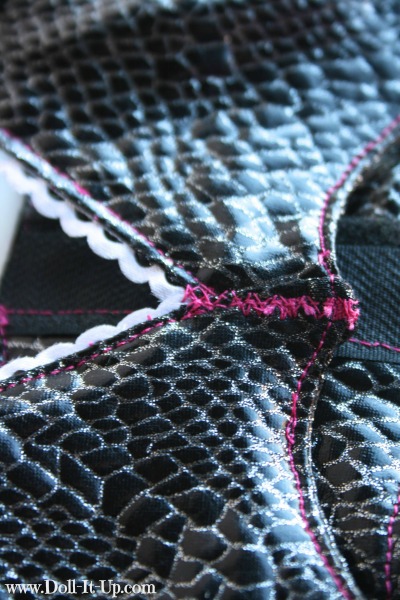
Zig-zag stitch the pieces together. Since I am using pink thread to help the seams show up in the pics, I stitched over it twice. On the other vest, I made with matching thread, it is hard to notice this stitch, even though it is front and center.
Adding the Velcro Closure
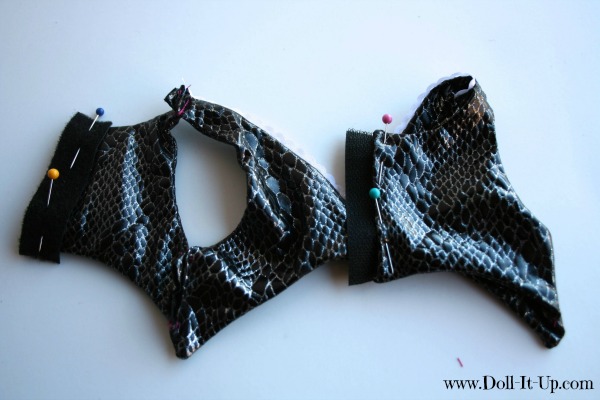
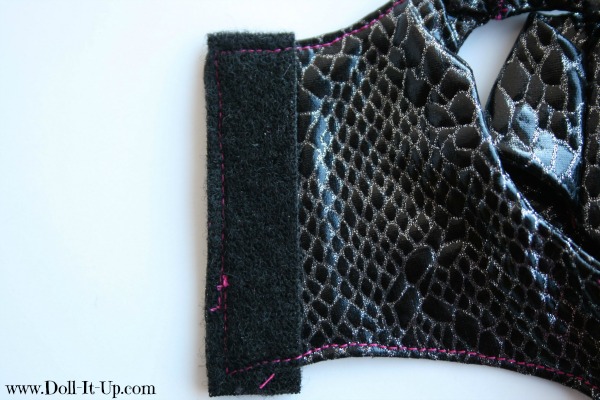
Cut a strip of loop and a strip of hook velcro to 4 1/2″. Lay the vest out flat, wrong-side-up. Fold the right Vest Back toward the center. Pin a strip of hook velcro, with the vest overlapping the velcro a little over 1/8″ on the center back edge. The hook side should be facing up.
With the left side of the Vest Back still laying out flat, pin a strip of loop velcro, completely overlapping the inside flap.
You can see the closure in action by flipping the left side to the middle and clasping the velcro.
I am attaching the velcro with top stitching to give the Vest Back a nice finished look.
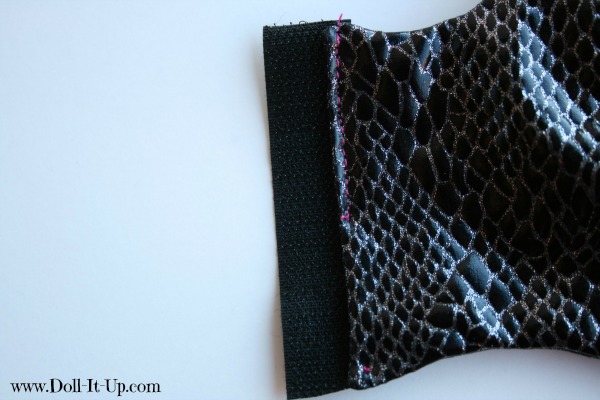
Top stitch the velcro on the right side of the Vest Back. On my sewing machine I struggle with starting at the corners when stitching with velcro. Starting in the middle and stitching to the corner solves that problem!
Now for the left side of the Vest Back. Looking at it right-side-out you can see the extra velcro sticking out. I purposely cut the velcro a little long to be sure and catch it in the top and bottom edge top stitching.
This is the same flap, showing the inside of the flap. I know it’s tempting, but don’t trim that velcro yet!
Overlap the velcro first. Now we see the extra velcro that needs trimming off.
Just a little trim.
Now it’s nice and trim and the closure is still nice and secure!
Yes!
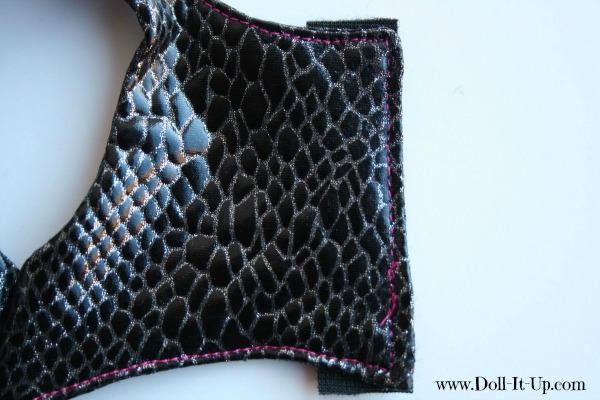
Be sure to top stitch around all of the vest edges. That includes the scalloped ribbon edge and the arm holes. It helps everything lay so flat and trim.
Lacing the Vest
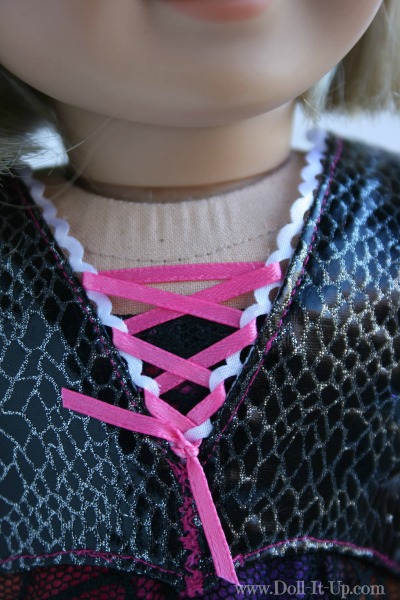
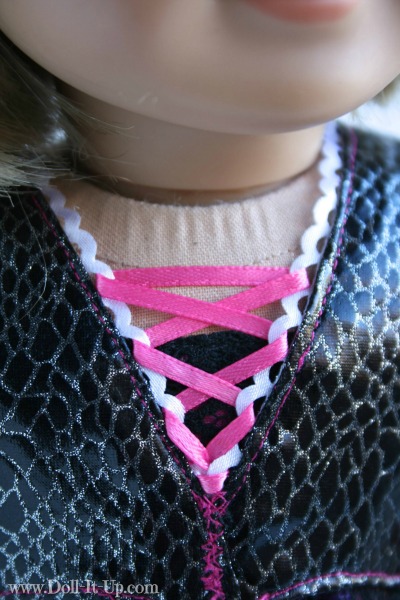
Lace your ribbon through the top loop you want to use on the scalloped edge.
Cross over and lace at even intervals. I decided to thread the ribbon through every other loop.
When you reach the bottom, tie a knot.
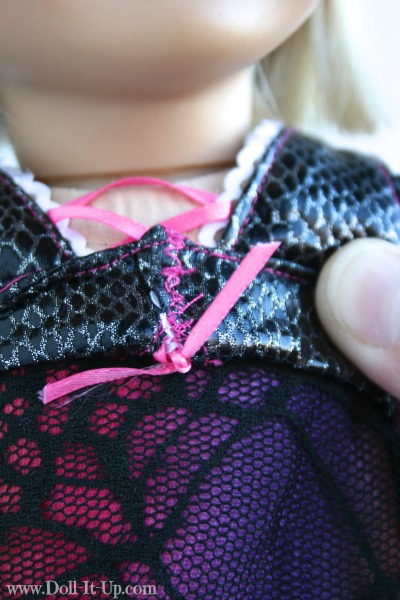
Adjust the ribbon and pull the knot to the inside of the vest. I used a needle to work the knot to the inside.
If you flip up the bottom you can see it hiding there. Trim the ribbon so it doesn’t stick out.
We’re all finished! Change up the fabric color and ribbon color to completely vary the look of this little vest!
Layer the vest over a shirt or a dress. I think it looks like a fancy, high waisted bodice on the dresses I’ve tried it with!
Happy Sewing! Feel free to share a picture or send feedback directly to me at Anna[at]Doll-It-Up[dot]com!
Anna







I am not seeing the pattern to grab… BTW it is adorable!!
Thanks Kath! Everything is up and going now with the link to the pattern under the supply list!
Can’t wait to try it.. it is so cute.. I love how empired it is.. so thoughtful of you to share it and your time of all the pics and the instructions 🙂
Great! I hope it goes well! 🙂
A-D-O-R-A-B-L-E!!! I’ve downloaded/printed this already & can’t wait to find time to make my first one. Sooo fun and can see it with so many different fabrics/colors/uses — thanks so much for sharing!!!
Wanted to let you know that I print all my patterns onto the dull side of Freezer Paper, cut out the pieces, then they can be ironed right onto your fabric and there’s no need for pins, which I LOVE. Also, you can re-use the pieces several times before they lose their ability to stick! Will post on my blog when done & link back here, of course.
Marge, The freezer paper idea sounds easy and will certainly solve the challenge of shifting pattern pieces! I will have to give that a try!
I’ll love to see your vest! Can’t wait! 🙂