It’s all in the details. Today there is a peek of lace.
I hacked my pattern again to create a new look. Yes. Same ol’ pattern, new look!
To get the look you make a few changes to the shirt back pattern piece.
The lace panel is just for looks and just for fun! It is made possible on this stretch knit shirt because we are using a stretch lace.
I found this stretch lace by the special occasion fabric at JoAnn’s. You can also check the juvenile fabric section, seasonal collection and of course the knit row. Another fabulous place to find stretch lace is on girl’s/women’s clothing on the sales rack or the thrift store.
Grab some stretch lace and we can hack this pattern together!
Supplies:
- Banded Dolman Shirt pattern
- ruler
- pencil
- stretch lace
- rotary cutter (or scissors)
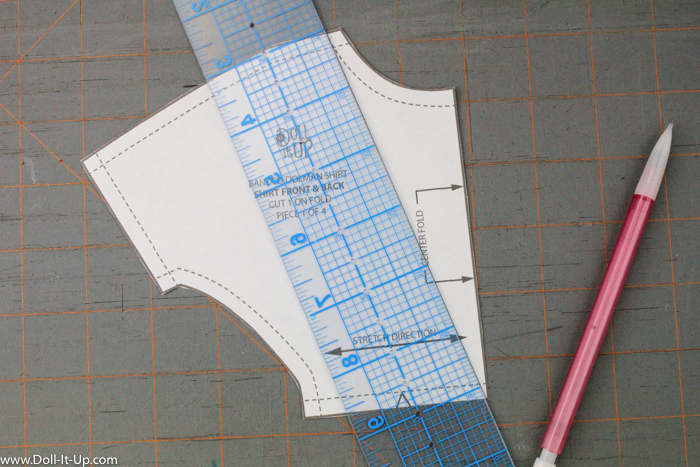
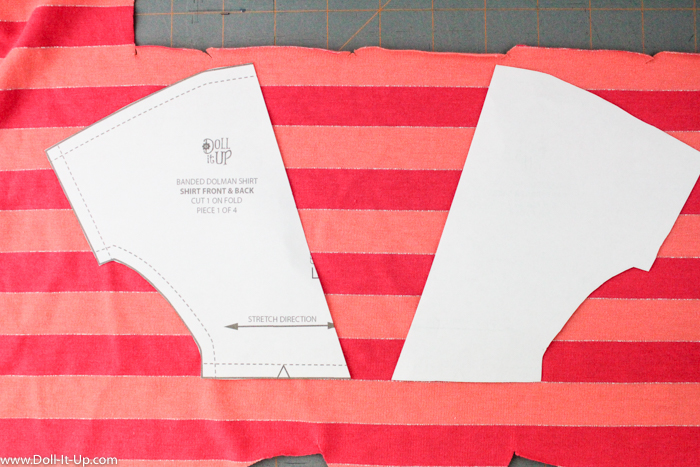
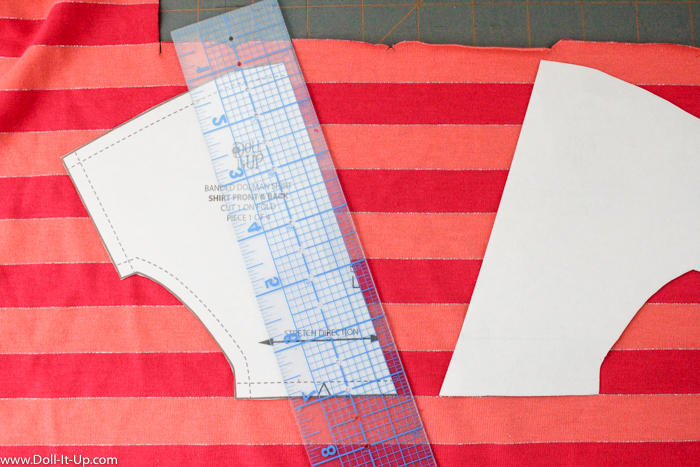
Line up one end of the ruler at the point where the shoulder and neck seam allowances meet and the other end of the ruler at the bottom corner of the center front of the pattern. Draw a line.
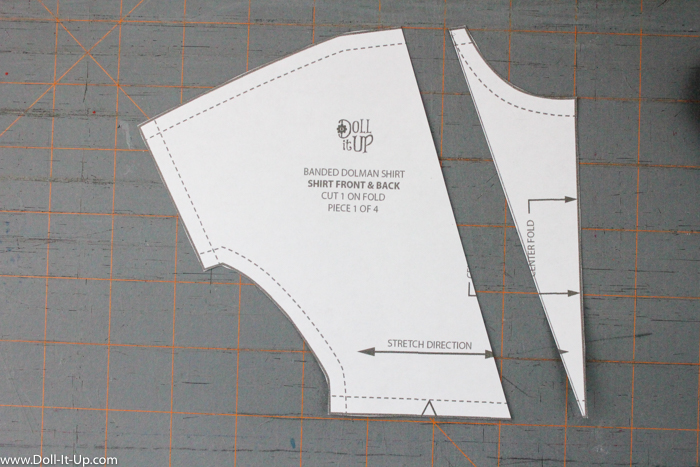
Cut along the line.
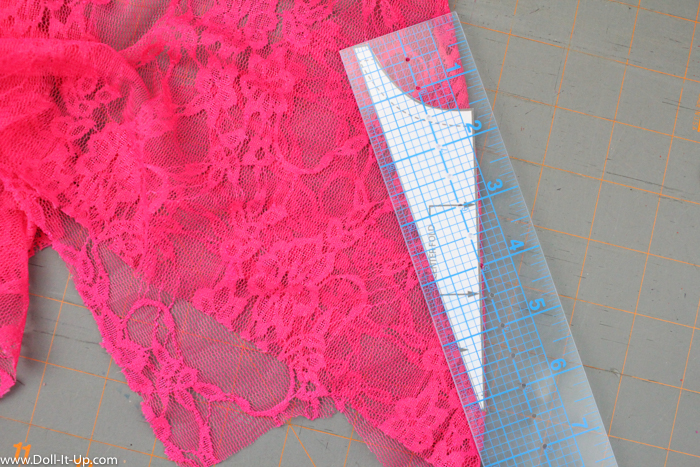
Fold the stretch lace, paying attention to where the design is on the lace. My lace has a pretty large design so I made sure it was on the fold so I wouldn’t miss it.
Lay the pattern piece with the edge marked center fold along the fold on the lace.
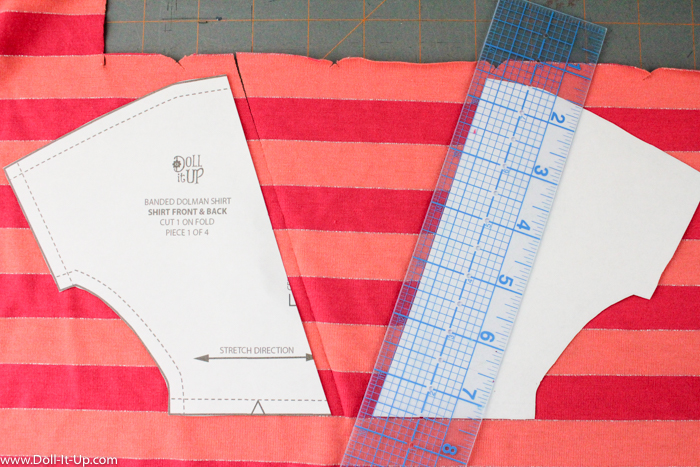
Now we are going to add a seam allowance with the ruler. Line the ruler up with the diagonal cut and measure out 1/4″ from the edge of the pattern. Before you cut, check your lines making sure the pattern piece is lined up with the fold and at the same time the seam allowance you are measuring is lined up.
Hold the ruler with one hand and cut along the edge with a rotary cutter.
If you don’t have a rotary cutter you can add the seam allowance to the pattern before you cut it out. Simply tape the pattern piece to paper and draw out the 1/4″ seam allowance on the diagonal line. Cut out the pattern piece with the added seam allowance and it’s ready to be cut out along the fold.
This will be the lace insert we will add to the back!
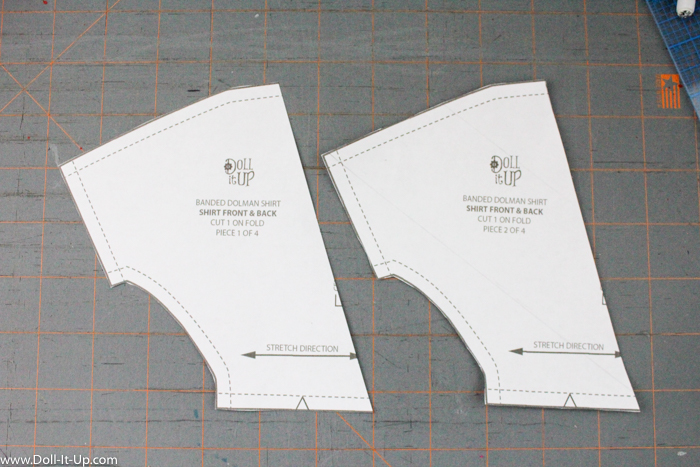
We need an extra pattern piece for the shirt back. Print out or copy an extra Shirt Front & Back pattern piece. Lay the extra pattern piece with the pattern we just cut. Use it as a guide and cut them the same.
Lay out the two back pieces on a single layer of fabric, matching stripes or designs if needed.
These pieces need the seam allowance added to the diagonal lines as well.
Use the same technique as above, using the ruler to measure out 1/4″ from the diagonal line.
Cut along the ruler edge with the rotary cutter. Measure and cut the other back piece the same way.
As with the pattern piece we used to cut the lace, if you don’t have a rotary cutter, you can add the seam allowance to the pattern first. Tape the pattern on paper, measure and draw the 1/4″ seam allowance to the diagonal line. Cut out and use the new pattern piece.
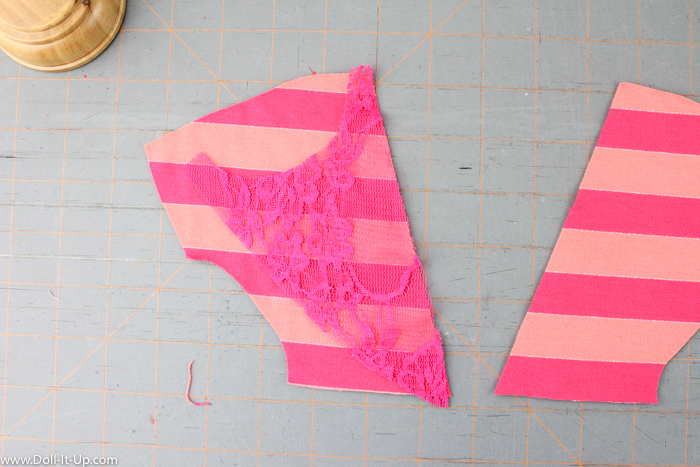
Lay out the fabric pieces with the right side of the fabric up.
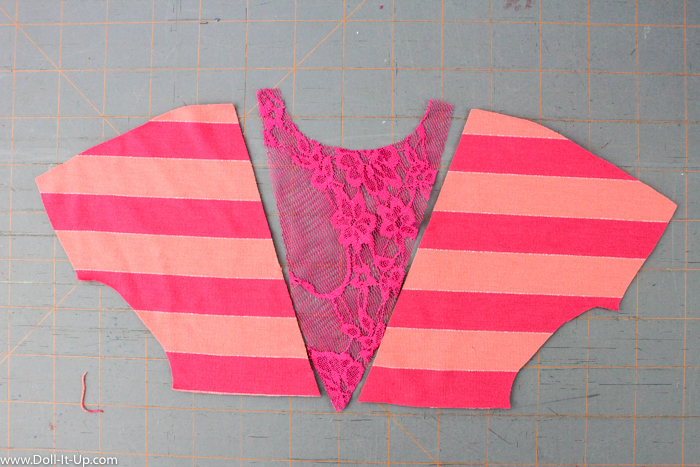
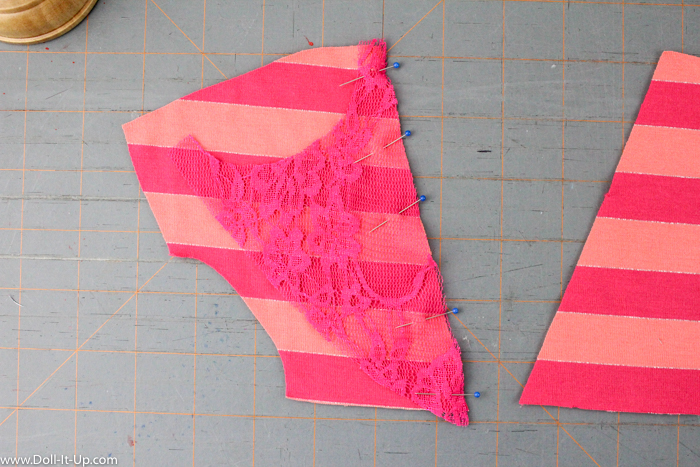
Flip the lace panel over, matching up the diagonal lines with the right sides of the fabric together.
Pin and stitch 1/4″ along the diagonal line.
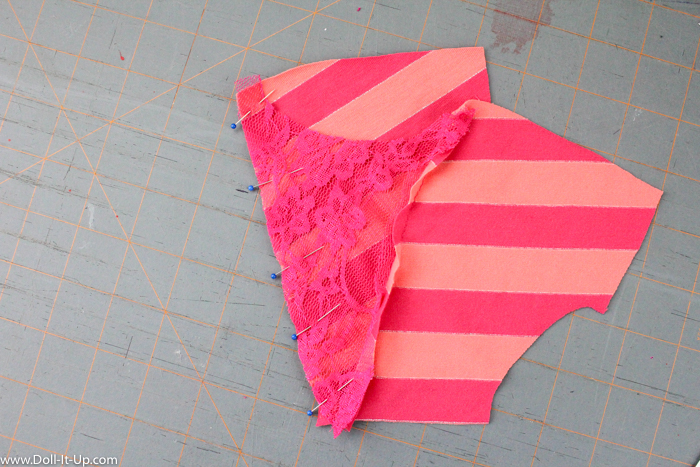
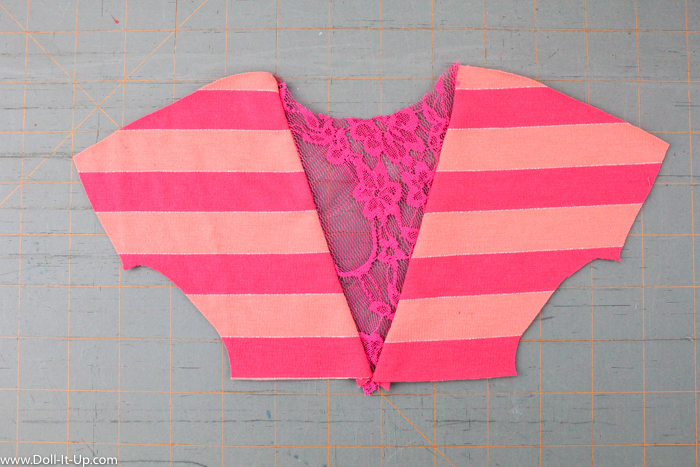
Open it up and lay the piece flat. Flip the lace panel/left shirt back over to match up the diagonal edge of the lace and the right side of the shirt back. Pin and stitch with 1/4″ seam allowance.
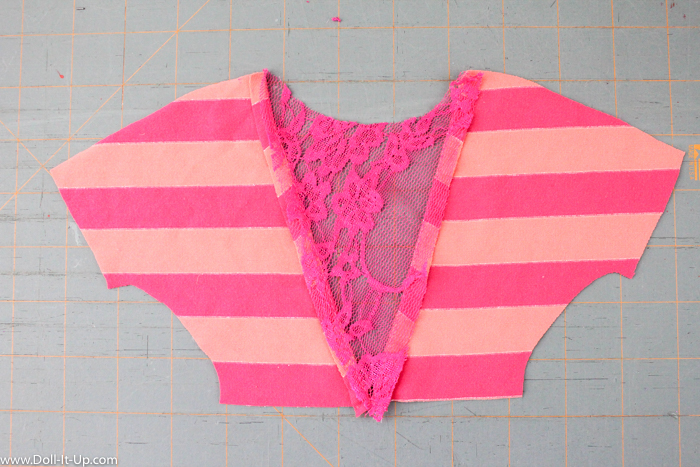
With the wrong side of the fabric up, iron the seam allowance away from the lace.
Here is the right side of the shirt back.
Cut out the shirt front, sleeve bands and the waistband. Sew the shirt according to the pattern instructions.
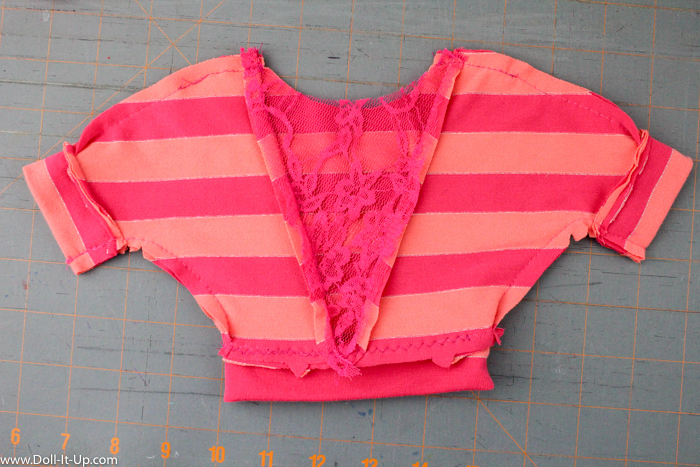
Here is my shirt wrong side out before I finished the neckline.
Pair the shirt with a tank top or cami.
I love the peek of lace in the back!
Lace panels are a fun style you see in fashion today!
I have had tons of fun with all the variations of the Banded Dolman Shirt pattern.
Here are the variations if you missed any of them.
Pattern Hacks:
Fun with Style:
All these variations mean different looks with the same pattern! It’s nice to get more uses out of one basic pattern!
I have one more fun style to share in the line up.
Until next time! Happy pattern hacking!
Anna









Clever! I love ho you show us all the possibilities with just one pattern! 🙂 Thank you!
Thanks Sophie! I’m glad you love all the possibilities too!
I love how you can use one pattern for so much! I might have to try this – maybe you could do an edition on how to hand-sew this pattern? (No sewing machine here.)
Thank you! I’m glad you like the variations! I bet you could use the same instructions for hand sewing. Most of the shirt uses a straight stitch. The areas that need stretch there is a zigzag stitch. I think those could easily be hand sewn. Let me know if you try it!
Hi! I love this idea! I am really excited to try out my new pattern for the banded dolman shirt. I might add this lace to it, but I don’t know. This is a really great idea! I love your patterns!
~Kaylyn