Only 4 days left to enter the American Girl Doll and Wardrobe Giveaway! One lucky winner will win…and it could be you! Enter today!
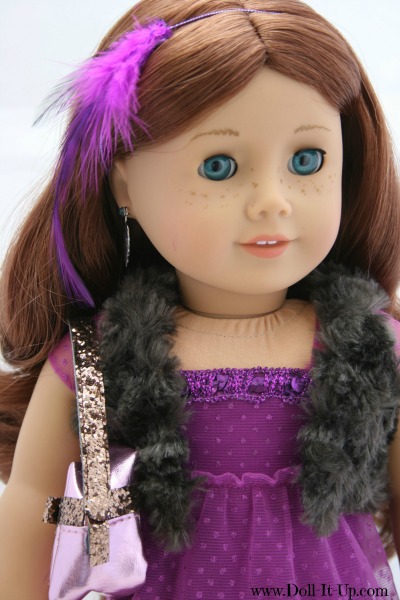
I’m featuring another item I contributed to the American Girl Doll and Wardrobe Giveaway. Go ahead and enter the giveaway to win this little vest, and many many other doll clothes and accessories! 🙂
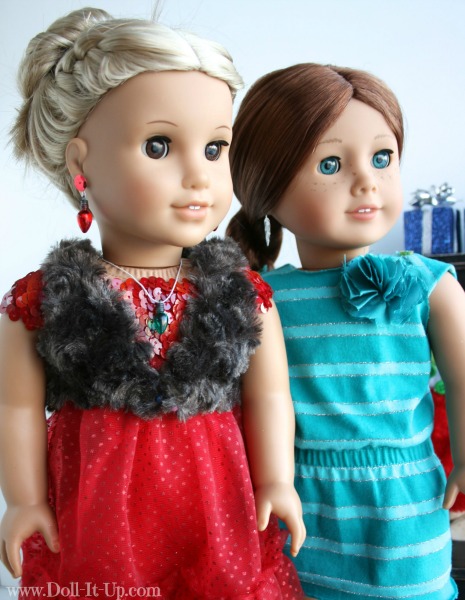
While we wait for the giveaway results you can sew this little faux fur vest with me.
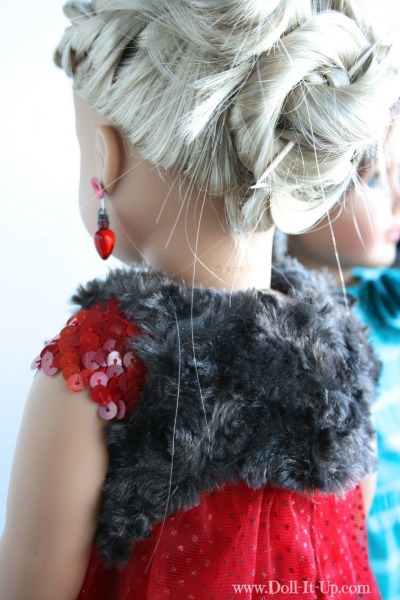
I first paired this little vest with our Christmas dresses.
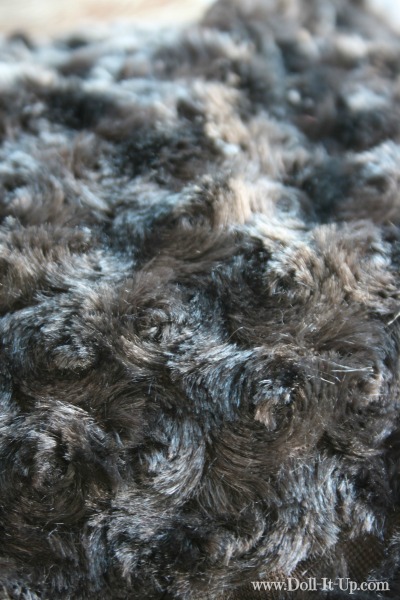
I love the texture.
The fabric I used is called Swirl Fur and is sold next to all the faux fur at JoAnn’s. It is flexible and a good weight for dolls.
I used the vest pattern I designed this fall. I made a few adjustments to adapt it. If you want to make one too, download the pattern here. The original tutorial is here. Take a look at the original tutorial and then read through the changes I made for this fur vest.
Changes to the pattern-
1. No Trim
- Leave off the trim on the neckline
2. No Opening in the Back
- Instead of having the vest open in the back, it will open in the front. To make that change, the back pieces need to be cut as one solid piece. Trim the middle back seam allowance off of the back pattern piece. Fold the fabric in half, right sides together. Lay the pattern piece with the middle back on the fold. Cut one out of the fur and one out of a lining fabric.
3. Fabric type
- Look for a faux fur that is not too stiff or heavy. I am using Swirl Fur in chocolate.
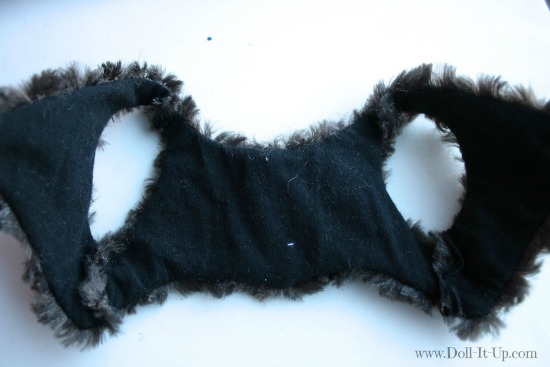
- For the lining I chose a thin t-shirt knit and it worked great. I would not use a knit if the fur had any stretch to it. You could use anything for the lining that is thin and doesn’t have severe fray. If it is prone to fray the seams might pull out when you are pulling the fur through the seams.
4. Sewing fur
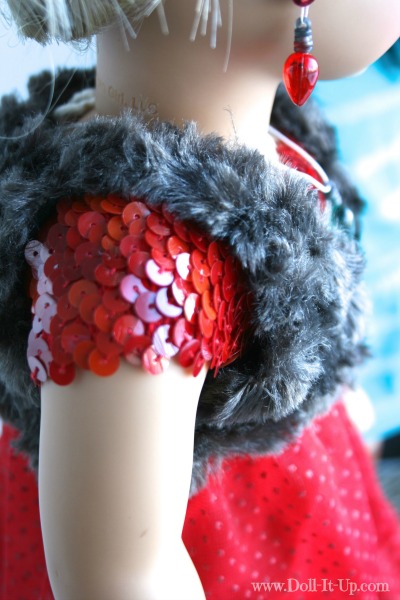
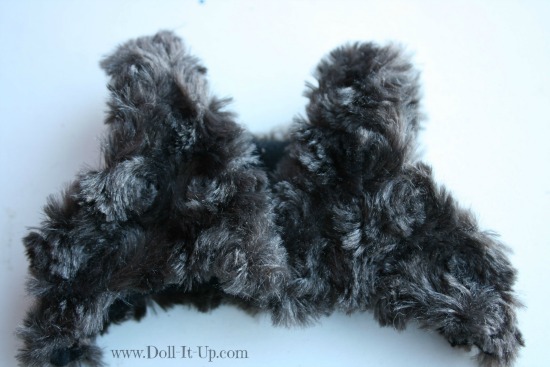
- The fur is sewn into all the seams. When you are done sewing, take a pin and slide it along the seams to pull out the fur. In the photo above you can see the border of fur sticking out around the outside of the vest. This is after pulling the fur out of all the seams.
5. Front Closure
- I added a tiny hook closure to the front of the vest. It is right where the V meets in the front.
This was a quick sew!
I need to sew another one for the dolls, since this one is off to the giveaway!
I made a few changes to the original vest tutorial and pattern to make this into a fur vest. If you have any questions or if something is unclear, please ask, I’m happy to help!
Anna



Well, this is great timing! I think I have some of that faux fur in red. It’s beautiful! It was one of the first fabrics I purchased when I started sewing a year and 1/2 ago. It is so beautiful that I cannot decide what to do with it…pillows, scarves…a doll vest! Sounds perfect and my girls will love it! If I do end up making one I’ll link back to your post. 🙂 Will be sharing everwhere!
Gina
Super cute! Pinned!
too adorable 🙂 I would like one for myself!
Too cute! Reminds me of when I was little and my mom would make clothes for my cabbage patch doll.
Thanks Corrinna!