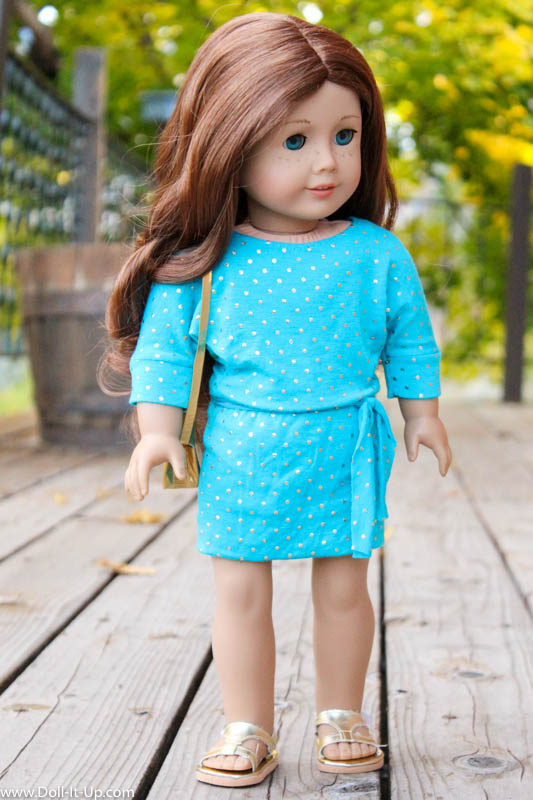
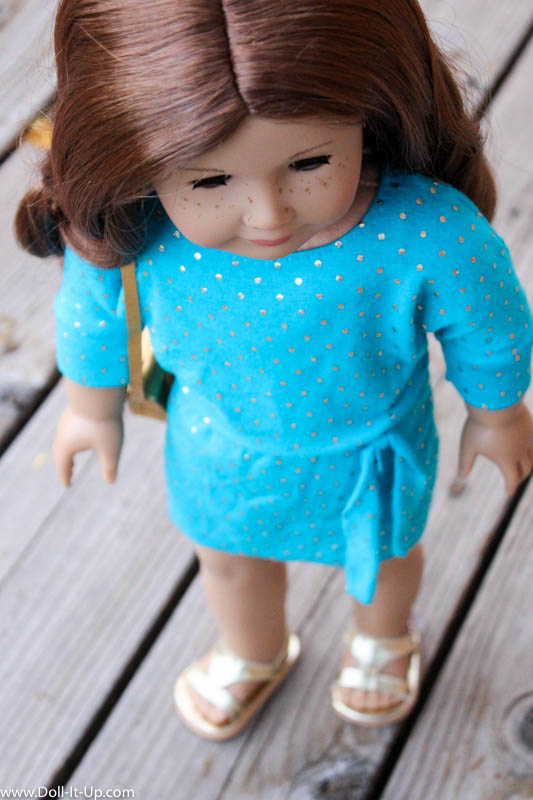
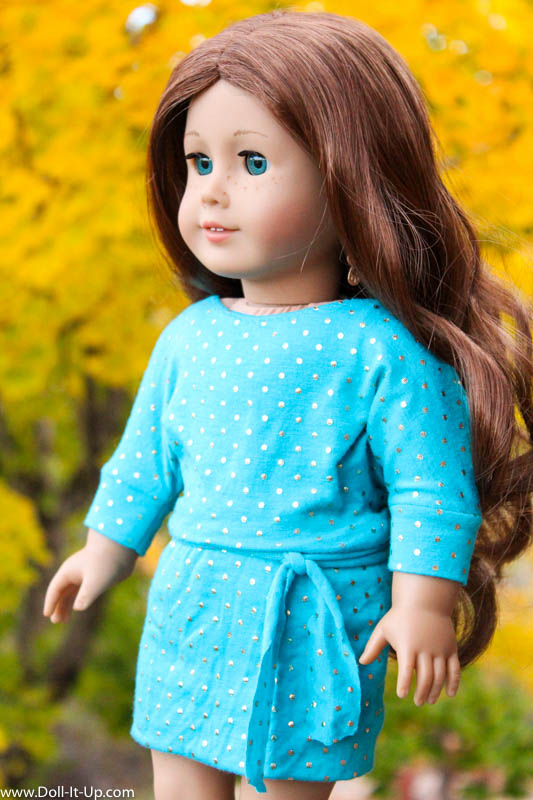
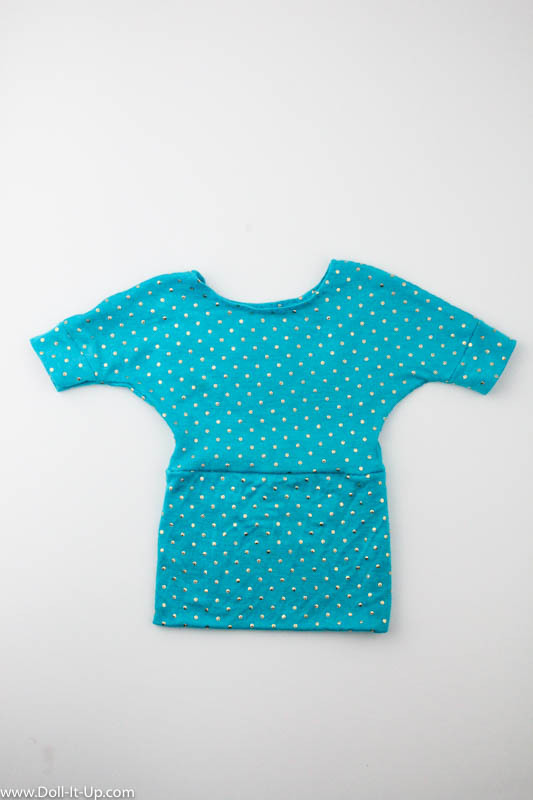
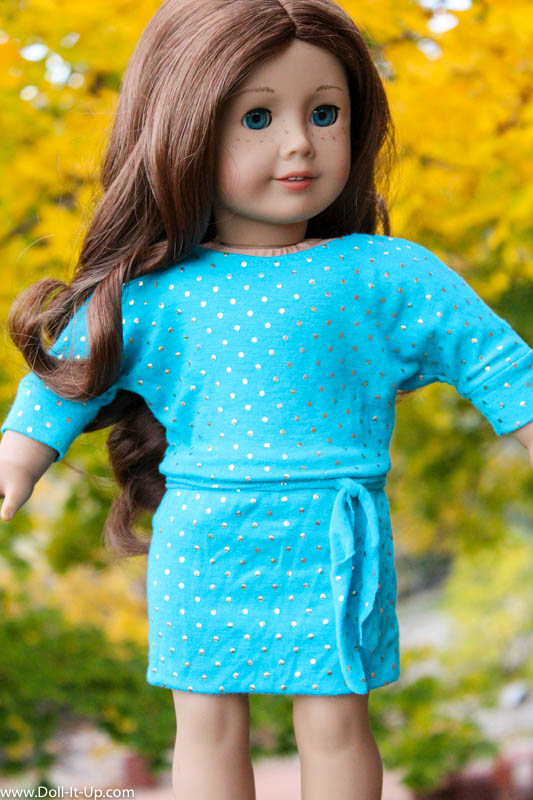
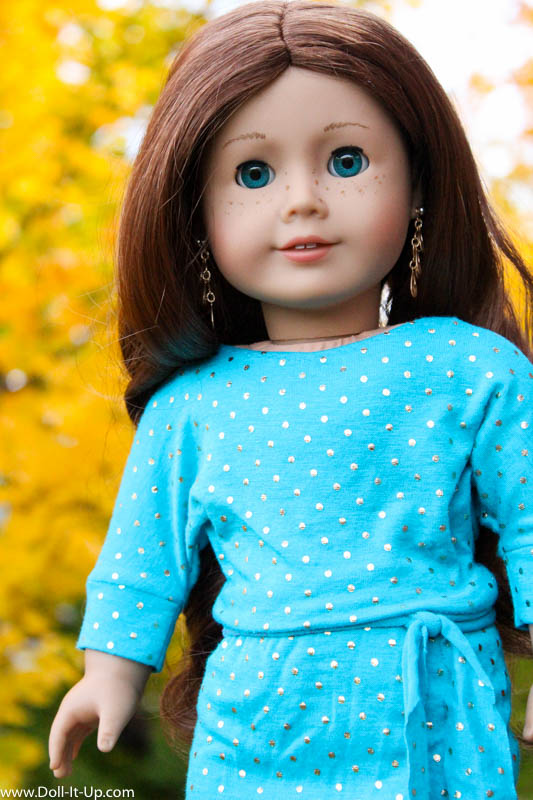
I have a fun project to share today, the Dolman Dress. Yes, it is a variation of the Banded Dolman Shirt. Yes, I have the instructions for you, so you can make one too!
I love variations and options. Sometimes I plan the variations into the design of my patterns. One of the looks that I knew would be an easy variation to the pattern is to add a skirt to the Banded Dolman Shirt and transform it into the Dolman Dress.
Instead of attaching a waistband, attach a skirt.
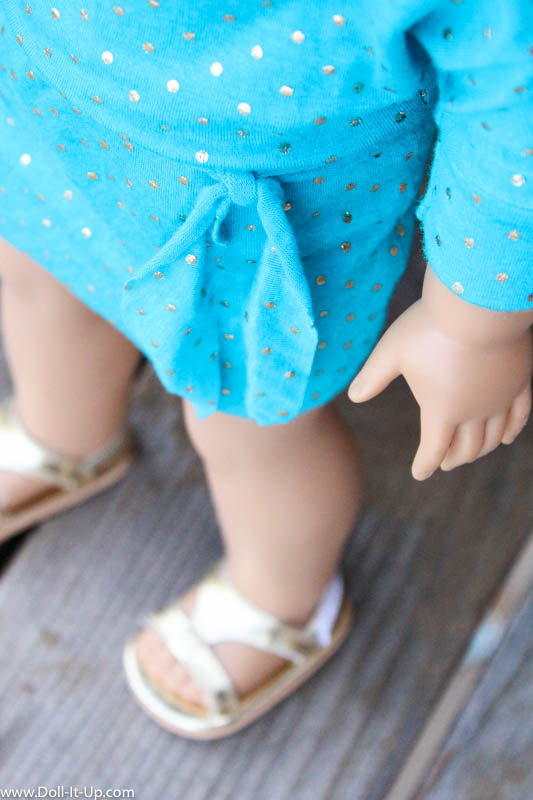
The skirt is super easy to finish with no hem line.
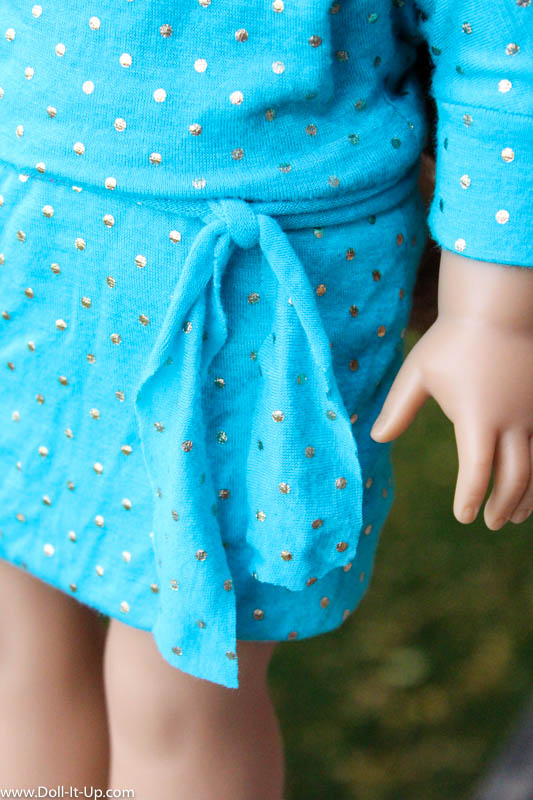
Add a tie at the waist if you like the look.
Let’s make the Dolman Dress!
Start by making the Banded Dolman Shirt, the pattern is here. Don’t cut out the pattern piece for the shirt waistband.
Instead of the waistband at the bottom of the shirt we will add a skirt. In a way the skirt is a longer version of the waistband. It is constructed the same way and inserted the same way.
For the skirt cut a rectangle that is 13″ x 9″ with the stretch direction lined up lengthwise as indicated below.
Remember that this pattern needs a stretchy 4-way stretch fabric. This is important even with the skirt because there are no closures on the shirt/dress. Having enough stretch makes the dress easy to put on and take off. There is more help and tips for choosing fabric in the Sewing Guide that comes with the pattern download. (You can find the pattern here.)
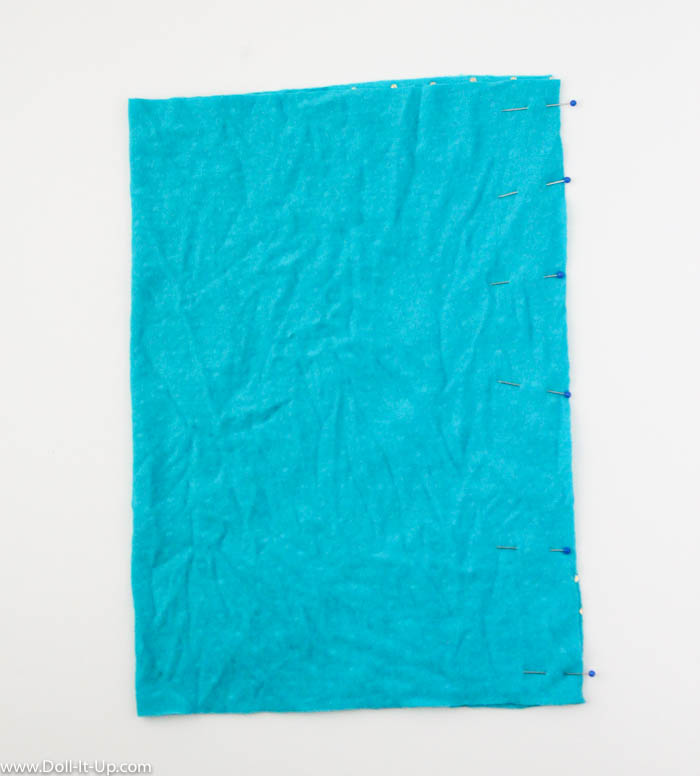
Fold the fabric in half with the short sides of the rectangle matching up. Pin and sew with a straight stitch and 1/4″seam allowance.
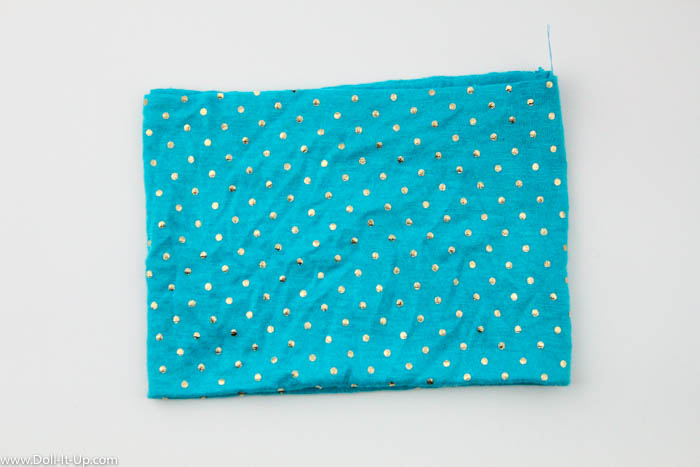
Turn the fabric inside out. Place the seam on the side. Refold the fabric with wrong sides together, matching up the two cut edges. It will make a tube or what looks like a longer version of the shirt band.
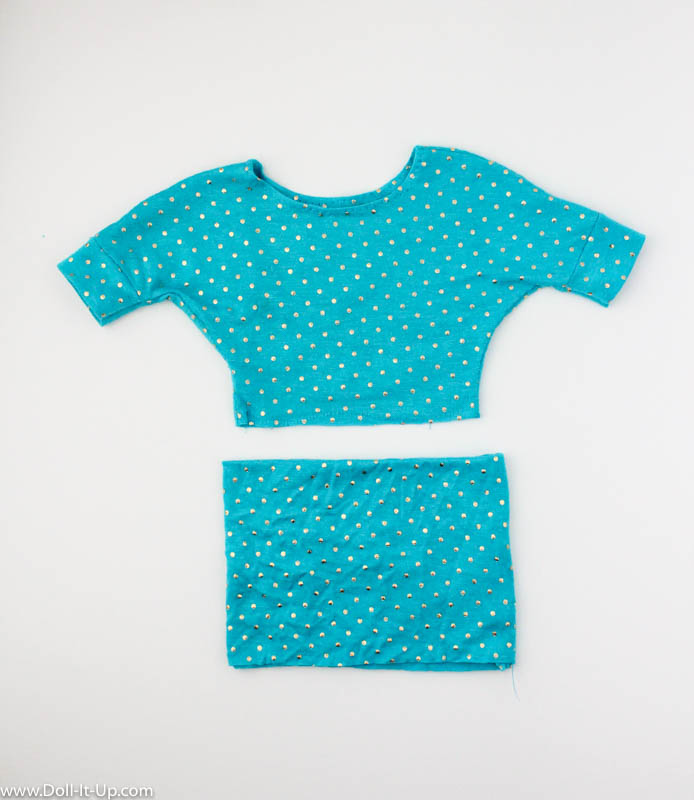
Here is how we line up the skirt to be added to the shirt. Lay out the shirt. Lay out the skirt with the the seam on the side and the cut edge facing down.
Open up the skirt and slip the bottom of the shirt down into the skirt, matching up the cut edges of both.
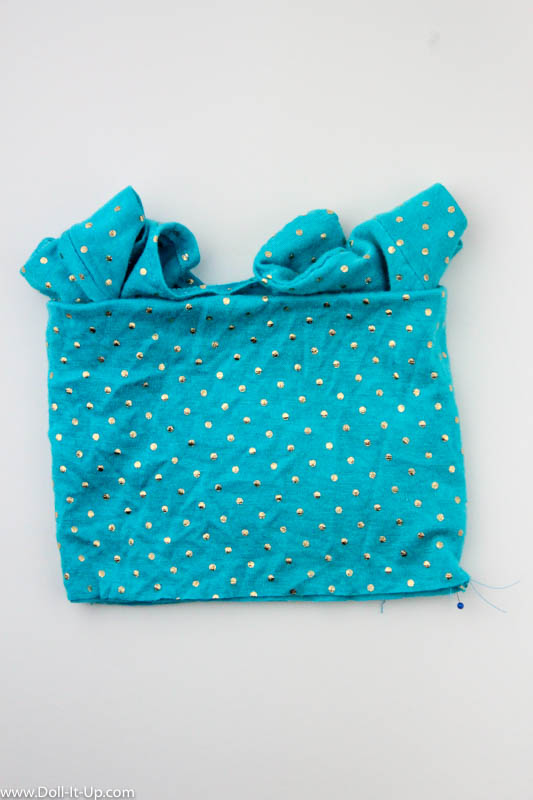
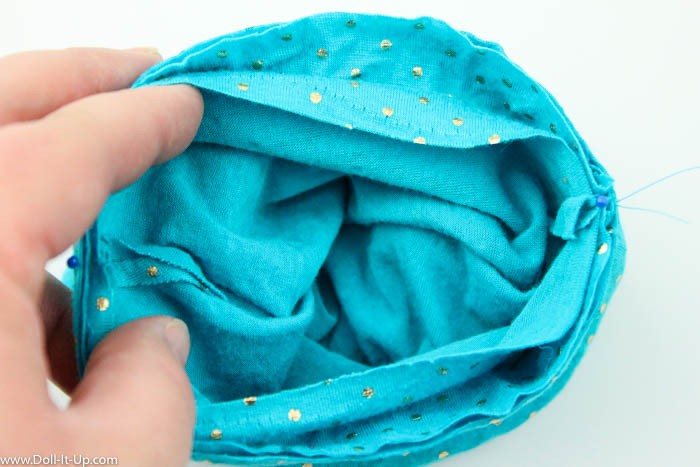
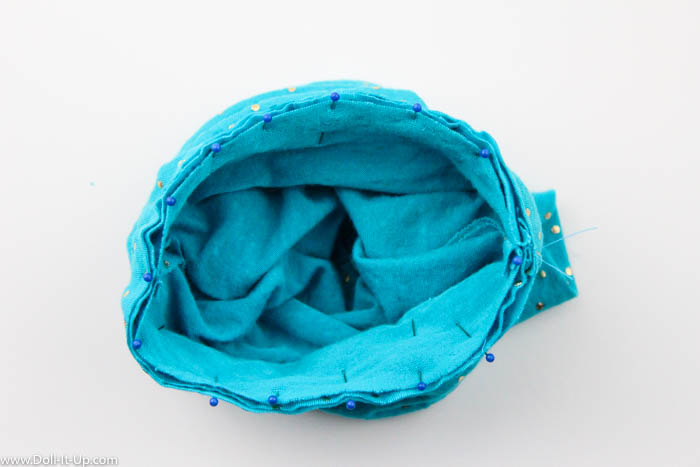
Open up the bottom with all the layers together. Pin the layers together at the side seams.
Hold the circle open to even out all the layers together. We want to evenly pin the layers together. Make your way across the circle pinning opposite sides to make sure the fabric is evenly distributed and not puckering anywhere.
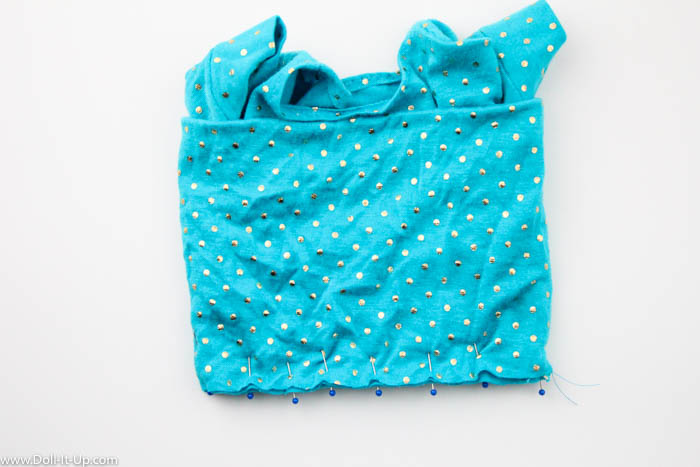
Here it is layed flat again after pinning.
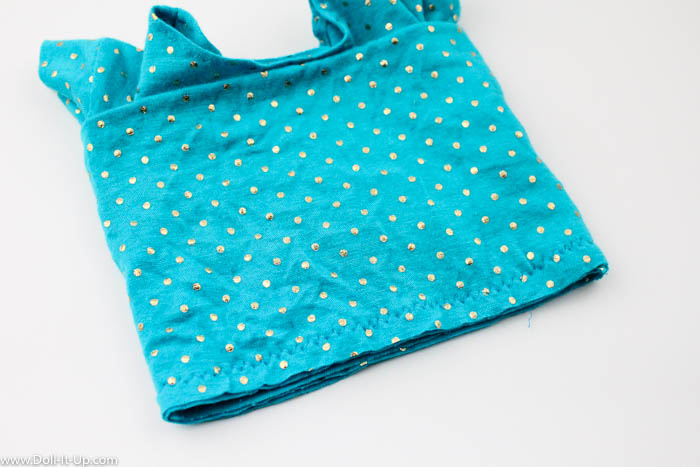
Stitch with a wide zigzag stitch, using 1/4″ seam all the way around the bottom.
Turn down the skirt and you are finished!
To add a belt cut a strip of the same fabric. Wrap it around the waist, right on the seam, and tie it to one side.
Now for some styling tips!
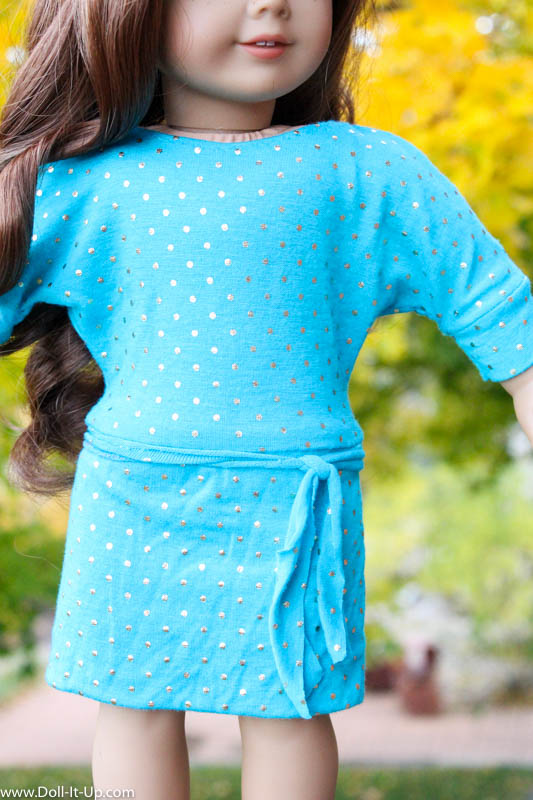
Here the dress is pulled straight down.
I like to push up the seam line slightly off the hips towards the waist. I love the way the top drapes. It does shorten the length of the dress a little. If you want the overall length to be 1/2″ longer, increase the second number in the rectangle measurement by 1″.
For example-
- Original: 13″x 9″
- Longer skirt by 1/2″: 13″ x 10″
You can make the skirt any length but changing the second number accordingly! I hope that makes sense!
It is fun to get different looks from the same pattern!
I hope you will enjoy the Dolman Dress!
I would love to see pictures of what you sew! If you want to share any of your Banded Dolman projects or variations, like this one, with all of us, you can send me a picture to anna@doll-it-up.com . Be sure to put Reader’s Gallery in the subject line. I am setting up a page to add your project pictures using the Banded Dolman Shirt pattern. It has been so fun to see your projects! It is such an inspiration, so thank you for all of you that have shared so far!
Anna



so cute!! I’ve already made three shirts, and will most definitely be making this dress!! thanks for the pattern!
Thanks Gianna!! I’m so glad you have enjoyed the shirt! I have loved making variations, like this dress. It’s so cool to get different looks with the same pattern!