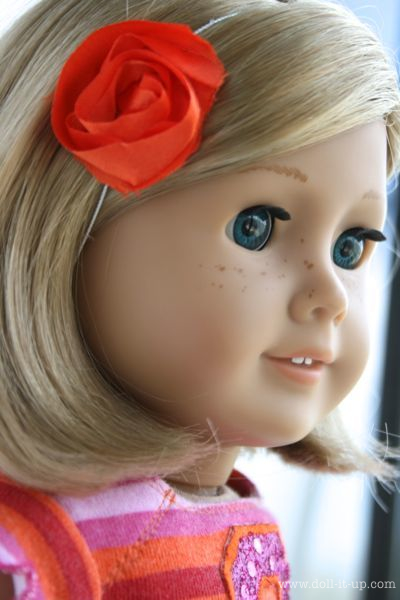
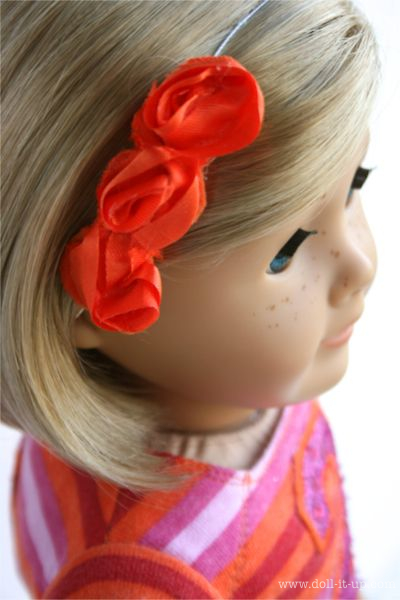
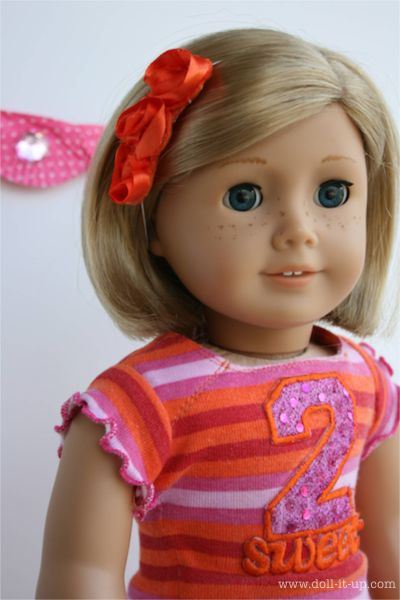
Are you sick of headbands yet? I know there is an abundance of headband tutorial on this little blog!!! Well, since my 14 month old daughter still tolerates them I’m afraid I keep making them! Then I make a doll sized version and share the headband love around. So I’m passing on some of that headband love to you! Today’s is a ruffle flower headband.
Here is a closer look at those ruffles and all their cuteness.
When my daughter was wearing hers recently someone said “Wow! You made that? It looks complicated!” The secret to the detail of the little flower is that I cheated. 🙂
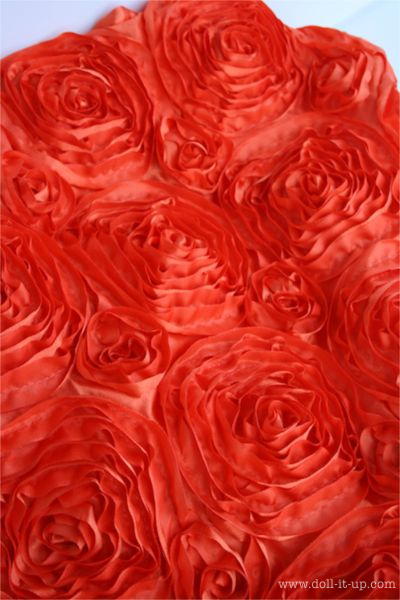
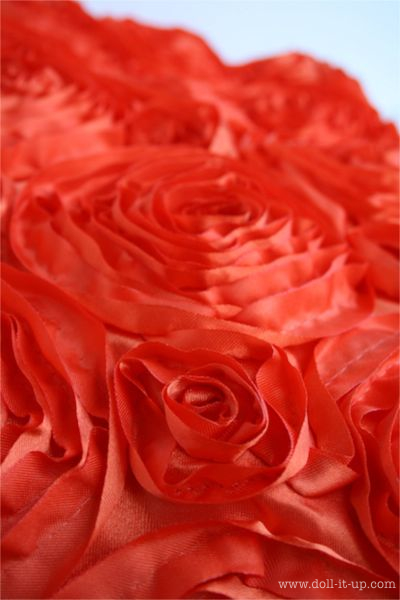
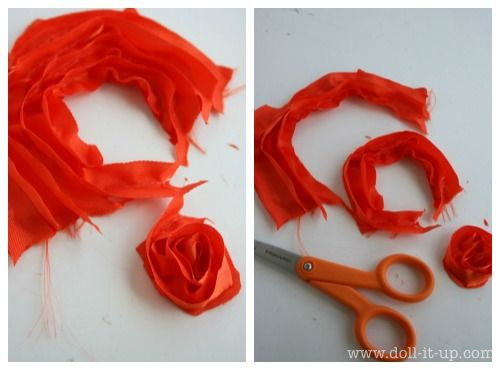
Yep, I cut it off of this pre-ruffle-flower fabric!
These days there are lots of ruffles, textures and dimensions on fabric and clothing. So whether you scoop up a piece of fabric like this for a project or have clothing that is worn out, grown out of, or ready for the giveaway bag, check to see if there are ruffles or textures that can be upcycled for a headband!
As for this little piece of fabric, I bought it on sale to make something for my daughter. I couldn’t wait to do something with these texturey flowers so I snipped a few off to try a headband! I didn’t cut into the fabric very far because I’ve got plans for it! So I used a large half flower on the edge and a small flower next to it.
I used up the whole section and experimented with getting the most out of the texture, ridges and ruffles.
I’ll walk you through what I came up with.
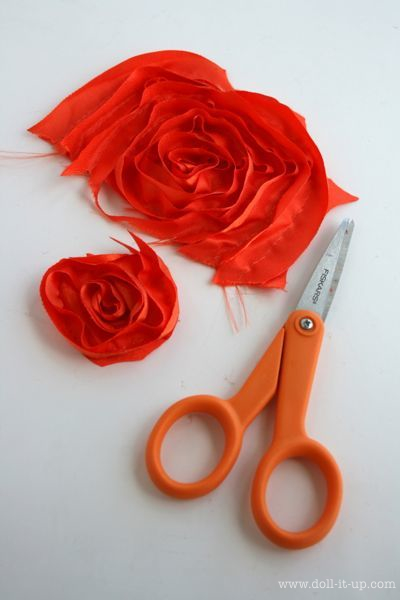
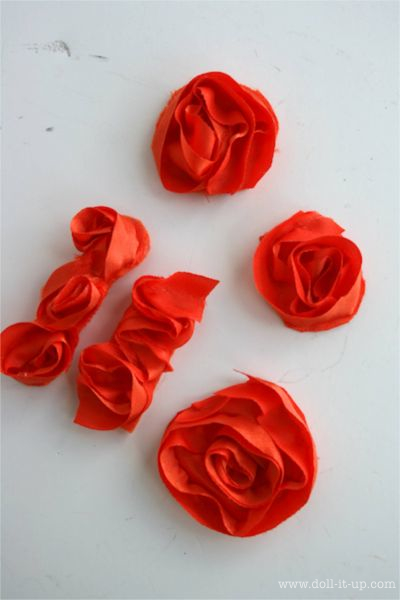
I started with the large half flower and cut out the perfect little flower in the center. Next I separated some of the rows by cutting in between them.
The center flower is so simple to work with. It is ready to attach to the headband. I will show that to you a little later.
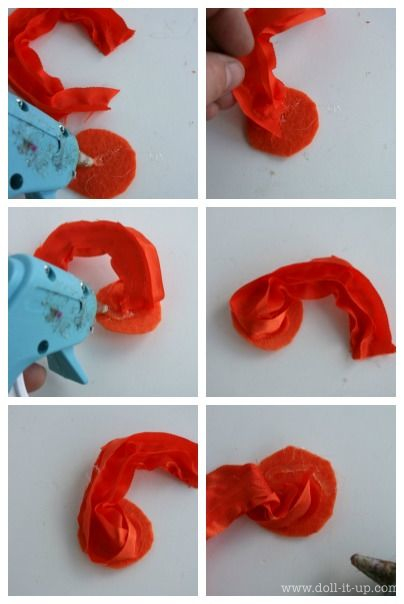
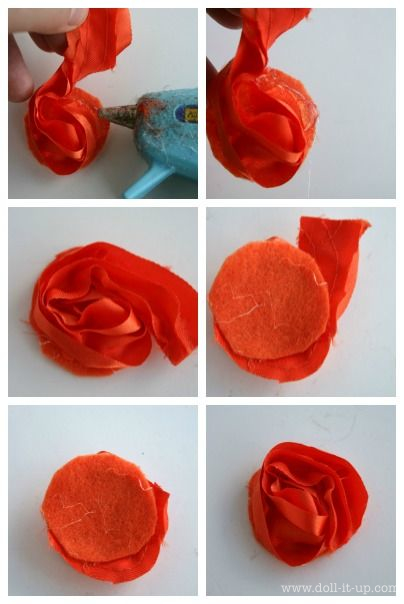
As for these rows I made use of their cuteness by glueing them into flower shapes. First I cut a circle out of felt the size I wanted the flower to be. Placing a little glue in the center of the felt I stuck the end of the ruffle in it. I continued glueing and wrapping the ruffle around in a spiral shape.
In the pictures below I am running out of space on the felt and adding my final edge of ruffle to the felt. The fabric hung over the edge. I flipped the flower over and trimmed the extra fabric off, using the felt circle as a guide.
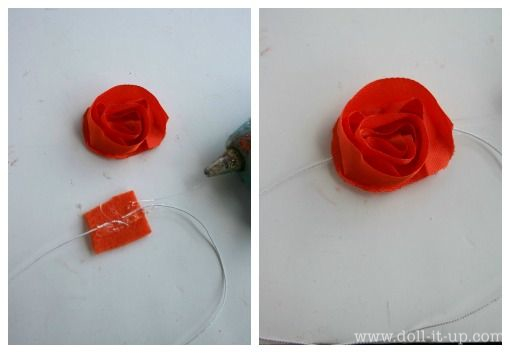
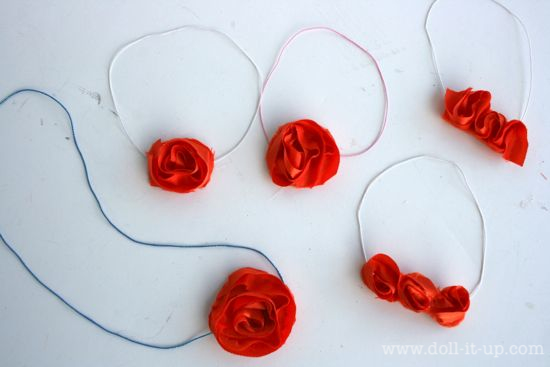
Now it is ready to attach to a headband. This part is the same no matter what variation you make. I cut a piece of felt that will fit on the back of the flower. Adding a strip of glue, lay the ends of the headband elastic in the glue. Set the flower on top and press it into the glue for a minute.
It’s ready to try on!
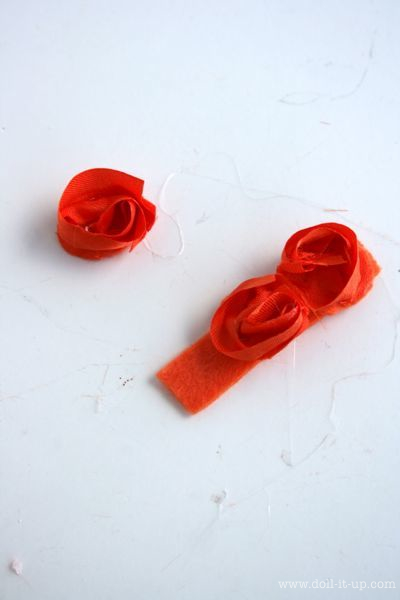
I have a couple other variations. In this variation I used smaller pieces of felt and made smaller flowers. I glued 3 small flowers to a strip of felt and made it into a headband.
It’s a fun little trio!
And a different look from the first version!
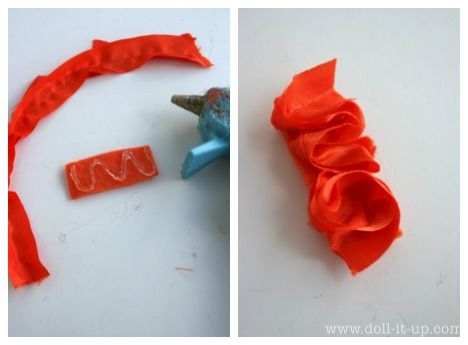
Last, but not least, I made a zigzag version. I took a strip of felt and put a zigzag of glue on it. I then took the strip of fabric and followed the motion of the glue back and forth, cutting the ends when I was done. I made this one last and like it the best! I can’t wait to try a baby size version!
Can you believe from a small flower and a half of a large one I ended up with this many headband toppers?
They soon all became headbands. Yes, you do spy a little flower for a little 14 month old!
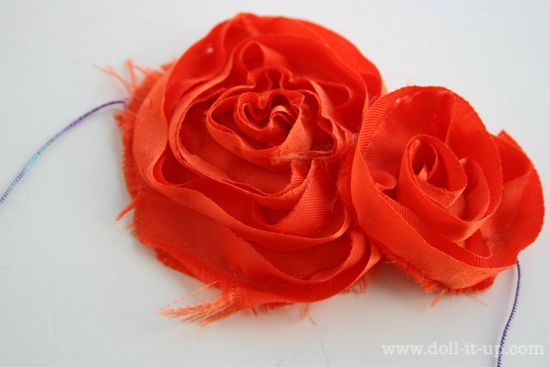
She has been wearing this double flower for a couple of weeks and I think a single bloom will be a fun accessory to take turns with! And since her headband has been through some wear and tear I wanted to point out the fray. This is a satin fabric and does fray over time. I personally like the look and see it as character. If you want to avoid the fray use a little Fray Check on the edges.
Headbands are quick little projects and are fun accessories!
They really add some fun to doll outfits (and a 14 month old’s wardrobe!).
The ruffles and textures that are so popular today on fabrics and clothing make this an easy peasy upcycle!
Anna


How long is the piece of elastic you cut for the headband? Or did it come pre-made?
For an AG head, 10 1/4 inches should do it. Try that length around your dolls head to make sure you like the fit. Good luck!
this is tooooo cute!!!! 😀 😀 😀