For my daughter’s birthday a few weeks ago I decided to finish a doll size oven I started 3 years ago. I had run into a few hurdles while making it, set it aside and it was time to finish it!
This is a repurpose project. I don’t know how helpful or interesting this will be for you because it is not something you can replicate exactly. I hope instead this can be an inspirational project that will be a springboard for ideas with your own projects. If anything, maybe this will motivated you to get out a project you haven’t finished and make a push to finish it. It does feel so good to get those projects lying around finished!
Before we get started I will give you a little background on the project, and what things went into the structure of the stove. Next we will touch on a few hurdles with the project and what solutions I can up with. Lastly we’ll look at how the details came together in a fun way for play! Let’s take a look!
PROJECT BACKGROUND
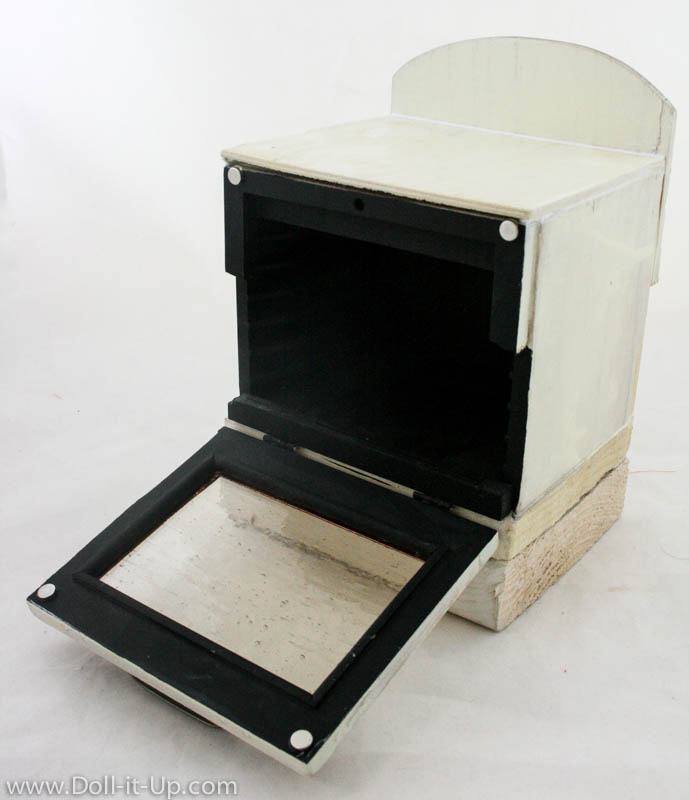
This is about where I picked up on the stove project a few weeks ago.
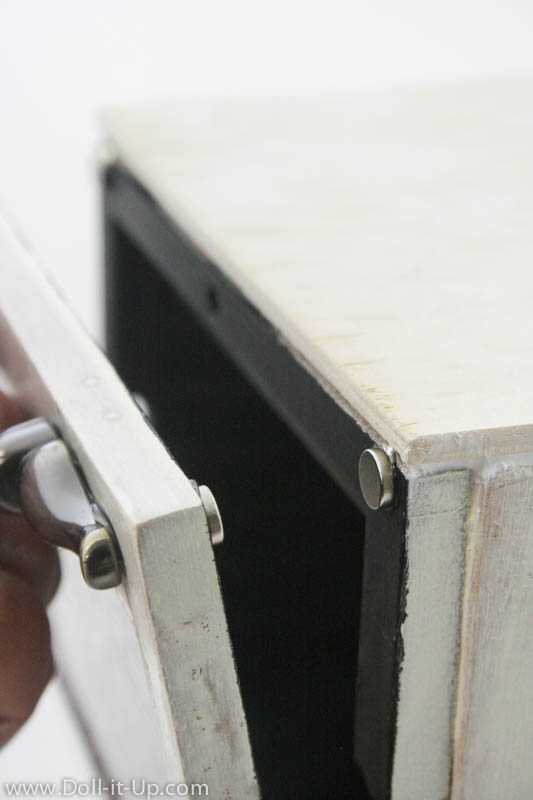
Actually the door always hung open like this.
The first thing I did was glued on magnets as a closure for the oven door.
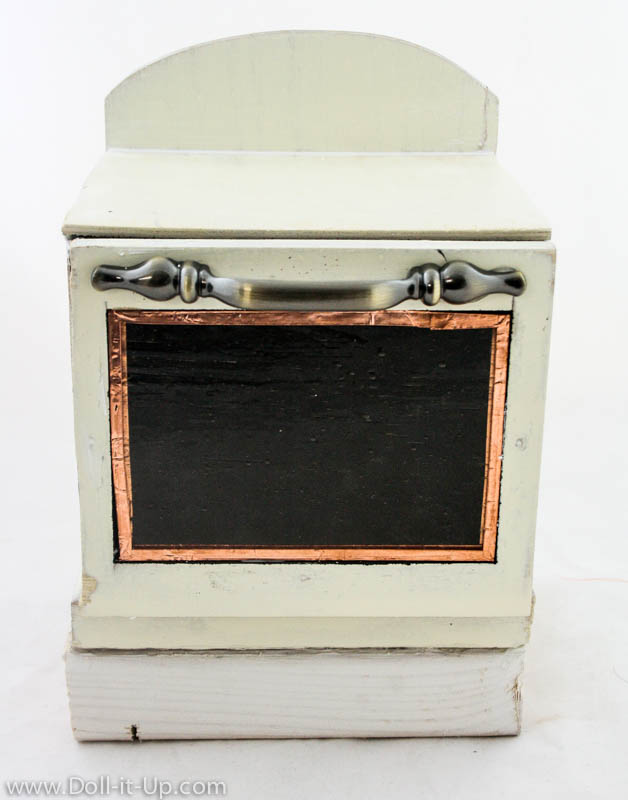
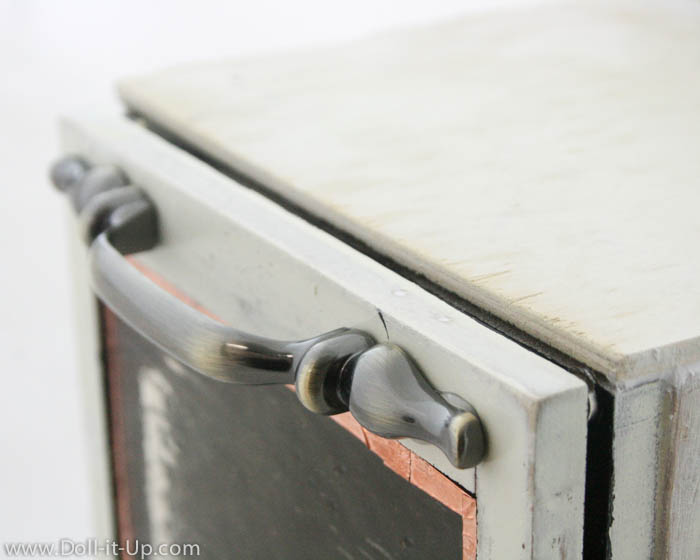
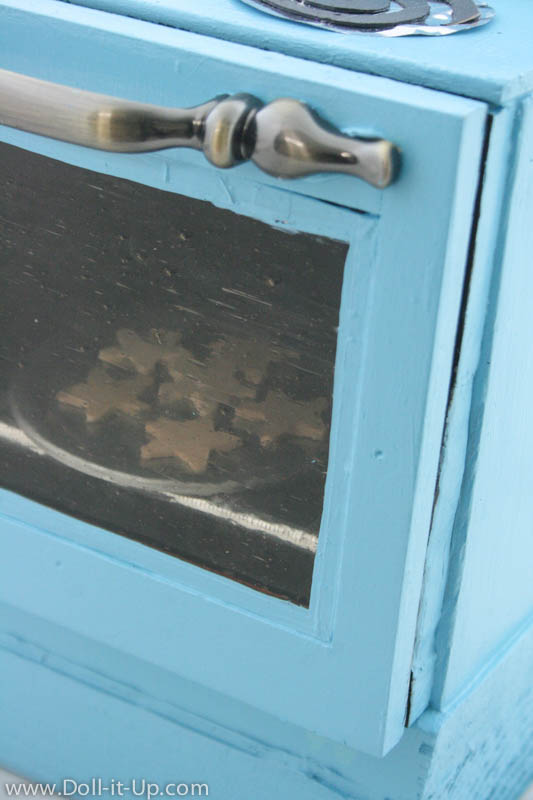
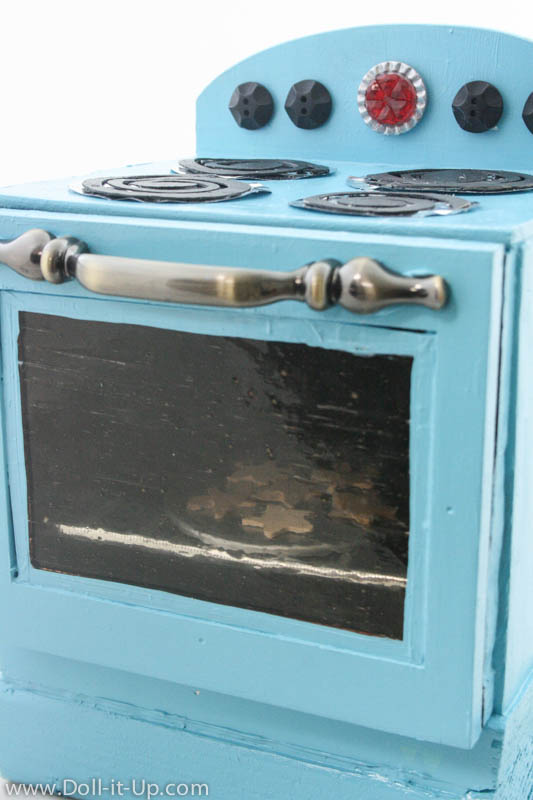
The next thing I added was the oven door handle. I picked it out 3 years ago from the cabinet hardware aisle at Home Depot.
STRUCTURE
Now let’s take a look at the structure of this little stove.
The main box shape of the oven was a hanging letter organizer I came across at the thrift store. It was all off-white and I painted the inside compartment black to be like the inside of an oven.
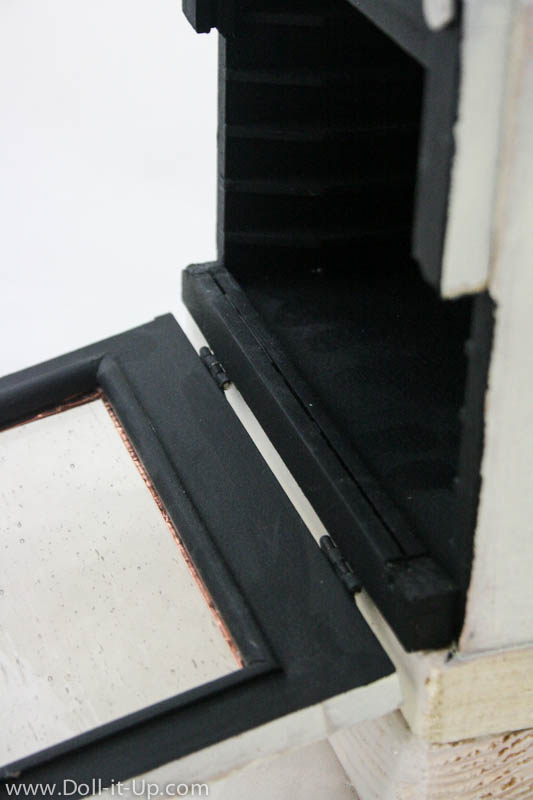
It was the “slots” for the letters that gave me the idea of a doll size oven because they were the perfect distance for oven racks. Below you can see the slots on the inside of the oven.
CONTROL PANEL
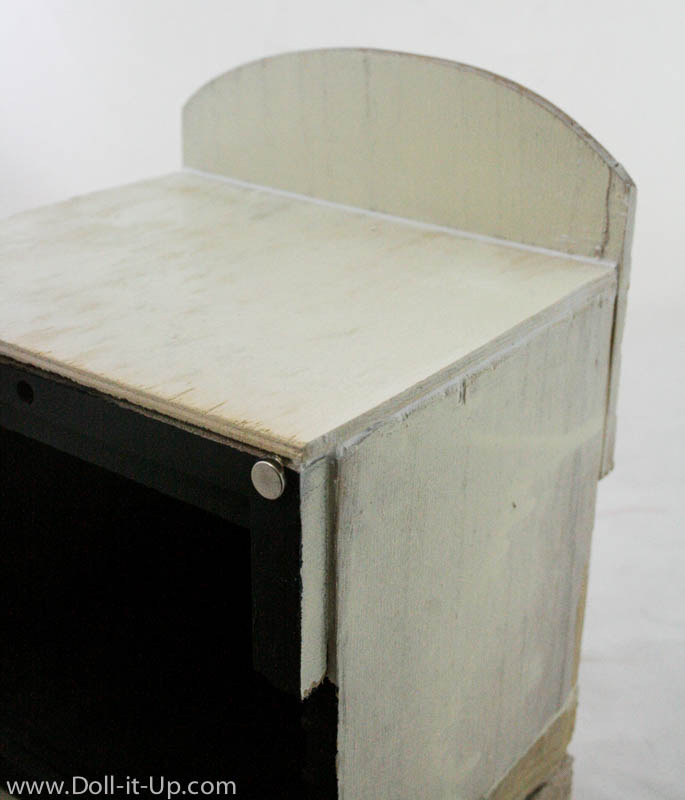
The arched back for the controls on the oven extended further up from the letter organizer. It had a picture hanger attached to the back so you could hang the whole thing from a nail. I shortened the arched back by cutting it off and repositioning it further down to be the right size for a control panel.
MAKING IT TALLER
The stove was too short for 18 inch dolls and the oven door looked more realistic raised up. I cut a 2×4 piece of scrap wood to the right size and glued the stove to the block of wood.
OVEN DOOR
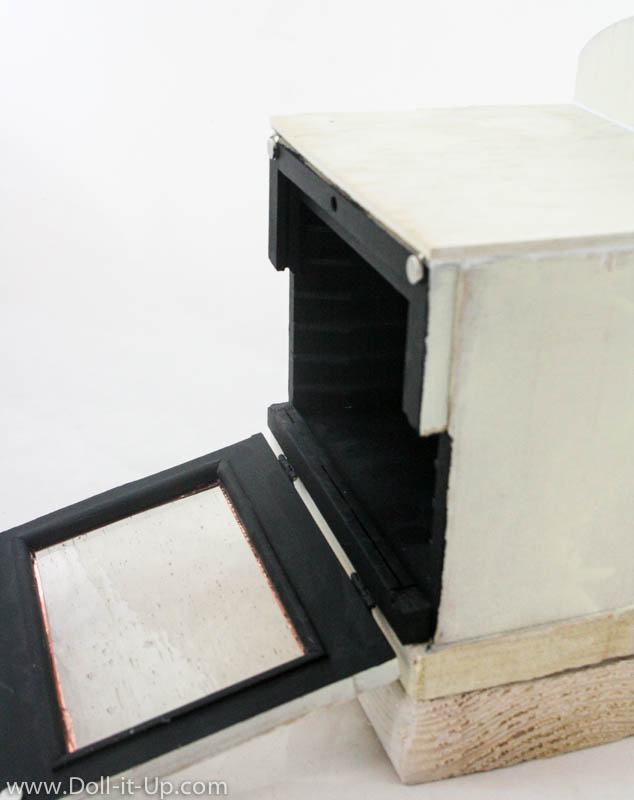
The oven door is a hinged picture frame, set on it’s side.
The opening on one side of the picture frame was perfect for the oven door. The opening on the connected picture frame was not big enough for the oven opening. To make it big enough, I cut the wood leaving a strip right after the hinges.
I trimmed and separated the outside edge of the picture frame to be the top of the oven opening. This left a gap in the strip of wood that trimmed around the oven opening.
OVEN WINDOW
The window in the oven door is made of real glass and trimmed with copper foil. Another hobby I have is to work with stained glass, so I had these items on hand.
The glass is pretty thick and sturdy. I did think twice about using glass on this project though. The main risk is the glass breaking and if it is used properly I don’t think this would happen. That being said my daughter is young and somewhat unpredictable. This little stove will be for play under my supervision. We enjoy doll play together each day so I will be able to keep an eye on her and make sure the stove is not used in a way that the glass could break.
FINISHING THE PROJECT
It is time to quickly finish up this half done project! The structure is there and it just needs color, an oven rack, some finishing touches and a stove top.
COLOR
I went with a fun color for the stove. Before painting, I filled in holes and the cracks with caulking without doing a super thorough job. This stove is a roughly finished project intended for play, so the fine details don’t matter that much to me.
OVEN RACK
One obstacle I ran into was to figure out how to make the oven rack. It has to be sturdy enough to set something on it while it rests on the oven slats. It also needs to look the part! I don’t want it to look like a shelf.
I really racked my brain on this one to come up with a solution that would work and look good.
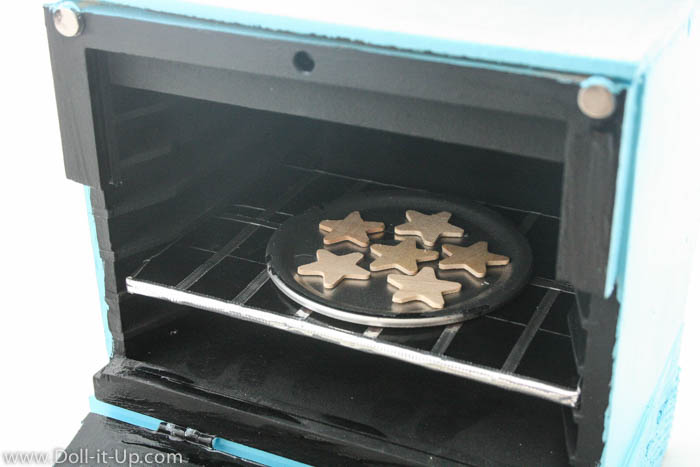
In the end the solution was easy. I used a piece of thicker cardboard and covered it in black duct tape. Then I cut a sheet of silver duct tape into strips and made a grid on the cardboard in the pattern of an oven rack. Finally I ran the silver duct tape strips around the outside edge of the cardboard. I could have used black paper and silver paper in the same way but I had the tape on hand and liked the look. It was also really easy to use the tape because I didn’t have to wait for any glue to dry.
TRIM AROUND THE OVEN OPENING
Another fix I made was to the trim around the oven opening. Where there was a gap I used a strip of cardboard folded to the size of the wood strip and glued it in place. If you look along the opening you can see the cardboard trim is not as smooth as the wood portion but it does the job! I am really happy with it because it looks a whole lot better than the gap left in the trim.
STOVE TOP
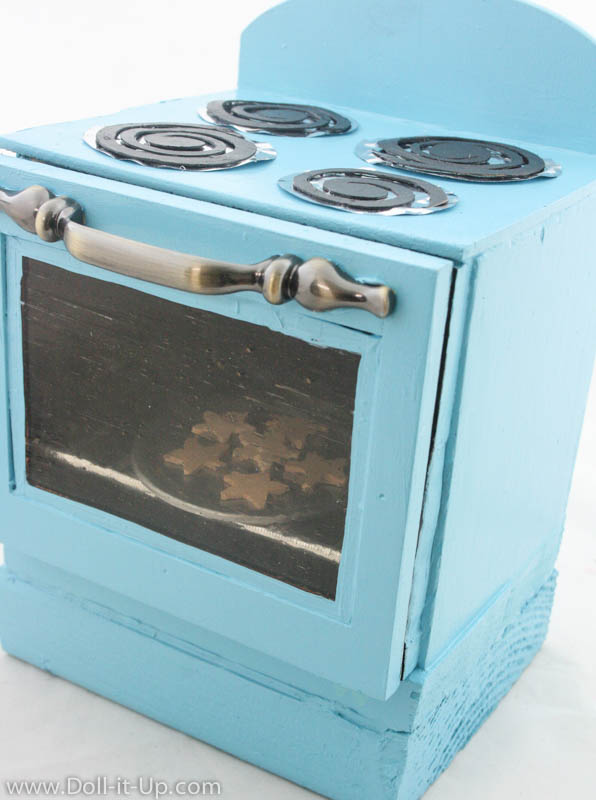
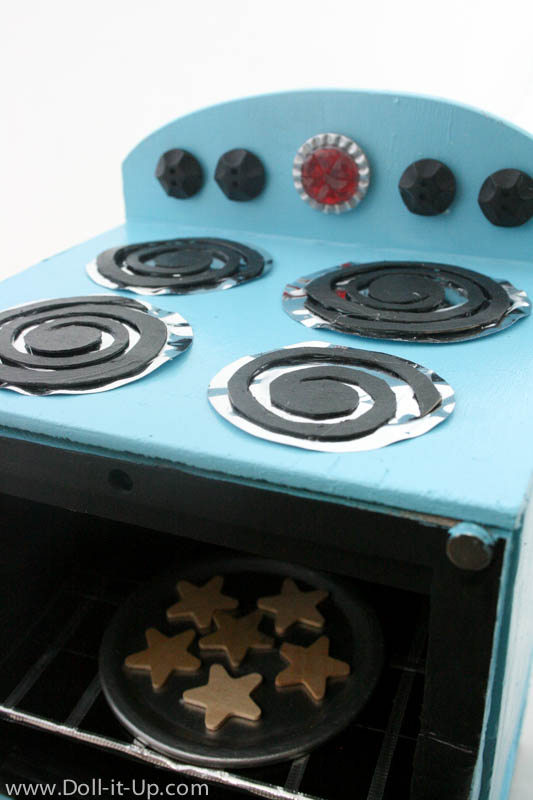
Another hurdle was the stove top. I considered a lot of options but in the end I wanted to be able to make it from things I already had around the house. I cut spirals out of thin cardboard and painted them black. I laid each spiral on a piece of silver paper cut into a circle . Each burner is sized a little different.
CONTROLS
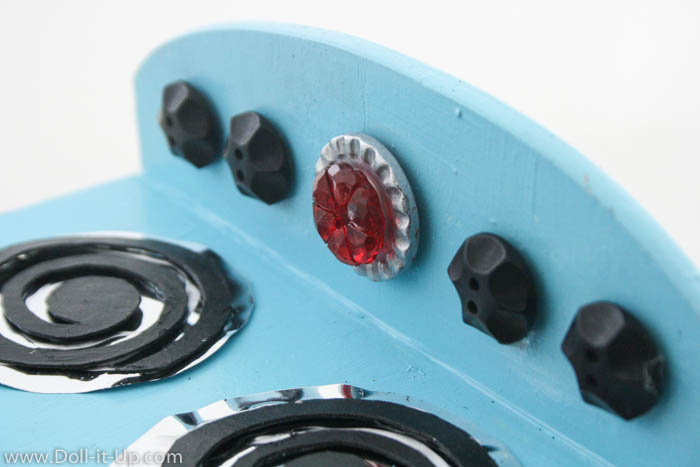
For the burner controls I came across these awesome buttons in my button container. I love the detail on them. They look just like a dial.
For the oven controls I used two buttons stacked together. I painted the bottom one silver.
READY FOR PLAY!
It was so nice to finish a project I started so long ago and it is perfect for my daughter right now. She is young and the wood makes it durable for play.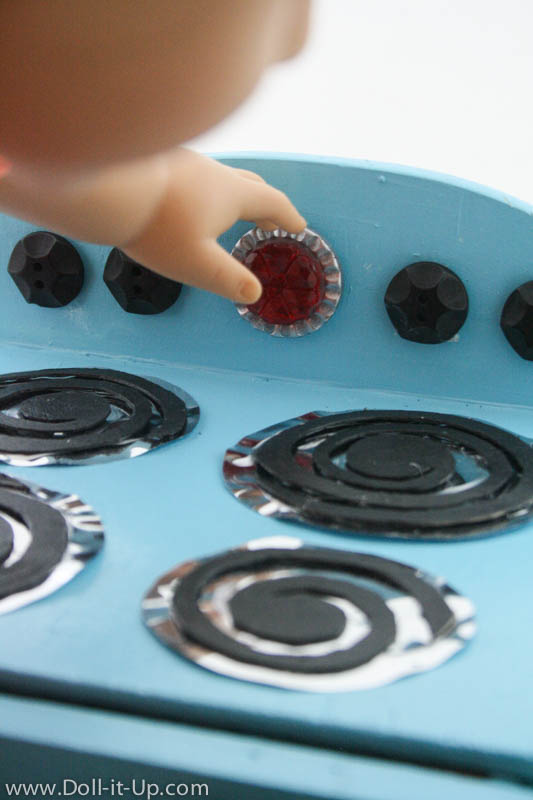
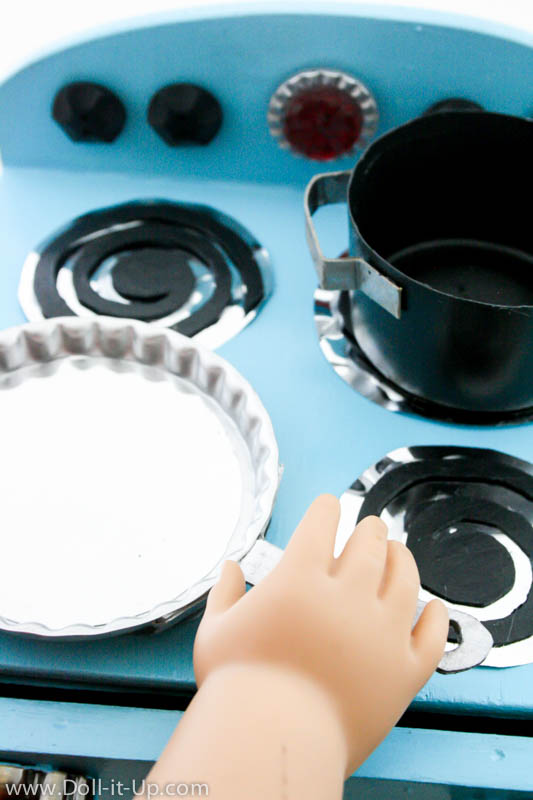
I made accessories to go with it. Here are the links to the pots and pans and the cookie sheet if you missed it.
I think the amount of details that came together are perfect for the project and perfect for play!
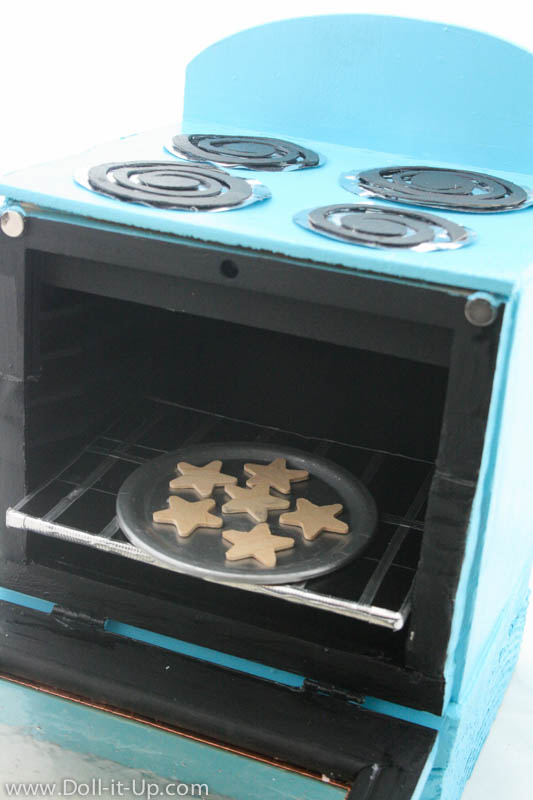
The silver on the oven rack catches the light and looks like a metal rack.
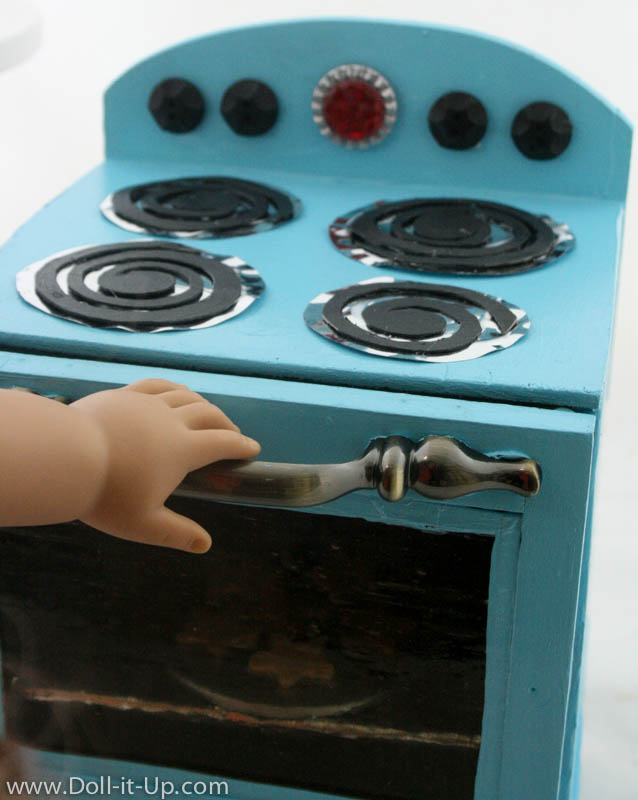
It is fun to be able to peer through the window in the oven door.
I love the dimension to the oven burners. 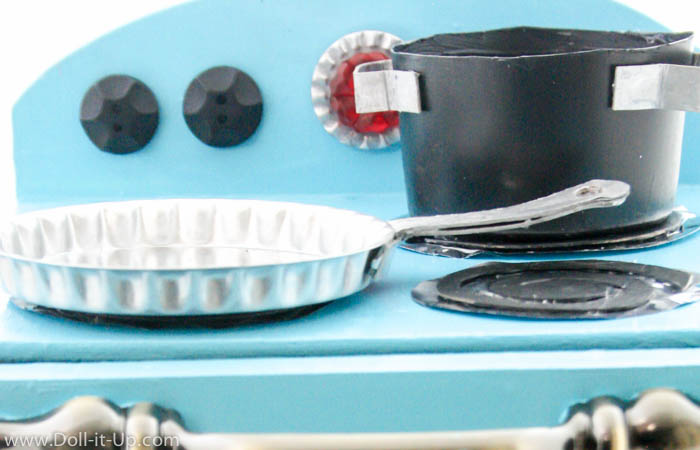
In the end, the things that were obstacles to finishing the project turned out better than I could have imaged. That is a satisfying way to end a project!
I hope that tidbits from this project will help you in your crafting adventures with doll size projects!
-Anna



This turned out really cute! I love how you cut the spirals for the burners. I have seen a lot of doll stoves where they used computer fan covers for the burners, but I like the look of yours better. It is so much better to use what you have on hand. I bet your daughter loves her new stove.
Hi Jen! Thank you! I do love when it works out to use things I have on hand! The stove has been a lot of fun since my daughter has been into “baking” lately!
This is so cute! I will do this with a little twirking and use a cardboard box. I am going to make a bottom compartment like on real ovens to store stuff in. This will be perfect for my bakery I am making. You gave me a ton of ideas
Rebecca, I love your plan and I would love to see what you make! I’m so glad some of the ideas were helpful!
Wow, you are so creative I love seeing people take ordinary objects and turning them into doll furniture or accessories. Such great ideas you have here! 🙂
Thanks Farrah! I usually share things that anyone can make, so thanks for letting me know that you still found this one interesting and fun!
I think your stove looks great. Lots of good ideas and a wonderful result. I love the colour too. I’m sure your daughter is very happy to have such a creative ‘playmate’.
I only recently came across your blog and really enjoy it.
Welcome Linda! She is my youngest and I know how quickly it passes, so I feel lucky to have her as my playmate for a season! 🙂 Thanks for stopping by and connecting!
Adorable Stove!!!! Your daughter must’ve loved it!!!! Lucky girl she is!
Thank you Makenzie!