We are on a journey to refinish a dollhouse out of a shelf . Don’t miss Part 1-{getting started}, and Part 2 {choosing the base}.
———————————————-
Roll up your sleeves we’ve got some work to do today! I am calling part 3 prepping for fabulous! We are prepping the dollhouse for paint and if we take care of all the details right now we will have a fabulous finish in the end. It can be a big step because it includes the changes, adjustments, repairs, and sanding that all needs to be done before the paint goes on. It is well worth it because careful prepping will make the final product so much better! In other words don’t rush or skip this step!
Although every shelf is different I have found basic things in common with each shelf I have refinished. Yours may not be exactly like the one I am refinishing in this series but I will give tips for prepping that apply to most shelves. While I am not an expert at refinishing furniture I hope by sharing what tools and techniques I use will help point you in the right direction for your own project and give you confidence to succeed!
Changes and Adjustments
Prepping includes making some minor changes to your shelf to help transform it into a dollhouse! To keep things simple I went with a shelf that had the basic structure and elements that would work for a dollhouse, so only minor changes were needed. This makes things easier but another reason I went this route was because I don’t have many tools or know-how to make very many changes. If you do have the knowledge and tools you can run with it and make this project as involved as you are comfortable with!
Changes and Adjustment May Include:
- removing hardware
- removing shelves
- removing supports
- removing cupboard doors
Removing Hardware
Here is a list of he most common hardware I have found to remove:
- hinges
- latches
- drawer tracks
- shelf brackets
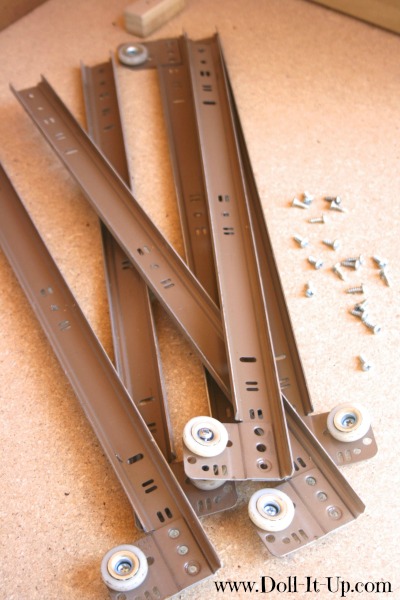
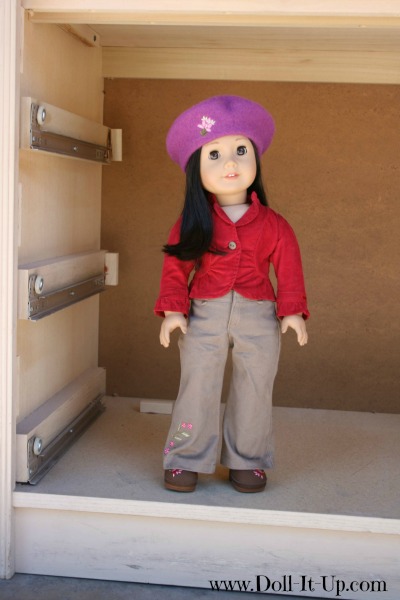
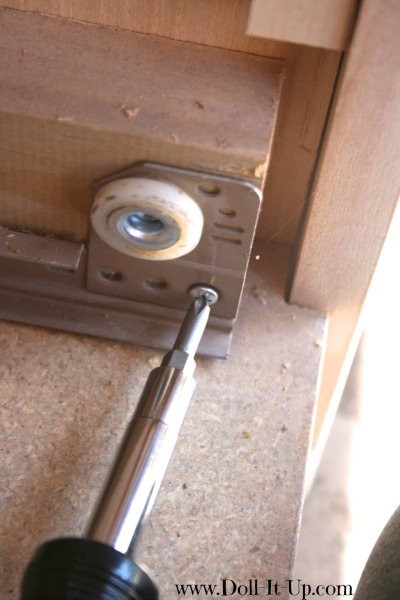
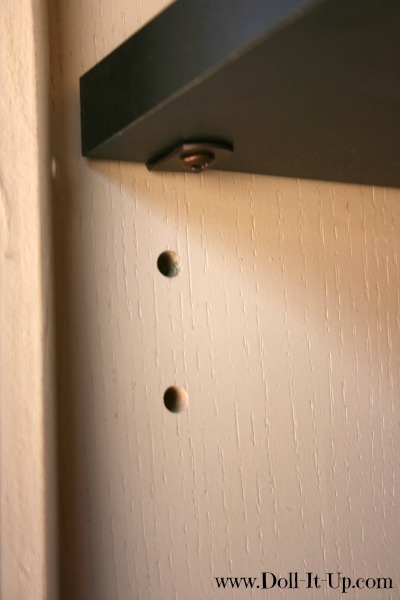
Our shelf has drawer tracks that need to be removed.
Usually the hardware is easy to remove with a simple screwdriver or you can get the job done quicker with a electric screwdriver.
Removing Shelves or Supports
Depending on the construction of your shelf you may need to remove a shelf, or wood strips that support a shelf. In our case the wood supports were for the drawer tracks. I will show you how we removed them and hopefully it will be helpful for you if your supports or shelves are attached in a similar way.
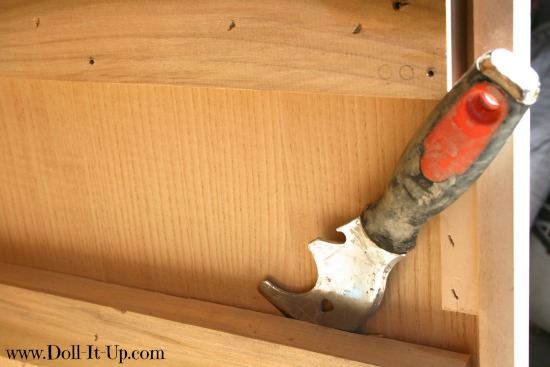
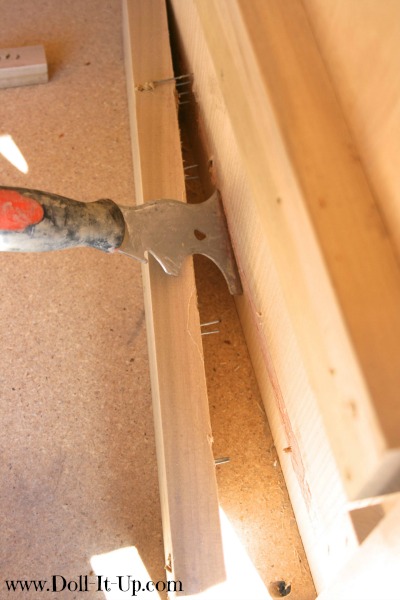
I used a 5-in-1 Painter’s Tool and a hammer. This tool is amazing for the job. Place the angled edge of the tool between the board and wall and with a hammer pound on the flat end.
Pull the tool down and the boards will pull apart.
Our boards were nailed down pretty good so we had to repeat the process all along the board. Our boards were glued, in addition to the nails, so it was a little more work to get them off.
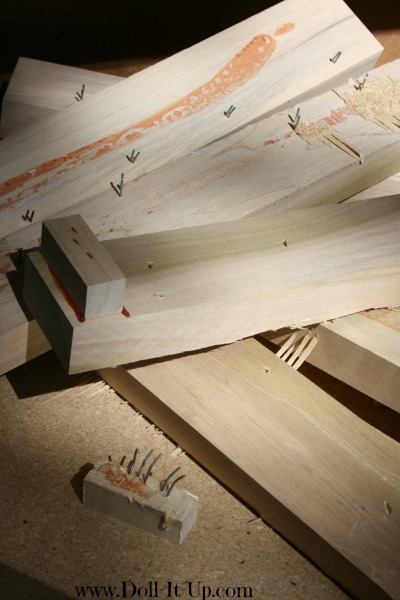
Carefully discard he boards that have nails sticking out so no one gets hurt.
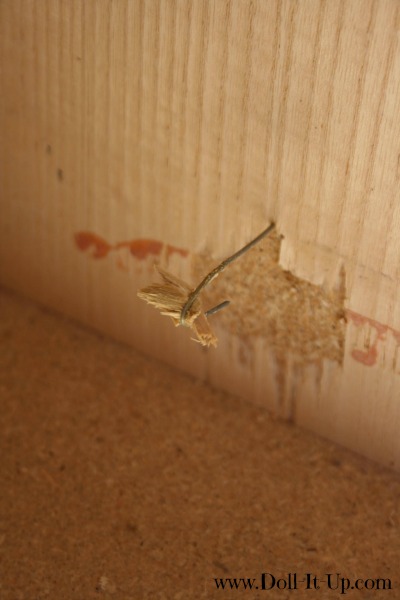
Sometimes when removing a wood strip a nail may stay behind. If you have any stray nails there is a handy tool to remove them.
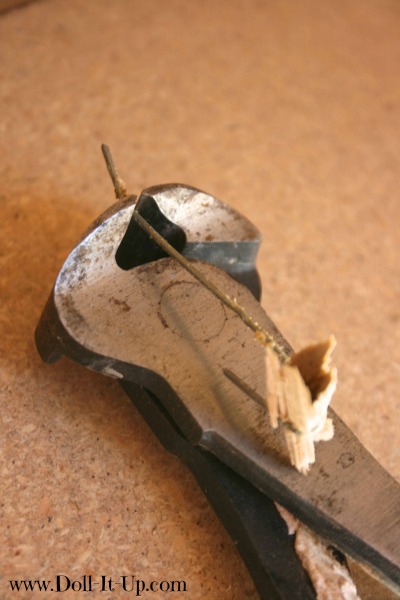
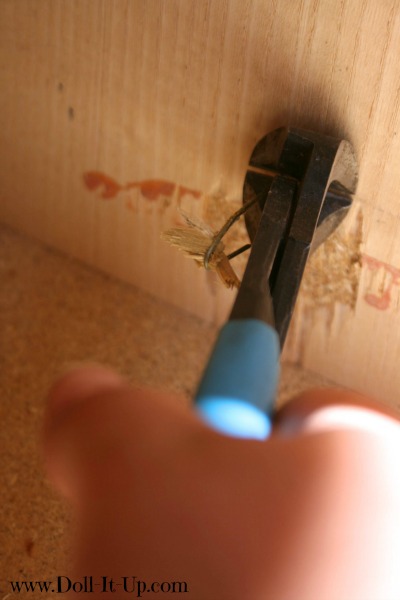
The End Cutting Pliers work wonders because of it’s rounded face.
To remove any stray nails grasp the nail with the plier face snug against the surface. Roll the tool down and it will easily pull the nail out.
Repairs and Sanding
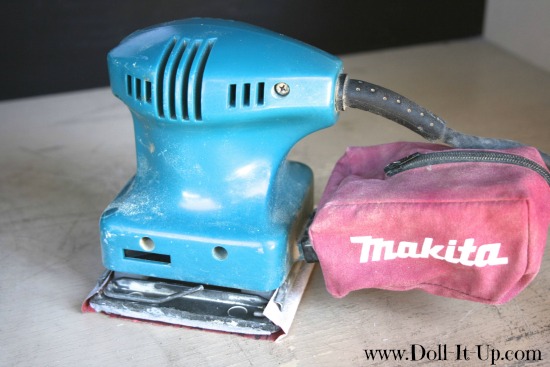
Sometimes your shelf will need a few repairs. Now is the time to take care of any repairs that need to be done. Repairs can vary by the condition of the shelf and the changes you made. I will share the repairs we made and details for the final prepping of the surface for paint. There are two main tool we used for repairs and sanding, an electric sander and wood filler and I’ll share tips for using both!
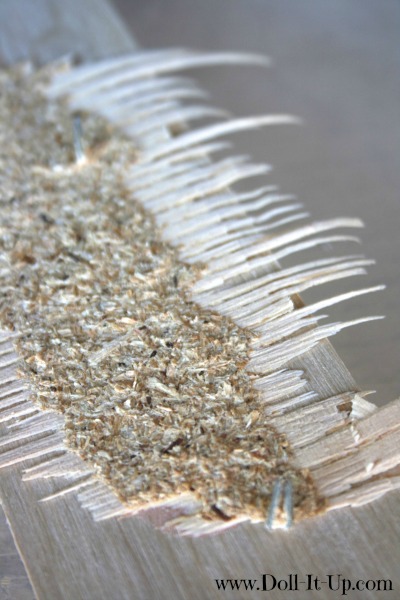
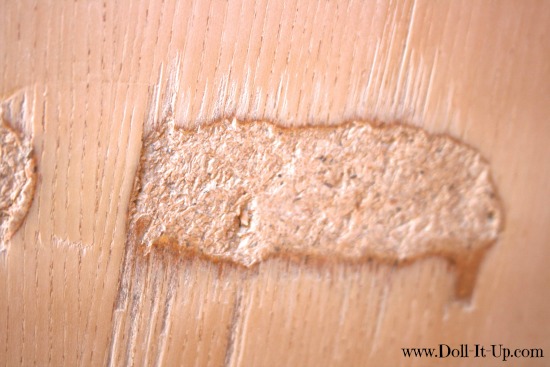
Here is an example of the main damage we needed to repair after altering the shelf. 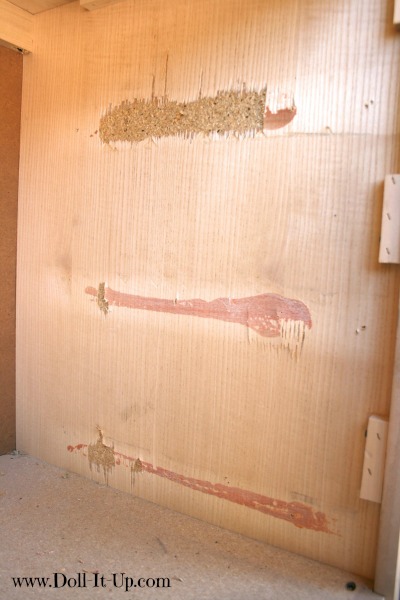
While removing the strips of wood we realized they were glued on in addition to being nailed in place. The glue pulled off some of the wood veneer on the surface and left glue residue in some places. This was disappointing because it meant more work!
Electric Sander
An electric sander made the job so much easier! Even if you don’t need a sander for repairs you will want hold onto it for prepping the surface overall for paint.
Here are some tips for using the electric sander:
- Use a dust mask whenever sanding
- Test out sandpaper in an inconspicuous place on your project first.
- Lower numbers on the sandpaper indicate courser grit paper
- Higher numbers on the sandpaper indicate finer grit paper.
To make our repairs we needed to remove glue residue and smooth out the scars left from the glue pulling off the wood veneer. To remove the glue residue we used 60 grit sand paper. To smooth the scarred areas we used 100 grit sandpaper.
Wood Filler
Wood filler saved the day to fill in the areas where the veneer was pulled off.
We applied the wood filler with a putty knife and allowed time for it to dry.
Wood filler will also work to fill holes. Be sure to follow the directions on the packaging for a great finish!
When everything is completely dry, lightly sand the areas you added wood filler with 200 grit sandpaper.
As a final prep for paint be sure to:
- Go over all of the surfaces of the shelf with 200 grit sandpaper.
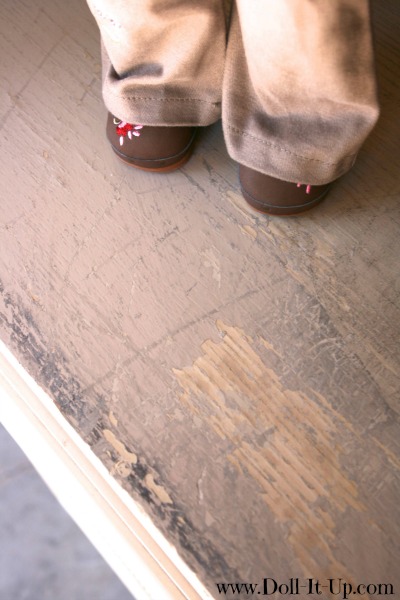
- Remove any peeling paint by scraping and sanding
- Make sure areas where you used wood filler are flat and even.
- Vacuum shelves and work area.
- Wipe down all the surfaces with a rag to catch any remaining dust.
Phew, prepping was a lot of work! I feel like I went on and on! I wanted to share details of our experience just in case it might help those of you that want to refinish a shelf into a dollhouse. Spending time prepping is well worth it because in the end it is what affects the look of the finished product the most!
Next up interior paint!
-Anna


Nice job! This really shows that girls CAN do anything! Have a nice day!
That’s right, feel empowered with the tools! 🙂
Lol I can’t use tools I’ll break my self I only have 7 fingers
Wow Anna! You have been working very hard at this, impressive.
Thanks Rhonda. Wood working is new to me. I wanted to share what I learned if anyone else may be intimidated of this type of project. It is work but definitely do-able!