Accessories are one of my favorite doll crafts! They add fashion and variety to the doll wardrobe.
THE BEST is that accessories are quick and easy crafts. It’s an afternoon craft project to make with someone you love!
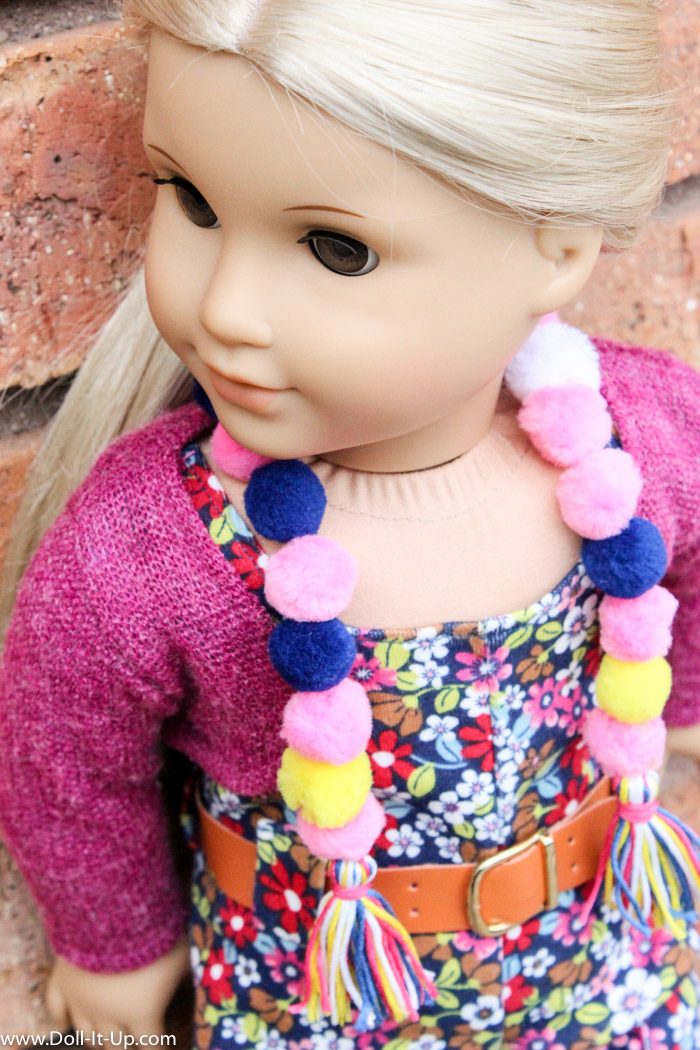
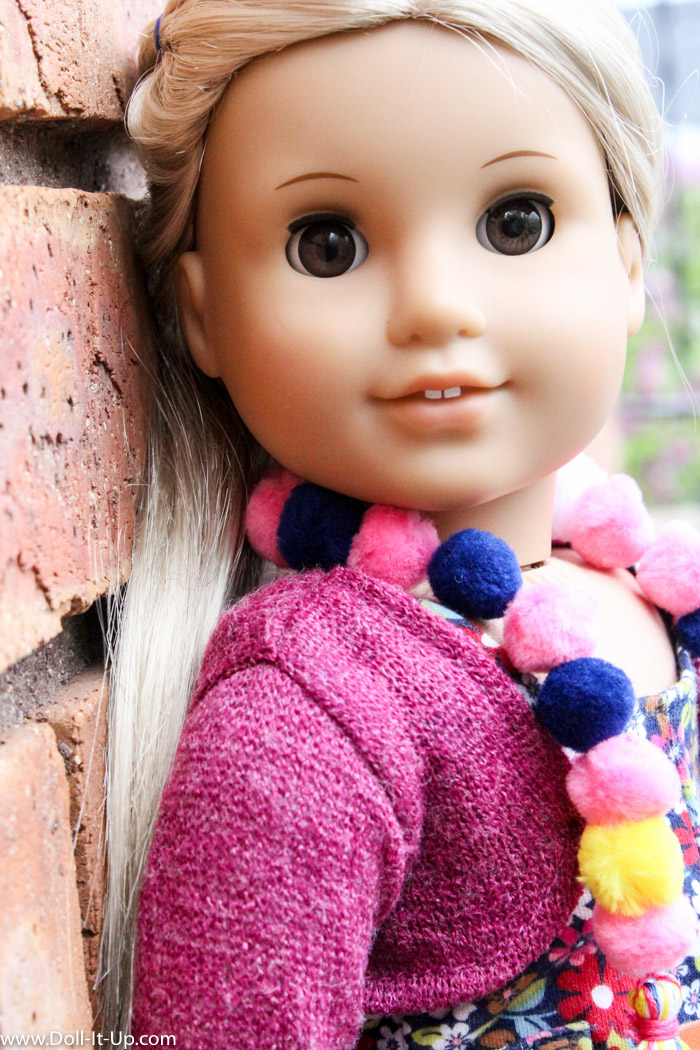
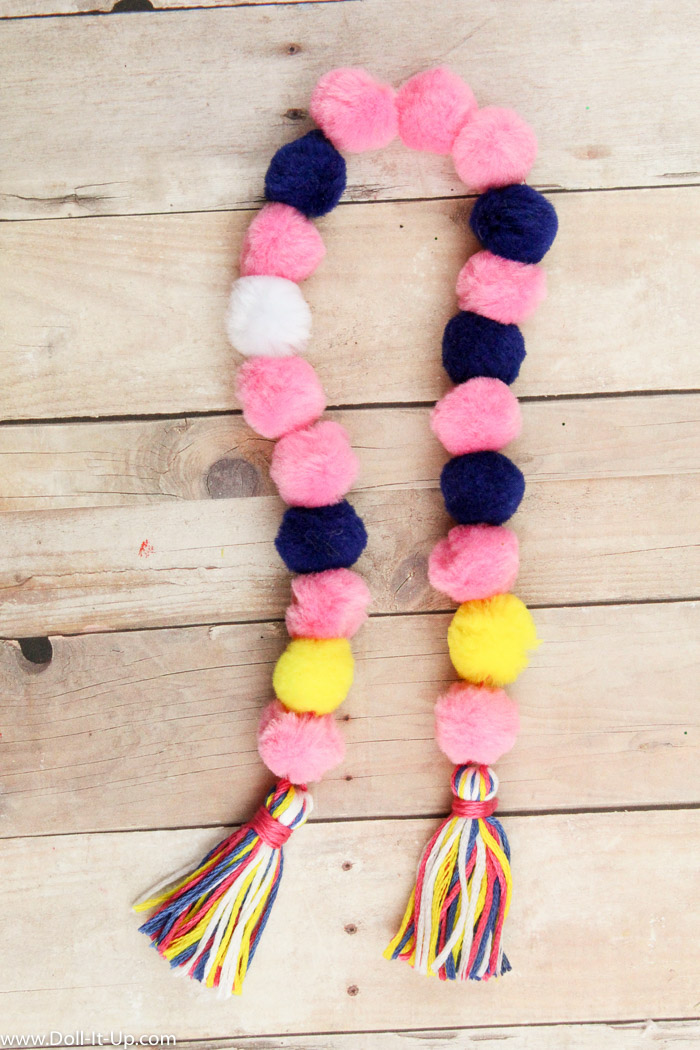
Today we are making a colorful scarf.
The star of today’s accessory is a basic kids craft supply, pom poms. They come in a variety of sizes and colors, so the looks are endless!
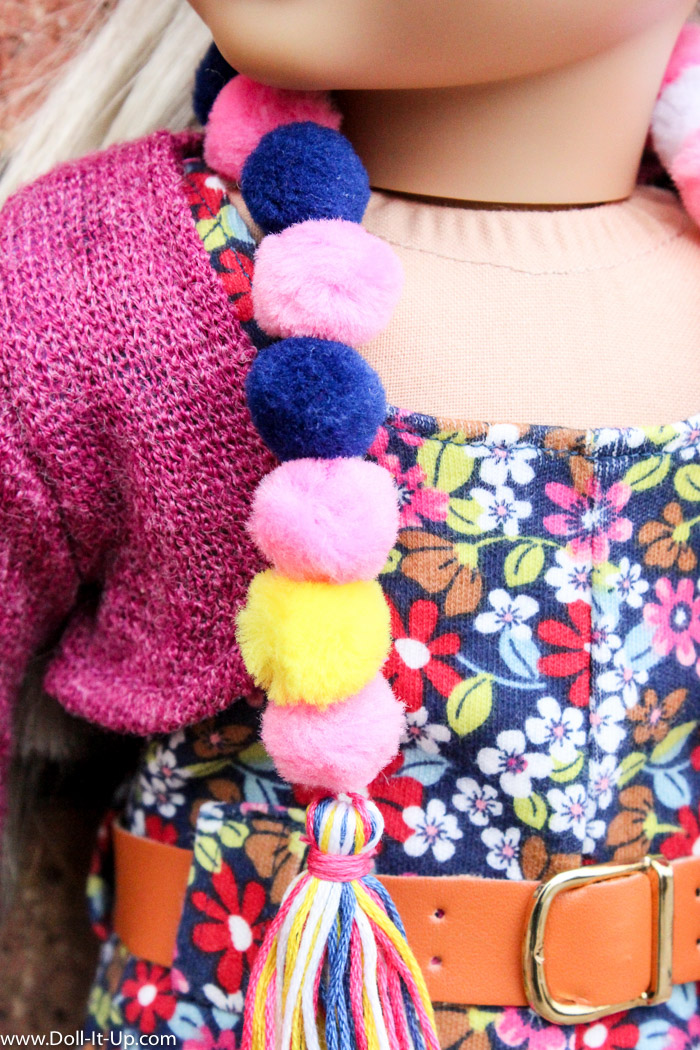
We finish off each end of the scarf with a colorful tassel.
Have you made your own tassels before? Fun and easy are the two words I choose to describe these bundles of thread. Note: I am tasseling my world these days. TRY THEM! You might be hooked on tassel making too!
Let’s Make a Pom Pom Scarf!
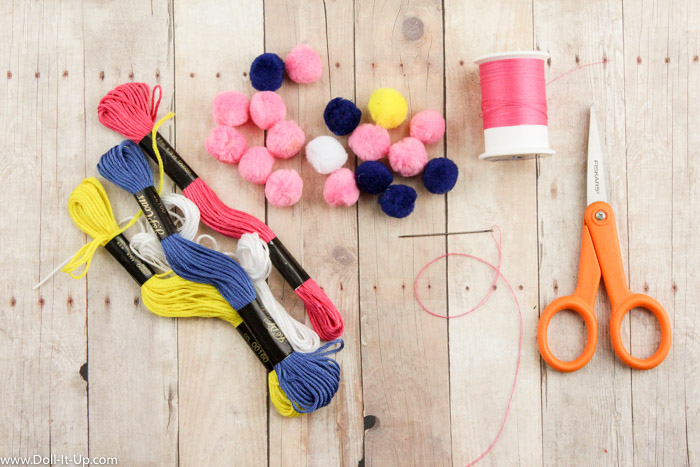
Supplies
- pom poms
- embroidery floss
- needle
- scissors
Note: You won’t need the spool of thread like pictured below.
After making this a few times I learned a few things. One is that I like using embroidery floss better than just regular thread. With embroidery floss there are 6 strands twisted into 1 strand. We split the main strand down to 3 strands and it is still more substantial and sturdy for this project. It is easier to work with than several pieces of regular thread.
The other thing I figured out, stitch a knot onto the end of each pom pom, to hold it in place. If you just string together the pom poms without securing each one, they slide around too much and tend to bunch and smash together. Believe me, it’s not a good effect!
I’m getting ahead of myself though, I’ll show you how to put this little scarf together step by step. Let’s get started!
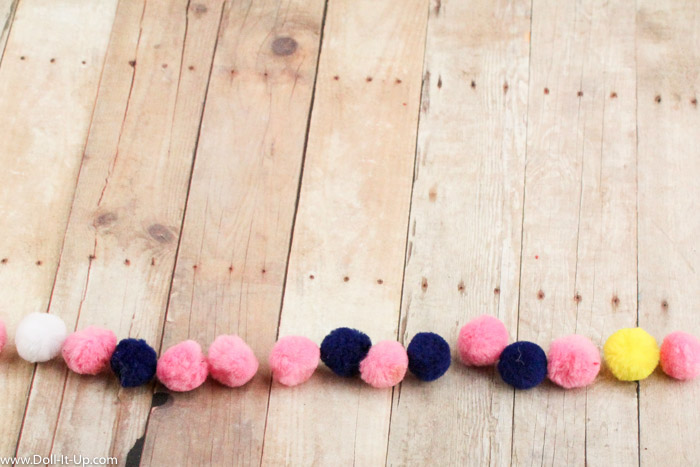
Lay out the pom poms in the color order you want. I used 20 pom poms for this scarf. Your pom pom size may vary. Lined up, they should measure 12″.
Divide the Threads
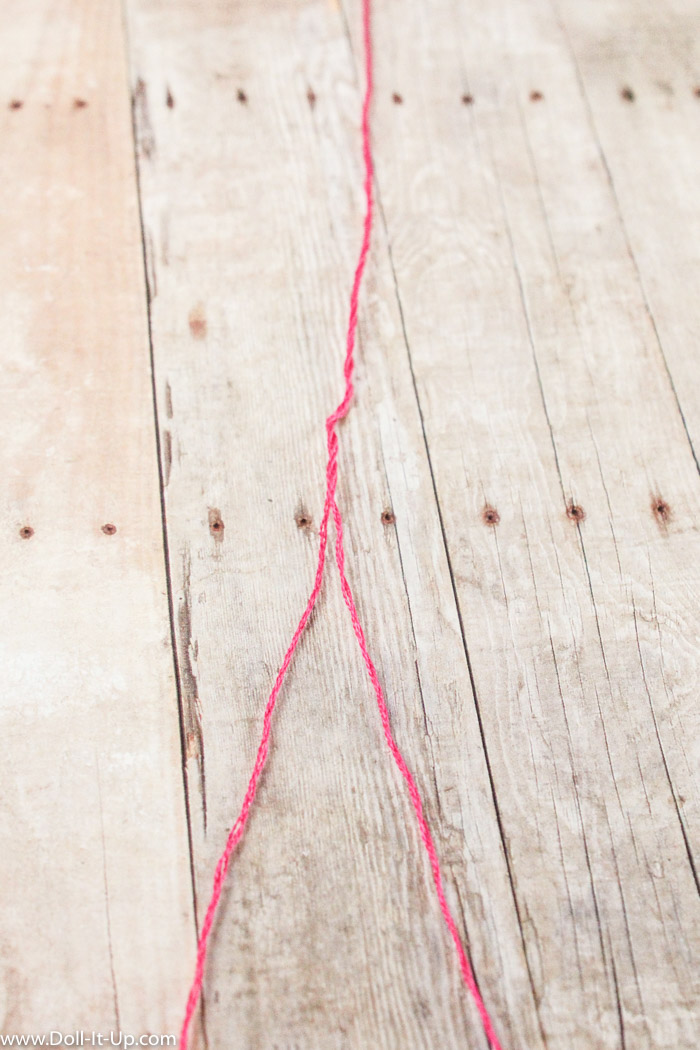
Cut a length of embroidery floss to 20″. Embroidery thread comes with 6 strands wound together into one strand. This is too thick, so split the strand into two sections of three strands.
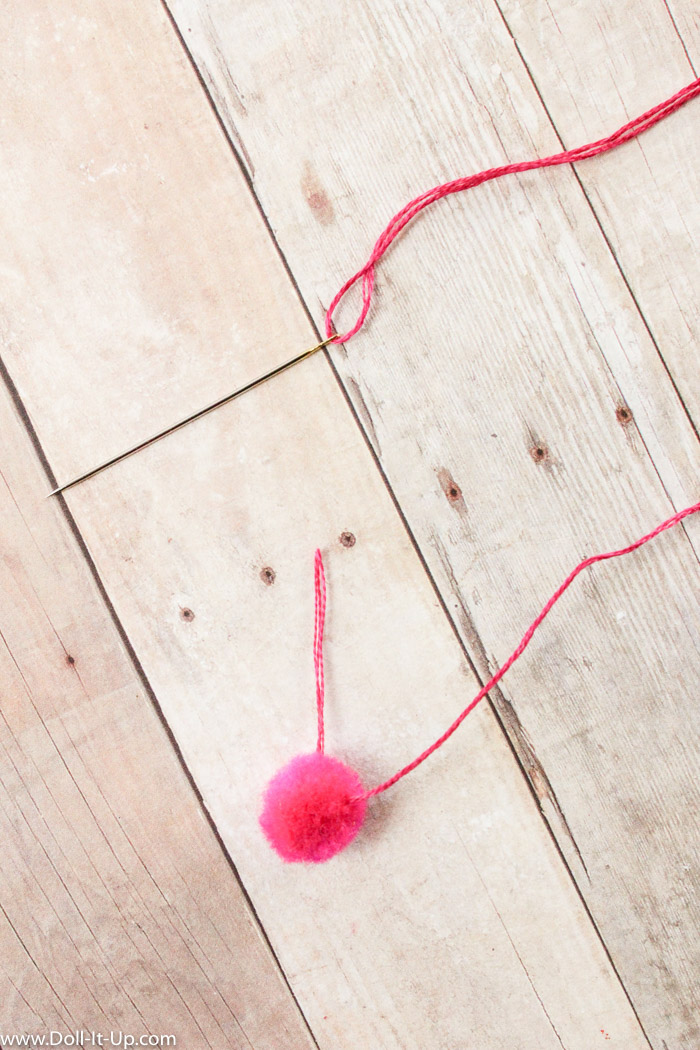
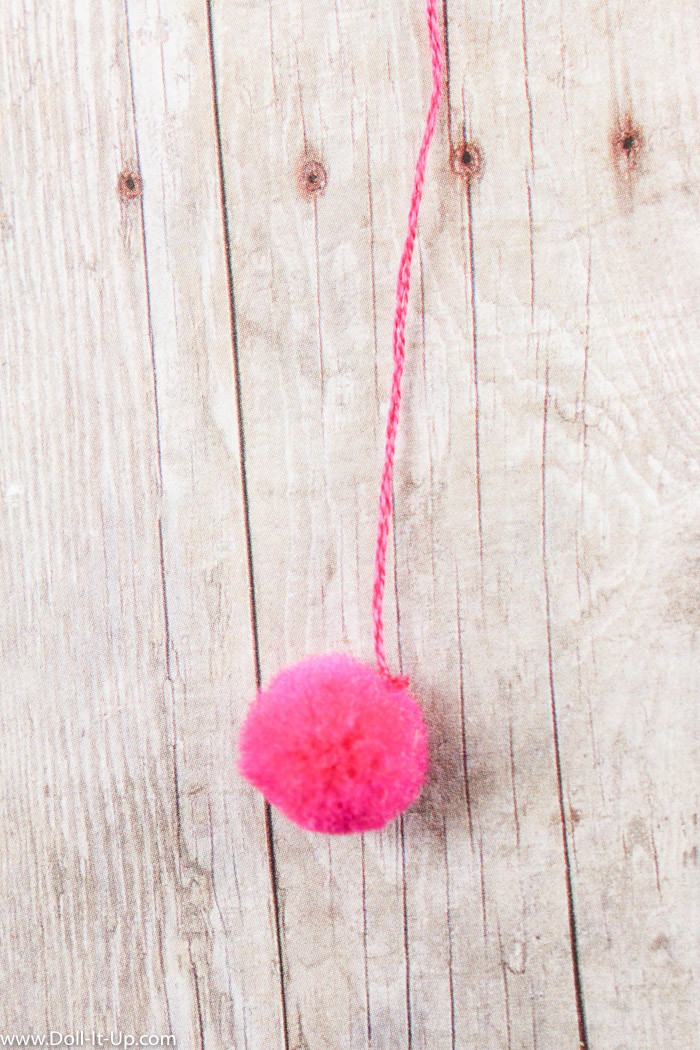
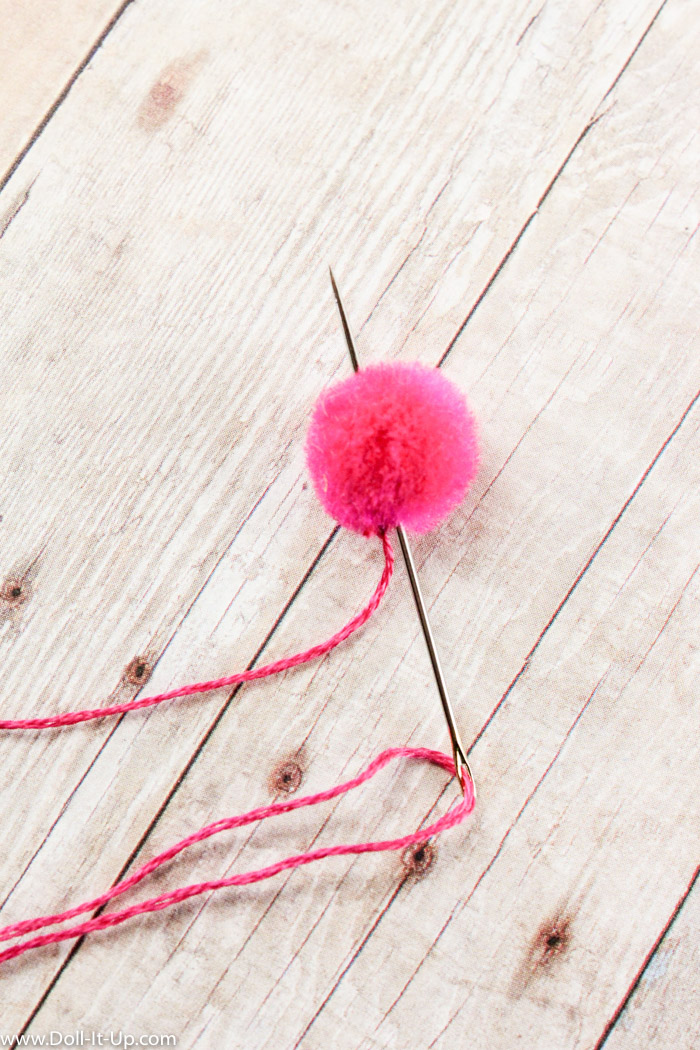
Thread the needle and pass it through 1/3 of the pom pom. Leave a couple inches of thread sticking out.
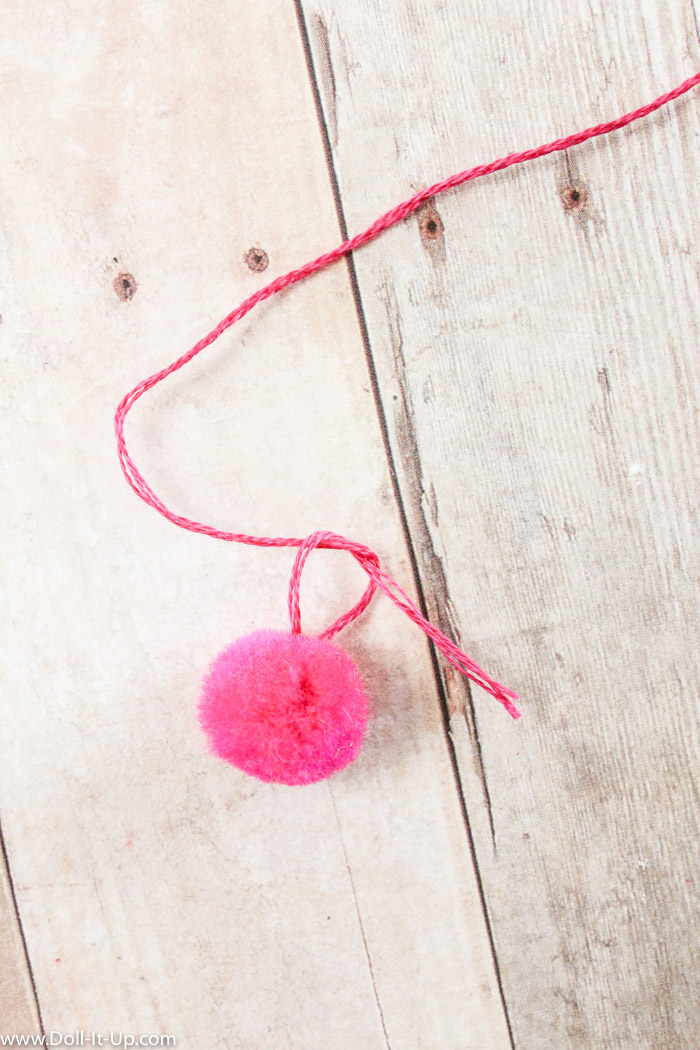
Tie a square knot using the thread end.
Trim the thread end.
Sew through the center of the pom pom, entering right next to the knot.
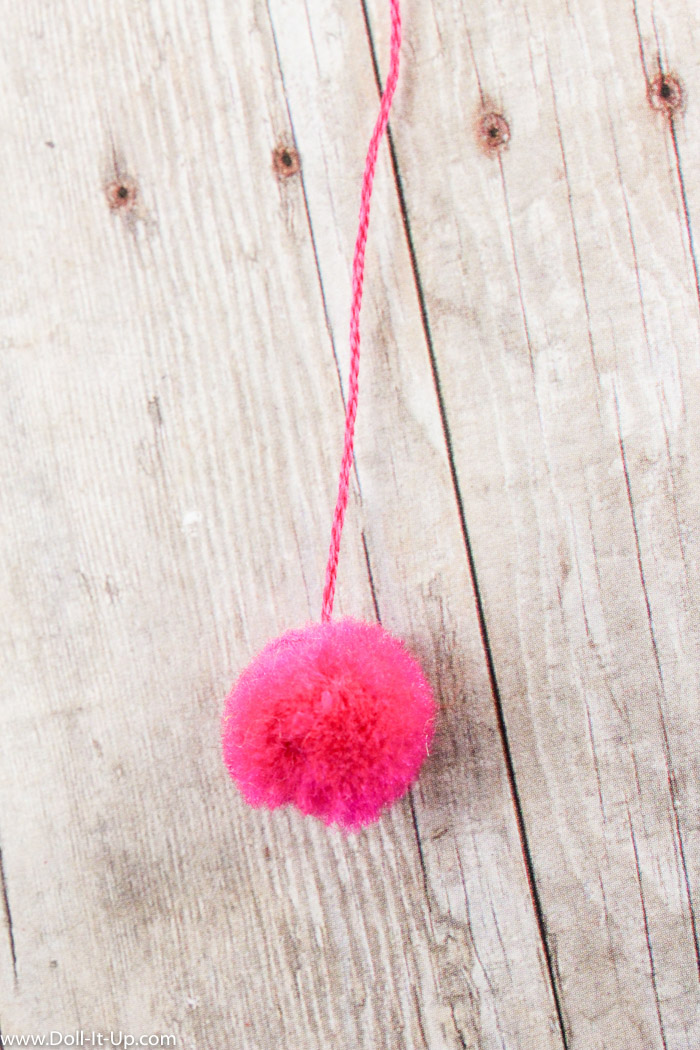
Now the pom pom is secure and won’t slide around.
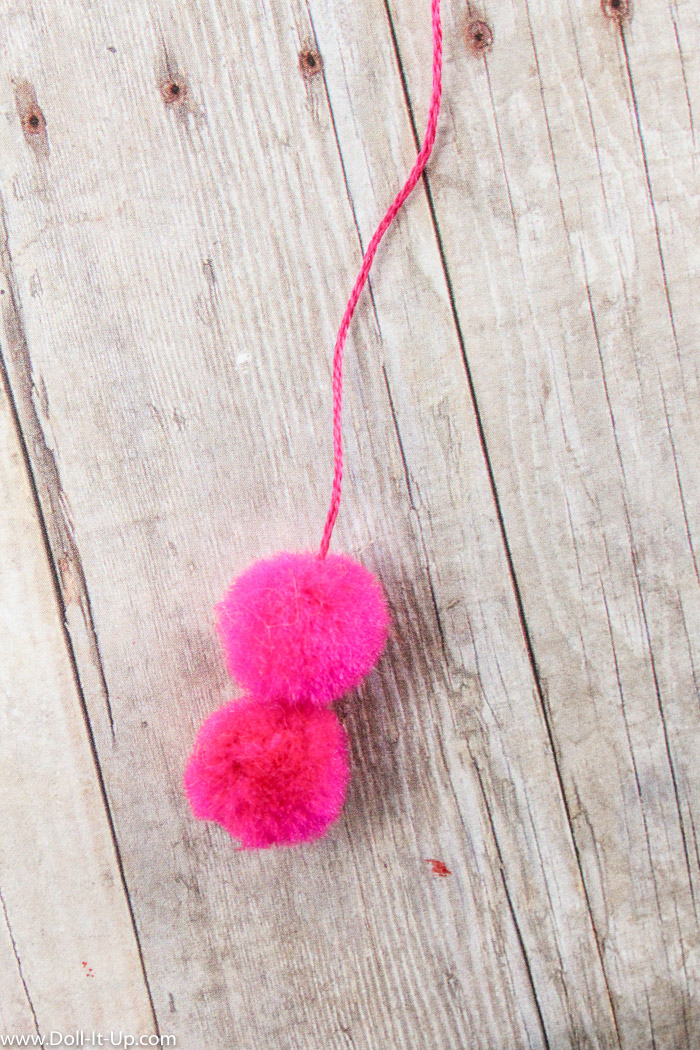
These are the steps to add each additional pom pom. We will secure each pom pom as we go. Otherwise the fluffy pom poms will slide around and bunch up together.
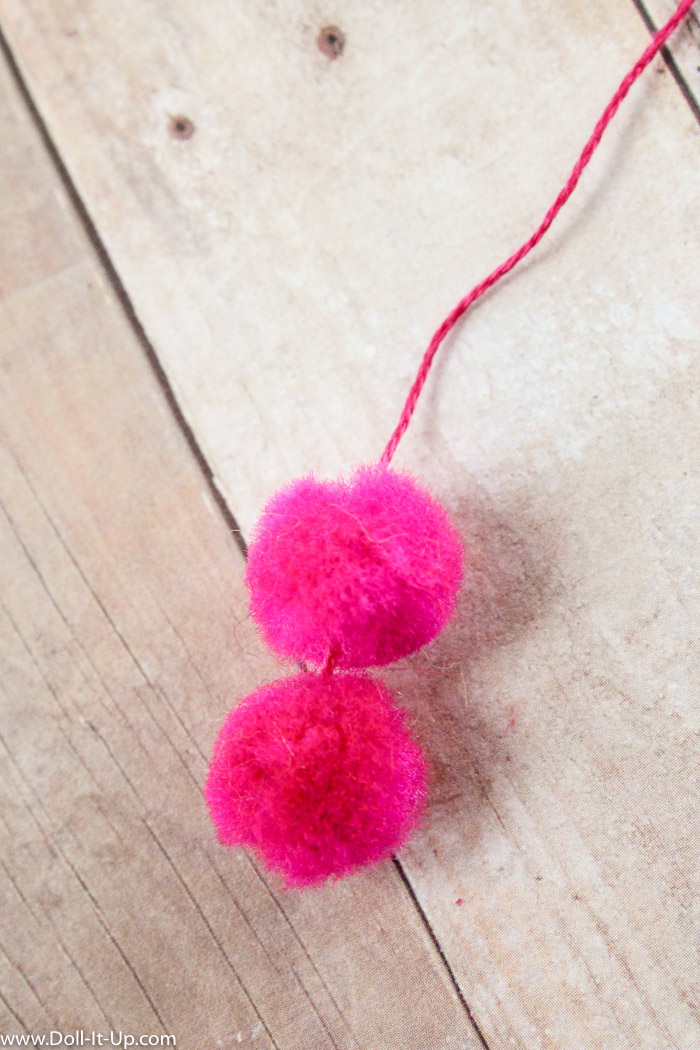
1. Thread on a pom pom.
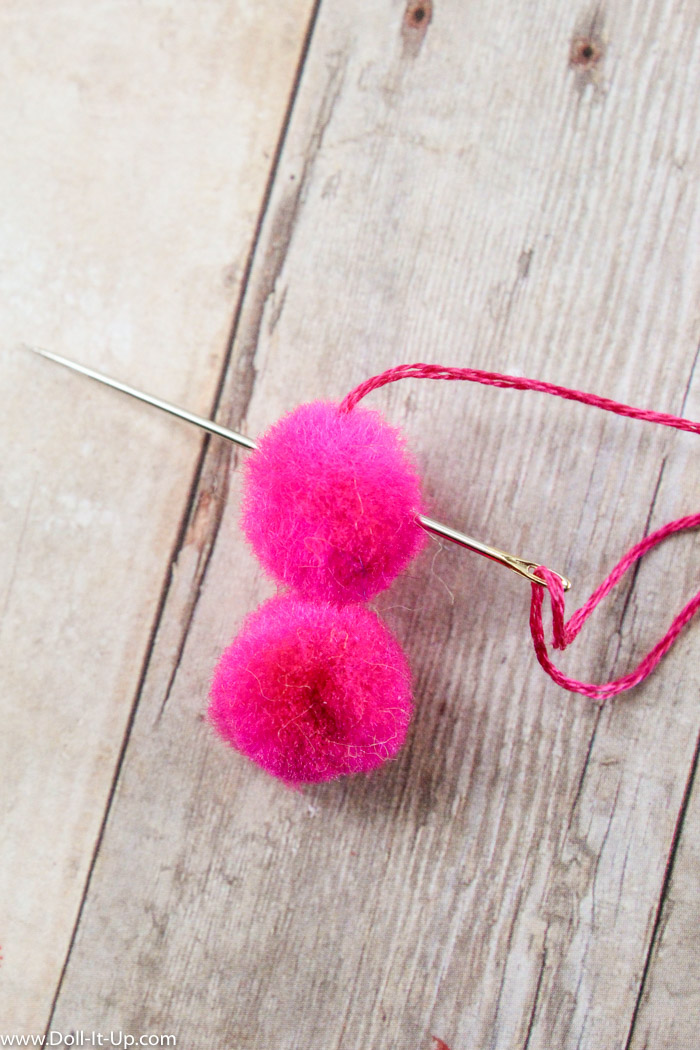
2. Pass the needle through the last 1/3 of the pom pom.
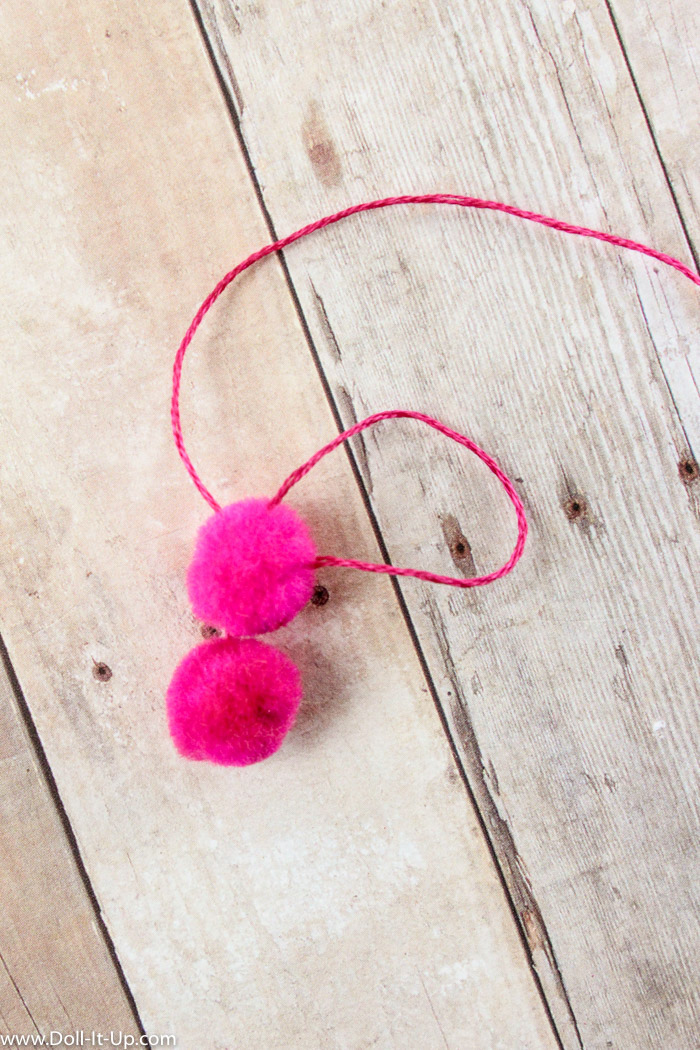
3. Pull the string through and leave a loop.
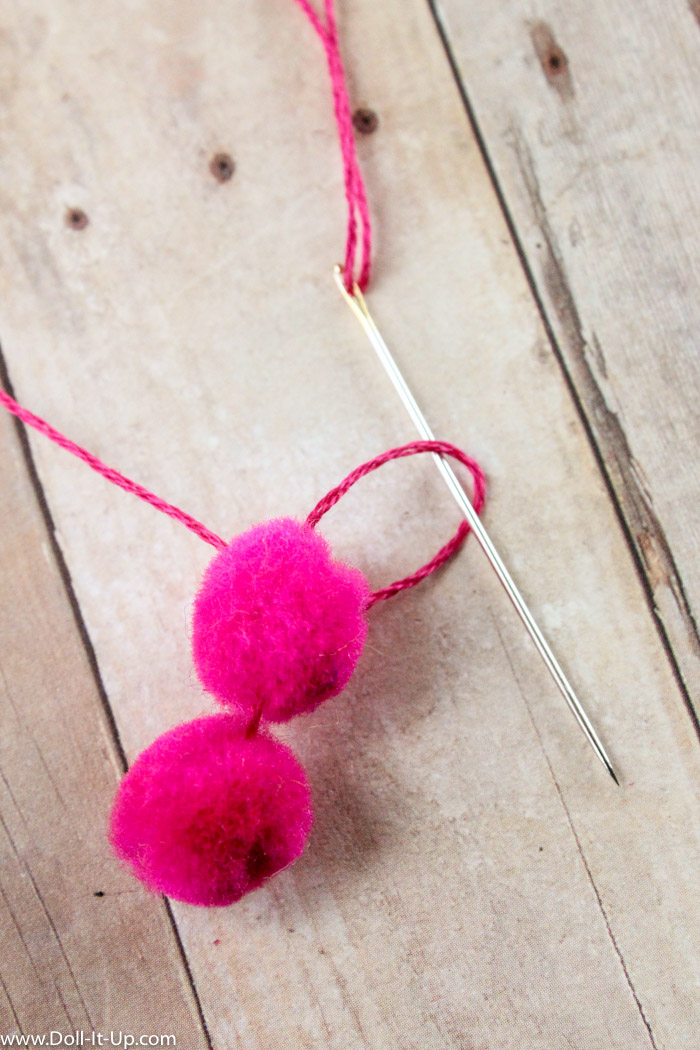
4. Pass the needle through the loop.
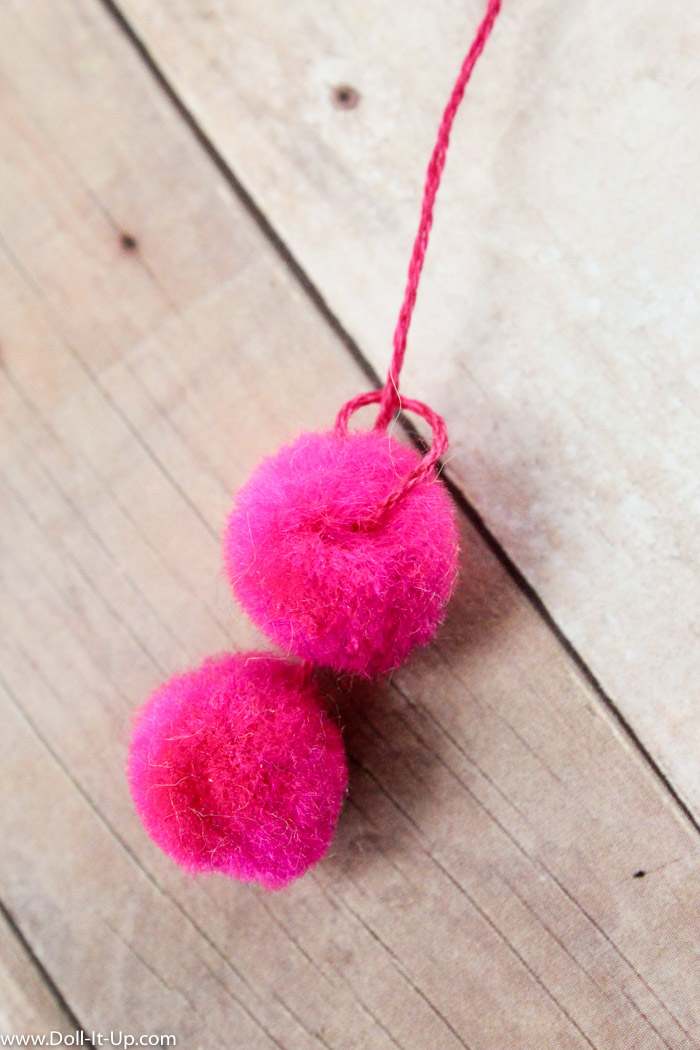
5. Pull it tight to tie a knot.
6. The pom pom is secure!
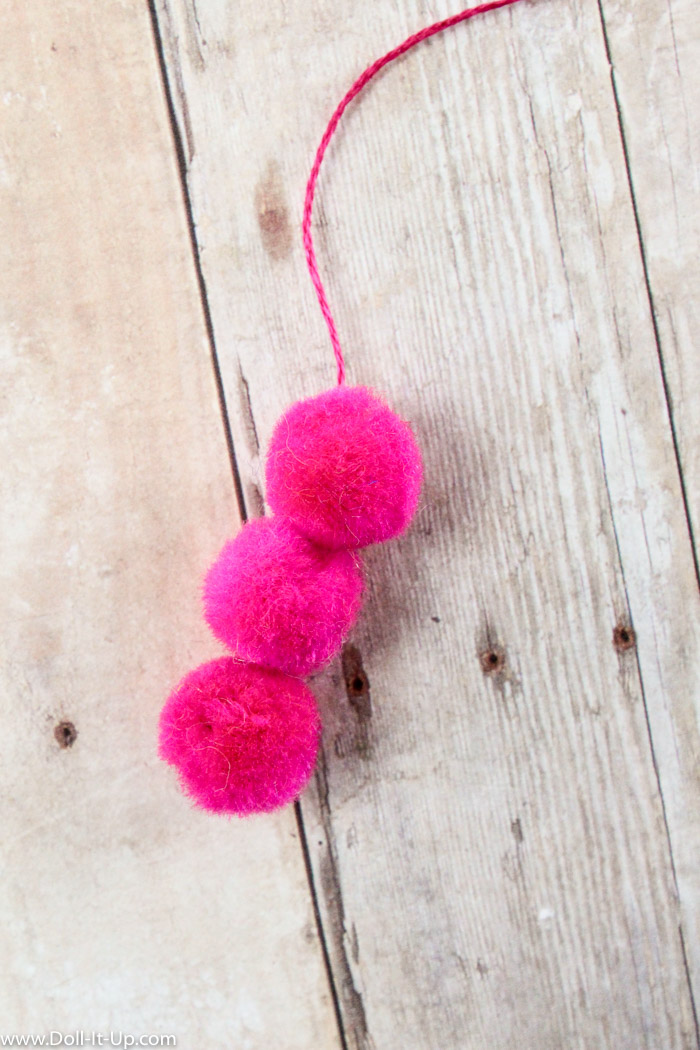
Repeat steps 1-6 above to add additional pom poms!
Now for the tassel at each end of the scarf.
1.Wind the embroidery floss around 2-3 fingers.
2. Carefully pull off the floss, keeping it all together in a loop.
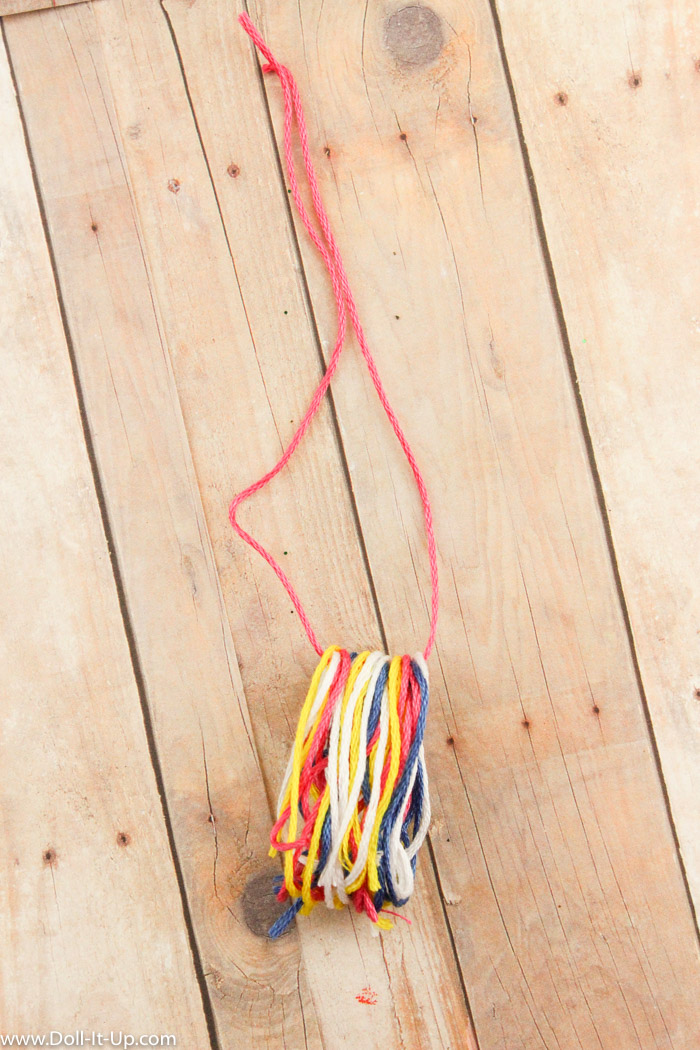
3. Cut a length of floss and thread it through the loop of floss. Hold the long strand of floss in one hand. Pull the bundled loop of floss, evening out the top of the loop.
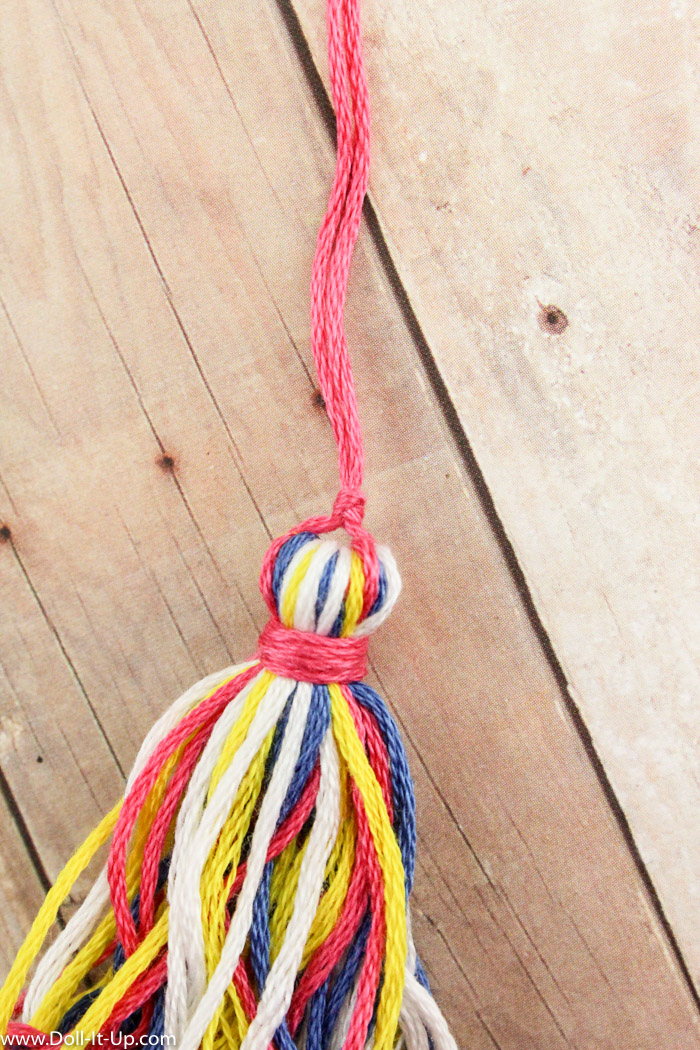
4. Cut a strand of floss and wind it around, close to the top. Tie a square knot and trim the ends of the strand.
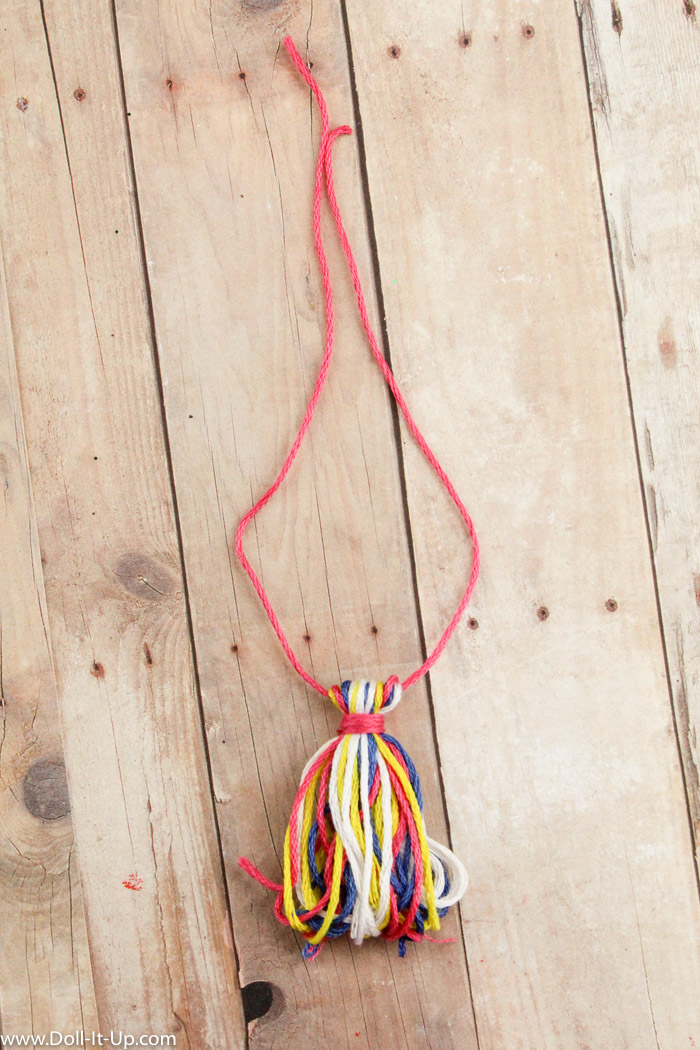
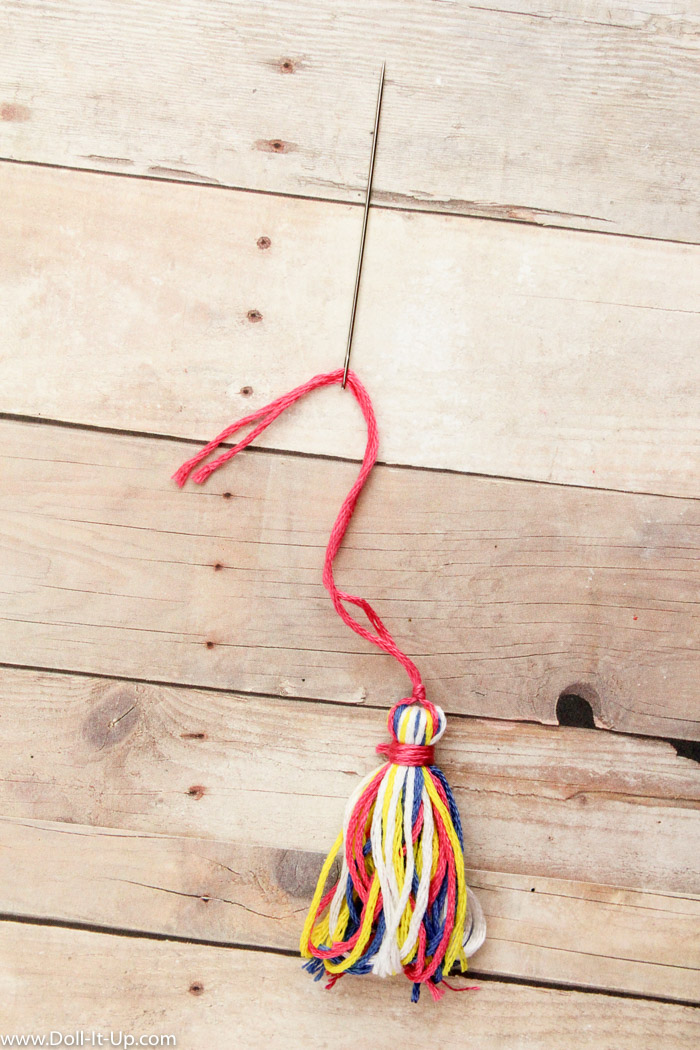
5. Loop the long strand at the top and tie it close to the top of the tassel.
We are attaching the tassel before we trim the tassel ends. That way we can decide on the length of the tassel in proportion to the project. If you know the length of the tassel you want, you can do step 6 and 7 last.
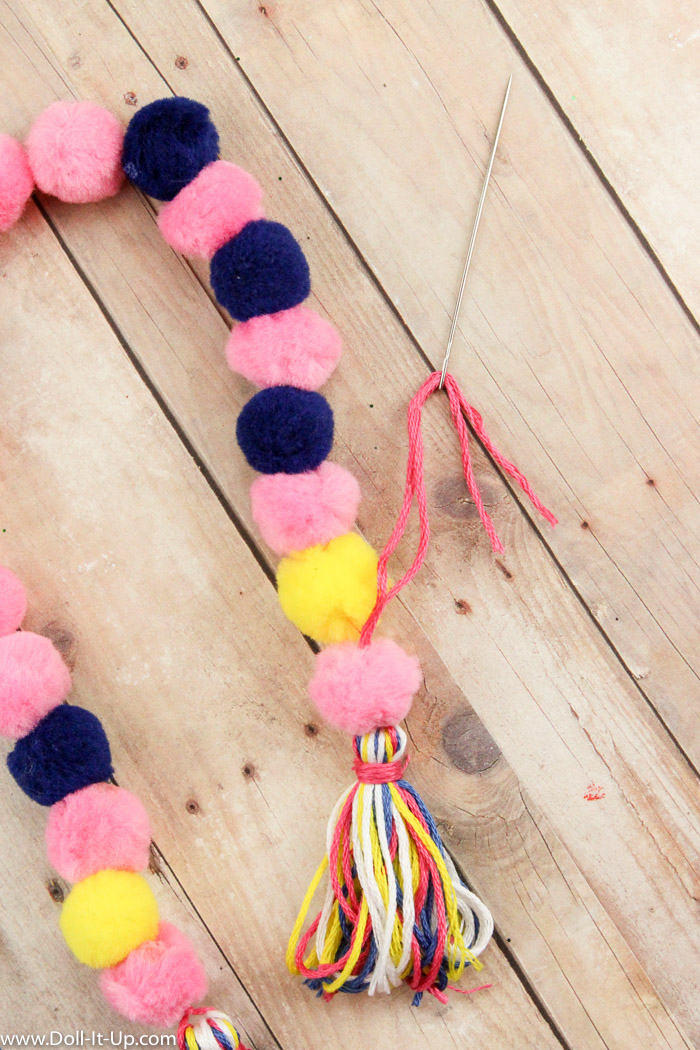
6. Thread the end of the long strands onto a needle.
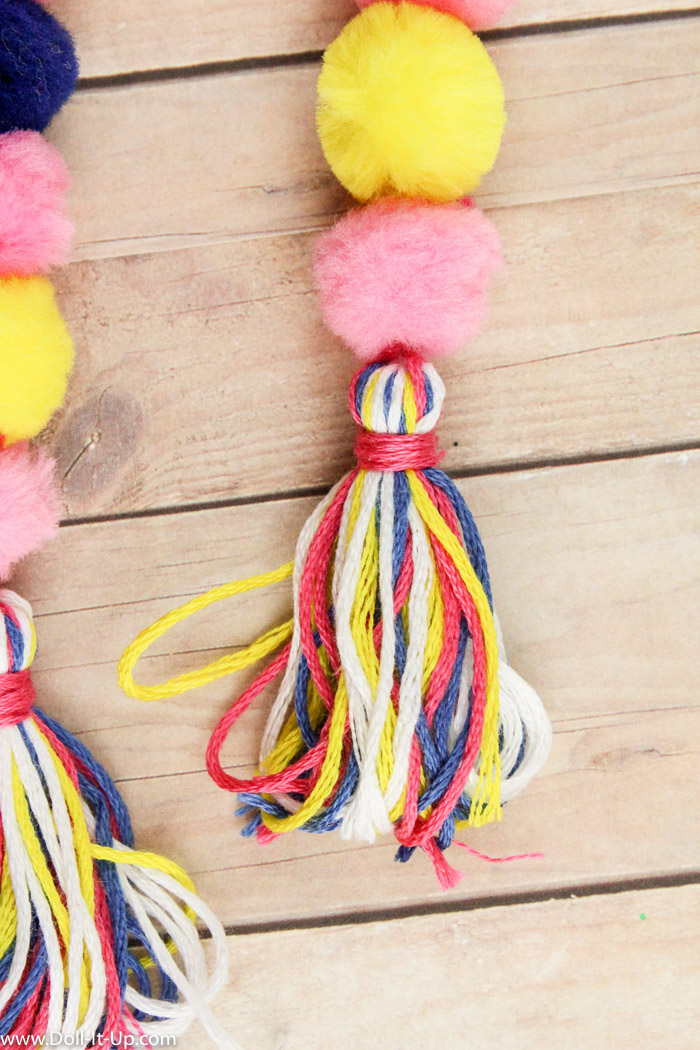
7. Pull the needle through the center of the first pom pom. Stitch through 1/3 of the pom pom and tie a double knot. Trim the floss close to the knots.
8. Now it’s time to cut off the loops on the end of the tassel. Hold the tassel ends together and cut across the bottom of the tassel. Even up the bottom, holding the tassel ends and trimming uneven strands. I cut these tassels to a total length of 1 1/2″.
Here’s our pom pom scarf!
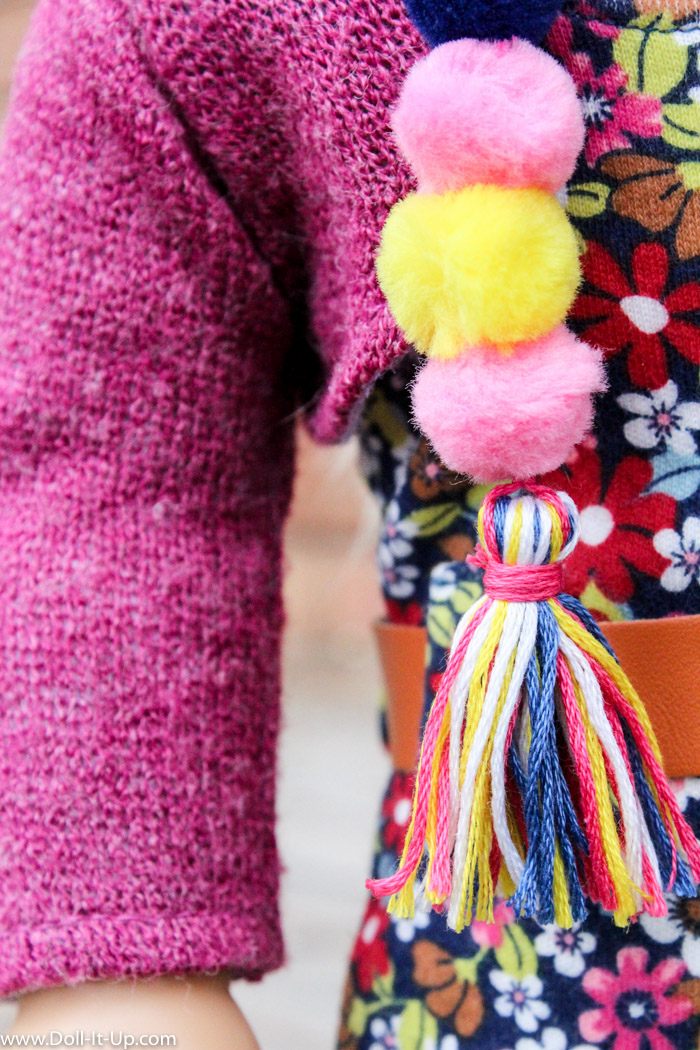
The pom pom scarf would not be complete without the fun tassel at each end!
I went with a colorful theme, a variety of pom pom colors and using all those colors in the tassels.
Another look I want to try is one solid color for the scarf, pom poms, tassels and all!
I am not done crafting with pom poms or tassels! They are fun to work with and I have more ideas for future projects, so stayed tune!
-Anna
Post details for you: Doll– Julie is a Beforever doll from American Girl. Outfit– Julie’s Floral Jumpsuit is from American Girl. Shrug is from my collection.

