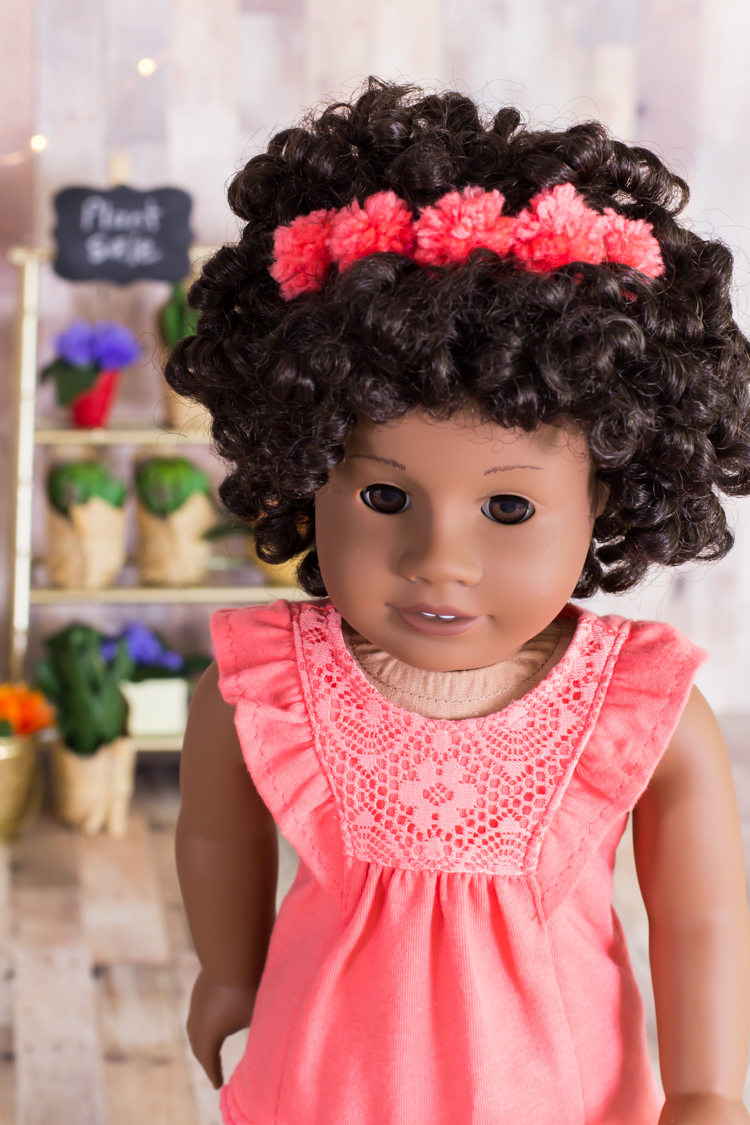
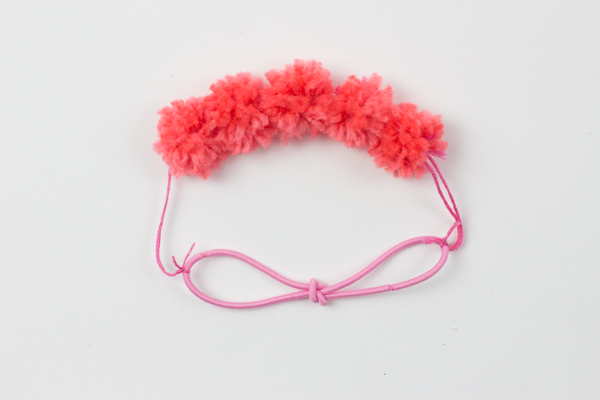
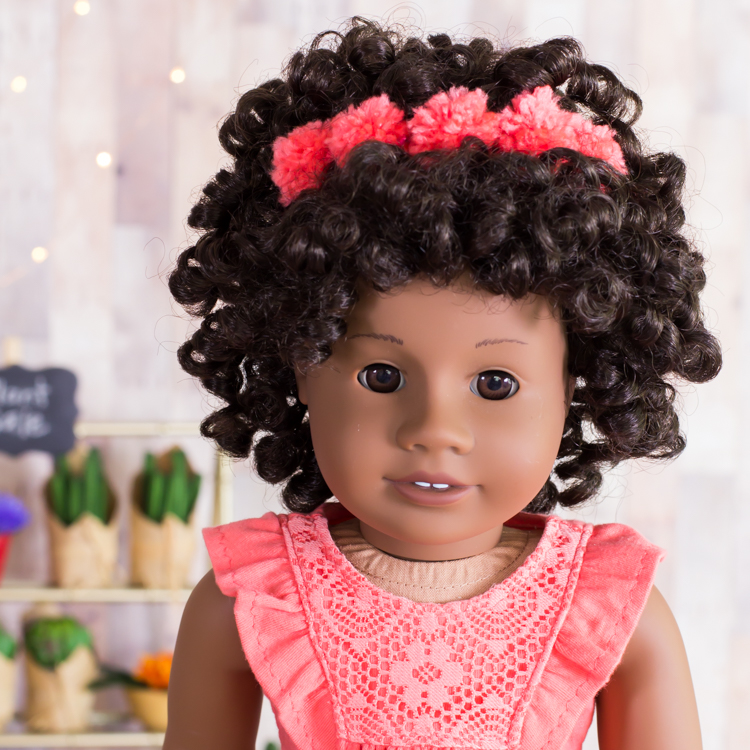
A fluffy row of homemade pom pom’s make a delightful headband! The headband is shown with the Flutter Sleeve Tunic in my book My Doll, My Style. Today I want to show you how to make it!
Pom Pom Headband
We are making the pom pom headband using the pom pom template in the book My Doll, My Style. You can also use an extra small pom pom maker and adapt the instructions.
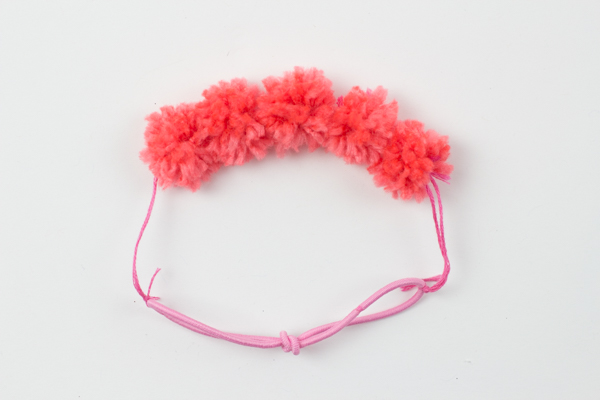
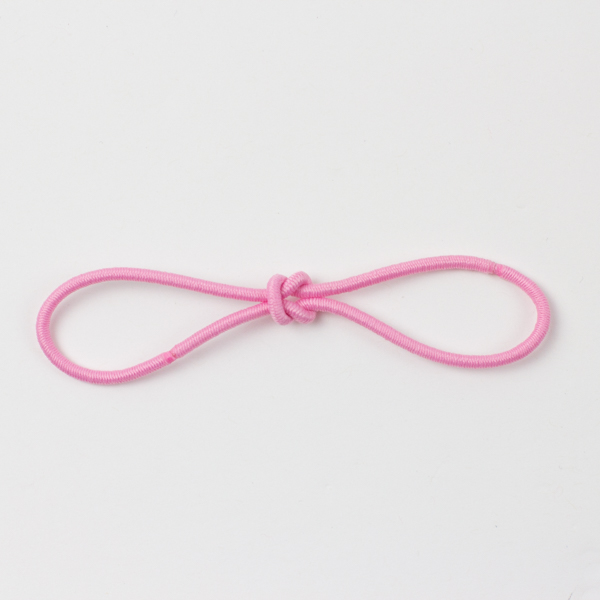
We tie each pom pom to the headband as they are made, so they stay perfectly spaced apart. Then connect a couple of hair elastics together to make this headband stretchy and easy to put on and take off.
Materials:
- Yarn
- Embroidery Floss
- 2 Elastic hair ties (or elastic cording)
- Small Pom Pom Template Pattern or an extra small pom pom maker
- Scissors
**This post contains affiliate links to help support this site.
1. Make a small pom pom using the instructions on page 52 & 53 in My Doll, My Style. (Or make an extra small pom pom using a pom pom maker.) Wrap the pom pom template with yarn 15 times. Do not remove the pom pom from the template.
2.Take 2 lengths of embroidery floss, wrap it around your finger and tie a knot 5 inches from one end. This is the headband base to connect all the pom poms.
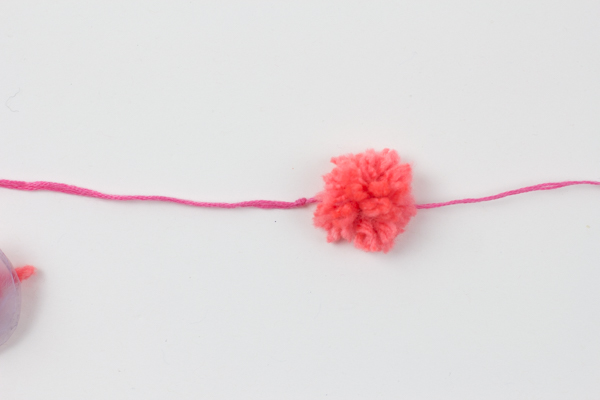
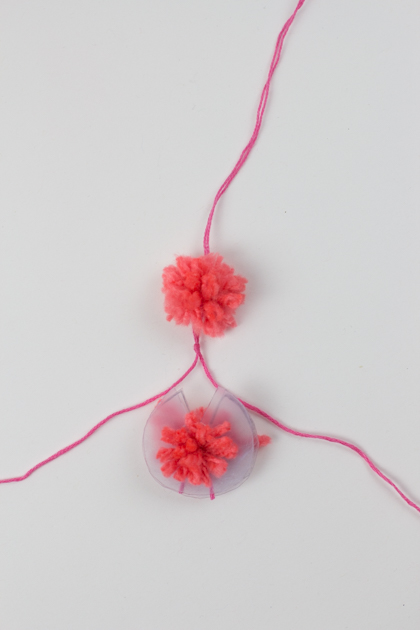
Split the two sections of floss apart at the knot. With the pom pom template still around the pom pom, slip the floss between the templates. Tie the embroidery floss in a double knot around the center of the pom pom with the placeholder knot at the center of the pom pom. (This step is the same as pictured below.)
3. Tie the embroidery floss in a knot 3/4″ from the center of the pom pom. (pictured above)
4. Make the next pom pom, leaving it on the template. Split the two sections of floss apart. Slipping the floss between the templates, tie the embroidery floss in a double knot around the center of the pom pom with the placeholder knot at the center of the pom pom.
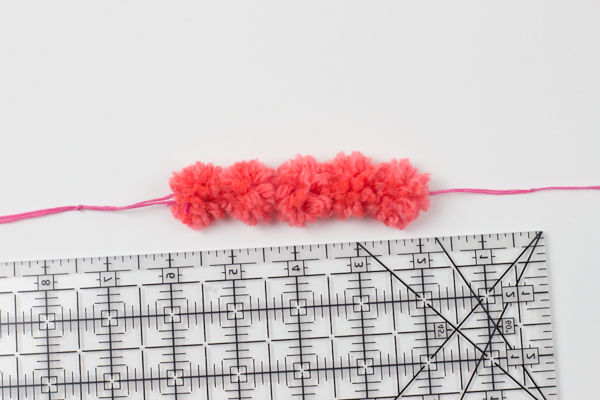
5.Make and connect 3 more pom pom’s for a total of 5, all ¾” from pom pom center to pom pom center.
6. Measure and mark a 7 ½” segment of pom poms and string. Center the pom poms with an even amount of string on either side. Tie a knot at each end of the measured length.
7. Connect two hair bands as pictured above.
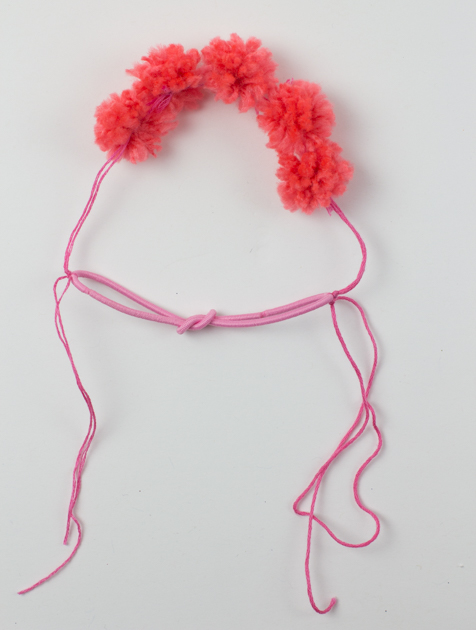
8. Separate the thread on one side of the headband and tie it with a square knot around one end of the elastic.
9. Test the fit before tying the second side. Adjust the length of the thread if needed. When you are happy with the length, separate the thread on one side and tie it with a square knot on the end of the elastic loop.
10. Trim off the extra embroidery floss and you are finished!
This fluffy pom pom headband is a fun doll accessory! I hope you enjoy the instructions to make it!
-Anna
Sew-Along Details- Join in anytime!
Starts: July 27, 2018
Ends: December 6, 2018
Hashtag: #MyDollMyStyleSewAlong
Buy the Book:
- Buy the book My Doll, My Style by Anna Allen. Here are a few places it is available. Interweave/ Amazon/ Book Depository
Get the Schedule:
- Download the sew-along schedule/materials list here.
Follow along each week:
- Fridays- I will introduce the pattern on the blog.
- Tuesdays- I will share tips, variations or styling ideas for the pattern.
Join the Facebook Group
- I’ve created a Facebook group for the sew-along where you can ask questions and share what you are working on. Join the group here.
Enter to win the Monthly Giveaway
Giveaway Entry Requirements
- Sew one of the monthly patterns from My Doll, My Style. (Get the sew-along schedule here.)
- Post a picture of the pattern you sewed to Instagram using the hashtag #MyDollMyStyleSewAlong
- Follow on Instagram @_Doll_It_Up_, @sewnews, @thermoweb, @fiskarsamericas and @fabricfairy.
Monthly Giveaway Details
- Join in anytime during the month.
- Receive one entry in the giveaway per project you sew from My Doll, My Style.
- Multiple entries a month are possible for sewing different variations of the same pattern.
- We will make 4-5 patterns from My Doll, My Style per month. (See the sew-along schedule here.)
- Multiple entries a month are possible depending on how many patterns you sew from the monthly pattern list.
- There will be 4 giveaways during the course of the sew-along.
- The monthly giveaway ending dates are August 30, September 27, November 1, and December 6.
- Complete the entry requirements by 11:59pm on the giveaway ending dates.
- Each giveaway winner will be announced the Friday after the ending date

