We have 3 birthdays this time of year. We are busy with the holidays but we have fun doing something special on each persons’ birthday. This year my oldest daughter turned 12. We have made pinatas several years and this year she wanted to take on the pinata herself! She let me jump in to take some pictures along the way but otherwise this was completely her project.
She started the project 5 days before her party. First she wrapped a balloon in strips of newspaper she dipped in flour paste. She let the balloon dry overnight after she added a new layer of newspaper. She added 3 layers total over a 3 day period. 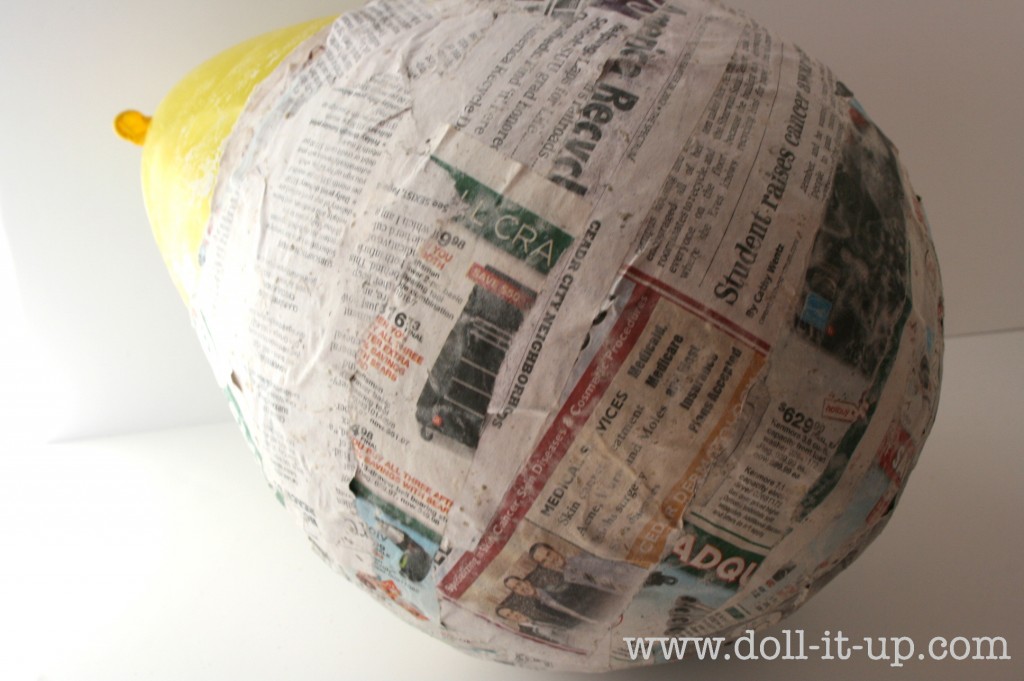
After the last layer dried she popped the balloon. She made a lid out of thin cardboard (the kind from cereal boxes), filled the pinata with candy, and hot glued the lid in place.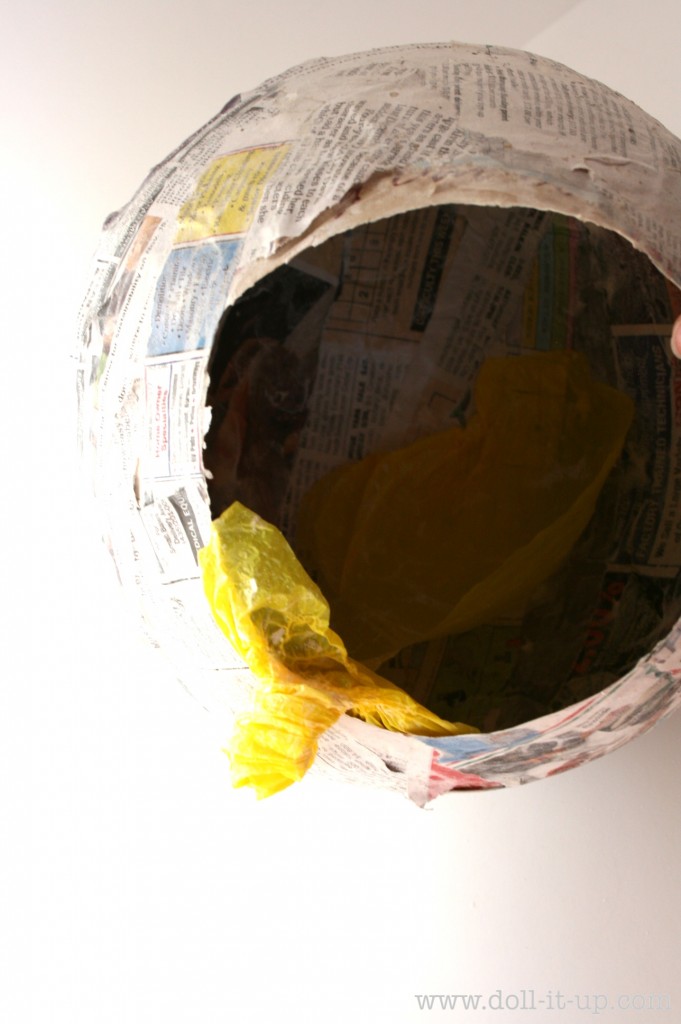
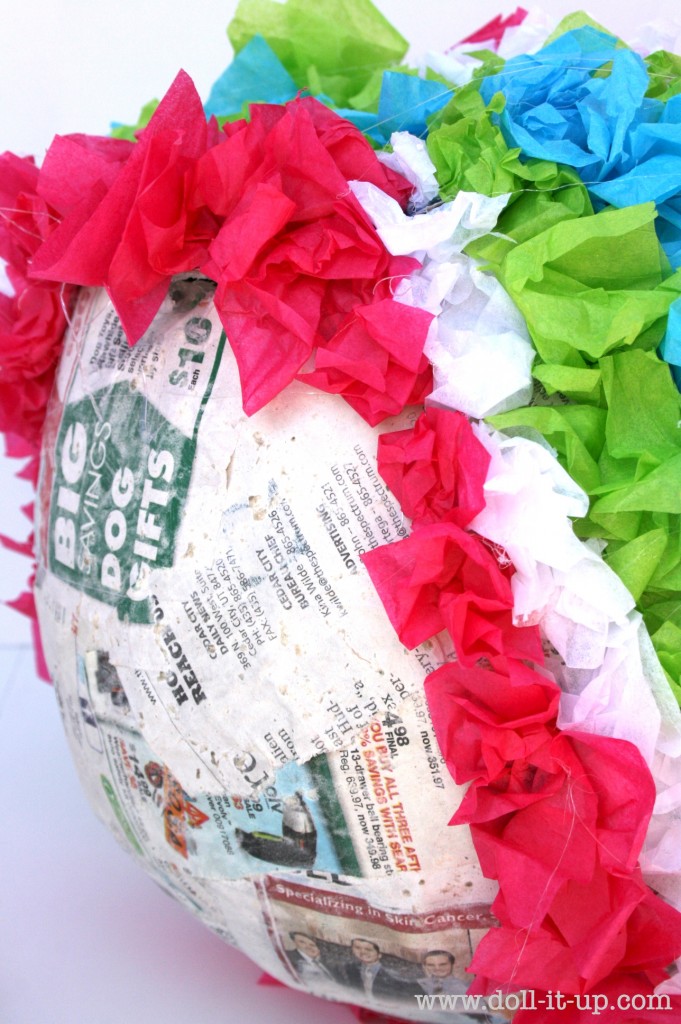
Twisting squares of tissue paper, she hot glued each color in a strip around the balloon.
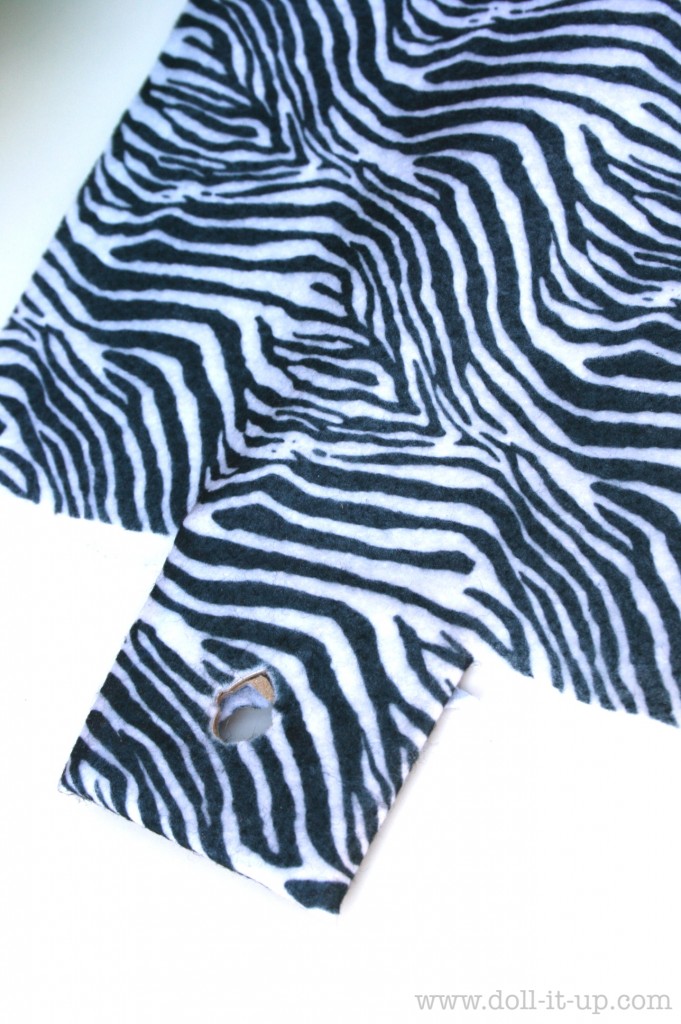
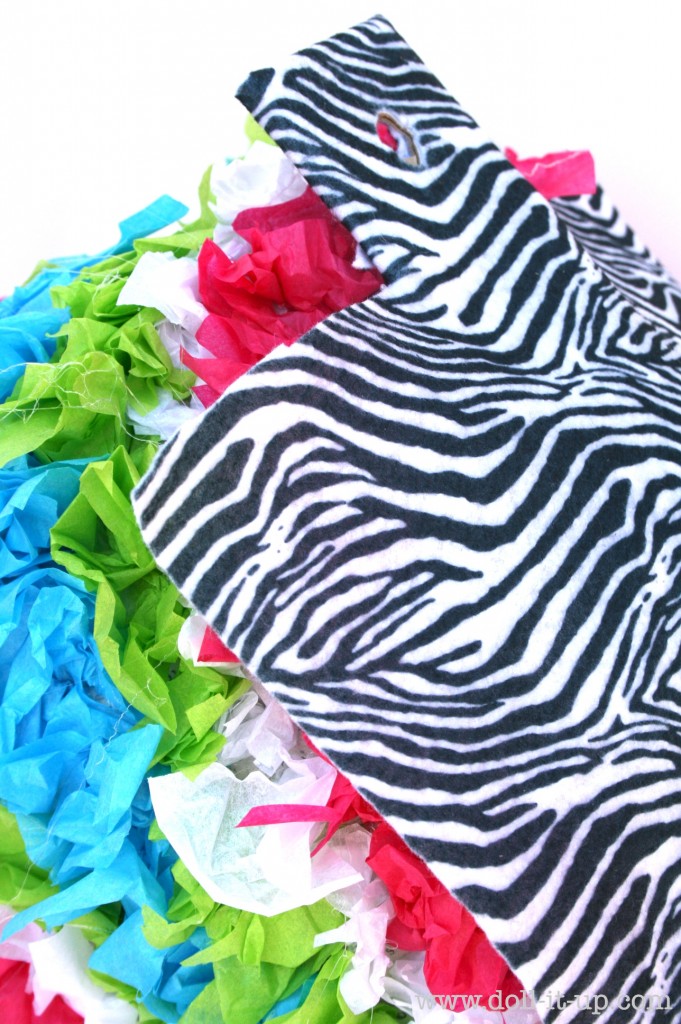
Now this is the trickiest part. Every year we say we are going to design this part as we are laying the newspaper down. No, this year was the same , trying to connect the pinata to a string without it falling after the first swing. With her dad, the three of us put our heads together to figure out this part. We came up with felt. The hole where the string attaches is reenforced with cardboard.
The felt is going to spread out over a large area of the balloon so it won’t easily pull the “hanger” off of the balloon.
After she securely glued the felt in place with hot glue we threaded the rope through to test it out.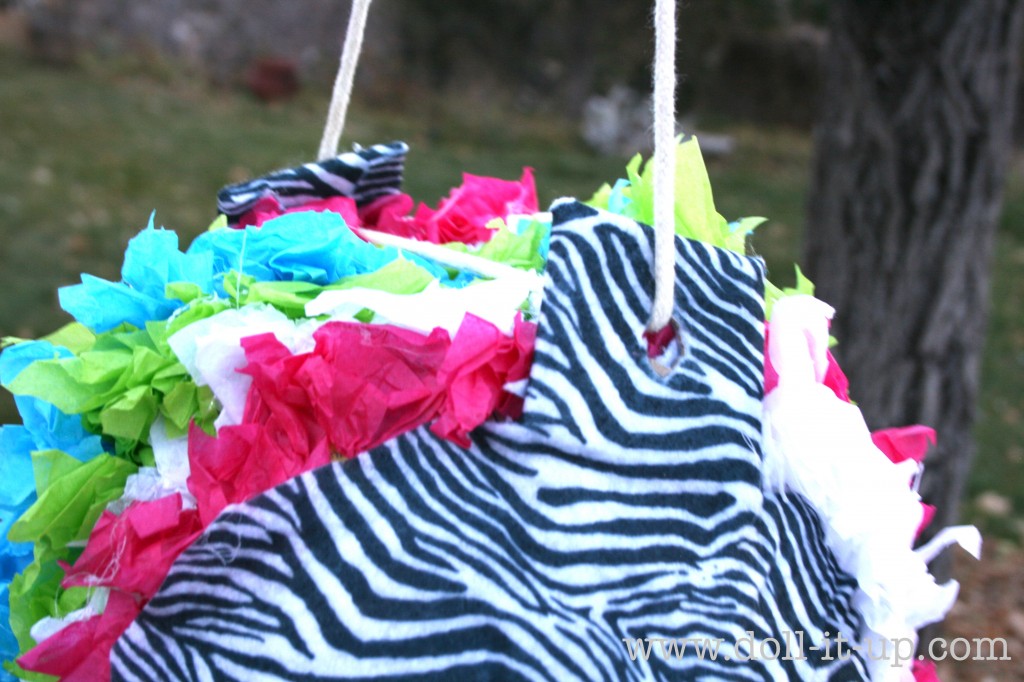
Nice and secure! We haven’t had snow to speak of, so my husband strung it up in a tree and let the party goers have a wack at it! This is the first year we let the girls control the rope. 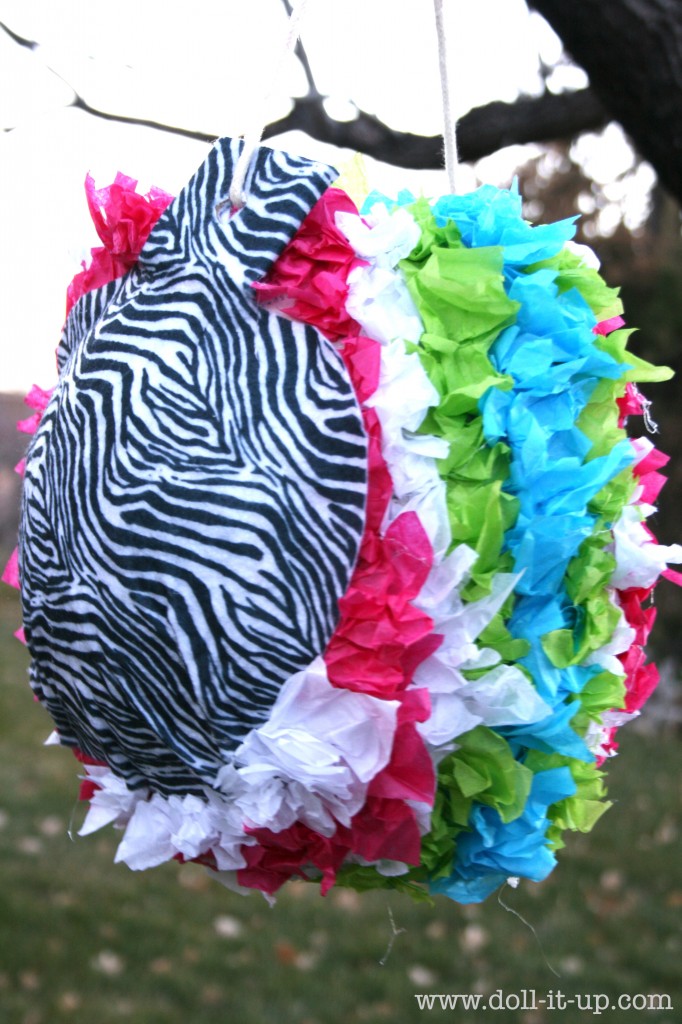
It was a success because the pinata held up when it should and broke apart as it should! Most of all though, the girls had fun!
Pinatas are pretty simple to make. Have you ever made one? If not, do you think you’ll ever try one?
Anna

