I’ve had Easter baskets on the brain…doll size Easter baskets. Last year I crafted them out of cupcake liners and had fun making them with a group of girls from church that I work with. This year I first came up with a bucket style Easter basket that was on Doll Diaries yesterday, seriously fun and easy! I thought I was done with Easter baskets for this year until I laid eyes on this adorable Easter fabric from Laura Kelly. I knew I’d be making one more style of Easter baskets! What I love about each type of basket is that they are made is such different ways! So, depending on what you have on hand or what look you love best, there is a doll sized Easter basket for you! HA!
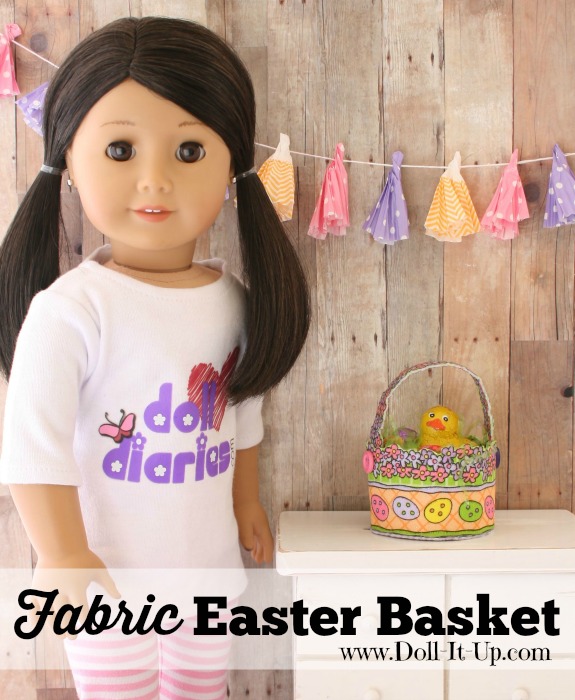
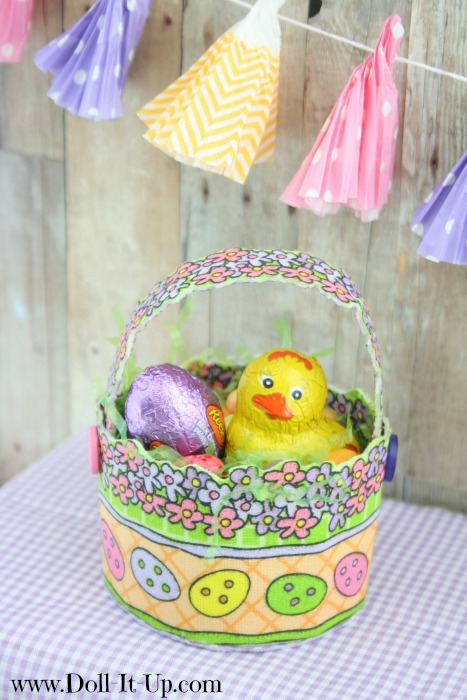
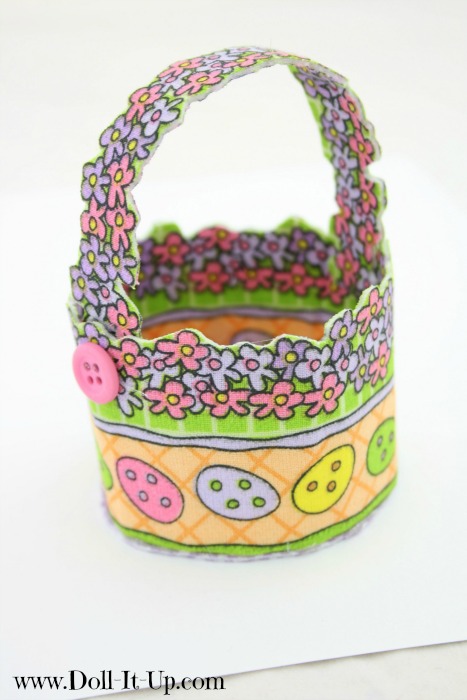
Let’s look at today’s Easter basket. It is full of cute detail. That detail comes from the fun designs on Easter fabric. What is even better is that this little Easter basket is a no-sew crafting project! It is quick and easy and perfect for any age!
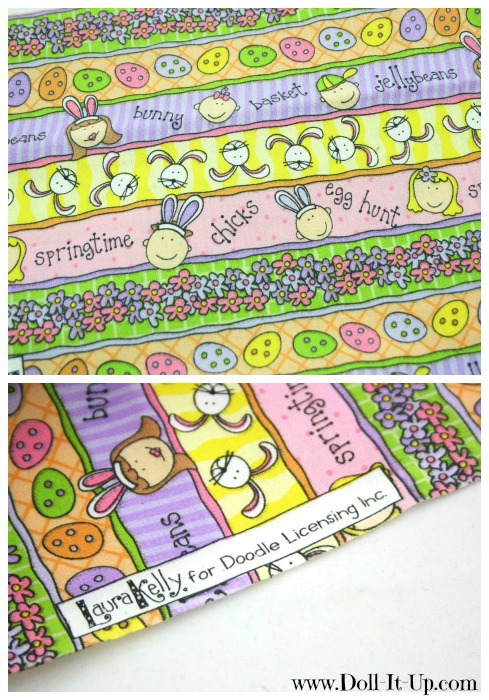
Today I’m using this adorable fabric by Laura Kelly. She is an amazing doodle artist, prolific creator and a fellow contributor at Doll Diaries. When she sent me this fabric I knew I would be making a few doll sized Easter projects with it!
Now let’s take a look at what we’ll need.
Supplies:
- fabric
- Phoomph
- scissors
- glue (fabric glue or hot glue)
- buttons
Have you used Phoomph before? It is a fabric bonding sheet. When you place the fabric to the adhesive that is on each side of the Phoomph and cut it into the size and shape you need, there is no fraying! I also love how easy it is to cut details in the fabric and it is such a simple no-sew option for crafting.
Crafting for dolls can be a great way to use fun patterned fabric. Whenever I step into JoAnn’s, the first thing I see is the display of fun seasonal fabric. There are usually really cute patterns and designs that I wish I had a project for. Many times these fabrics are the perfect scale for dolls! Since I’ve discovered Phoomph it has made using that cute fabric an easy option for doll crafts!
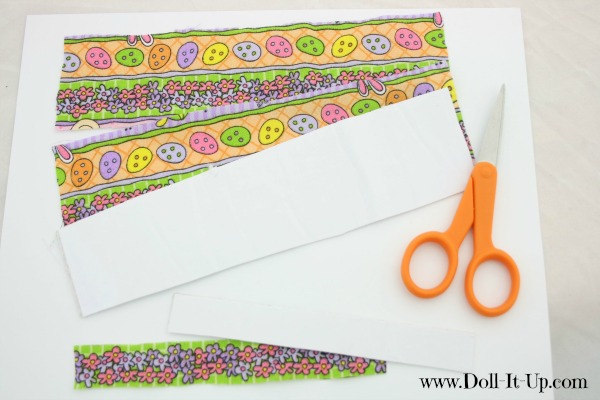
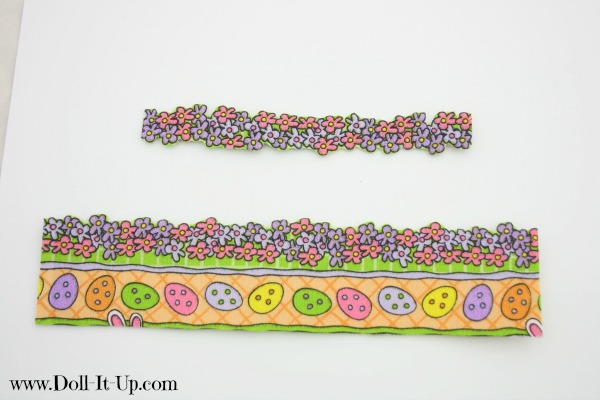
Now let’s get started! Cut out all of the pieces for the Easter basket. For the base of the basket you will need two rectangle strips of fabric that are about 8 1/4″ by 1 3/4″. For the handle you will need two strips of fabric that are about 5 3/4″ by 3/4″. Cut out two pieces of Phoomph, one the same size as the basket base and one the same size as the basket handle.
Peel off the paper backing one side at a time, placing the fabric on each side of the Phoomph for both the base and the handle.
This fabric has a row of flowers that would make a great border to the basket and a fun handle for the basket. When the fabric is adhered to the Phoomph it is so easy to cut around the little details of the little flowers!
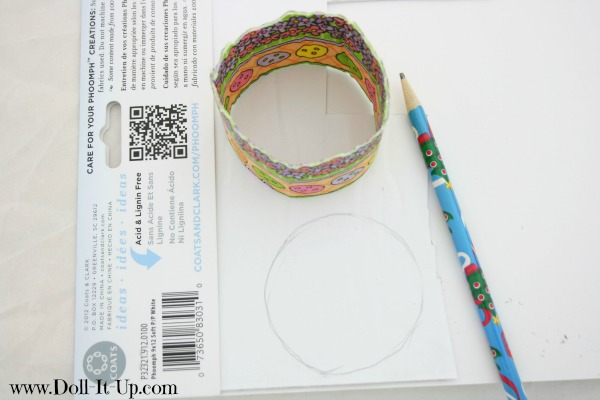
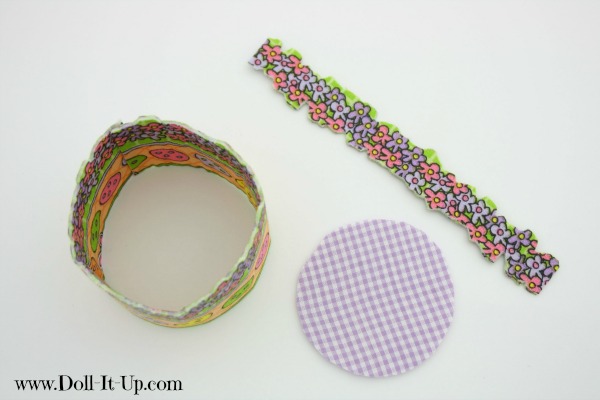
Using fabric glue or hot glue, join the two sides of the larger rectangle together to make a circle. Trace the outside of the circle on a piece of Phoomph. This is going to be the bottom of the basket. Cut the circle out of the Phoomph and use it as a guide to cut out two fabric circles. Peel off the paper backing and attach the fabric to both sides of the Phoomph.
Place glue around the bottom of the basket and attach it to the base.
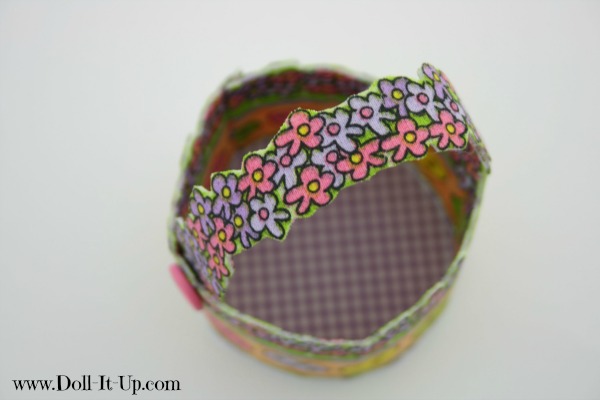
Glue the handle on the inside of the basket.
Add a button at the end of each side of the handle.
Fill with doll size goodies!
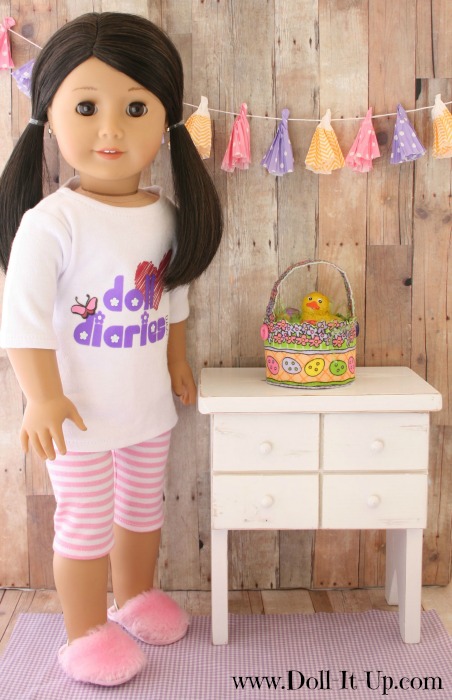
I think you can have fun in a few different ways with these mini Easter baskets! Of course they are great for play or decorating your doll space. A mini Easter Baskets would also be fun in the center of each persons plate on your Easter table! This year I’m sharing mini Easter baskets with my nieces that come to visit. It’s a fun way to share a sweet treat!
Just in case you are interested, here is a little more about today’s post.
- Doll- Morgan is AG #25
- Outfit- Doll Diaries PJ’s are found here.
- Scene-Dresser tutorial is here. Banner tutorial is here. The rug is fabric. The wall and floor is made with scrapbook paper.
Happy Easter!
-Anna
Also shared on:

This has got to be one of my favorite crafts you have done yet! LOVE it. I would have never thought to use the Phoompf that way but the end product is just amazing.
Thank you! The more I play with Phoomph the more it grows on me! It is perfect for doll size projects-so quick and easy with a wonderful finished product!
Now that is completely and totally adorable!!!
Thanks Laura! Love your fabric, it’s so perfect for doll size projects!!
Oh my goodness, that is SO cute!! I’ve got a Craft Gossip post scheduled for this evening that links to your tutorial:
http://sewing.craftgossip.com/tutorial-no-sew-doll-sized-fabric-easter-basket/2014/04/16/
–Anne
Thanks Anne, I will check it out!
Hello! I just found your Easter basket tutorial and plan to make them with my daughters AG book club. Could you please tell me whether you used stiff or soft phoomph? Thanks!
Hi Heather and welcome! That is a great question. I used the soft Phoomph for the Easter basket. It is better for curves like the rounded sides of the basket and the handle. The stiff is great for straight edges. These will be a fun project to do with your daughter’s book club! Enjoy and good luck!
Thanks Anna!