Despite my best intentions, Fashion Friday is up late today!
It all started when I ditched what was on the schedule for today and went after a project I’ve been excited to do for a while. Then, there was paint involved and I didn’t account for drying time. Finally, I finished up the project tutorial yesterday as the sun was fading and planned the final shots for the morning.
On the way home this morning from dropping my son off at school, I took a detour to a local park. I had too much fun with the photography, enjoying the lovely morning light.
Well as the saying goes, it’s better late than never!
This has been the week of projects on the blog and it was great to shift gears to make room for a fashion project for Friday! I am excited to have Friday’s set aside for fashion because there are so many fun aspects to doll fashion and we can touch on that from week to week!
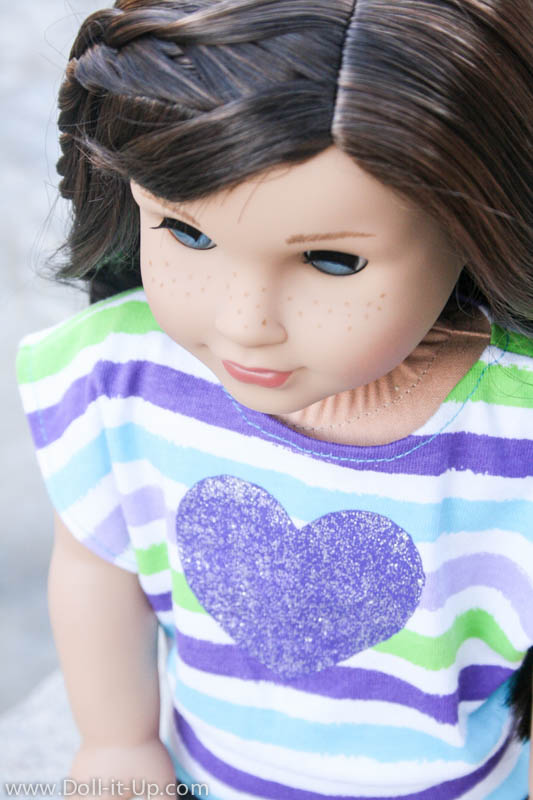
Today’s project is a sparkly heart shirt.
It’s perfect for Valentines Day, just around the corner, and cute enough to wear any time of year!
The heart is painted on using a homemade stencil. It’s a great project for all ages because it is easy and fun to both make your own stencil and paint onto the shirt.
The shirt I used for the project is one that I sewed. If sewings not your thing or you want a quicker option you can upcycle an old doll shirt or buy a t-shirt like this one from My Doll’s Life.
Let’s get started!
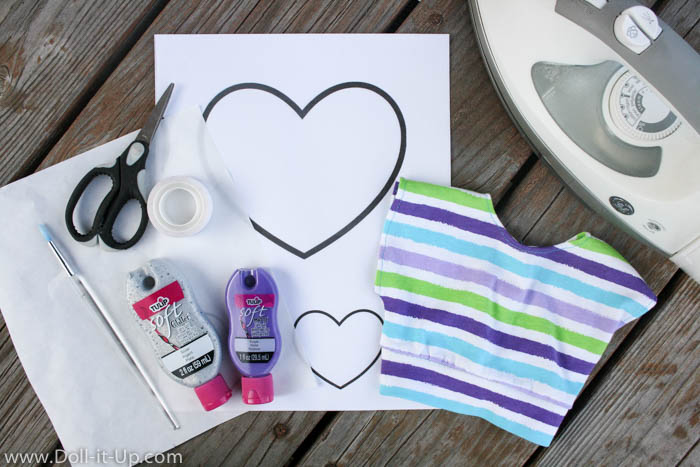
Supplies:
- freezer paper
- scissors
- tape
- fabric paint
- doll shirt (Make a shirt from a favorite pattern, use an old shirt you don’t mind upcycling or buy a plain white t-shirt like this one from My Doll’s Life or this one from Springfield Collection.)
- iron
- thin cardboard (not pictured)
Making a Stencil
We are going to make a stencil on freezer paper. You can make your stencil several different ways depending on the look you want.
Start with a piece of freezer paper the size of the front of a shirt.
To draw your own stencil, simply draw your design on freezer paper.
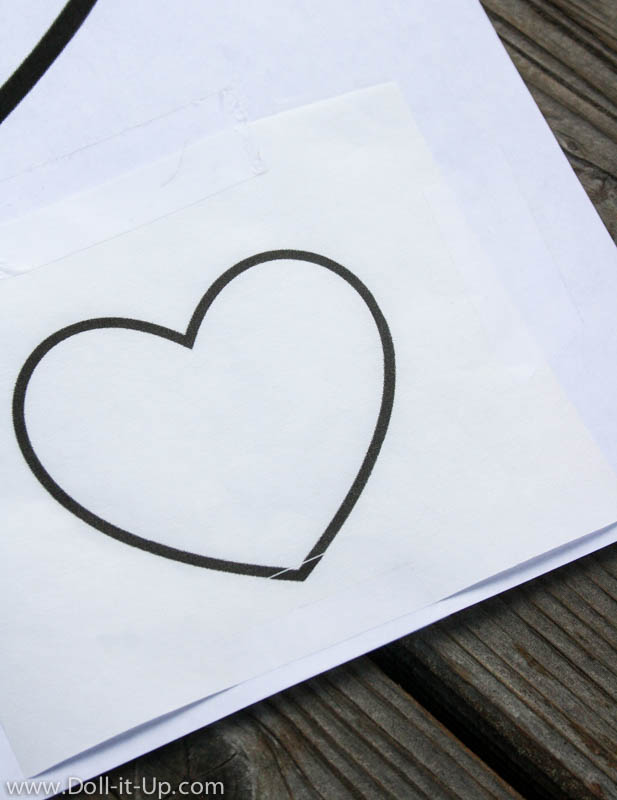
If you want to print out your design, first print it on regular paper. Tape the freezer paper segment (glossy side down) over the design with scotch tape and run it through the printer again.
To give you an idea of the size my heart is about 2 3/4″ wide by 2 3/8″ tall.
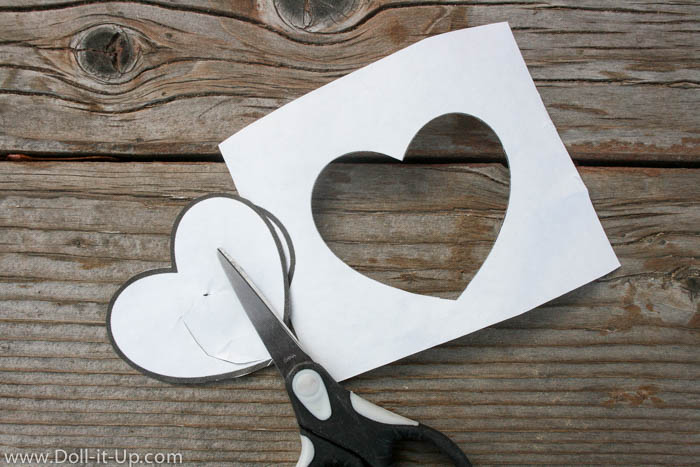
Whether you draw your own design or print it out you will cut out the center of the shape.
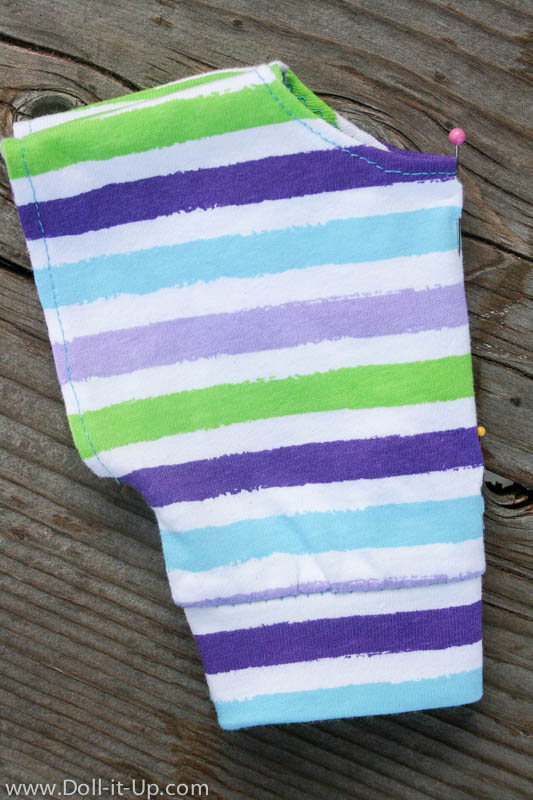
I wanted the heart to be right in the center of the shirt. To get the placement right, fold the shirt in half and place pins along the fold.
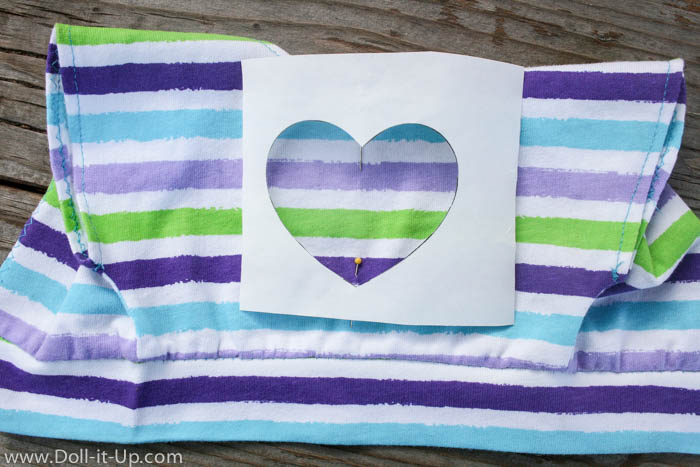
When you open the shirt out flat, use the pins as a tool to line up your design straight. Lay the freezer paper stencil glossy side down.
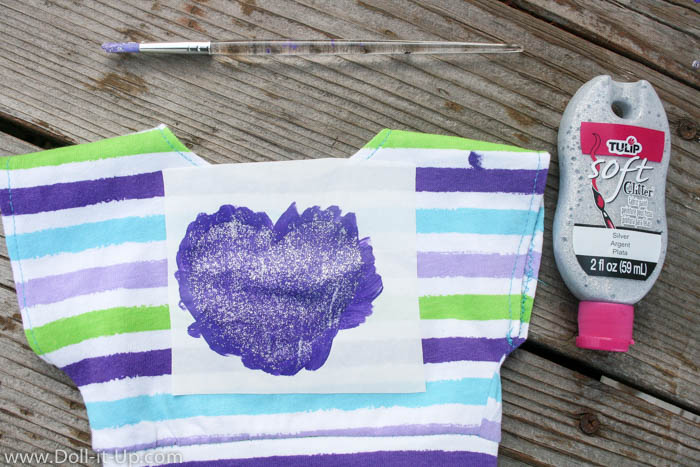
We are going to use a hot dry iron to lightly adhere the stencil to the fabric. I found it easiest to first tack the paper down by only ironing on one end of the stencil while I holding the the rest in place. That way it won’t shift out of place. 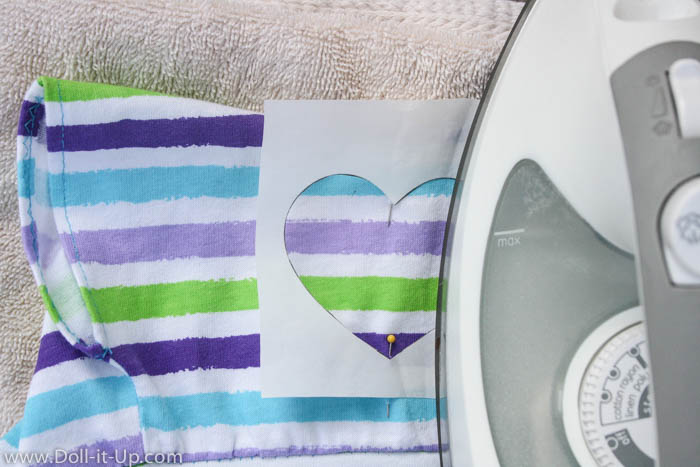
Remove the pins and iron on the rest of the stencil. I don’t have an exact time for the iron. Start with 5 seconds and try a few more seconds it it is not sticking properly. It is really important that all the edges inside the shape are sealed. If it’s not, paint will leak under the edges. 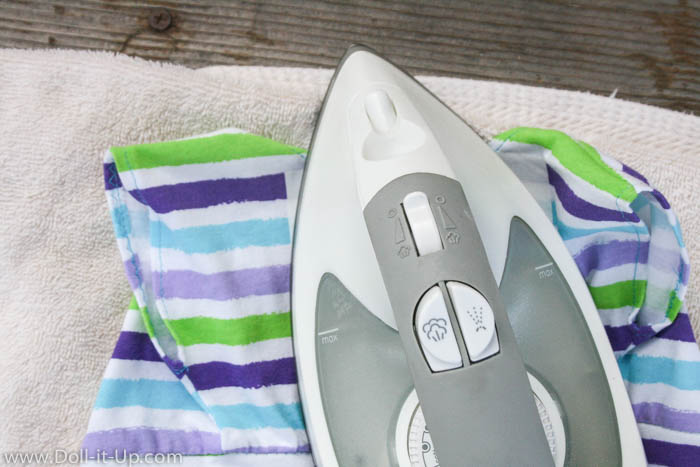
Before you paint, place a piece of cardboard between the two layers of the shirt so paint doesn’t leak to the back.
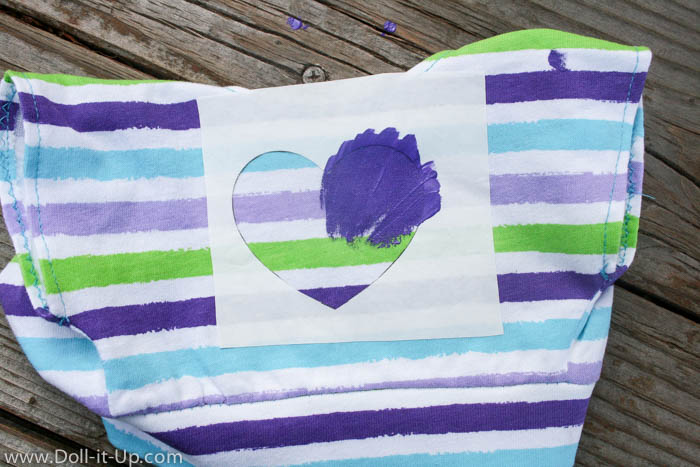
When you paint the design, brush it on from the outside towards the center. You just want to avoid pushing the paint in the seam where the stencil meets the fabric.
Whatever you do don’t paint and take pictures at the same time, you might drop your paintbrush and splat paint on the lovely project! (Yes that’s purple paint on the sleeve! And it’s lucky where the paint landed because the sleeves hang down and the paint can “hide” in a fold. Hey, sometimes you just have to roll with it!)
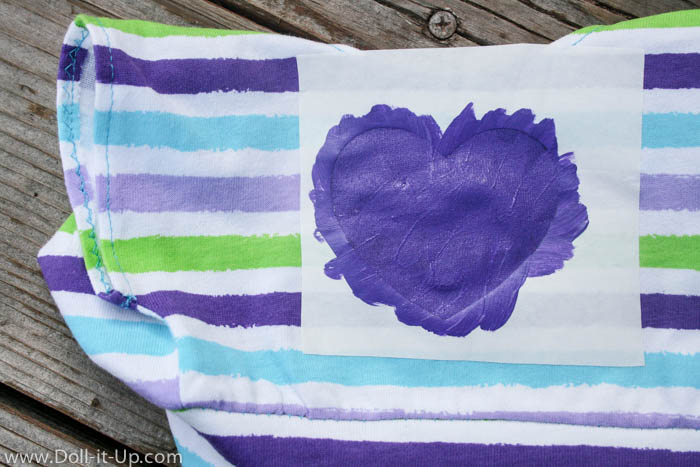
If you want to add sparkle, paint a thin layer of glitter fabric paint.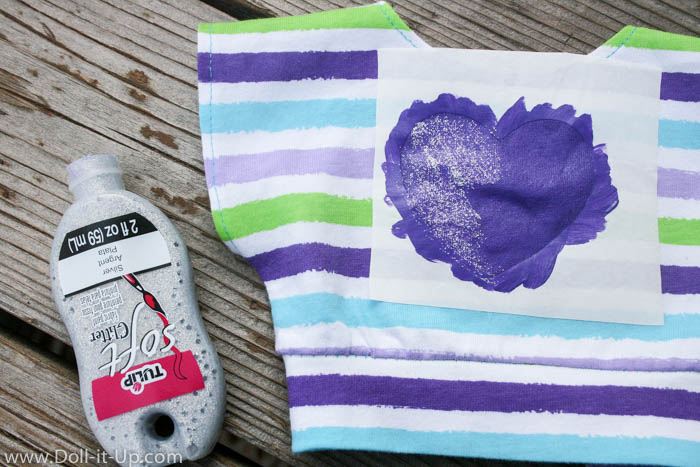
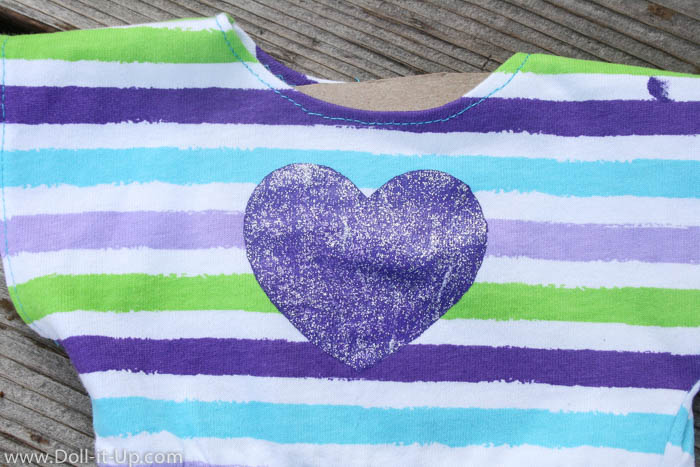
Gently pull off the freezer paper.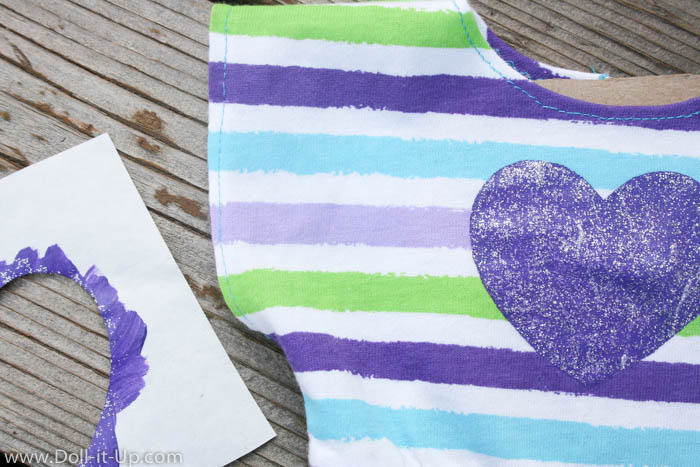
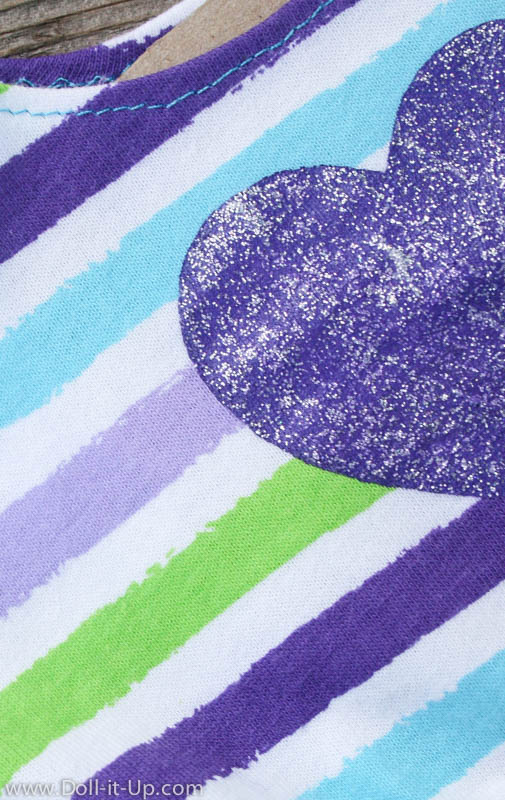
I love the clean edges and the look of the fabric paint.
That sparkly glitter shimmers and shines and finishes off the look!
I first tried this freezer paper stencil technique with a friend last summer on 4th of July shirts we made with the kids. I have been wanting to try it again ever since!
I’m planning on making a sparkly heart shirt this weekend for my daughter for Valentines.
It is such an easy technique and I love the look! Give it a try and send me a picture! I love to see what inspires you and what you create!
-Anna






thanks!! cute idea
Thanks Brenda!
How adorable! Who knew it could be so easy! Do you think regular glitter would work too??
I think glitter would work great! If you use a glitter glue that is for fabric the glitter won’t come off with use. Great idea, I would love to see it if you make it Rebecca!
So pretty I love it!!
Thanks Rhonda!
Great idea! It looks like something I’d actually wear, unlike American Girl’s pink sparkly patterned clothes. I will definitely try this, thanks for the great tutorial! It looks spectacular on Grace. 🙂
-SevenLittleDaisies
sevenlittledaisies.blogspot.com
Thanks! I’m so glad you like it! I am working on a shirt for my daughter using the same idea this weekend. I can’t wait to see how it turns out!
Awesome, I can’t wait to see your daughter’s shirt! I’m sure it will look great.
This is such a great idea! I’ve been trying to figure out more ways to easily decorate doll t shirts. I’ve researched printable iron on transfers, but wasn’t sure which kind to buy, how to use them, or if it would even work. This is tutorial is a great substitute! Is freezer paper similar to wax paper? Thanks!
Thanks Molly! Yes, I love freezer paper as a stencil! Wax paper is different then freezer paper. It is stiffer and one side is plain so you can iron it. Hope that helps and good luck!