Camp Doll Diaries over at www.DollDiaries.com has finished the first week of camp. This virtual camp has sparked inspiration and ideas with many doll lovers as they follow along with daily crafts and activities!
I have to say it’s no different over here!
A couple weeks ago I was creating a camp sign for a weekly craft tutorial I write for Doll Diaries. I wanted to add a campground directory to the sign, pointing the way to different parts of camp. One of the areas on my brainstorm list for the directory was an amphitheater.
As a teen I went to camp each summer. Our amphitheater had an o-so-rustic-ish stage. It was where we met together as a camp each day.
I’ve had that rustic stage in mind, just percolating and doing it’s magic on my brain.
Two days ago I was thumbing through the open stock scrapbook paper at JoAnn’s (It’s all 50% off this week!!!). I came across paper that looks like a rustic wood floor. Then it hit me…bam…my rustic camp stage from yesteryear! Yes. Yes!! I came home and whipped it out.
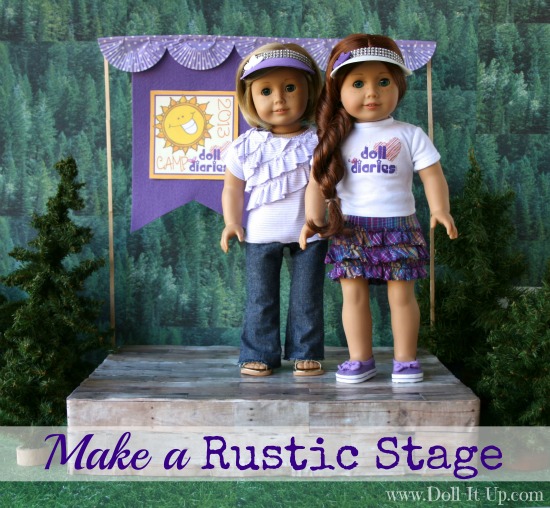
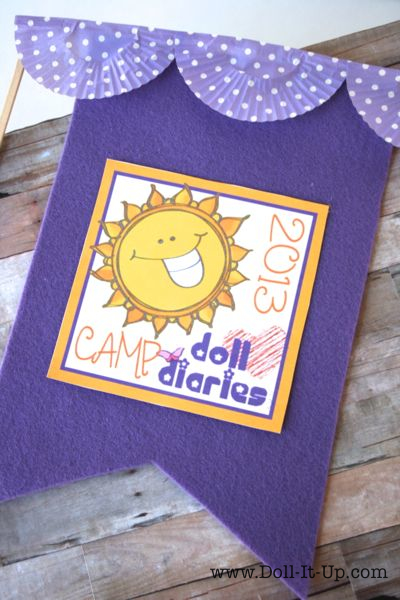
Since camp is in full swing it is all decked out for Camp Doll Diaries. I printed their cute camp logo and decorated in the Camp Doll Diaries colors to join in the camp fun.
Now our camp really has an amphitheater destination!!
I am excited to explore the versatility of this little stage, for doll scenes and play. The wooden backdrop is changeable making it even more versatile!
So, let’s get to this little stage!!!
It is so simple. That is the reigning characteristic of the camp stage from yesteryear! 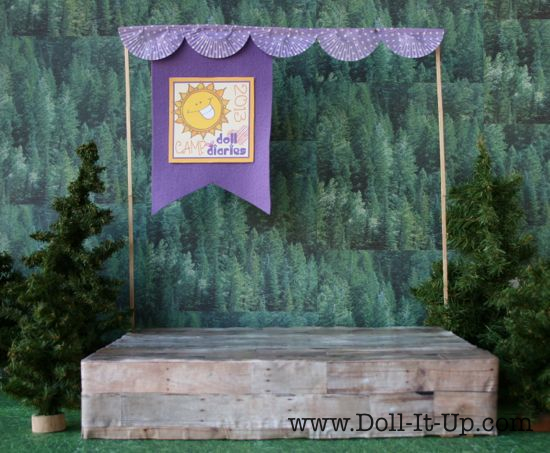
This awesome realistic looking wood paper launched the idea into reality!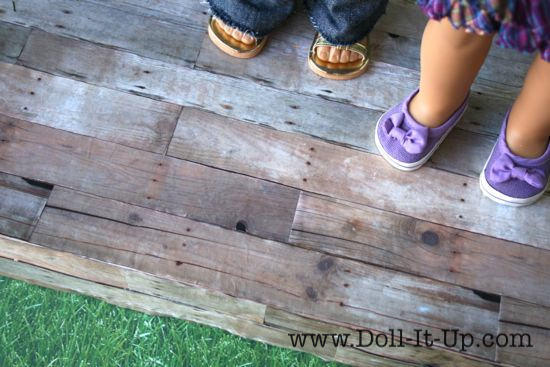
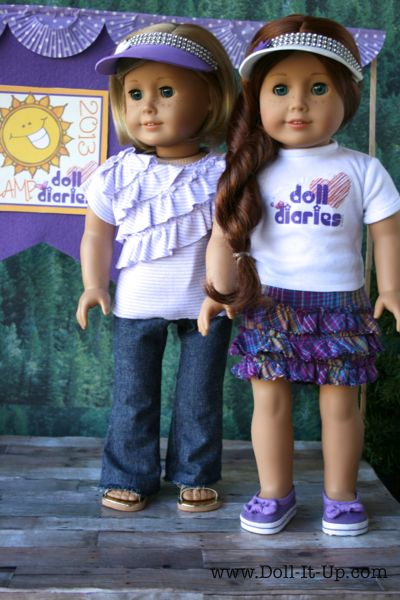
Of course the dolls had to pose for a picture at our newest camp destination! 
If you would like to make a rustic stage for your dolls I have a few pictures to walk you through the process. And don’t think this craft is possible only with wood paper. Oh, no, not at all! Any colored paper will do. After all, wood can be painted, right? Therefore stages can be colored, right? It’s just that the wood paper is what made the idea jell in my head and turn the vague idea into reality! And for me it’s the way creativity flows sometimes!! Read on and let’s get crafting!
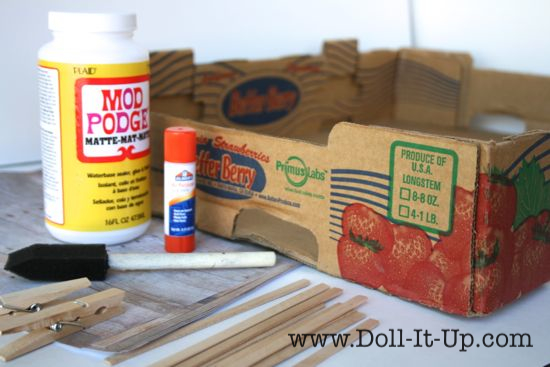
Let’s take a look at the supplies:
- Berry Box- You can ask for these in the produce department at the grocery store. They have always been more than happy to give them to me. My box actually came holding a whole bunch of strawberries. Strawberries intended for freezer jam. Strawberries that we nibbled and snacked on, served over pound cake, and stirred into fruit salads. Poof they were gone! Poof the reality of strawberry jam was gone!
- Paper- Photo realistic wood paper or any colored or printed paper that suits you. It is easier to work with the regular weight paper instead of the heavier cardstocks.
- Glue
- Mod Podge-If you want it a little more durable.
- Foam Craft Brush
- Skinny Craft Sticks
- Wooden Clothes Pins- optional
This is a closer view of a couple pieces of the wood looking paper. I turned my berry box upside down and glued the paper on what was now the top and sides. I am telling you, I discovered a few things to make the wood paper more realistic looking! I will save those tips for a separate post, coming soon! 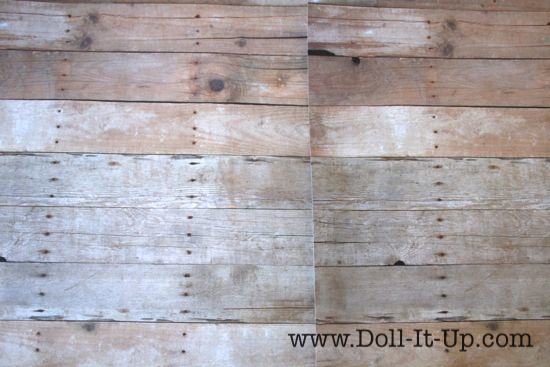
Ater my box was covered in paper I painted on a layer of Mod Podge. It took a bit to dry and made the paper expand and wrinkle at first. I came back after it dried and amazingly all the expanding and wrinkling was back to normal with no trace of it’s misdeeds.

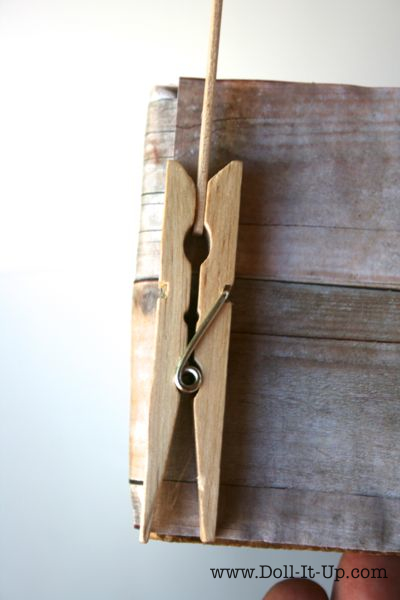
This next part makes the sign easily changeable. Glue a wooden clothes pin on each side of the stage next to the back corners. Only glue one half of the clothes pin so when you pinch it, it will still open and close. I placed a skinny craft stick in the clothes pin to make sure was glued on straight.
I used the skinny craft sticks glued in a line for the sides and across the top. I love how little these craft sticks are. They seem like a great doll scale item! Regular craft stick would work here as well! They would also make the sign portion more sturdy if you want it to stand up to play.
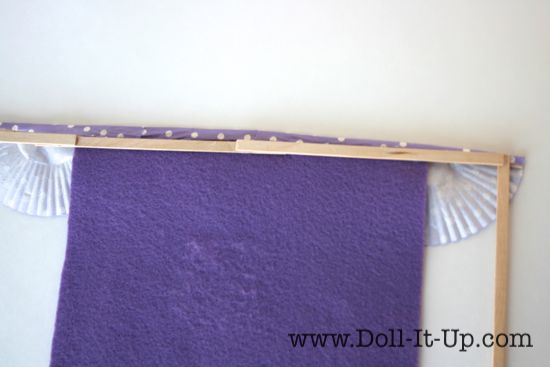
To make things a little more sturdy I glued the scalloped banner to a row of sticks and the felt camp flag/sign to a row of sticks. Layer the two and glue them to the side sticks to complete it.
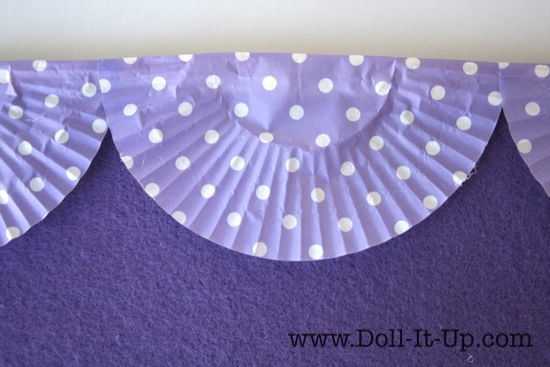
Here is a close up of the banner. Yep, you guessed it! The scalloped banner is made from cupcake liners!
Once I had the inspiration for it, this little rustic stage was a quick make! 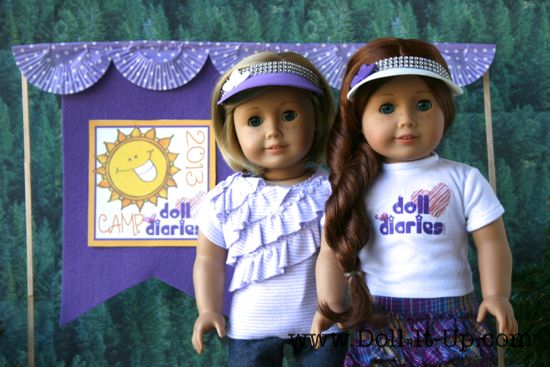
It has been a blast joining in the fun with Camp Doll Diaries!
I hope you are inspired to make your own rustic stage!
Anna
How adorable!! I definitely need to get out to the store today pick up some wood-look scrapbook papers or contact paper – they are so realistic.
Thanks…just loving “camp”!! I agree the paper really makes it fun!
I love it! This inspires me of other things to use instead of a berry box. Maybe like a cardboard box with the bottom or top flaps cut off. Although it may need some tweaking, this is a great idea!
Yes! Use what you have! Change it up and make it the way it works for you!
I need to agree with Char because it’s always on my mind to buy scrapbook paper but when I get to the store I’m like ‘Is there something I need to buy?’ Of course then I forget and remember when I’m home! Super cute craft I’m definitely gonna try it