Hello friends! Things have been hopping around here behind the scenes and I can’t wait to share some of the projects I have been working on to share with you! Enjoy today’s craft!
It’s time to turn up the jukebox, the dolls are meeting at the diner for a shake!
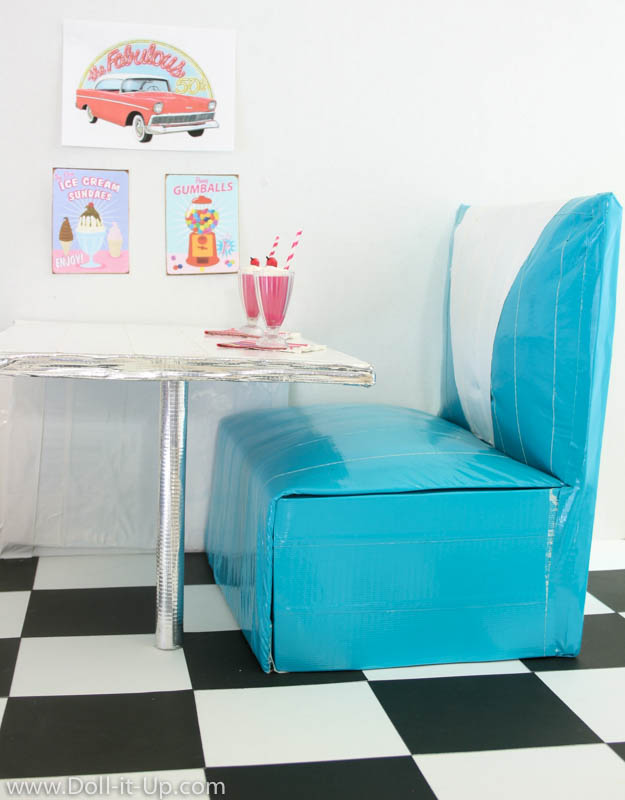
Every diner needs a booth, a bench and a table, to seat the customers.
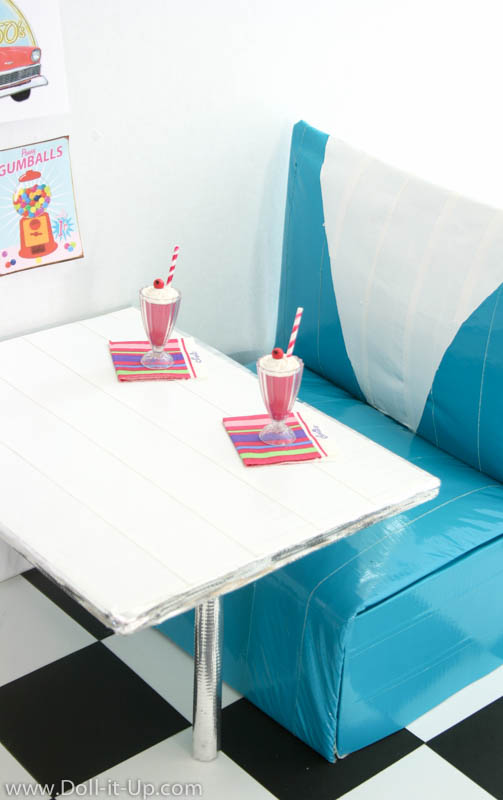
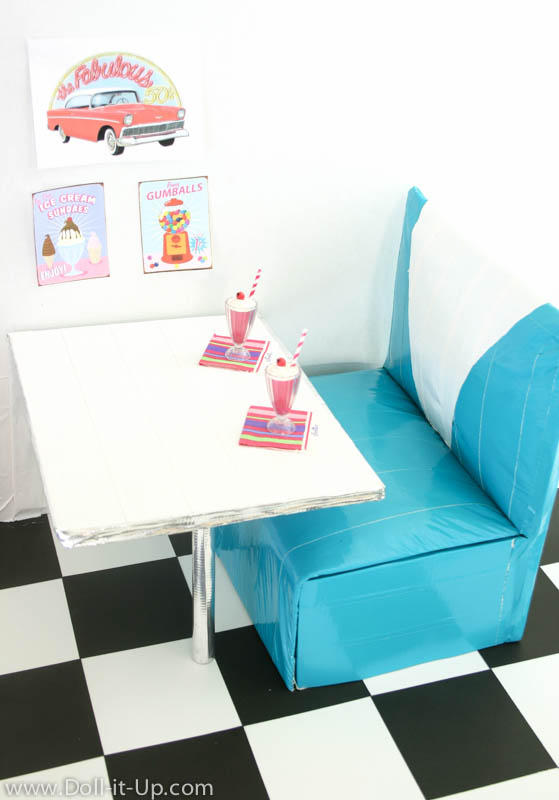
This retro diner booth looks and feels the part, the classic vinyl feel, padded cushions, and a 50’s color design. The best part is that you can make one too, it is crafted out of basic supplies, like Duck Tape, cardboard, and felt. Let’s take a look!
Retro Diner Booth
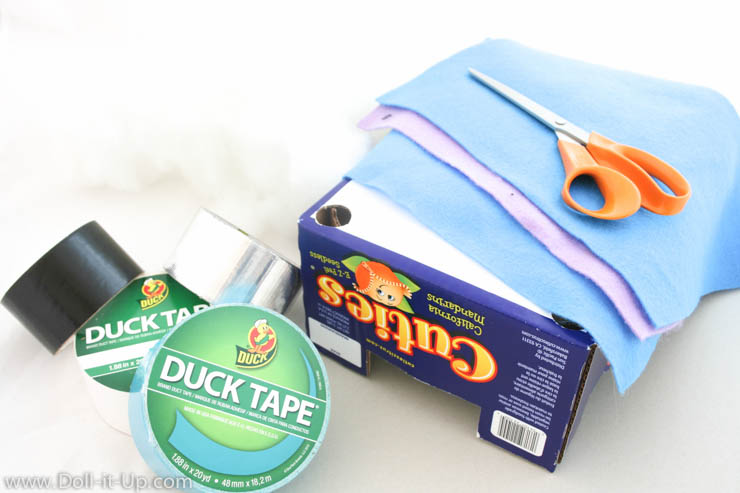
Supplies:
- box
- thin cardboard (the kind on cereal boxes)
- cardboard
- felt
- Duck Tape
- cotton batting
- scissors
The Base
I am using a Cuties box for the base of the bench. You could use a shoe box or make your own box out of cardboard.
Duck Tape is the secret to our doll size version of retro vinyl seats at diners.
Cover the two short sides of the box with tape, overlapping the tape onto the top edge.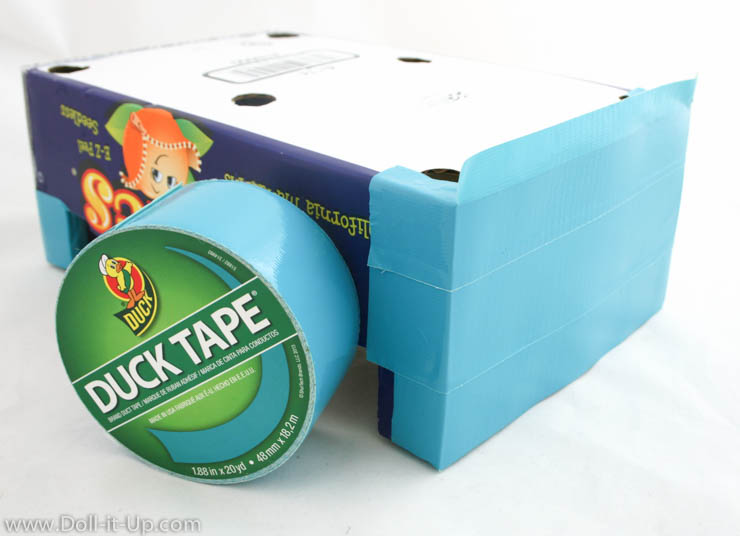
Seat Cushion
The base of the seat is a box and we are going to give it some cushioning and make it shaped like a bench at a diner.
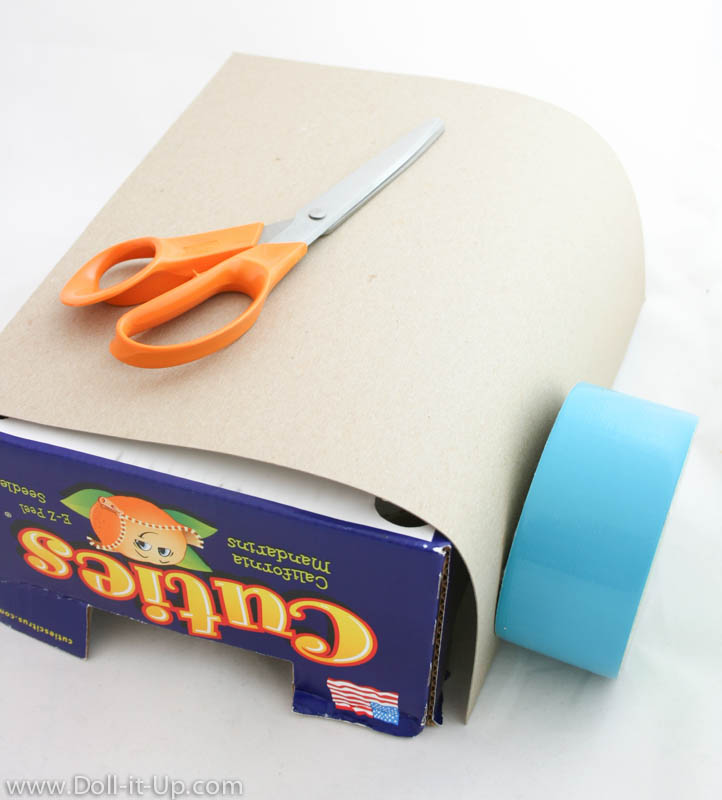
For the seat cushion we will need a piece of thin cardboard that covers the top of the box and wraps over the side to the bottom edge. I’ve laid out a piece of cardboard, over the box and propped up with scissors and a tape roll, to illustrate this.
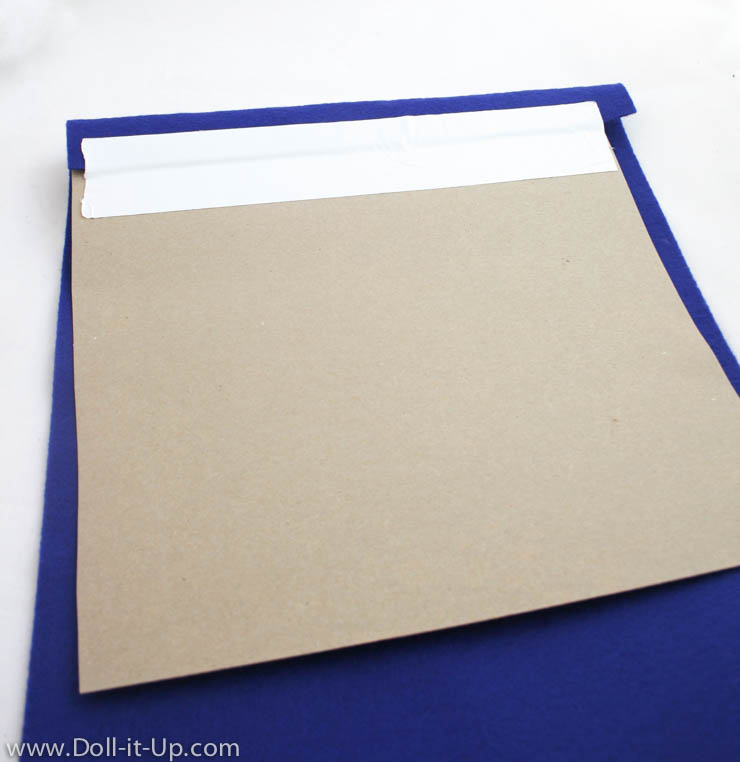
Lay the thin cardboard on a piece of felt.
The felt needs to be even with the cardboard on the sides and longer than the cardboard by at least an inch on each end. Fold one end of the felt onto the cardboard and tape it down with duct tape. Leave the other end open for now.
Tape the sides, overlapping the tape on the front and back.
At this stage the cushion is a pouch, open on one end. 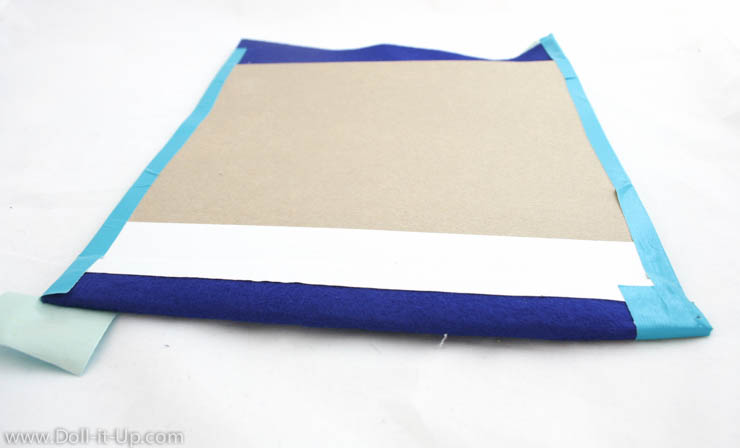
Cover the felt side with strips of Duck Tape.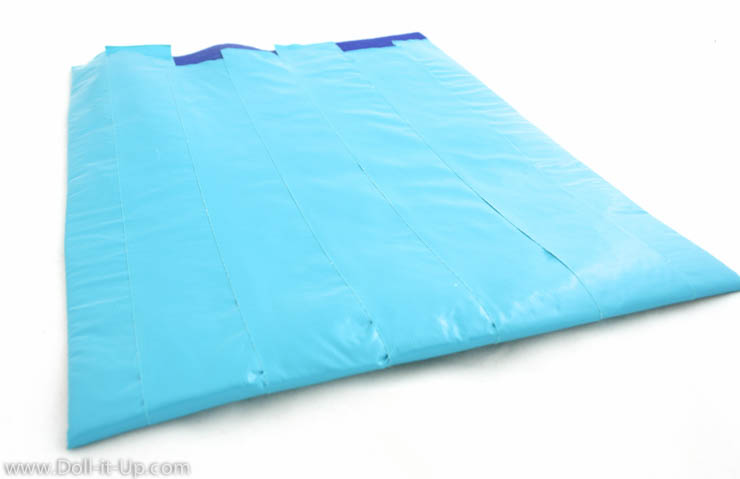
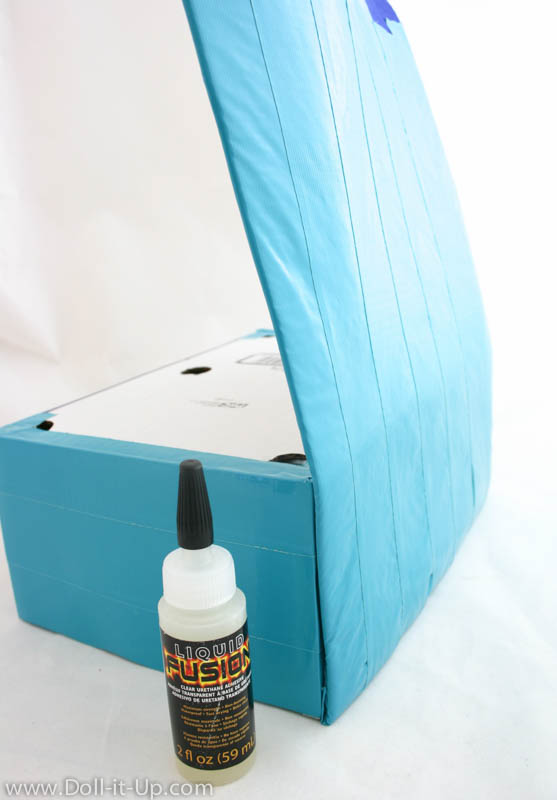
Position the finished end of the cushion along the bottom edge of the box and glue it down. You can use a strong liquid glue like Liquid Fusion or hot glue.
Now we will add padding to the cushion. Open up the pocket and fill it with cotton batting. Push the batting all the way down to the bottom and be careful to not overfill it.
Fold the cushion down onto the top of the box. If you overfilled it, it will pucker and warp and will not make a smooth dome. Take out any extra batting or add more if you need to. Tape the open end to the side of the box.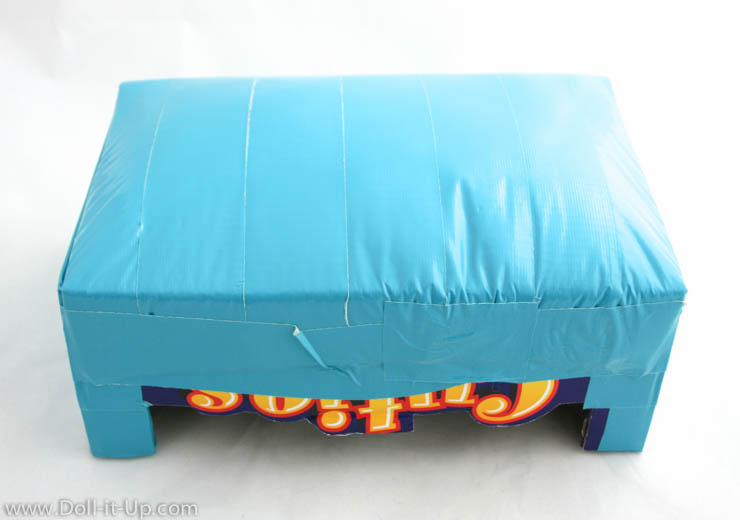
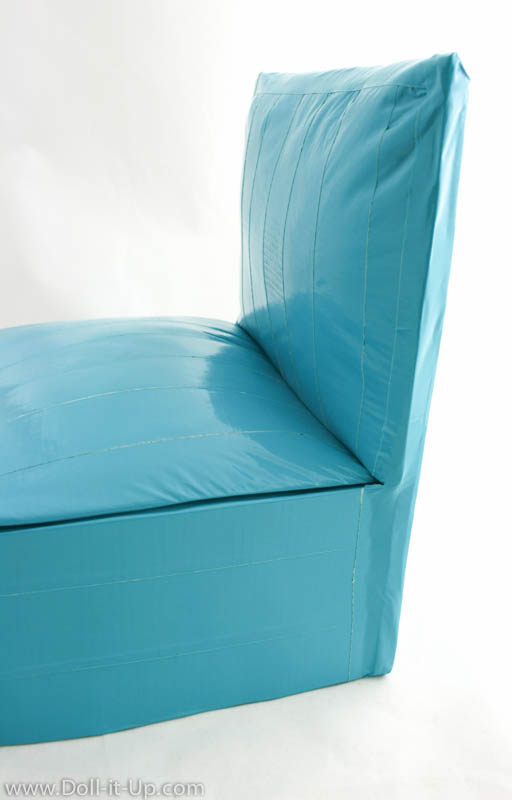
Here is the seat from the front view.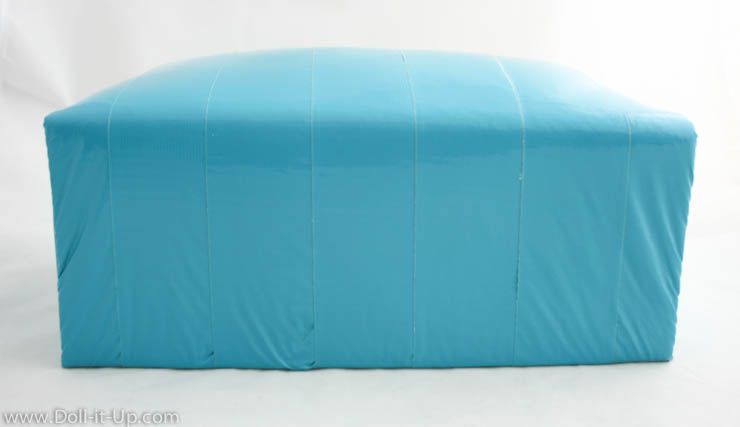
Back Cushion
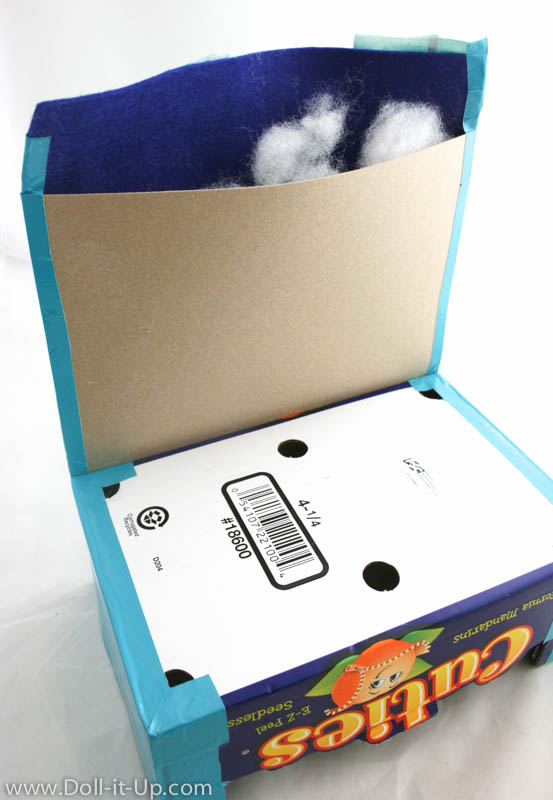
The base of the back cushion is made from cardboard. Use a piece of thick cardboard or layer several pieces to make it sturdy.
Cover the cardboard in Duck Tape.
(Ignore the tape sticking up from the bottom cushion. It is something that I tried that you don’t need.) 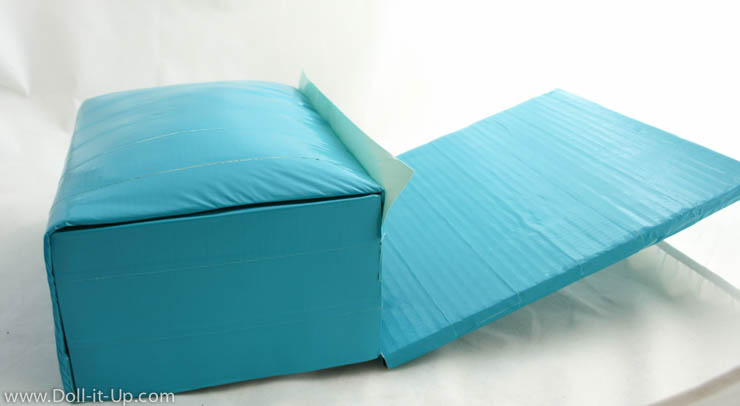
Glue the cardboard to the back side of the seat. At first I used tape to connect the two sides and it will be much sturdier if you use hot glue.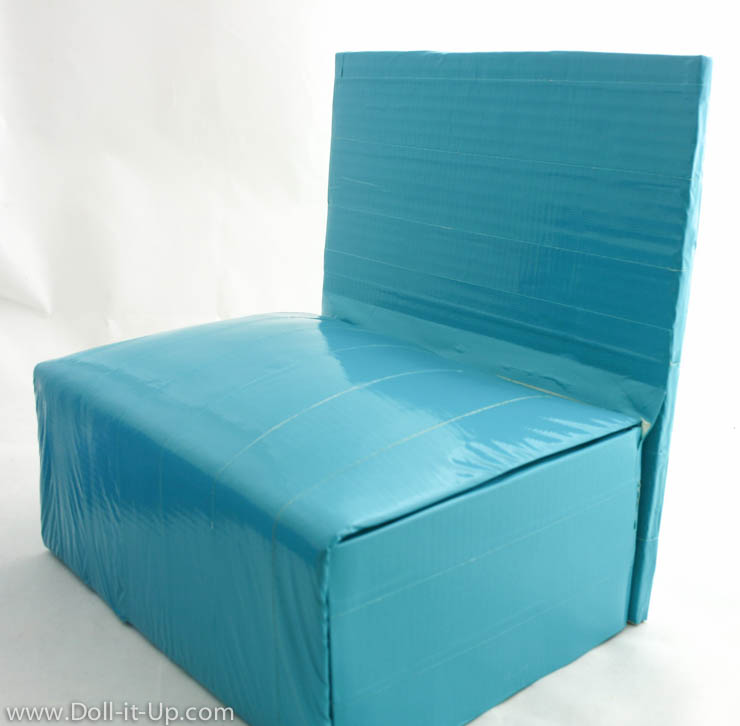
The cushion for the back, is very similar to the cushion we used on the seat. If you get stuck, refer to the instructions above in the “seat” section. The only difference with the back cushion is that it only needs to cover the back portion of the seat.
To make the cushion, cut a piece of cardboard the same size as the seat back.
Lay the cardboard on a piece felt and cut the felt so that it is even with the cardboard on the sides and longer by at least 1″ on both the top and bottom.
Fold over the felt on the bottom edge and tape it down. Tape the sides of the cushion with the tape on the edge, overlapping both the front and back. Cover the felt side of the cushion with strips of Duck Tape.
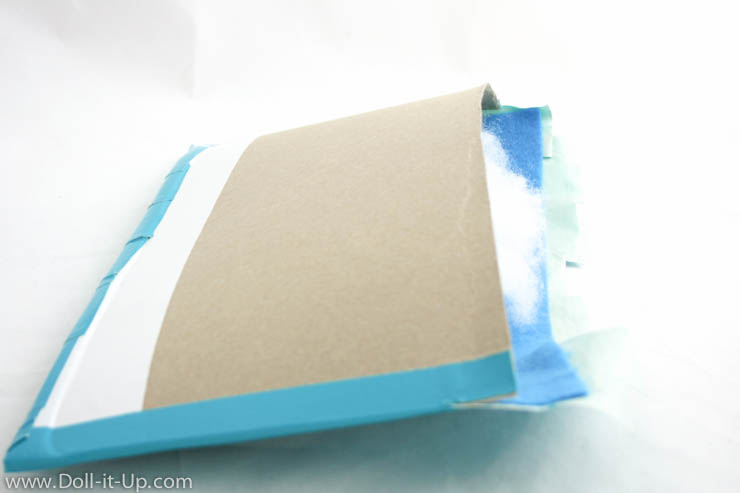
Fill the pouch with cotton batting. 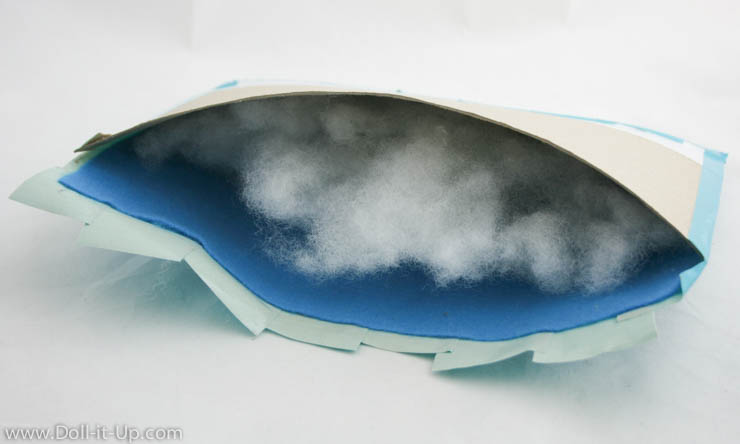
Take care to not overfill the pouch. To test if it has enough batting, fold over the felt and check if the taped side makes a smooth dome. If not, then remove batting or add more to get the right fill.
Tape the pouch closed and lay it against the cardboard back.
Tape the edges, top and side of the cushion back to secure and cover any gaps.
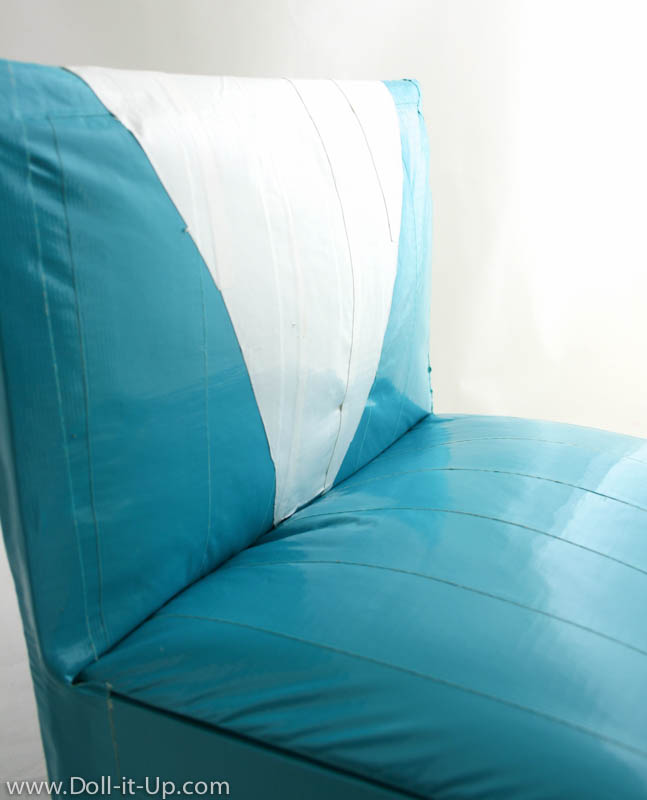
I wanted the diner bench to have a retro vibe so I added a white triangle out of Duck Tape to the seat back.
I love the way the Duck Tape gives the bench a vinyl look!
Diner Table
Now onto the table for the diner!
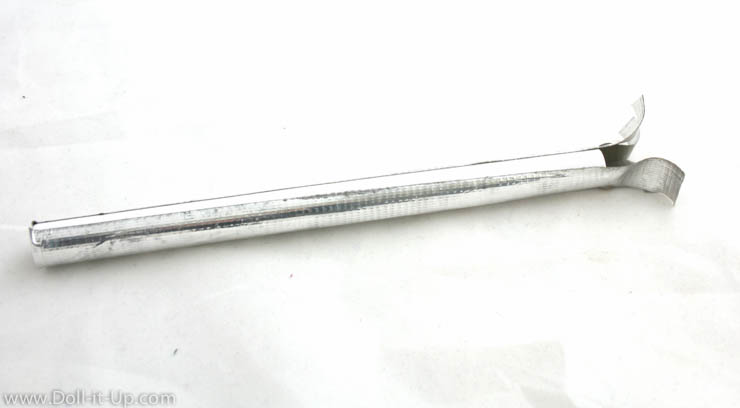
First up is the table support! Tightly roll several pieces of paper to make a tube. Cut the tube to the height you want to make your table.
Cover the tube in Duck Tape, starting at one end and leaving a couple inches overhanging on the other end. Cut the Duck Tape on the end into strips. These strips will give added support when we attach the table leg to the table.
Set the table leg aside while we make the table.
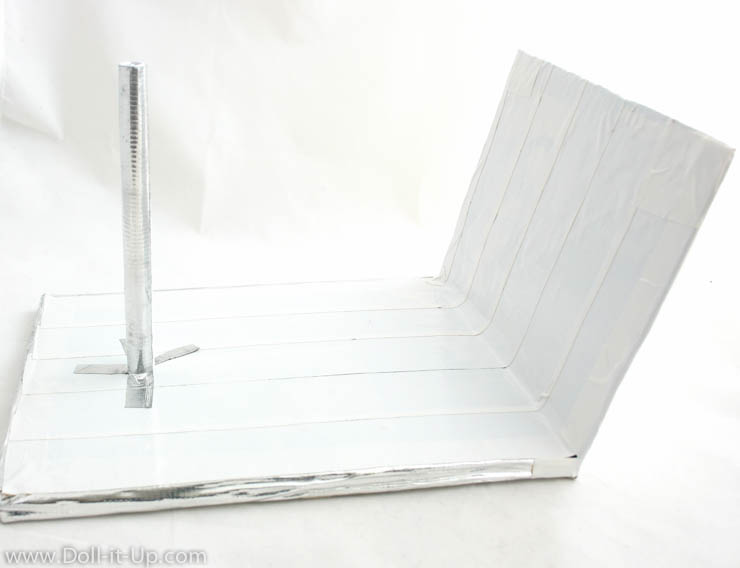
Since the table has only one leg we need extra support built into the table. Take a long piece of cardboard and bend the cardboard to the height you want your table.
Add a second piece of cardboard to the tabletop to make it thicker.
Cover the whole table in Duck Tape and trim the edges with silver Duck Tape to make it look like a table from the 50’s.
Attach the table leg with glue and the adhesive tabs on the end of the leg.
Tape or glue the side table support to a backdrop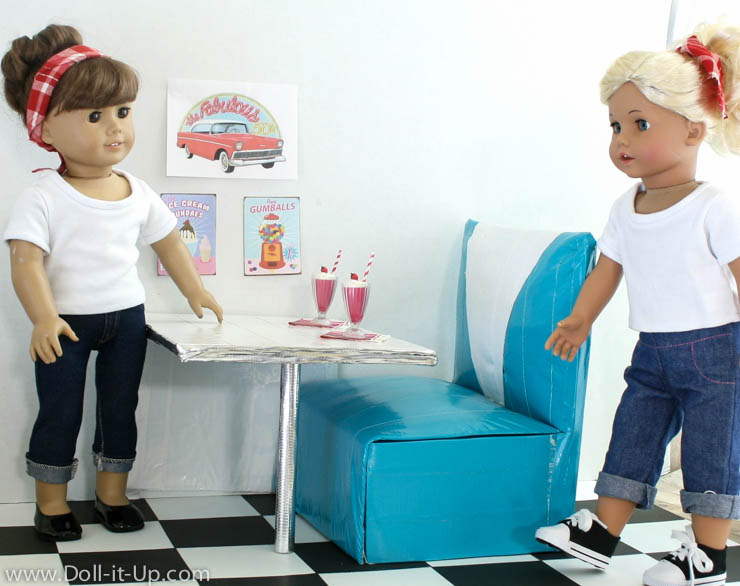
To add a few fun details to the scene I printed off retro looking clip art, first resizing it to doll size!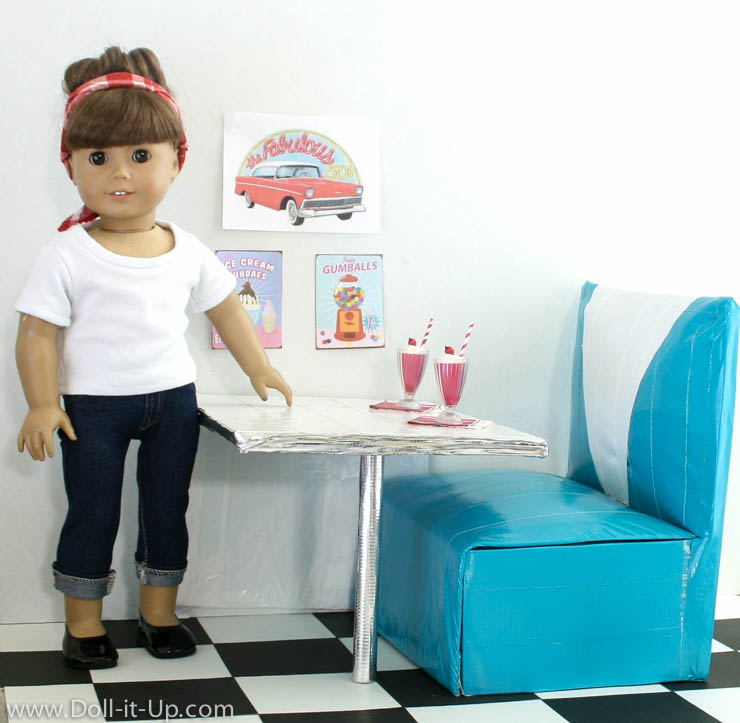
For the floor, I glued down black paper squares to a white poster board.
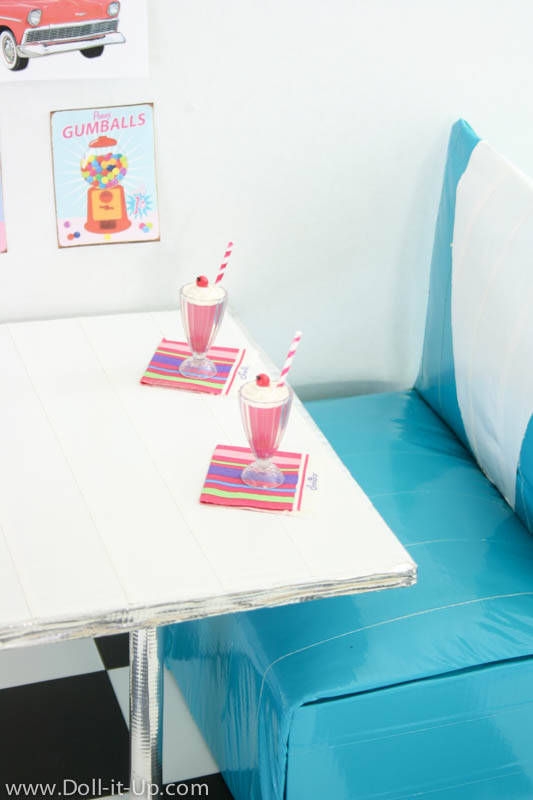
Mmm, diner’s serve some of the best shakes!
You might want to serve up some other classic diner food like hamburgers and fries.
Don’t miss some of these other retro crafts!
- Jukebox– Brandy shows how to make this fun Jukebox from a printable. Find it here, over on Doll Diaries.
- Retro Diner Counter-Complete the retro diner scene with a counter. Amaya over at Fun with AG Fan has made a complete retro diner scene with fantastic details! See the diner here.
Thanks for stopping by, let me know if you have any questions and if you liked this craft leave a comment below! I love your feedback and thoughts and most of all I appreciate you!
-Anna


Very cute! I LOVE it!
Looks great! Very clever…
This is a wonderful project! I love it! Thank you for sharing this tutorial… I always wonder what to do with those clementine boxes…
Anna, this is just amazing! I think this is my favorite of your projects that I’ve seen-so clever and do-able! I love your photos as well. Cute outfits and hairstyles..is that Samantha on the left?
I love it! I’ve been wanting to make additional benches and tables for my OG diner but I’ve been torn over using duct tape (I’m allergic to adhesive). Yours looks great!
Love this!!! Cute! Cute! Cute! Looks like Dales Diner where we had my daughter’s birthday! Great job!!
Wow, this is so creative! I’ll totally make this!…You know, once I find all the materials. 🙂
This is so cute ! I think AG Julie would like this !
I was just thinking about making something like this! Thanks for some great inspiration:)