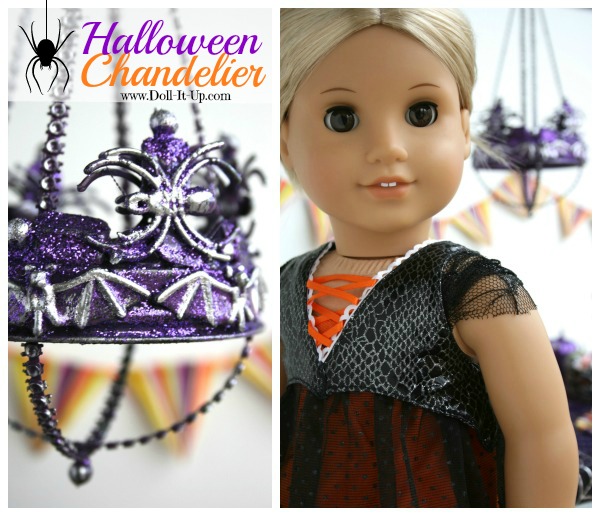
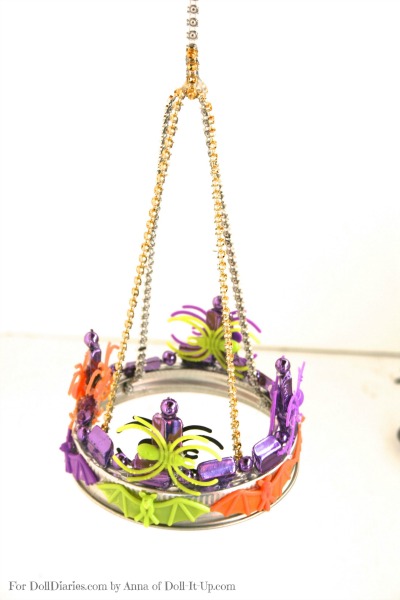
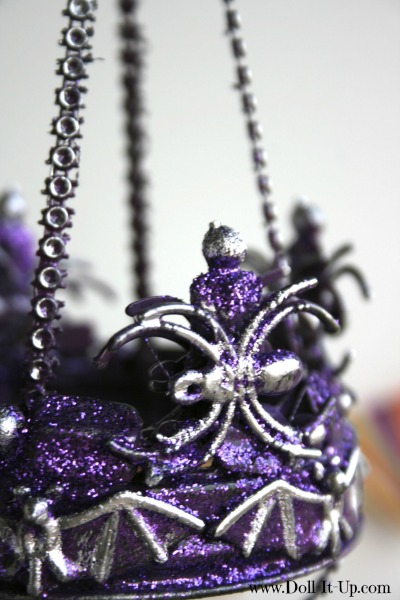
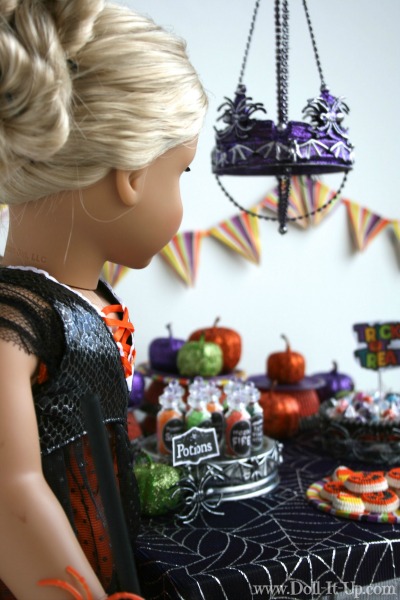
I love chandeliers and I love making them for doll spaces! This little Halloween chandelier is ornamented with spider and bat Halloween rings. At first you might not even notice the creepy creatures, but you won’t miss the way they dress up this chandelier!
I know this project is coming to you close to Halloween. I wish it were out a little earlier but the idea came to me at the end of a string of Halloween ring crafts. There was the cake stand, and the trick-or-treat bowl, the simple table top easel, and the spooky Halloween fence. Yes, Halloween rings are one thing these projects all have in common! Make the chandelier this week for a Halloween doll craft or save the idea for next year! (Hey, I know, pick up those Halloween rings on sale at the end of this week! 🙂 Yes, I love Halloween rings and doll size projects! )
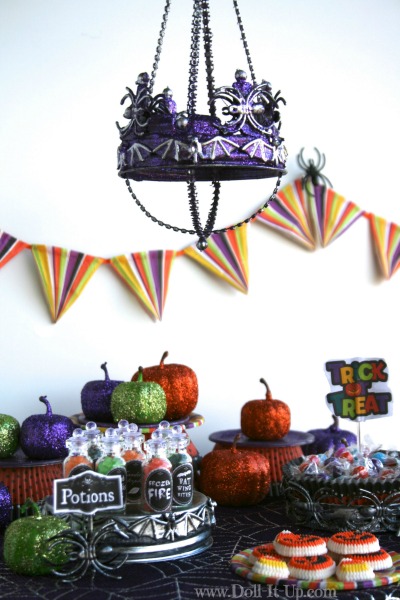
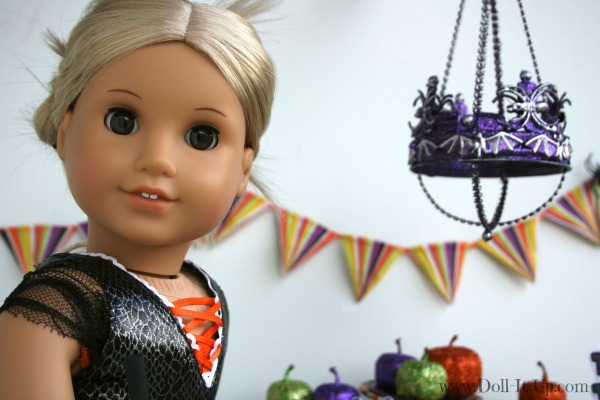
All of this year’s Halloween ring projects culminate with this little chandelier! And, I might say, it definitely finishes off our Halloween party table!
Love, love, love.
Come and join me to make one for your doll space!
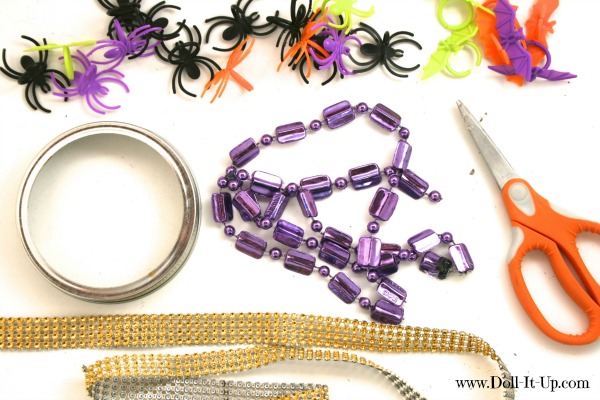
Let’s take a look at what we’ll need.
Supplies:
- spider rings
- bat rings
- canning ring
- party necklace
- scissors
- trim (mine is Bling on a Roll)
- paint
- glitter
- glue
- paint brush
Chandelier Base
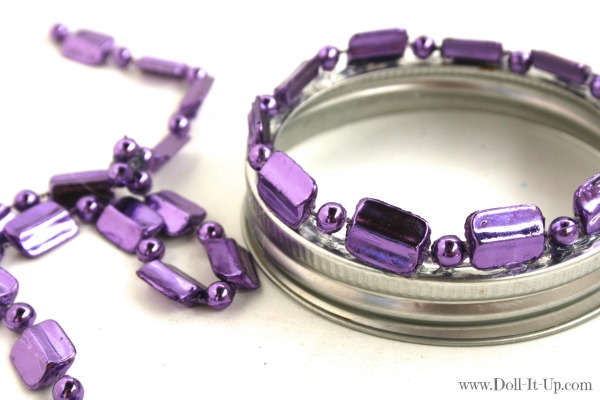
Glue the party necklace around the top edge of the canning ring. I know these necklaces come on a variety of shapes and this will only add to the uniqueness of your chandelier!
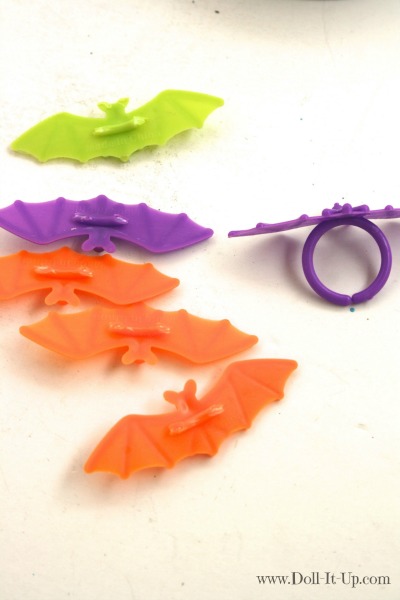
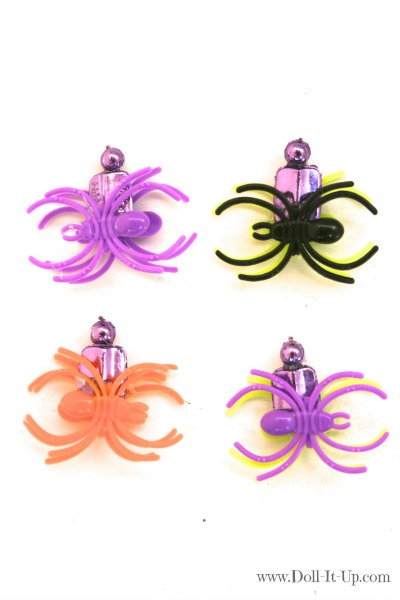
Cut the ring portion off of the bats and spiders.
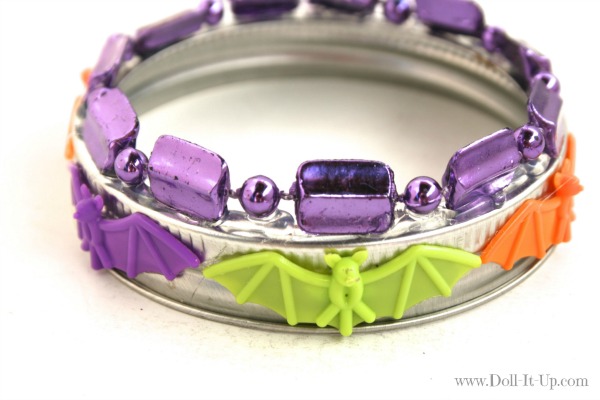
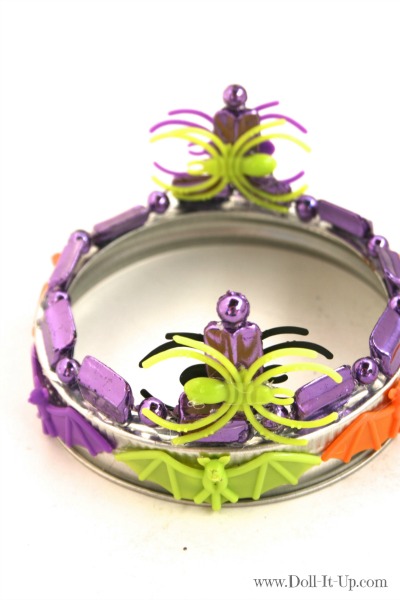
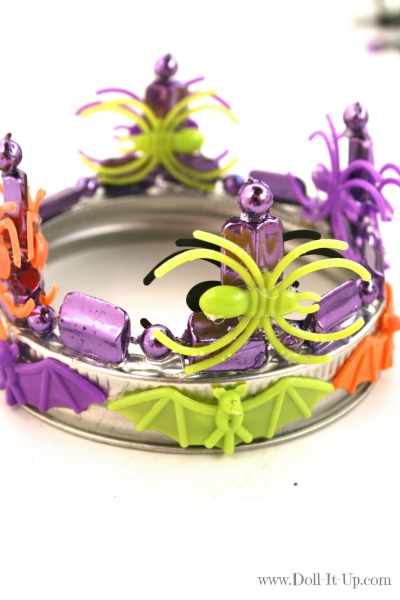
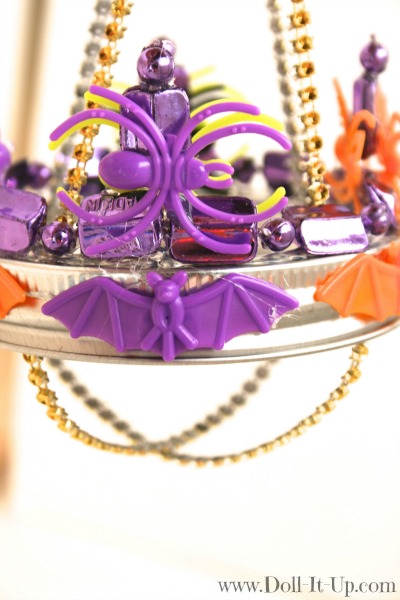
Glue the bats around the outside of the canning ring.
Candlesticks
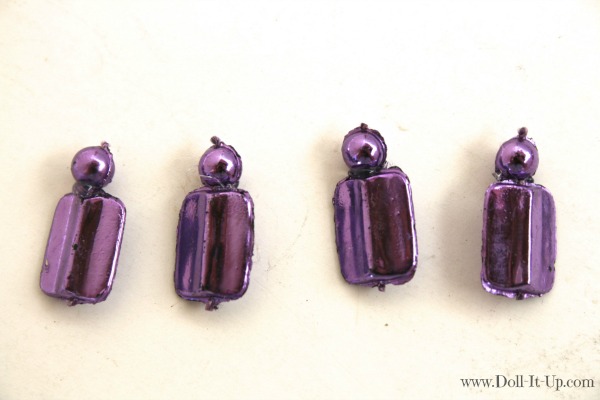
To make the candle details on the chandelier I am using little sections of the party necklace. My necklace has alternating rectangles and circles. I cut the necklace into sections of one connected rectangle and circle. Place glue on the top of the rectangle and push the circle into the glue. Party necklaces vary. If yours is all circles then cut similar size sections of say, 3 beads, and glue them together. Make four candles.
Sandwich the candles in a candlestick of two spiders. Leave a little space on the bottom of the two-spider-candlestick. That is how we will attach it to the chandelier.
Place two candlesticks directly across from each other on the chandelier. Attach it by overlapping the spider legs onto the party necklace, one set of spider legs on the outside of the necklace and one set of spider legs on the inside of the necklace. Glue the candlesticks in place.
Glue two more candlesticks on, dividing the circle of the chandelier base into fourths.
Hanging the Chandelier and Adding a Little Detail.
To hang the chandelier I am using Bling on a Roll that I cut into a single strand. Other types of trim or a jewelry chain would also work. Some jewelry chain is quite inexpensive in the jewelry craft isle at the store.
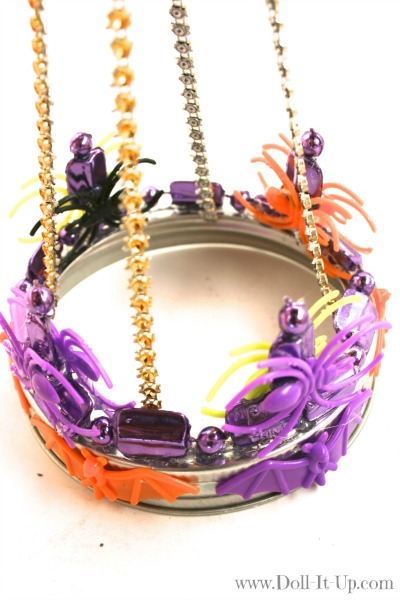
Cut 2 sections of trim the same length. The trim is going to attach between the candlesticks on the rim of the canning ring. The two ends of one piece of trim attach opposite of each other.
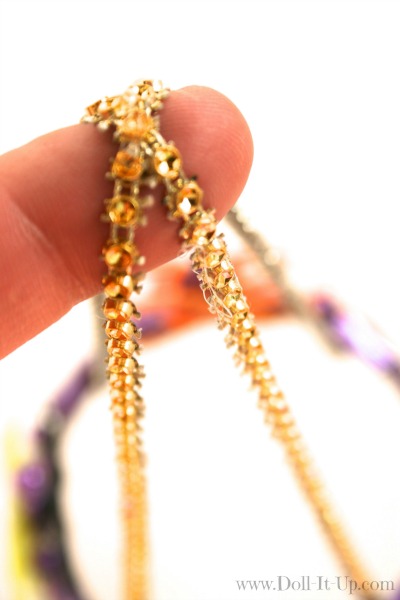
Hold the middle of the trim up with a finger. The two strips should cross over each other.
Take another section of trim and loop it where the two strips cross. Hold the top trim and adjust the chandelier so that it hangs straight. When it is hanging straight, place a dab of glue where all the trims are intersecting. This will keep the chandelier from continuing to shift, or hang crooked.
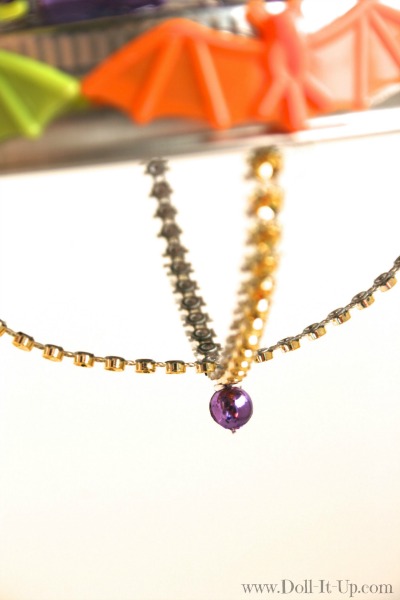
Add two shorter sections of trim that hang from the bottom of the chandelier. Cut each segment the same length. Glue it to the inside edge of the canning ring, lining it up with the trim above.
Where the two pieces of trim cross on the bottom, glue on a bead from a party necklace.
Paint It Up!
Now for the fun part, adding color! I am going to share the evolution of color this little chandelier had. You can take what you want from the process to customize your own!
I wanted the main color of our chandelier to be purple. I used spray paint because it was easy to paint the chandelier while it was hanging. Gently twisting it, I could check each area to make sure it wasn’t missed. My purple spray paint was not very opaque so I sprayed the whole thing black first, to give it a uniform color.
After it dried, I coated it in purple. It still needed a little something to accentuate the details. I used a silver paint pen and ran it over the raised edges of some of the details on the bats and spiders, the tops of the candles, and along the trim.
Lastly, it needed a little sparkle. With a paint brush I painted glue onto the purple areas and dusted it with glitter.
As a side note, I store the chandelier hanging, even when it’s not in use. The paint has made the trim stiff. When you set the chandelier down on the trim it leaves bends in it. After it’s been laying down for a minute I can bend it right back into place but I’m afraid if it was left too long the bends might become permanent.
I love the way it turned out! Just the right accent on the details! Just the right shimmer and shine!
And just the right touch to our Halloween party!
Enjoy!
Anna




i love this craft and it is so cute but my family does not like haloween very much so i was thinking maybe you could do a shandaler for christmas! sorry if i miss spelled somthing.
Lila, Yes I made a chandelier last Christmas for Doll Diaries. Here is the link.
http://dolldiaries.com/doll-play-make-a-doll-sized-holiday-chandelier/
Chandelier’s are a lot of fun, so I’m sure I’ll be making more! Thanks for stopping by!
Anna
I know ur nieces Lily and Miriam
I am their neighbor
Hi Haley, Lily and Miriam are great girls! That’s fun you are friends and neighbors with them!