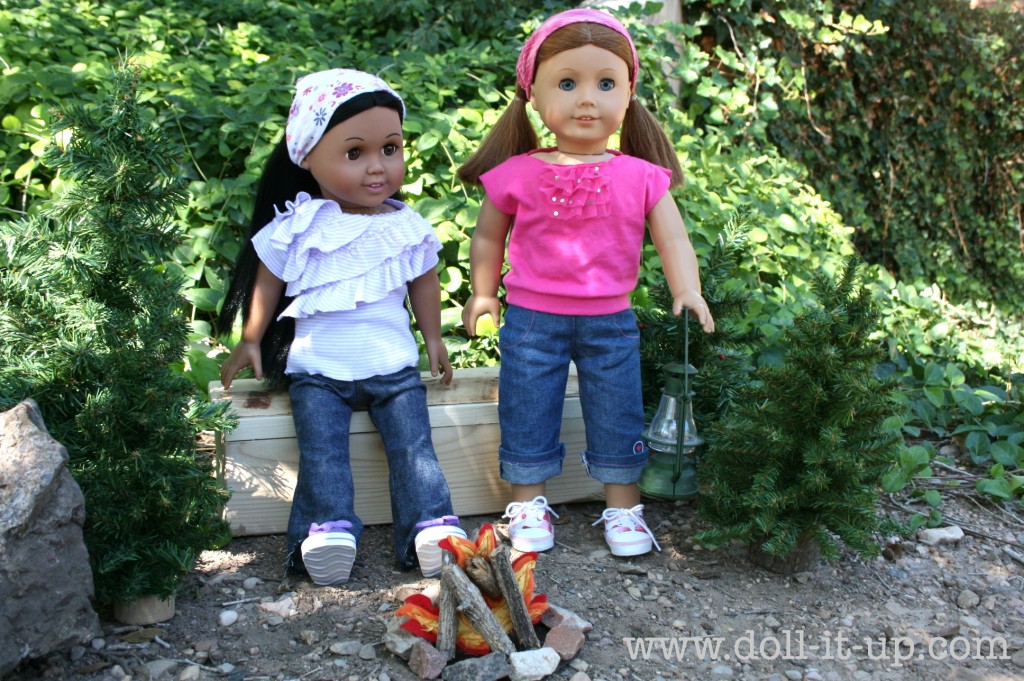
I don’t know what it’s like where you live, but here looking up into the mountains, the leaves are showing their finest display of color. Just beautiful. It beckons to come and enjoy this time of year, outdoors. Doesn’t a fall campfire in the woods sound like just the thing? Well, I have the doll version today!
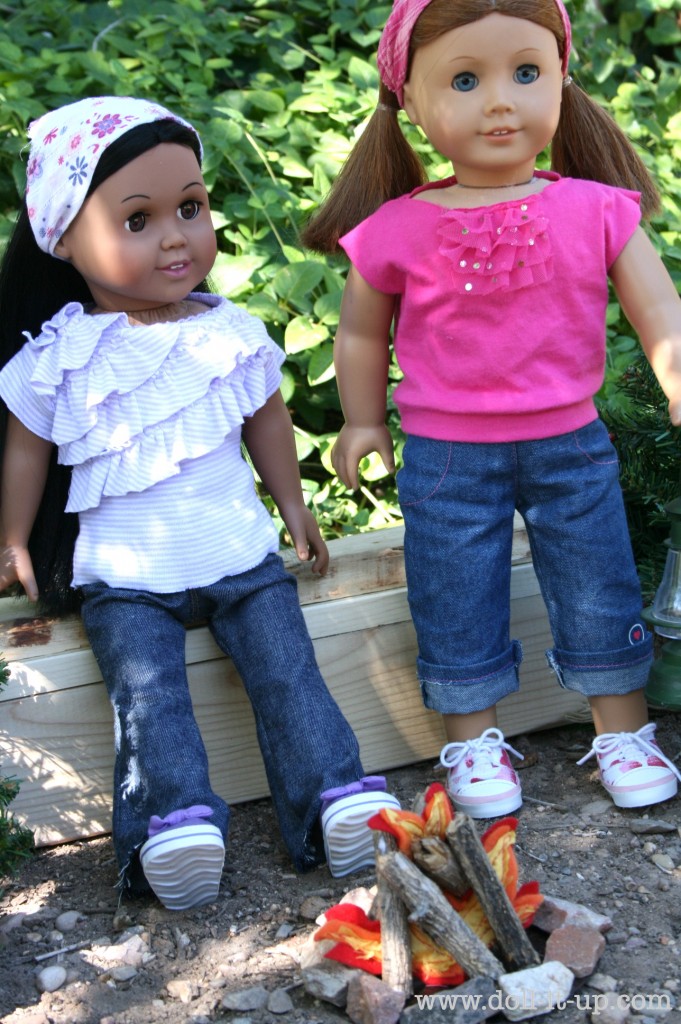
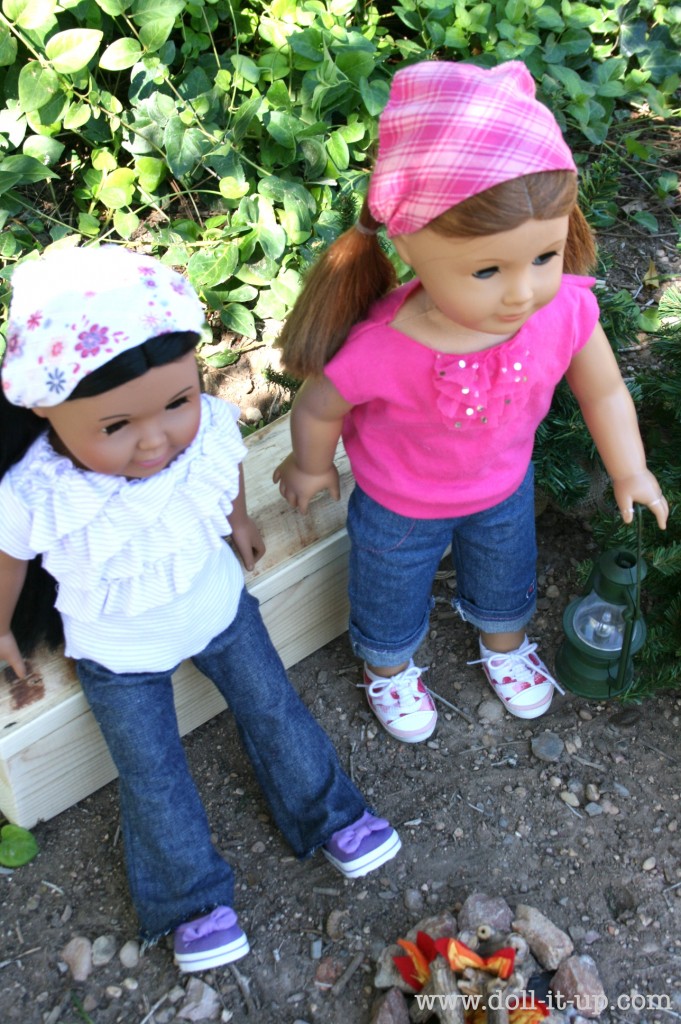
They are all ready to enjoy the outdoors!
Let’s join them!
Now bring the outdoors inside with a fall campfire for your dolls and doll enthusiasts. This idea comes from the CD Campfire here by Amanda Formaro for Kaboose. Thanks to my awesome sister that sent me the idea and link! Thanks Sis.! She also put into my head that it could be done a couple different ways. So today I’m sharing the rustic camping, out in the woods version and another day I’ll show you a backyard patio version.
I put my own spin on the idea to make the finished campfire more sturdy.
Then it will last a little longer for play and not make a mess when played with (I’m talkin’ no sand or dirt involved:))
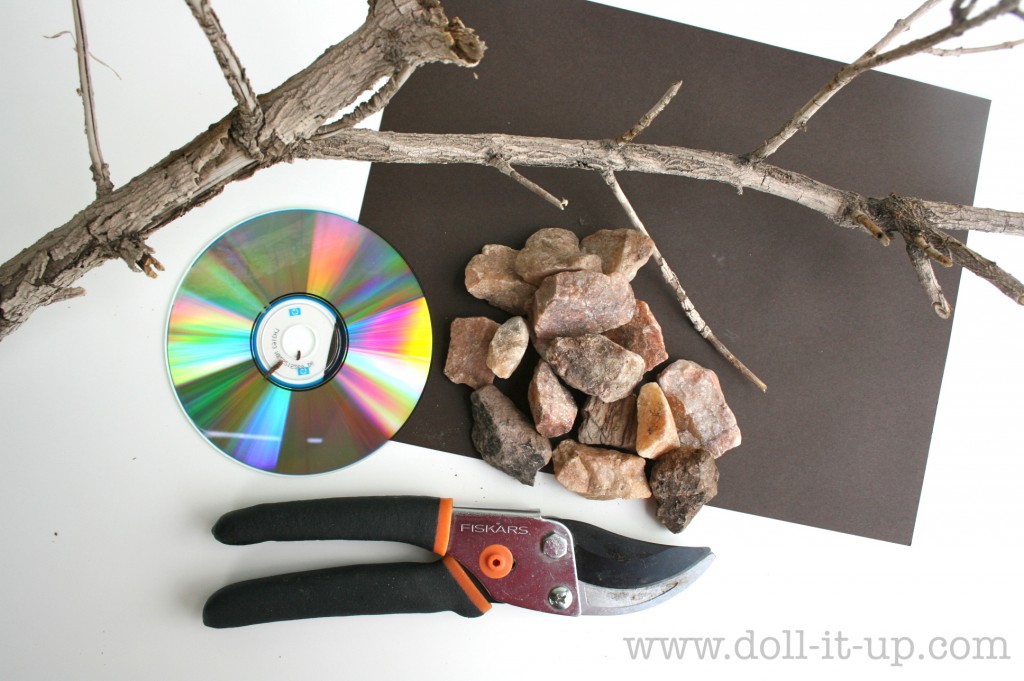
Here is the line up:
- dead branches about 1/2″ wide cut into 3″ segments with yard clippers
- CD
- rocks about 1″ by 1 1/2″
- dark brown cardstock
- Mod Podge (shown later)
- E 6000 (shown later)
- felt in red and orange (shown later)
- yellow ribbon (shown later)
- sewing machine (not shown:))
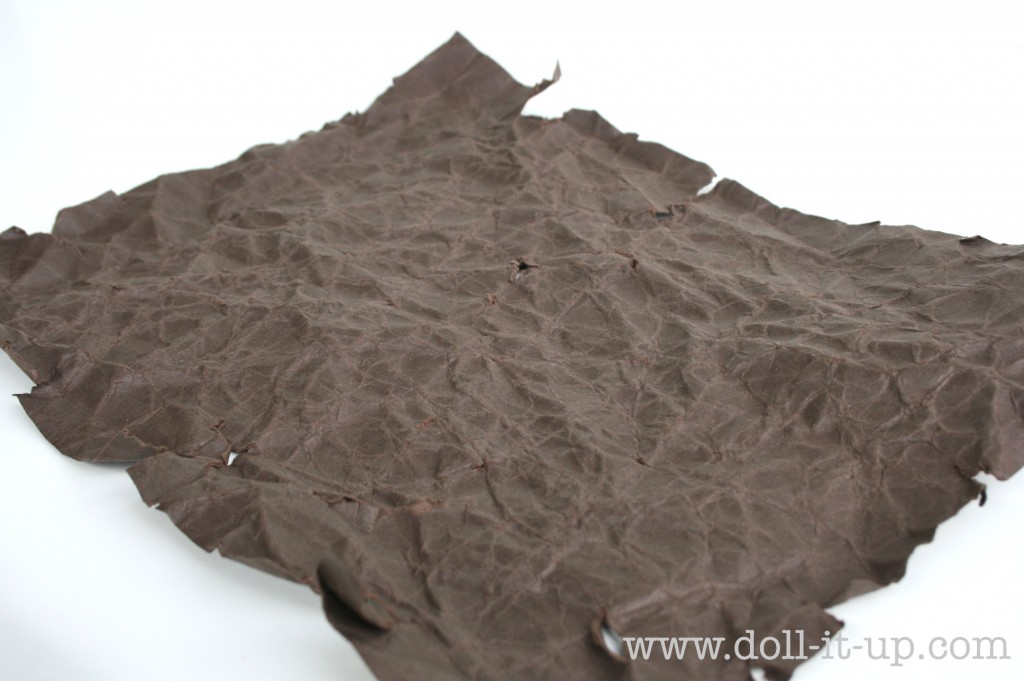
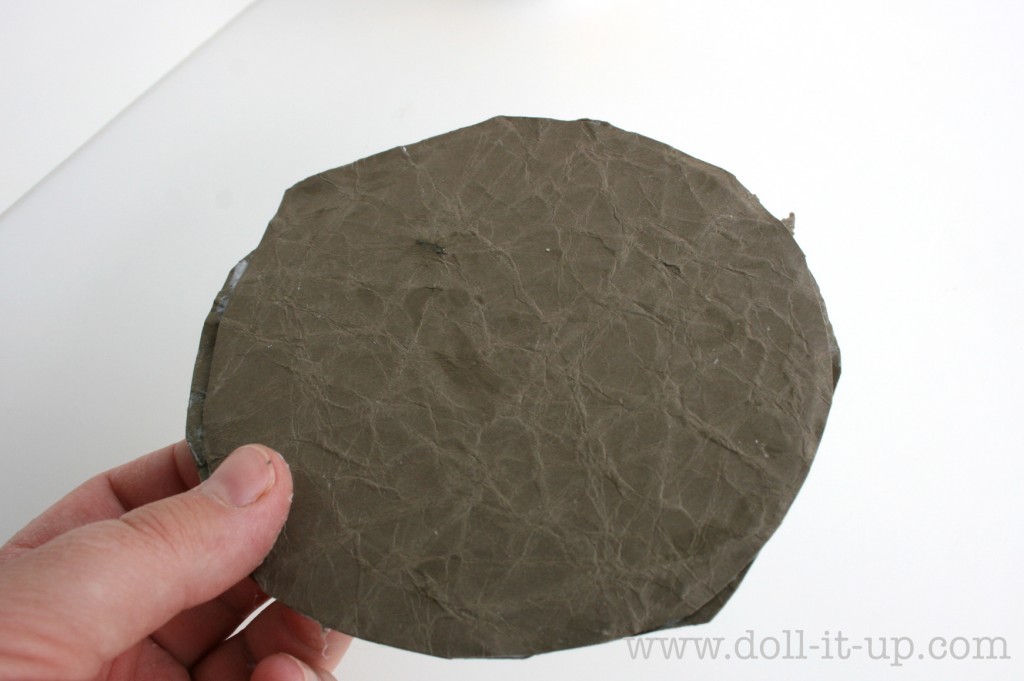
Start by crumpling your piece of cardstock a few times to get it good and wrinkly. 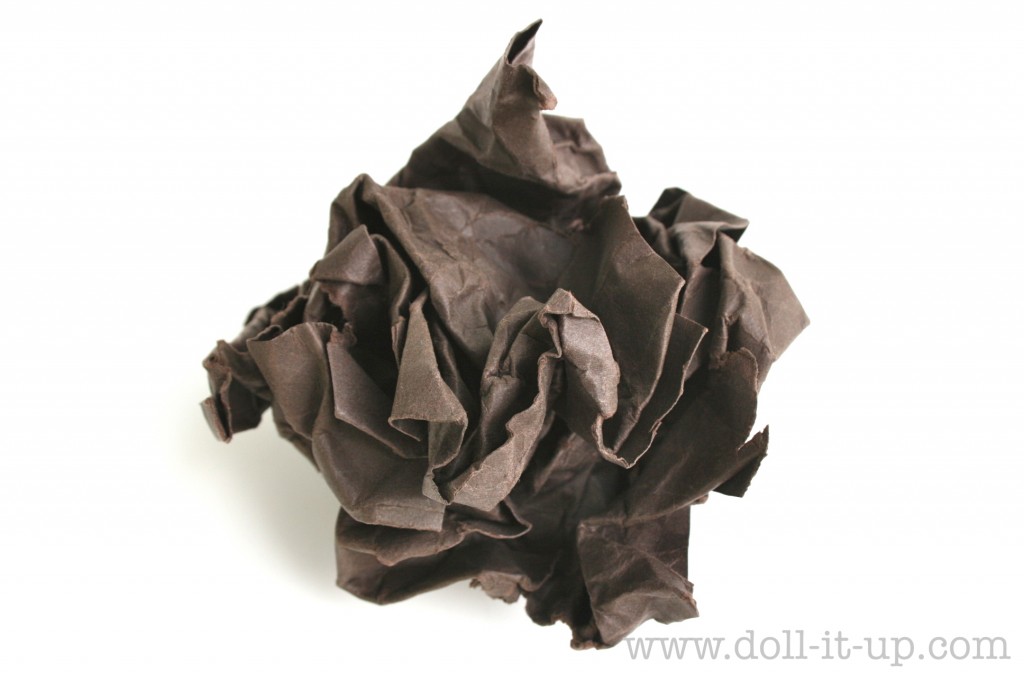
This is going to be the ground and instead of messy sand and dirt, use crumpled cardstock to add texture. Flatten it out and cut 2 circles a little larger than the CD.
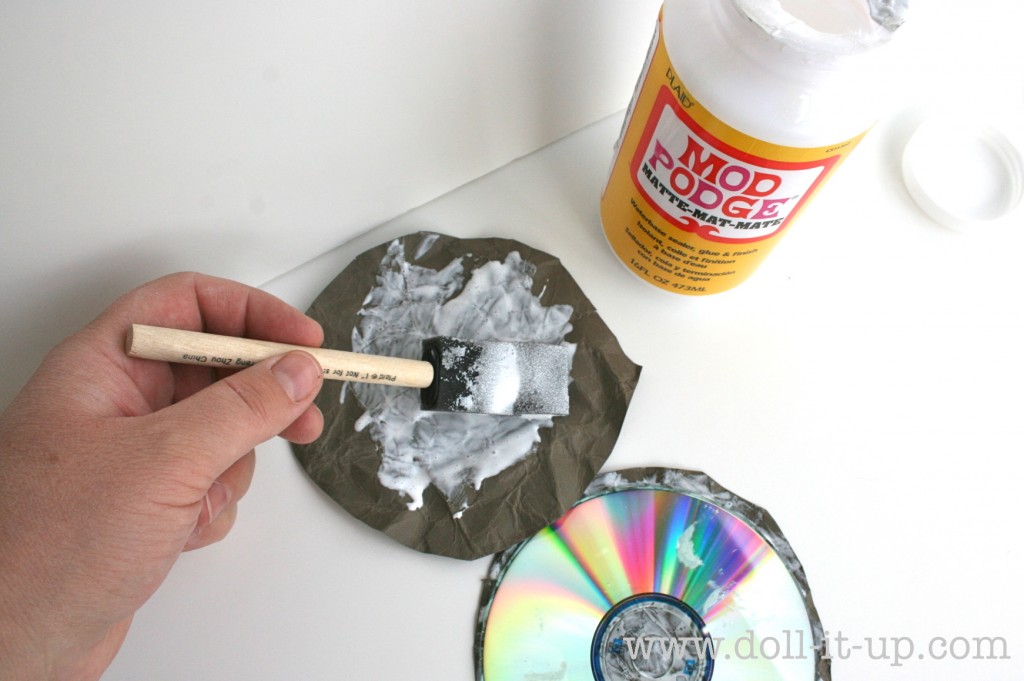
Mod Podge the circles to each side of the CD.
Let it dry completely.
Add a coat of Mod Podge to the outside of one side and let it dry. Repeat with the other side.
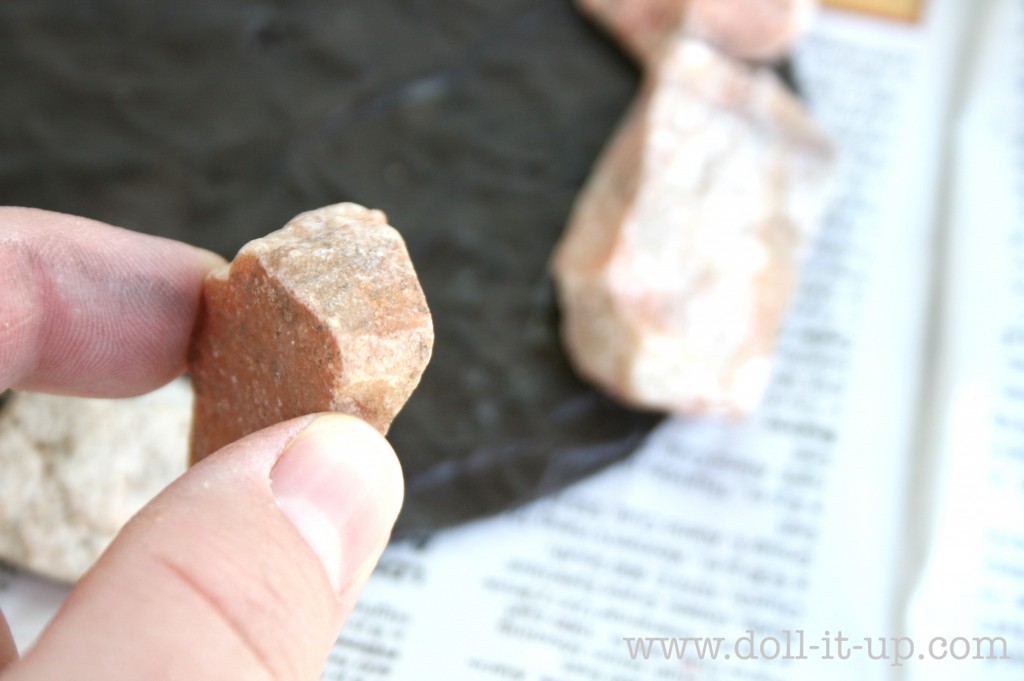
Glue the rocks around the perimeter.
I used E-6000. It is super strong and it is what I use if I really want something to hold. I didn’t experiment, though. Craft glue may do the trick. Just don’t use hot glue. The CD campfire tutorial said hot glue doesn’t last. 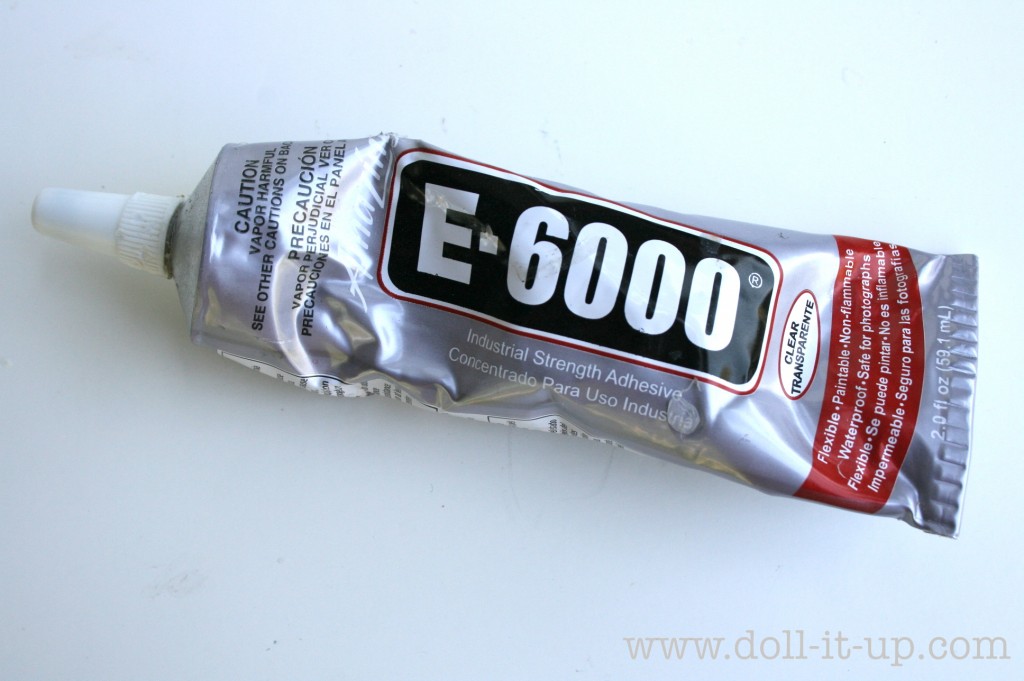
Let it dry completely. Notice the nice textured paper!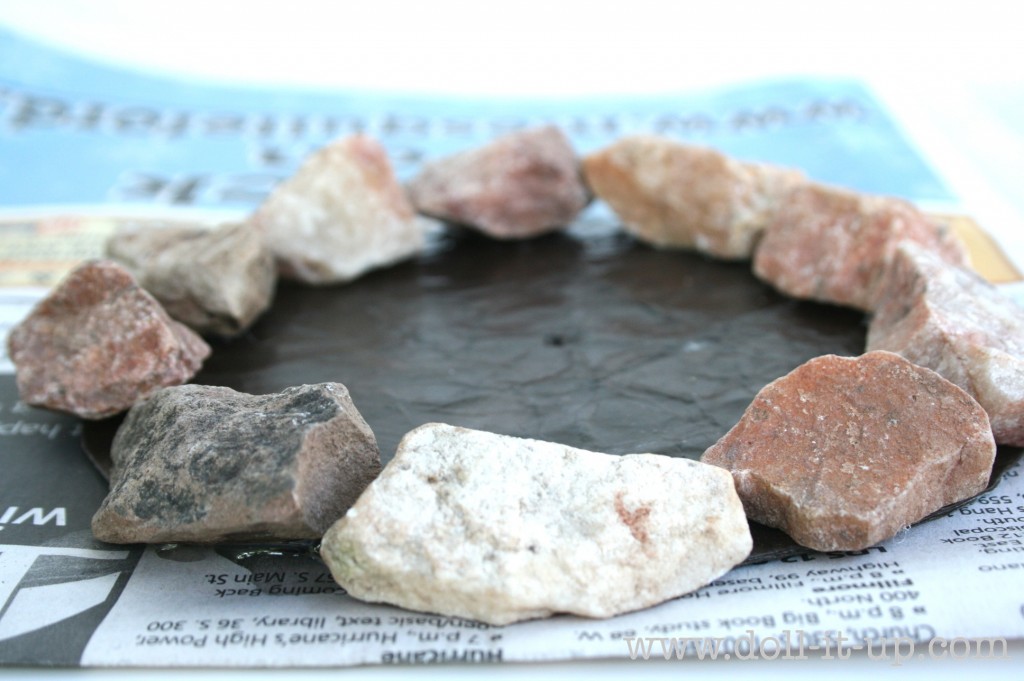
Take the precut sticks and Mod Podge them. It will keep the bark in place and any other pieces from chipping off.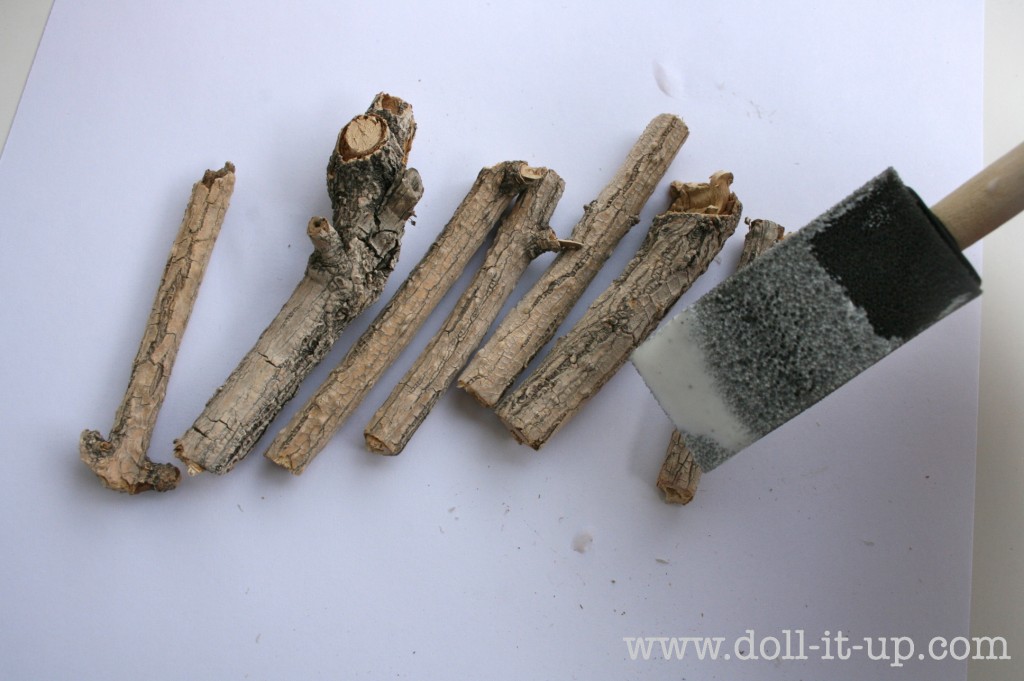
After it dries completely glue the sticks into a teepee shape.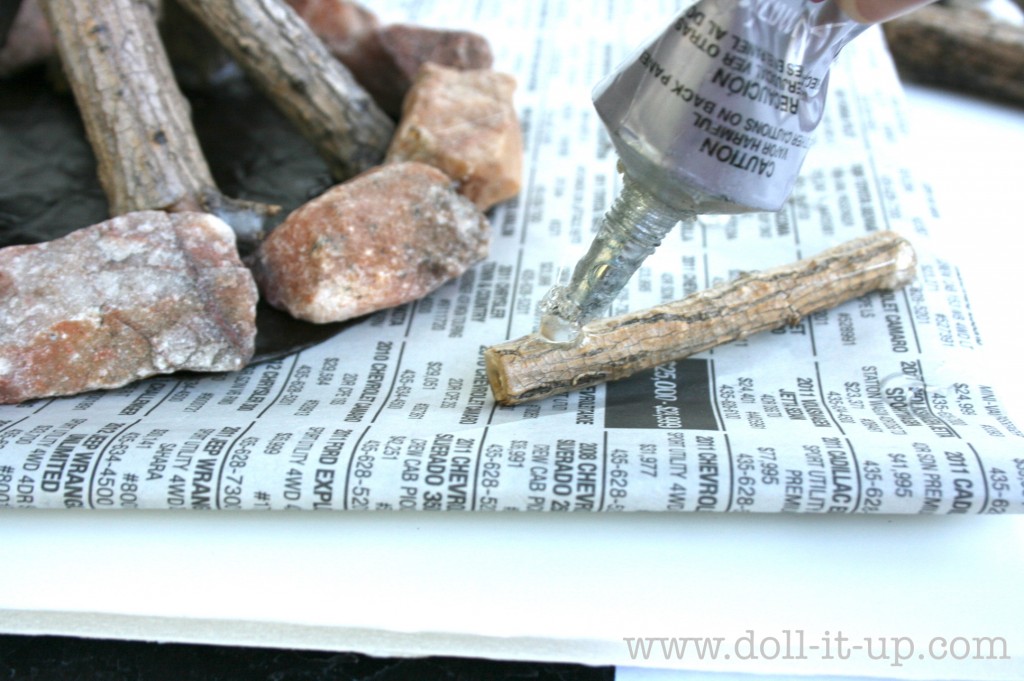
You may need to hold it for a minute to let the glue start setting up. Once it’s pretty balanced it should stay on its own. Leave time for it to dry completely, 24 hours if possible.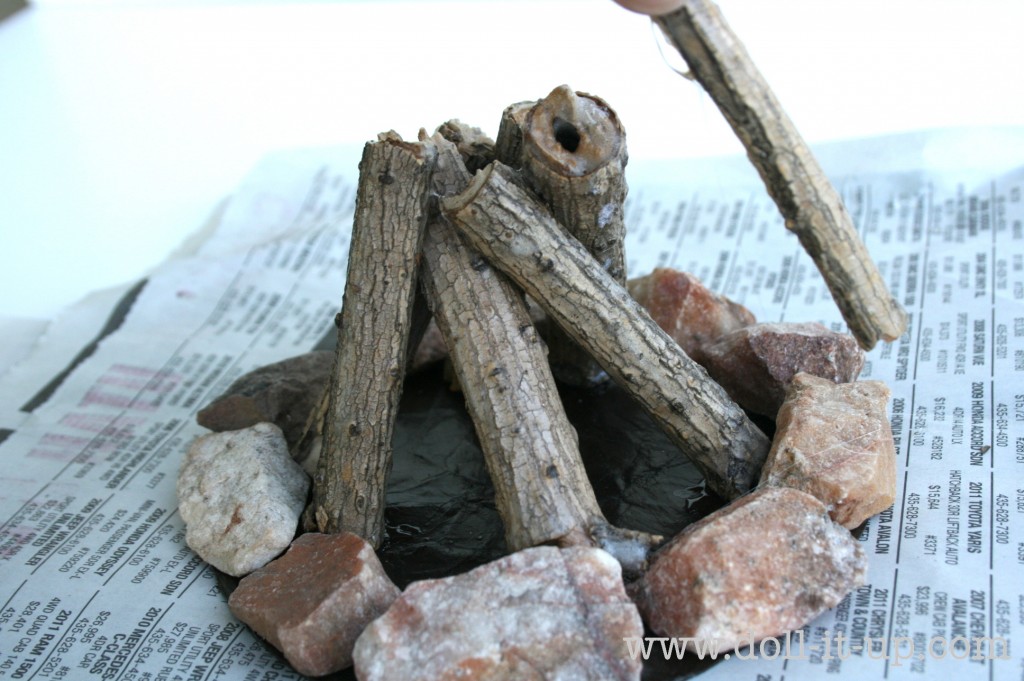
Now for the flames. Cut matching orange and red flames and a length of yellow ribbon.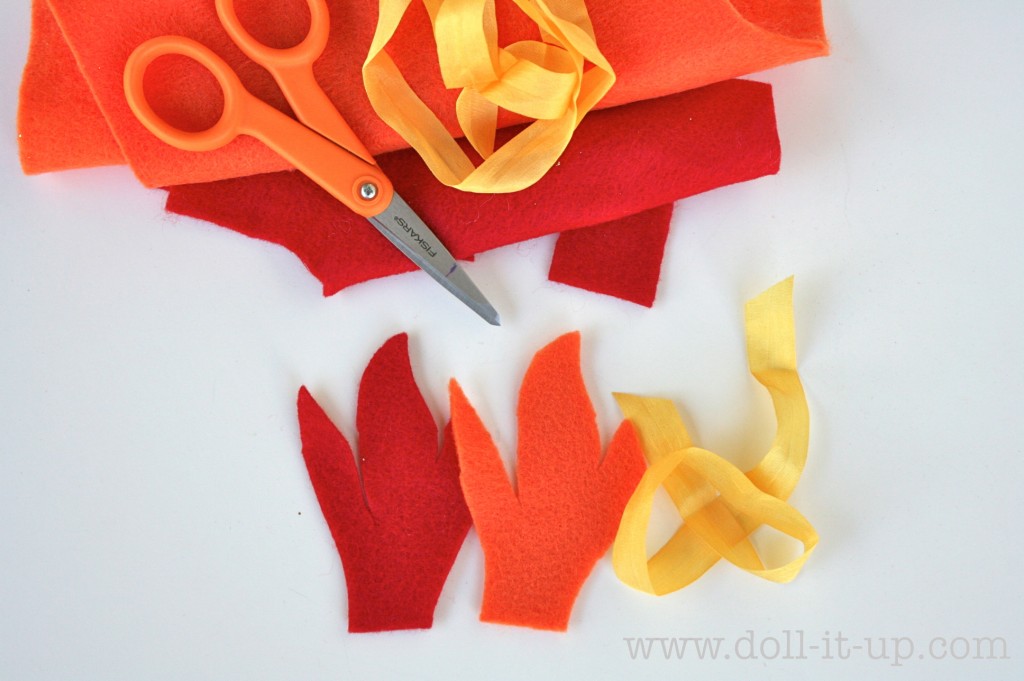
This is not necessary, but I wanted to have a little dimension, so I pinned and sewed a little tuck down each flame.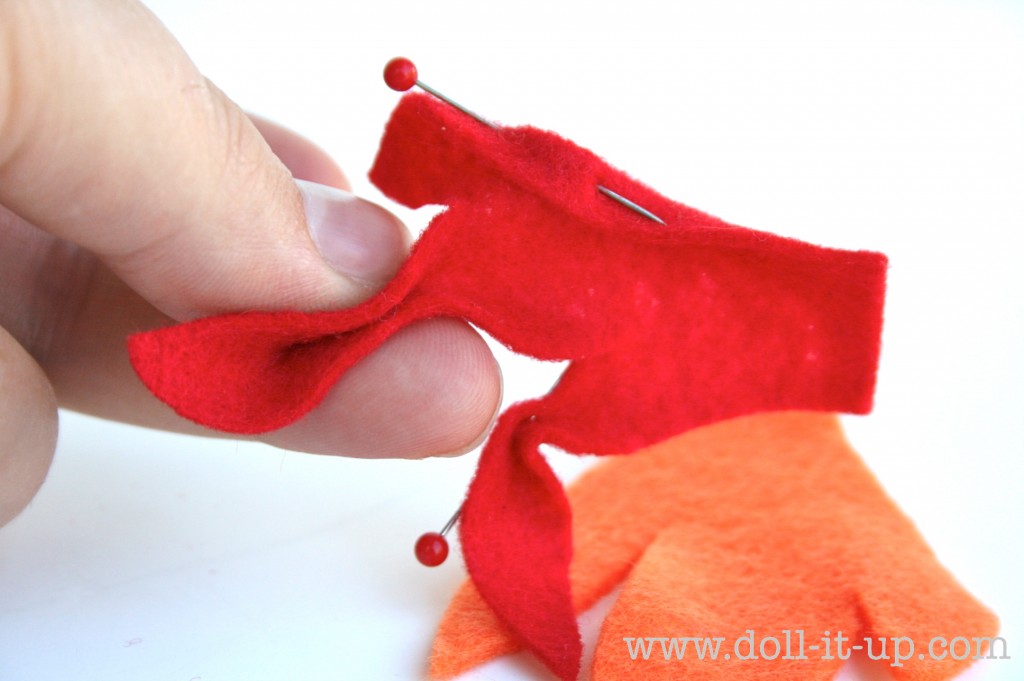
This is the result. Now the flames can flicker! 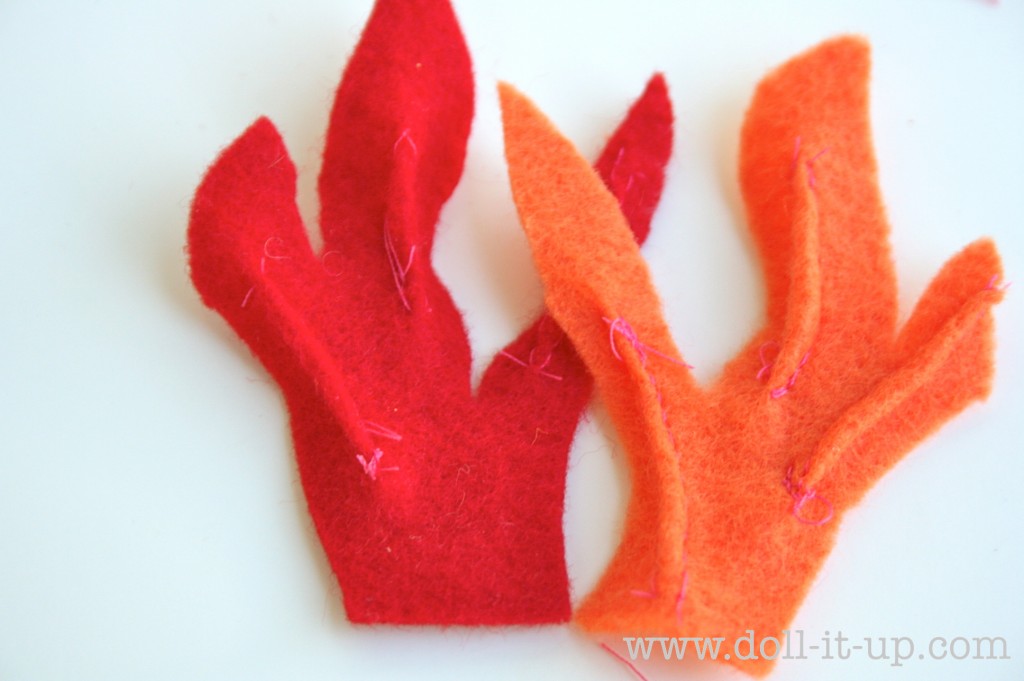
Lay the orange layer on top of the red and trim it so it is slightly smaller than the red layer.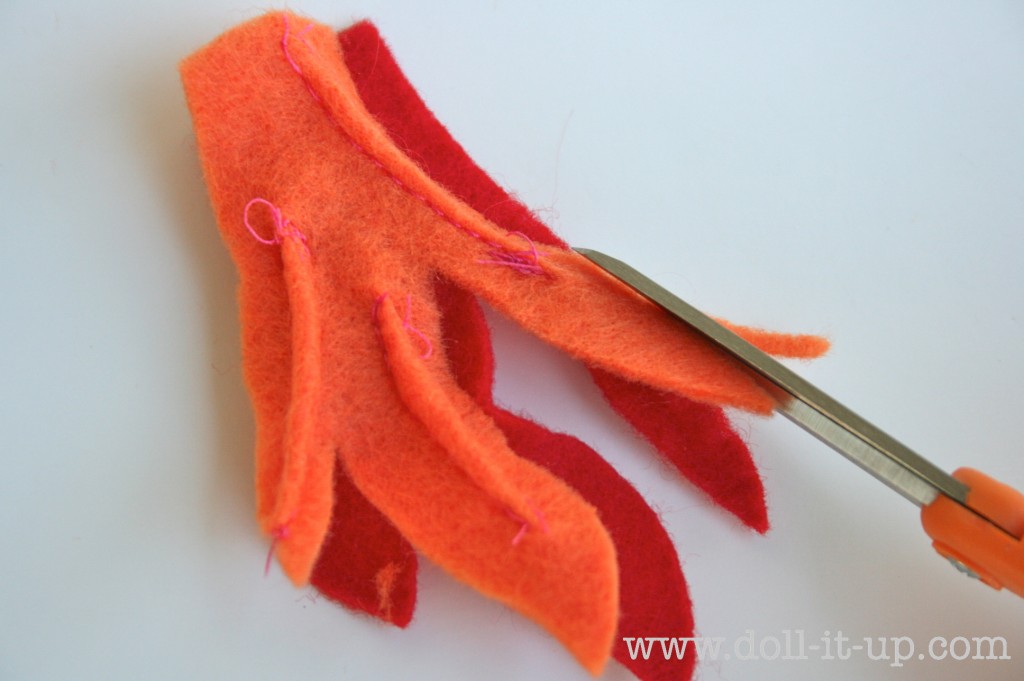
Pin the ribbon so it lays along each flame.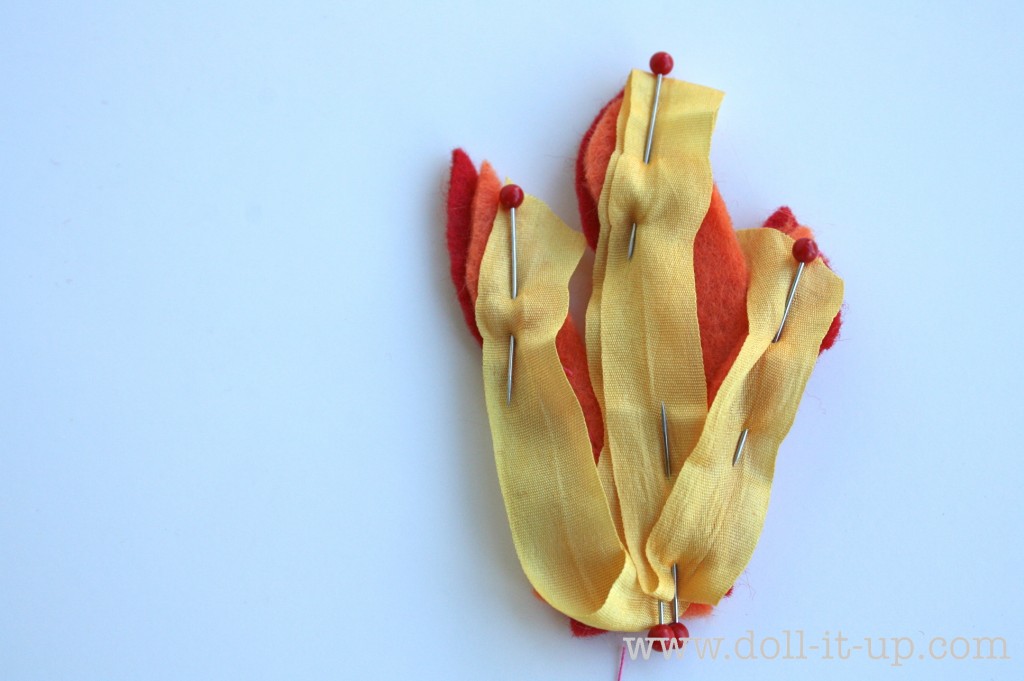
This is the fun part! With a contrasting thread in the sewing machine stitch a “flame” down the ribbon.
Trim the ribbon around the stitching.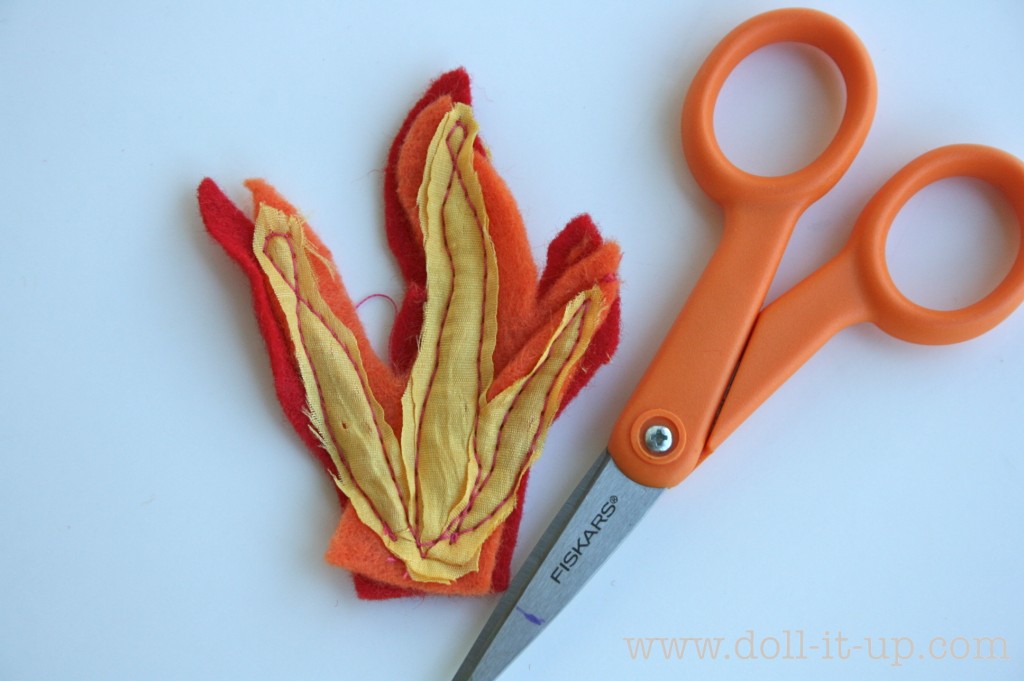
Make a few more flames to really make your campfire “burn”! ;).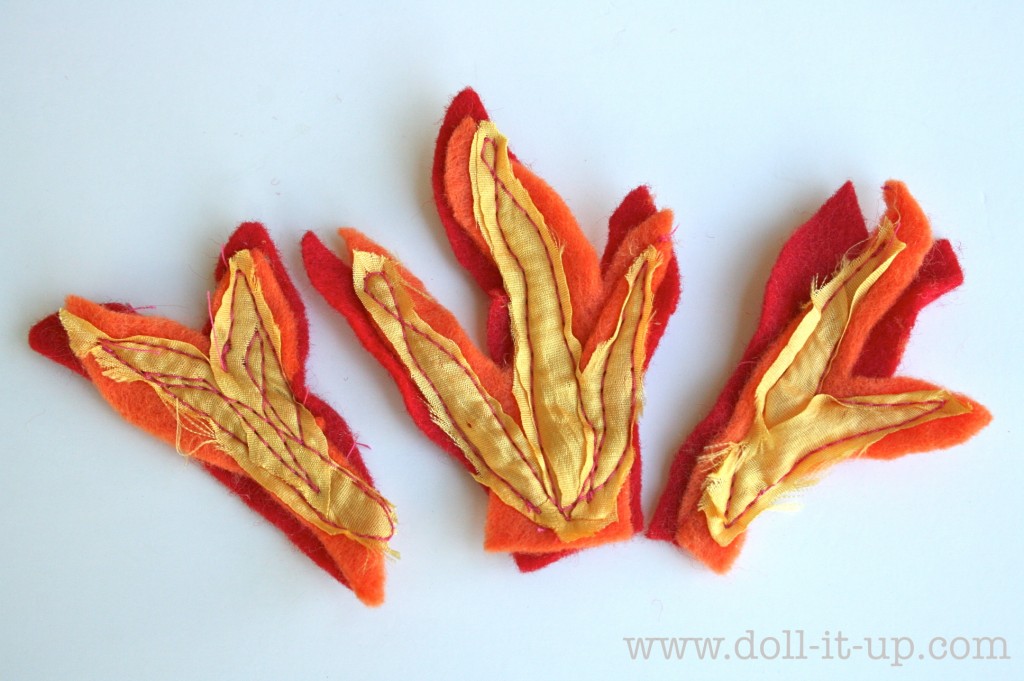
Arrange them between the logs and then glue in place.
Now you have a sturdy campfire to bring back a touch of fall (or summer!) all year long.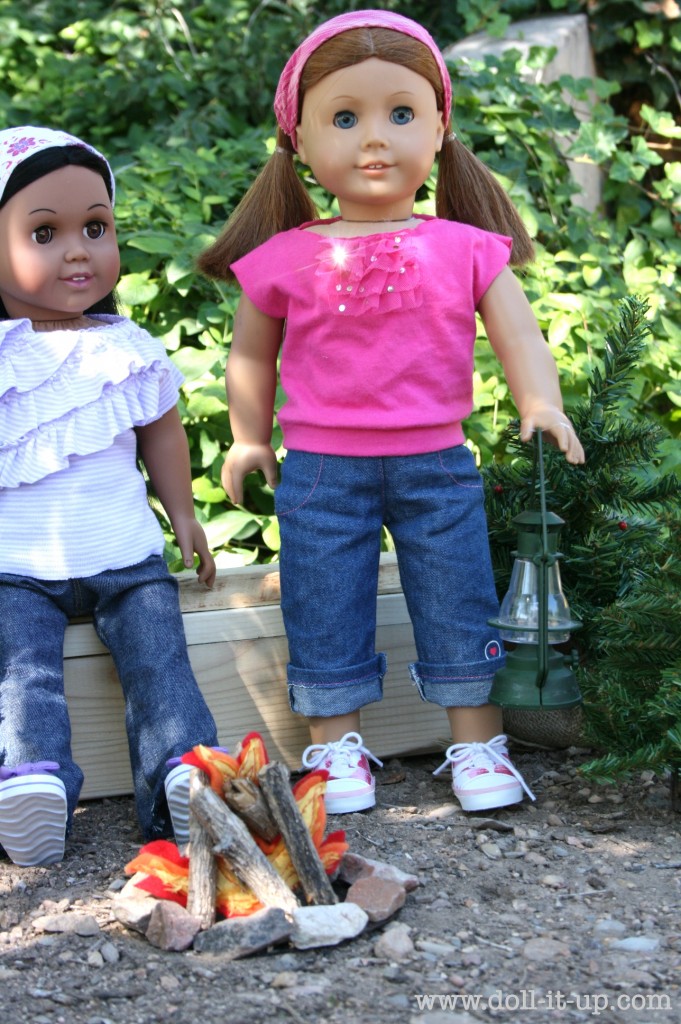
Create to play!
-Anna

Anna,
I just got my daughter a camping set at Target on sale today and she wanted to make a campfire for it when we are camping this weekend. I googled and what turns up…none other than this tutorial. It’s awesome!! Can’t wait to make it!!!
Diana
Thanks Diana! That is fun to hear! Have fun crafting for dolls together!