I am here with the second part to the dance accessory set I shared earlier this week. Check out the first here if you missed it!
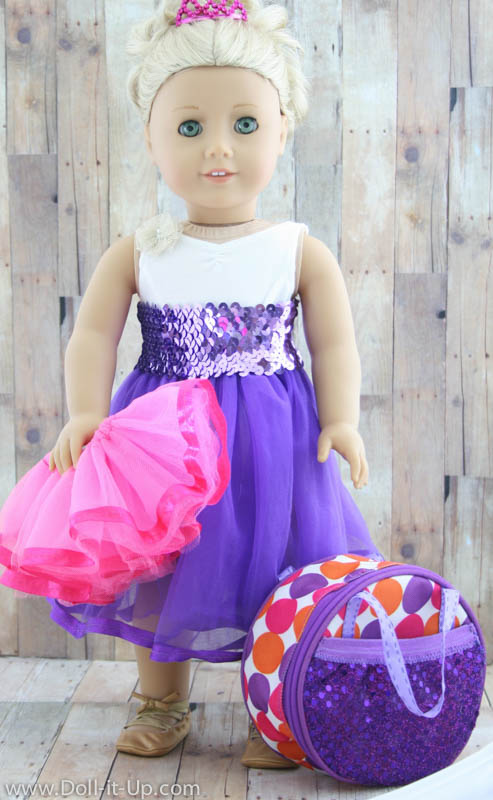
With all of these fun dance accessories, Caroline needs something to carry them in!
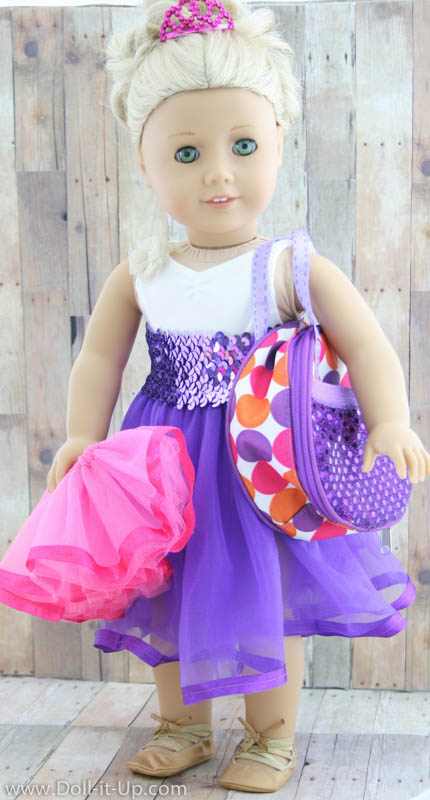
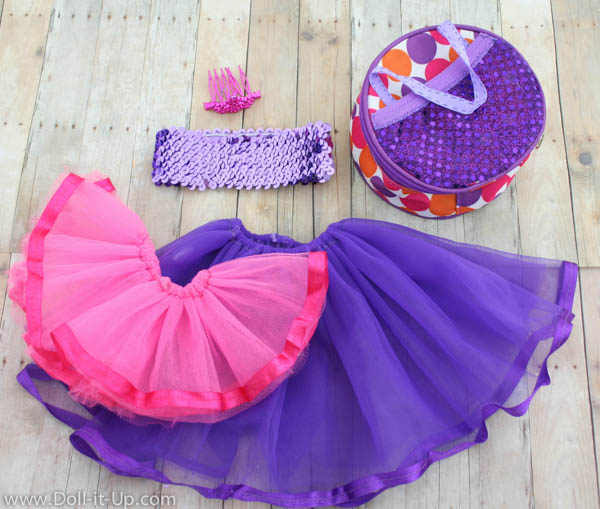
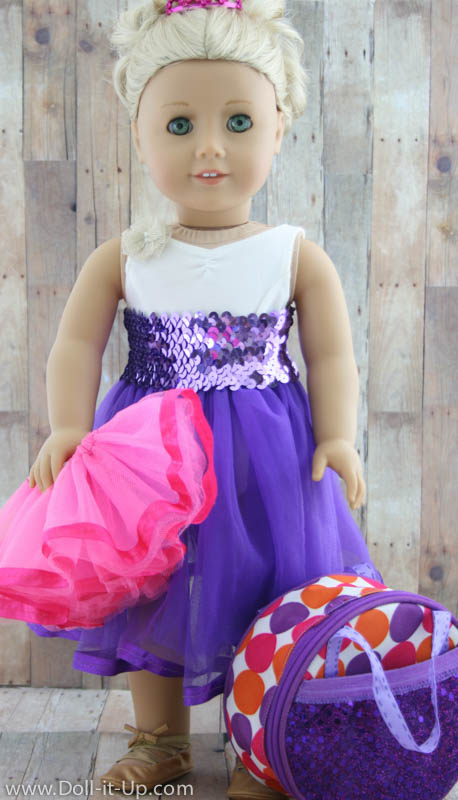
Her dance bag is just right to fit her dance costume for rehearsals or performances.
She can load it up and she’s off to dance!
Come and make a dance bag for your doll’s dance accessories! (This would also be a great tote for any doll accessories!)
It is so easy because we are just adding fun details to a little accessory case. Let’s get creating!
Dance Bag Tutorial
Supplies:
- accessory/ cosmetic case
- scrap fabric in a coordinating color
- ribbon
- thread
- elastic
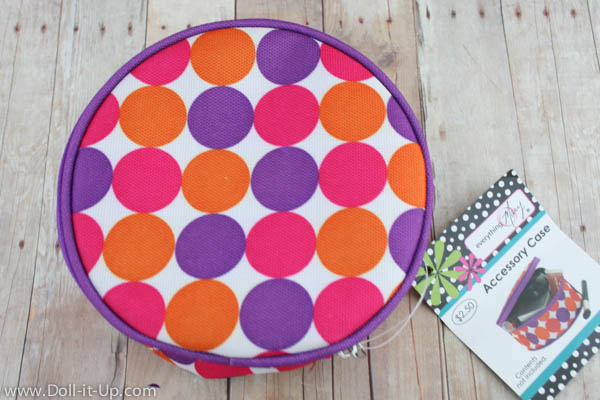
For the base of the dance bag, use a small bag you have on hand or keep your eye out for an accessory or cosmetic bag. They come in different shapes, are easy to find and usually inexpensive.
I picked up a couple of these round cases a while back in the bins at JoAnn’s. I made one into a backpack (check it out here) and was waiting for the perfect project for the second one.
Side Pocket
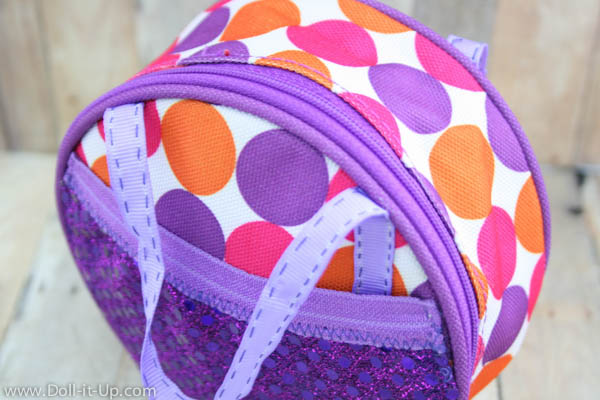
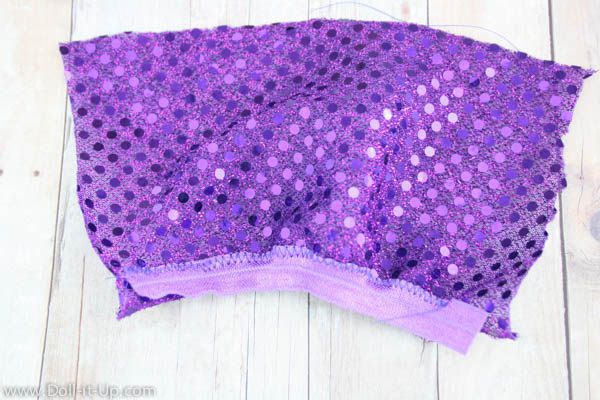
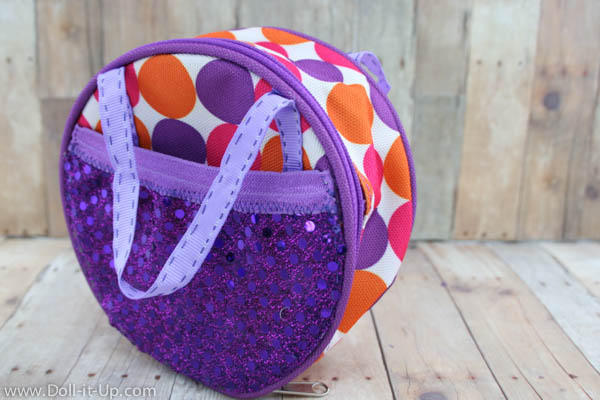
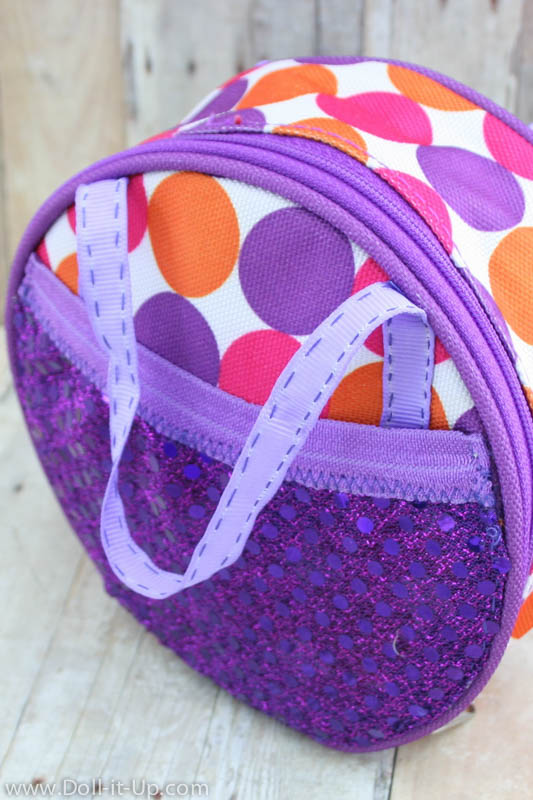
This dance bag needs a pocket to stash accessories. I am adding the pocket to the outside of the bag. The pocket is made of a stretchy knit, with elastic along the top and will expand out to hold more.
I don’t have measurements because every bag is different, so I hope by breaking down the steps, you can get the hang of it to try your own!
- Decide which side you want to put the pocket on.
- Cut a square of fabric larger than the side of your bag by 1″ on the bottom and 1″on one side.
- Cut a piece of 1/2″- 5/8″ elastic. Measure the fabric along the top of the pocket and cut the elastic 1 inch shorter than that measurement.
- Pin the elastic across the top. Since the elastic is slightly smaller than the fabric, stretch the elastic gently as you go. Use a small zig zag stitch.
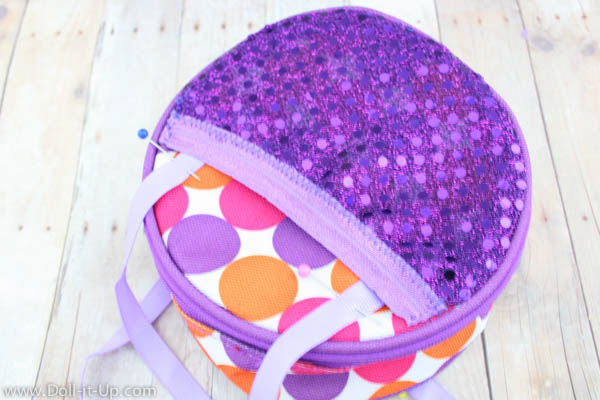
- Pin the pocket in place and trim it to the shape of the bag leaving 1/4″-1/2″ of extra fabric around the edges.
- Turn the edges under and pin. Sew in place with a sewing machine or hand stitch down.
Handles
Adding handles makes this bag into a tote for dolls!
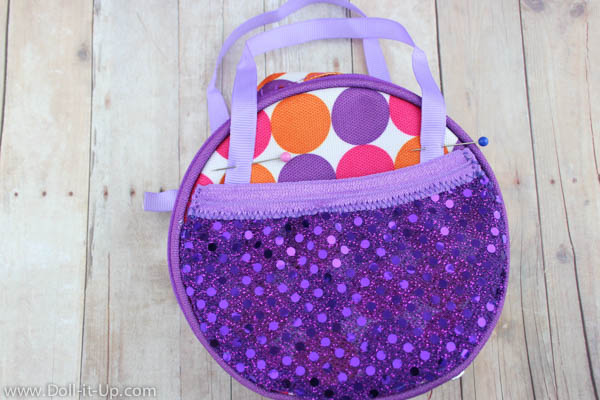
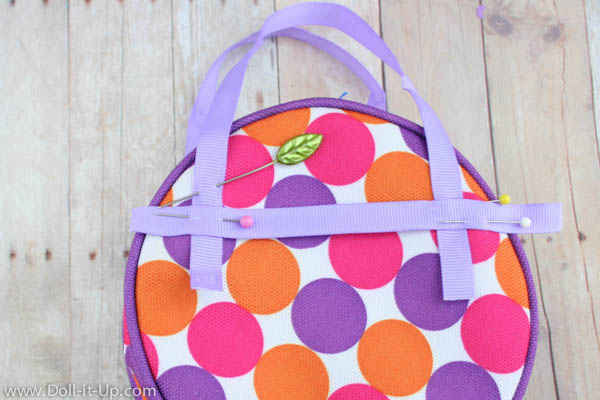
- To decide on the length of the handles start with the side that has the pocket. Place the ends of the ribbon in the pocket, overlapped by the elastic edge. Make it a length that can fit over the doll’s shoulder.
- Cut the ribbon for the second handle the same length as the first.
- Pin the ribbons in place. Make sure they are positioned left and right the same distance from the sides.
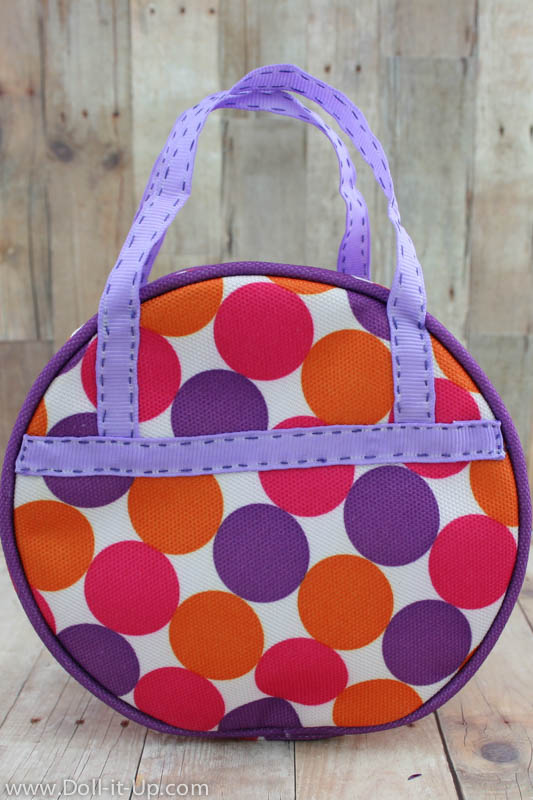
- For the handle on the opposite side, place a ribbon to overlap the two ends. It should be the same distance from the top as the elastic is on the other side.
- Sew on the handles with a sewing machine or hand stitch. I hand stitched on the handles with a darker thread and continued the length of the ribbon to add a decorative touch.
- Be sure to tuck the ends of the ribbon under to keep it from fraying.
Ours is a dance bag but this tote would be perfect for doll size travel or to store accessories.
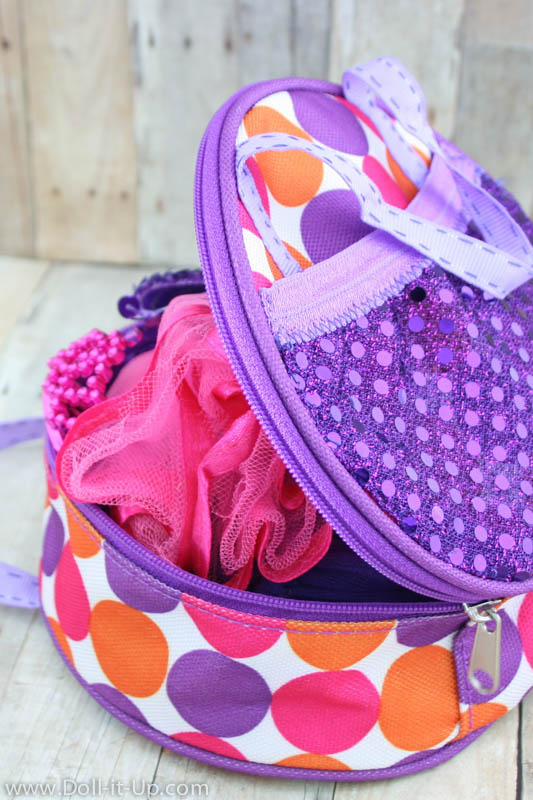
It is awesome how much will fit in this little bag.
It fits both dance skirts and the dance accessories to tote to rehearsal or a performance!
The bag was fun and easy to make and really adds to the play value of this dance accessory set!
The whole dance accessory set was pretty quick, easy and inexpensive to make. It came together nicely as a gift set as my contribution to a giveaway.
I think it would make an awesome gift set for a birthday or Christmas!
-Anna
Here’s the scoop on today’s post:
Doll
- Caroline is a BeForever historical doll from American Girl.
Outfit
- Leotard is Isabelle’s Rosette Leotard from American Girl.
- Shoes are the golden ballet style shoes from Rebecca’s Costume Chest from American Girl.
- Crown is made from a tutorial on Doll Diaries.
- Tutus are made from a tutorial on Doll It Up.
Scene
- Backdrop is made from patterned paper.


Another super cute project Anna! Loving this!!!!
Thanks Rhonda!
This would be great for Isabelle! Thanks!
Thanks Rebecca! Yes, perfect for Isabelle!
Hey, AG 4 ever here! Cute craft! I thought I might tell you that when you click the “Shop” category, it says in white bold in a pink rectangle, “Subscrbe” without the “I” in subscribe. Just thought you might want to know, or it might just be because of the amount of space for lettering. Thanks and have a nice night!
Hi! Thanks for the catch on the “subscribe”!:) I am working hard on some fun things behind the scenes for the blog and sometimes I miss details! I appreciate your kindness! Thanks!
Great tutorial! 🙂
Could you please check out my most recent post? And vote? I would love it if you could! 🙂
Allie D.
http://www.spreadingmyjoy.blogspot.com
Wow, that is so cute!
<3Hope