I used to stand in the isle at the fabric store, frustrated, trying to spot the right interfacing for my project. It seemed like it should be an easy task because the pattern instructions simply said “iron-on interfacing” but in front of me were a dozen choices. Ugh!
These days I love to break down sewing topics so you can have the information you need to get better results and have fun sewing! 🙂 Today we are going to look at fusible (iron-on) interfacing. We will sort out the different types to help you make sense of them and what they are used for. Then I will walk you through step-by-step how to use fusible interfacing! Let’s go!
Fusible Interfacing
Interfacing is a layer of fabric that’s ironed or sewed onto the wrong side of another fabric to change the qualities or properties of the fabric.
Interfacing is either fusible (iron-on) or sew-in. Fusible interfacing is used on a variety of fabrics. The sew-in interfacing is typically for delicate fabrics, that are not heat tolerant.
You can find interfacing sold by the yard on bolts in the fabric section. It is also sold in packages with pre-cut segments that you will usually find near the fabric notions.
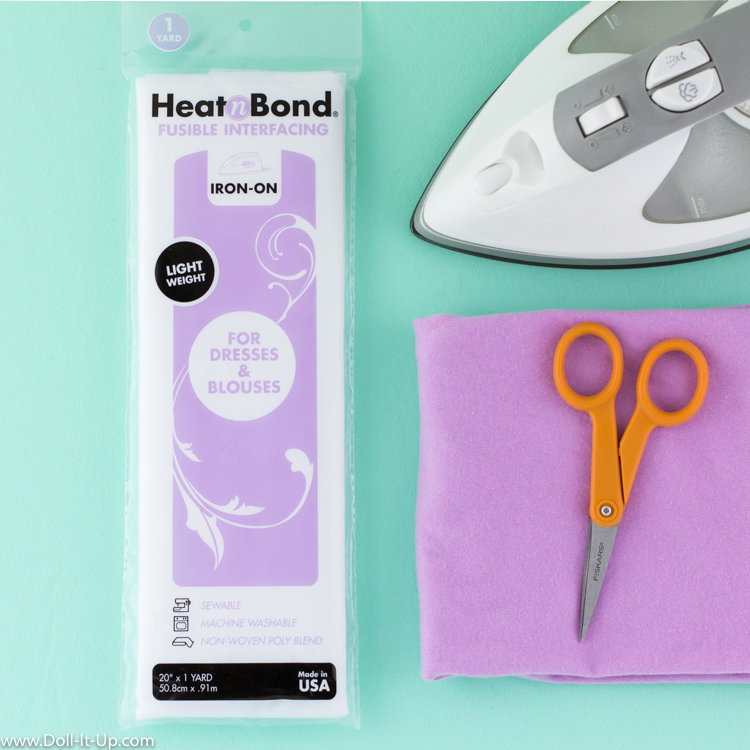
You can also buy interfacing online wherever you buy sewing supplies. Here is the online shop for all of the interfacing made by Therm O Web. Here is the interfacing we are using today. Therm O Web/ Amazon.
What is it used for?
Fusible interfacing is used for a variety of purposes on a sewing project.
Some of the applications include:
- adding extra body to fabric, for example with shirt collars or bags.
- reinforcing strength to the fabric, for example on button holes.
- helping fabric and seams maintain their shape, for example on necklines and knit fabric.
- adding a soft layer to the project, for example the fusible fleece can be used for quilts and bags.
What kind do I need ?
Most fusible interfacing is labeled with a fabric type and weight.
The fabric types include woven, knit (includes weft and tricot), fleece and non-woven. As a general rule match the type of interfacing to the type of fabric for example if you are sewing with a woven fabric then use a woven interfacing. If you are using a knit fabric choose a knit (either weft or tricot) interfacing.
There are a few exceptions. The non-woven interfacing will work with either knits or woven. This is my go to interfacing since it is versatile and works for most projects.
The fusible fleece is used with a variety of fabric types for adding a raised soft layer.
Interfacing commonly comes in 3 basic weights, light, medium and firm. You will sometimes see a featherweight and an extra firm. Choose an interfacing weight that matches or is less than the weight of the fabric. For example use a lightweight interfacing for lightweight fabric. The exception is fusible fleece since it has a specific application.
I find the lightweight is most useful for doll clothes since we are usually working with lightweight fabric.
How much do I need?
The pattern will give the amount needed. It is sold in a package with a piece that’s 20″ x 1 yard or you can buy less (or more) off the bolt.
Storage Tips
If you have a couple different types of interfacing it is nice to keep each one separate and store them with the instructions they came with. For the interfacing that comes in the plastic bag packaging, simply cut across the top of the package to create an opening. Refold the extra interfacing and store it in the bag. If you have the interfacing that is cut from the bolt, fold it first and pin the strip of instructions to it as a label and to reference later.
How to use HeatnBond Fusible Interfacing
There are a variety of brands of fusible interfacing. Each brand has slightly different instructions for use. Be sure to refer to the instructions that come with your fusible interfacing to apply it correctly.
I will show you how to use the fusible interfacing that’s my go-to for most doll size projects, HeatnBond Non-Woven Lightweight Fusible Interfacing. Therm O Web/Amazon
Note: You should test the fusible interfacing on a scrap of fabric before use. The packaging states that the fusible interfacing is meant to be used on pre-washed fabric without a fabric softener in the washing or drying process.
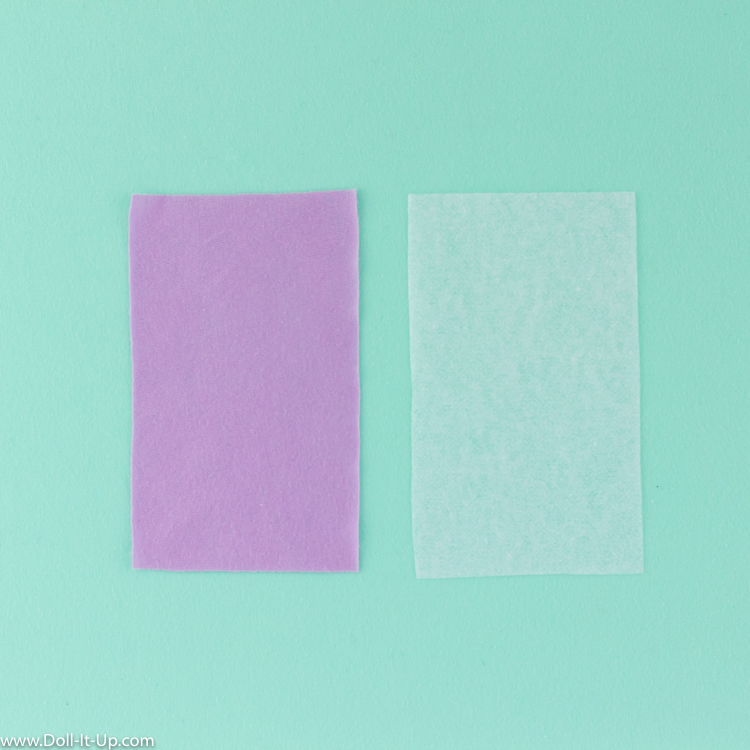
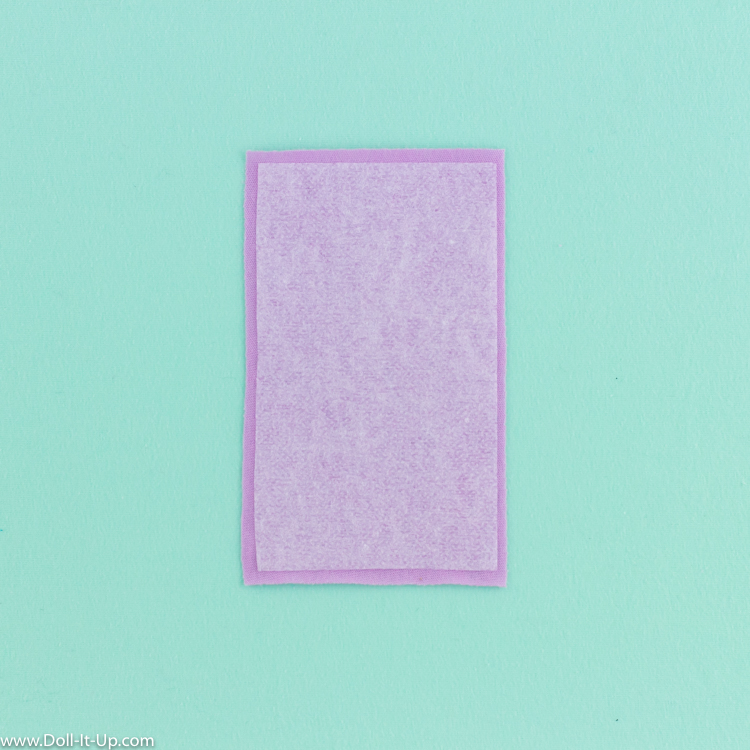
1. Cut the fabric and fusible interfacing the same size.
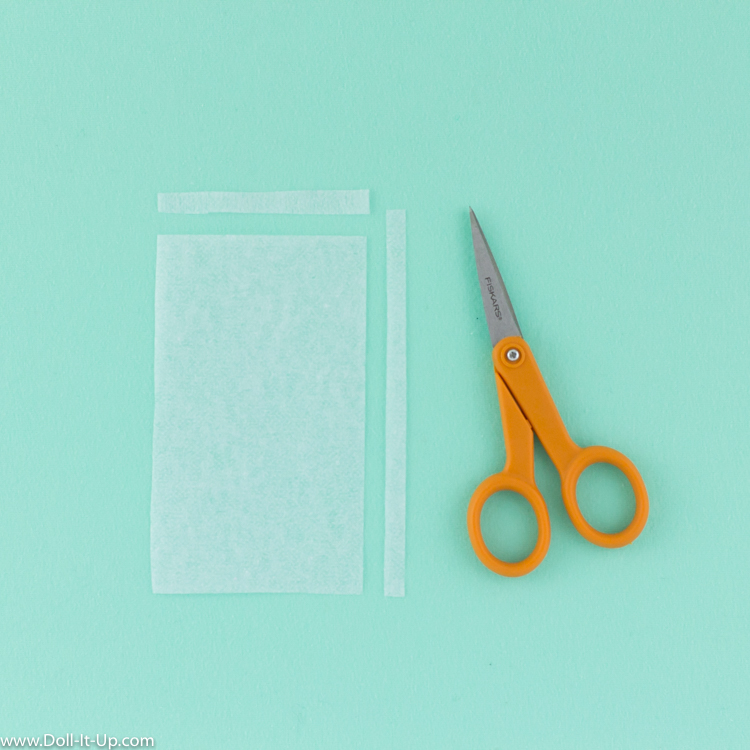
2. Trim the fusible interfacing if the pattern calls for it.
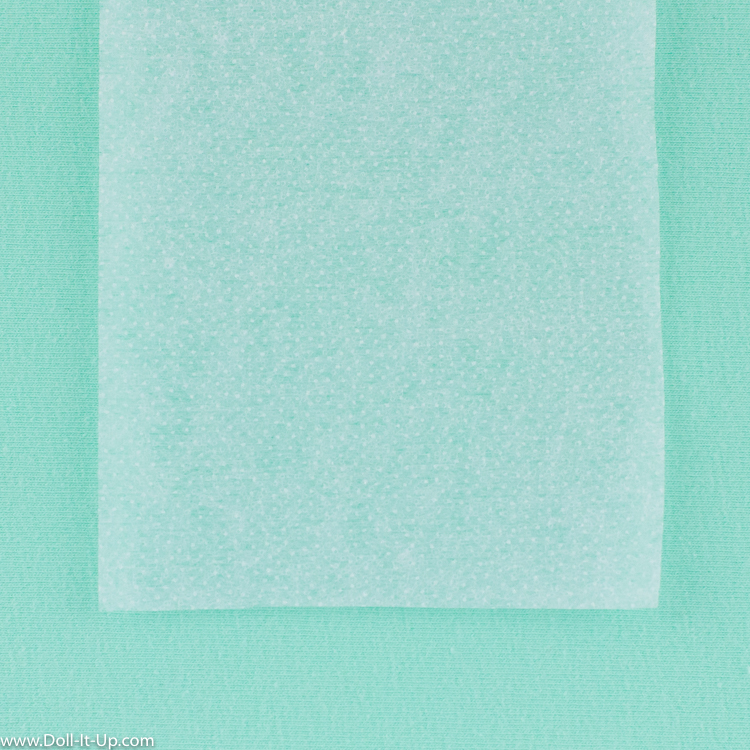
3. Find the textured side of the interfacing. It’s the iron-on adhesive.
Place the interfacing textured side down on the wrong side of the fabric.
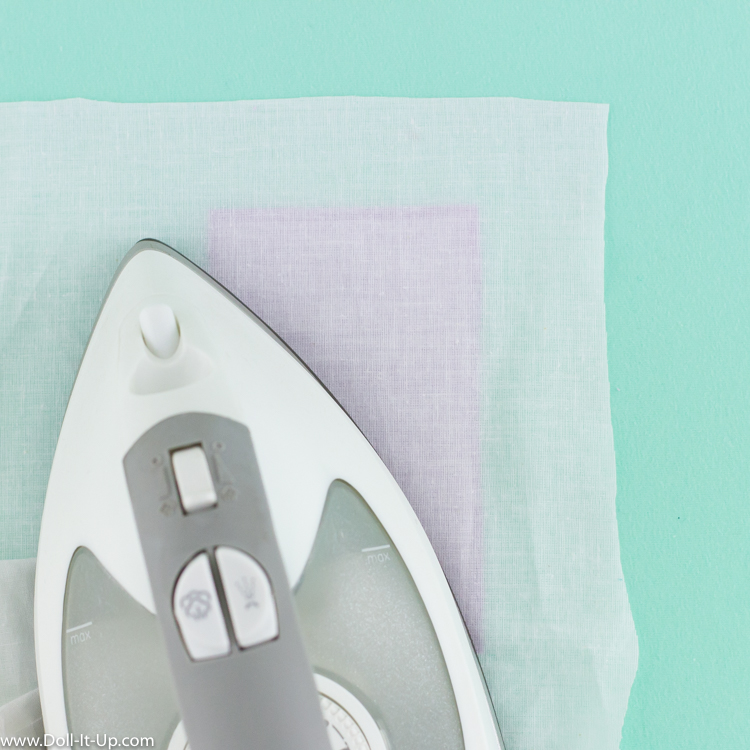
4. Lay down a dry, lightweight pressing cloth on the project. This will protect your iron from getting any melting adhesive on it. Use an iron preheated to the wool (medium heat with steam) setting and press and hold for 10-15 seconds. Lift the iron (do not slide it) and repeat by moving to a new section and pressing, overlapping the previous section a little. If you slide the iron, the interfacing may shift out of place.
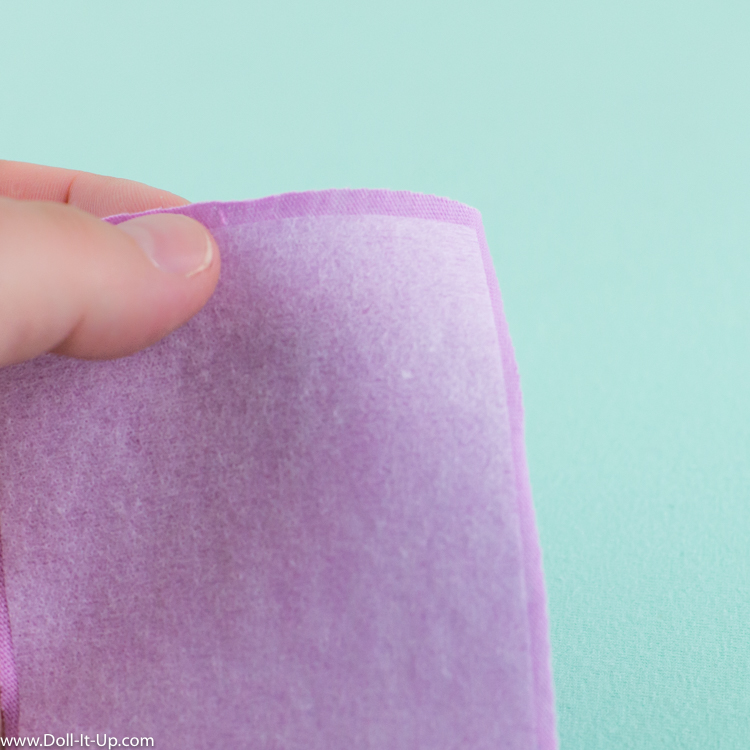
5. After it cools check the edges to be sure the interfacing adhered properly. Press again if needed.
6. Sew according to your pattern instructions.
I hope this will help you select the right interfacing for your next project and that you will work with it confidently!
Happy Sewing!
Anna
This post contains affiliate links to help support this site.

Great interfacing info for all sewing projects!
Thanks Marge!
This was so informative and understandable. Thanks for sharing your sewing knowledge!!!!
Vicki, thank you!! I’m so glad you find it useful!
This is so helpful to me! I am a beginner sewer, and I can use all the tips I can get. Thank you so much for posting this!
Thank you Kaylyn! I appreciate the feedback because I love to share topics that are helpful to you!
No problem, Anna! Yes, and thank you again!