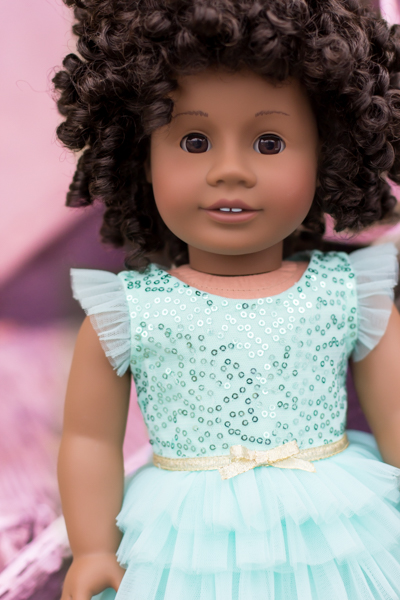
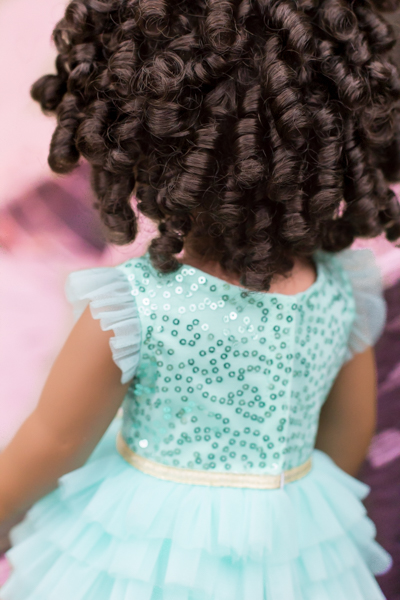
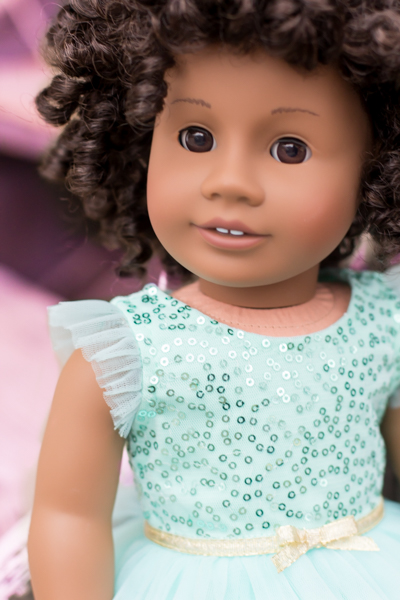
The pattern featured in this tutorial, the Kylie Party Dress, is in the shop here.
There are many beautiful sequin fabrics available these days and it is fun to incorporate them into your projects!
A few months back I shared a tutorial on how to sew sequin fabric with a knit fabric backing. Sequin fabric comes in a variety of fabric backings and that changes how you incorporate them into your project.
Today we will tackle another type of sequin fabric, this time a sequin fabric with a netting backing. I will walk you through choosing the fabric, choosing the pattern, and a step by step tutorial of adding a sequin overlay to the bodice pieces of a pattern. In the example I am using the Kylie Party Dress pattern but I wrote out these instructions explaining the technique, so you can apply it to other patterns as well.
Choosing the Sequin Overlay Fabric
For this project you need a sequin fabric with a netting fabric for the backing. See the list below for the fabric characteristics and tips on where to find it.
- Sequins are stitched (not glued) to the backing fabric.
- Backing fabric is a netting (tulle and mesh included).
- Fabric has a little stretch.
- The fabric has no-fray edges. (Do not use a woven sheer fabric for this tutorial, such as organza or chiffon because the edges fray.)
- You can find it at the store with the special occasion fabrics or use re-purposed clothing as fabric.
Pick your Pattern
There are a few considerations when looking at a pattern to see if you can add a sequin overlay to the bodice. This list of questions helps me think through the properties of the fabric and the pattern design limitations. Of course I can’t touch on every aspect of the pattern construction that you may be faced with on your particular pattern but these questions help me to think through what will effect the results.
Is the pattern piece:
- in an area that is fitted? (Drape can be an issue with sequin fabric, so a fitted piece is a good place to start. Then you don’t have to take the drape into account.)
- in an area that needs little to no stretch?
- designed with a closure that would work with the sequin fabric? (You can also opt to not use sequin fabric on the bodice back. Closures and sequin fabric make it a little more work and sometimes more complicated, so be sure to think it through and weigh it out.)
- designed with a neckline that would work with the sequin fabric?
- designed with a sleeve line that would work with the sequin fabric and the sleeves you are adding.
What You Need to Get Started
These are the basic supplies to add a sequin overlay to the bodice. In the example I am using the sequin overlay on the Bodice Front and Bodice Back but you can add the overlay only to the front if desired.
Materials:
- Sequin fabric with a netting backing- 1/4 yard
- Lining Fabric- 1/4″ (I am using the knit fabric that the pattern calls for.)
- Ruler (Sliding Gauge ruler is recommended)
- Invisible thread or coordinating thread
- Scissors
- Hand sewing needle
- Pattern pieces
- Pattern Instructions
Cut Instructions:
Bodice Front: Cut 1 from knit fabric, cut 1 from sequin fabric with a netting backing.
Bodice Back: Cut 2 from knit fabric, cut 2 from sequin fabric with a netting backing.
Prepare the Seam Allowance
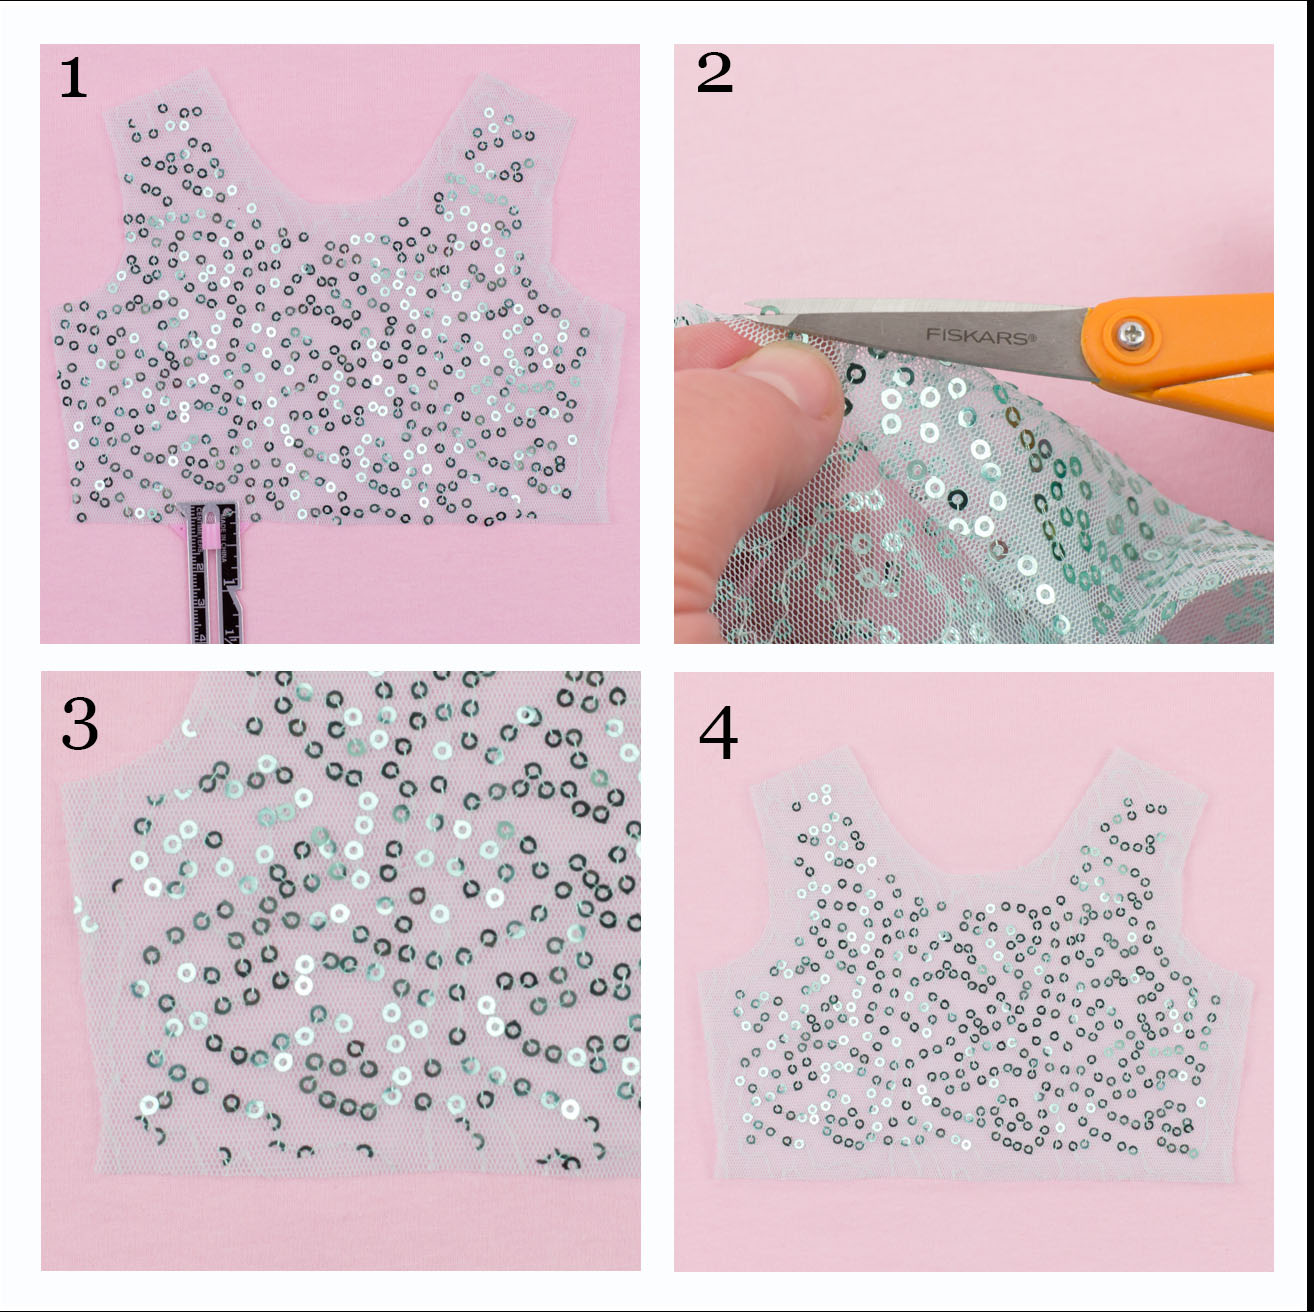
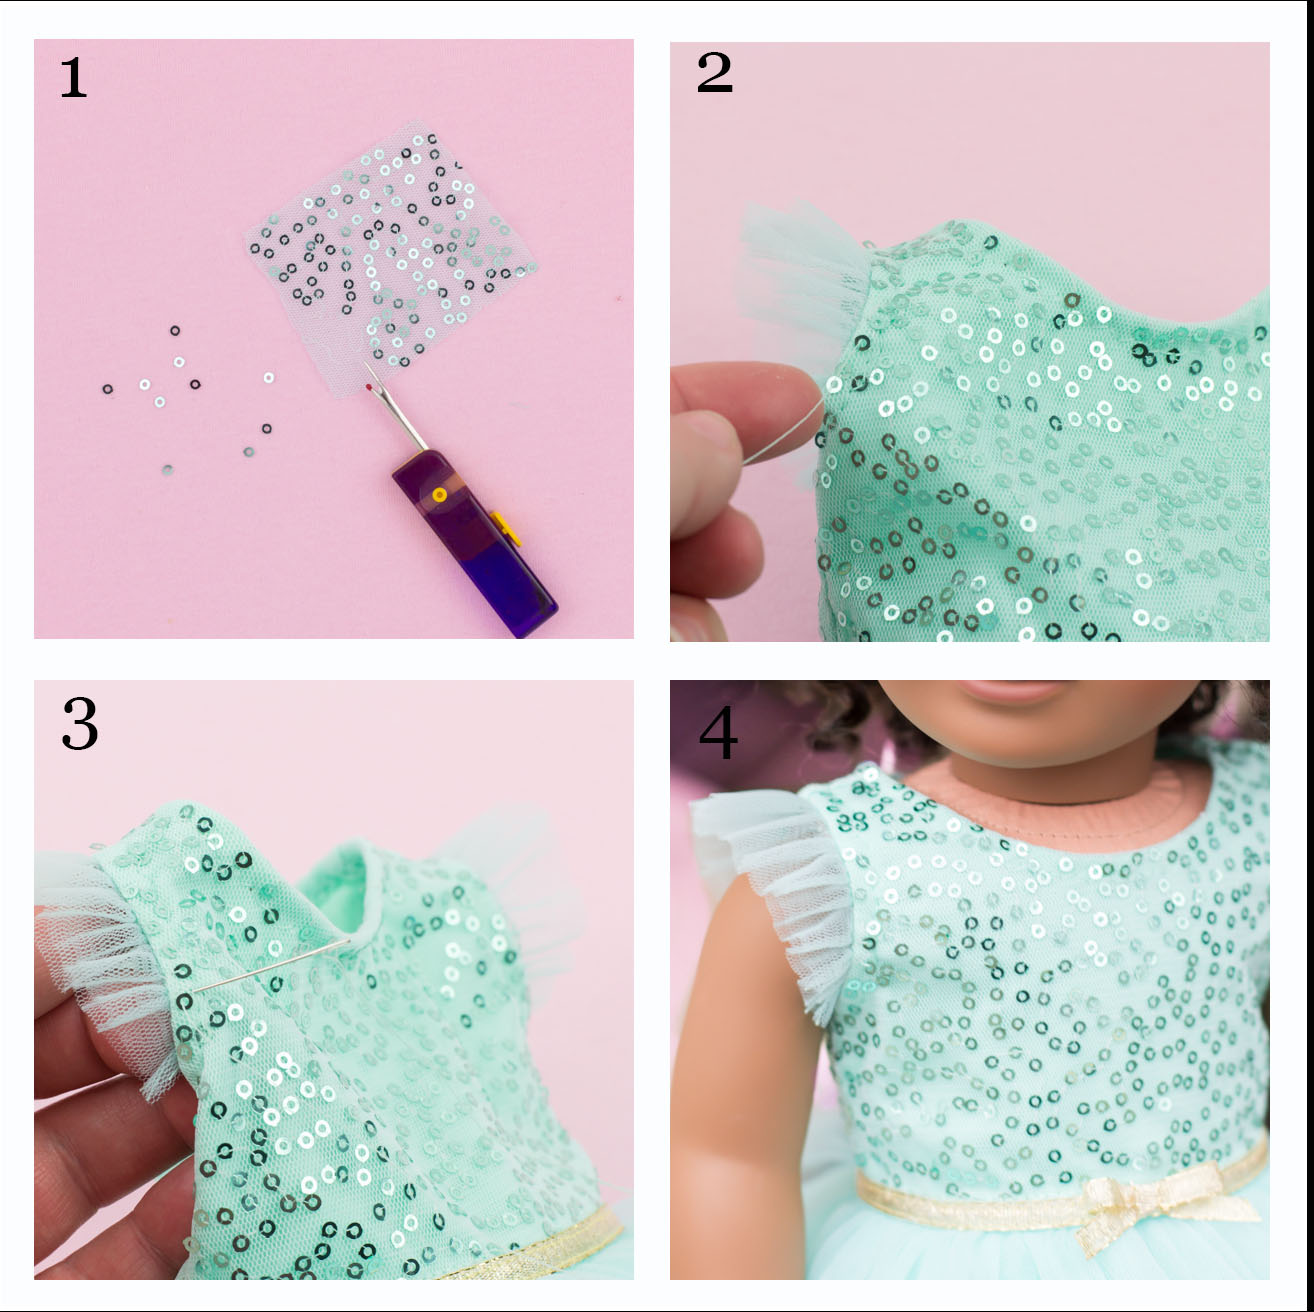
An important step to working with sequin fabric is to remove sequins from the seam allowance. Leaving sequins in the seam allowance will result in bulky misshaped seams.
- Determine which sequins to remove by measuring with a ruler, 1/4″ from the edge of the fabric. Any sequins overlapping the 1/4″ measurement needs to be removed. (In the photo above sequins have already been removed on one side.)
- In one hand, bend the fabric to lift the sequins off the fabric. With the other hand, cut across half of each sequin, clipping through the center hole. If the sequins are in a row, you can cut through several sequins at a time. Note: Take care to not clip the fabric or the threads that attach the sequins.
- Remove each sequin half, still attached to fabric, by hand.
- Repeat steps 2 and 3 until all the sequins are removed in the seam allowance for both the Bodice Front and the Bodice Back.
Note: For the Bodice Back piece, remove sequins in the area where the Velcro is sewn down.
Attach the Overlay and Sew the Project
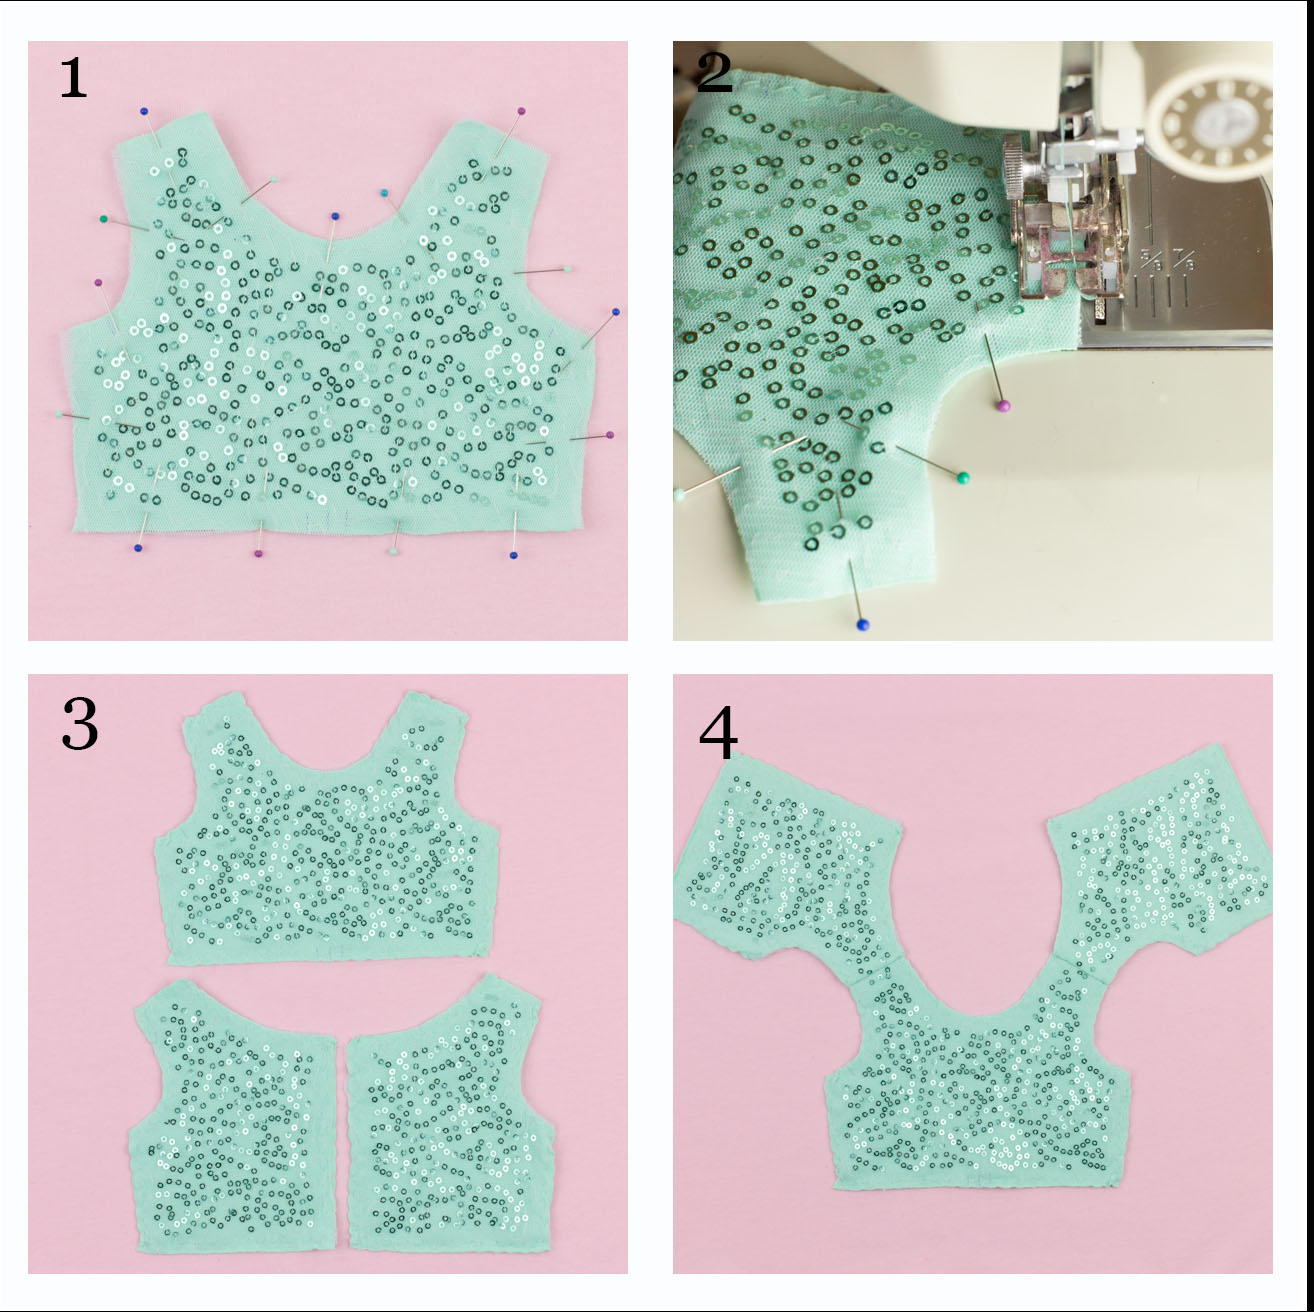
Since the sequin fabric is sheer we will attach each piece to a lining. The sequin overlay and lining are cut from the same pattern pieces, so they are the same shape and size. With the two fabrics layered together they act like one unit. After we join the two layers you can sew the project according to the pattern instruction.
- Lay the Bodice Front sequin fabric over the Bodice Front knit fabric. Pin the layers together in the seam allowance.
- Zigzag stitch the layers together on the edge of the fabric.
- Repeat steps 1-2 with the Bodice Back sequin fabric and the Bodice Back knit fabric.
- Now that the two layers are joined together, sew the project according to the pattern instructions. Note: I have a few recommendations in addition to the pattern instructions.
- Needle- Stitch slowly over the sequins to avoid breaking the needle. You can also use a thicker gauge needle if needed.
- Thread- If you are having a hard time matching the thread and sequins, use invisible thread.
- Seam Allowance- Don’t trim the seam allowance on seams with the sheer overlay fabric.
Stitching on Sequins
Removing the sequins from the seam allowance to start left gaps in the sequin pattern around the seams. Stitch on individual sequins on the right side of the fabric to complete the pattern.
- Use this technique to stitch sequins and complete the sequin pattern on the Bodice Front. The matching sequins come from the sequin fabric. To collect the sequins you need, cut the threads that attach the sequins to the fabric.
You will stitch on each sequin with 1-3 stitches. Look at your sequin fabric to determine how many stitches are used to get the same look. In this example each sequin has 1 stitch.- Even sequin pattern- Fill in the spaces stitching the sequins in a pattern.
- Random sequin pattern- Fill in the spaces randomly stitching the sequins.
- Neckline and sleeve line on bodice- (For fabric with no spaces between the sequins.) Stitch a line of sequins that overlaps and follows the curve of the bodice neckline and sleeve line. This is important if your fabric has a pattern of solid sequins and is optional if you have fabric with spaced out sequins. See the tutorial here for an example of how this looks.
- Thread a hand stitching needle with matching or invisible thread. Tie a knot in the end of the thread. Anchor the thread by stitching a few times in the same spot on the wrong side of the bodice. Stitch towards the right side of the fabric where you want to place a sequin. Place a sequin on the thread.
- With the sequin against the fabric, stitch on the outside of the sequin towards the wrong side of the fabric.
Note: Do the sequins on your fabric have more than one stitch? To add another stitch to the same sequin, come up through the center of the sequin from the wrong side of the fabric to the right side of the fabric. Stitch on the outside of the sequin towards the wrong side of the fabric. - Continue stitching on each sequin in the areas for the neckline, sleeve line, side seams and along the Velcro closure. Use these instructions to fill empty spaces in the sequin pattern or to add the overlapping sequin border around the neckline and sleeve line.
Your project is complete!
The sequin overlay adds a special touch. It is so fun and rewarding to incorporate special fabrics like sequins because it takes my projects to a whole new level!
As a special bonus with purchasing the Kylie Party Dress pattern, I’ve included these instructions in an easy to follow printable PDF. For those of you who have already purchased the pattern you will find your bonus PDF under My Account, Downloads.
I hope you will try adding a sequin overlay to your next sewing project!
-Anna

