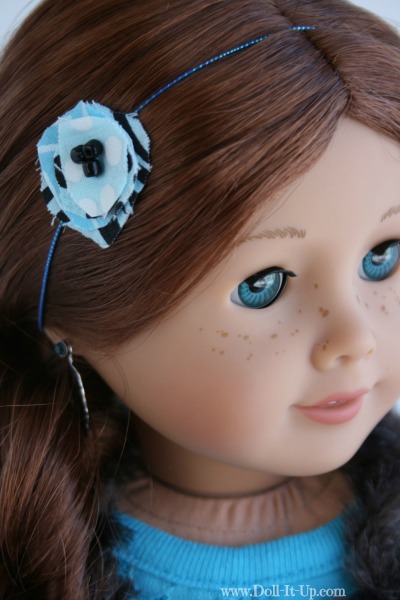
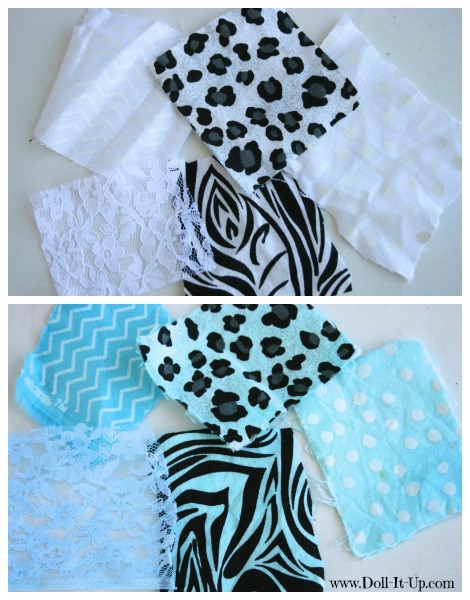
I have been dabbling with dye to create doll sized projects! 🙂 (How’s that for an alliteration! HA!) I’ve discovered how fun Rit Dye is! This simple headband is made out of color coordinating fabrics. The cool part is that I took plain black and white fabric scraps and dyed them to all color coordinate!
Do you know what else is really cool about this project? It is so small, you can easily dye the fabric for it at the same time as another project!
So, throw the fabric scraps in the dye with another Rit Dye project you’re making, and voila you will have two projects colored at once!
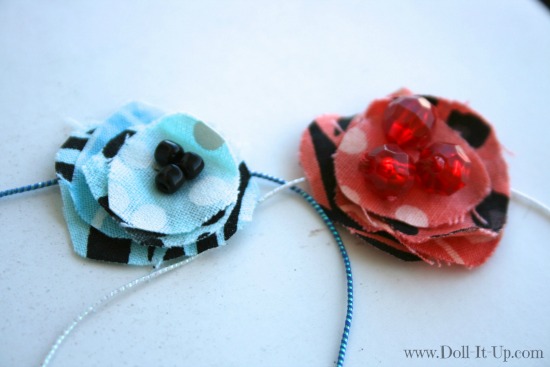
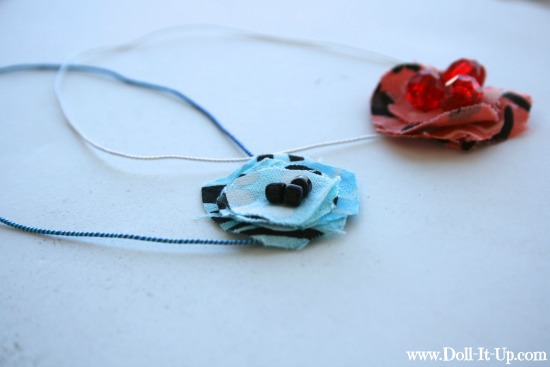
I tried out several colors of Rit Dye for this project and here are 2 of my favorites!
Let’s take a look at what we’ll need to make fabulous flower headbands with Rit Dye!
Supplies:
- Rit Dye
- bucket
- measuring cups
- measuring spoons
- spoon
- salt
- fabric scraps
- thread
- beads
- needle
- elastic chord
- glue
To dye the fabric scraps, follow the instructions on the Rit Dye bottle. You can also take a look at my tips and tricks for using Rit Dye for doll sized projects!
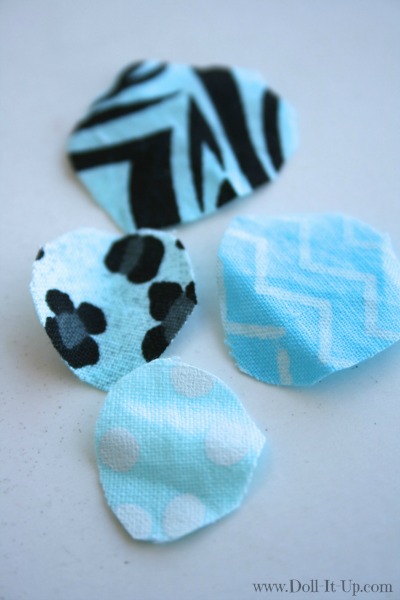
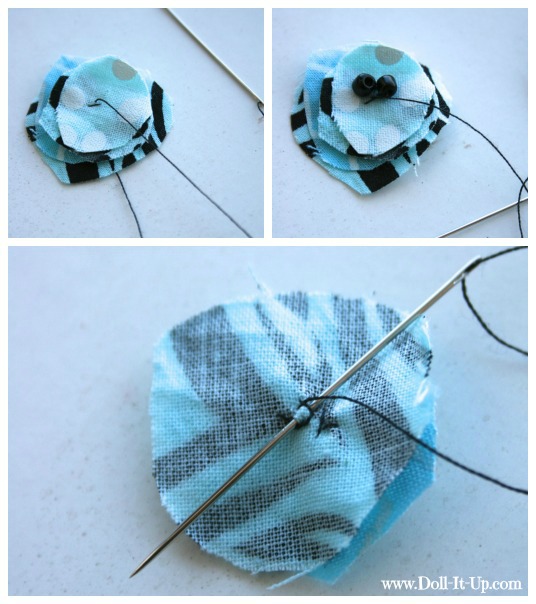
Now we have color coordinated fabric scraps! Cut 4 pieces into graduated circles.
Stack the circles largest to smallest.
Stitch through the middle of the flower to hold all the pieces in place.
Sew on one bead at a time in the center of the flower.
With three beads on the front, turn the flower over and tie off a knot on the back!
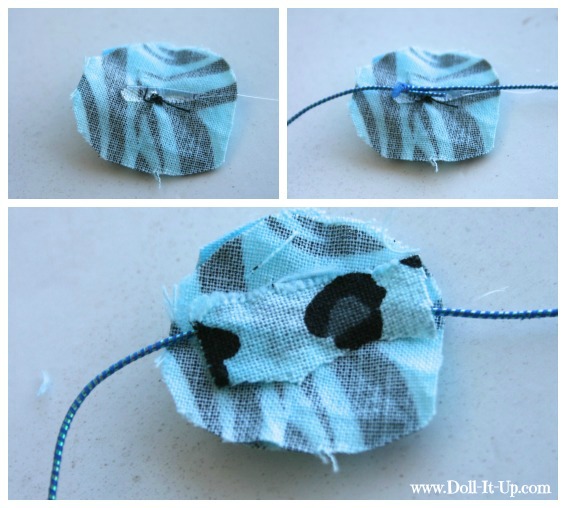
Place a dab of glue across the back of the flower.
Lay both ends of the cut elastic chord in the glue.
Glue a strip of fabric over the elastic ends.
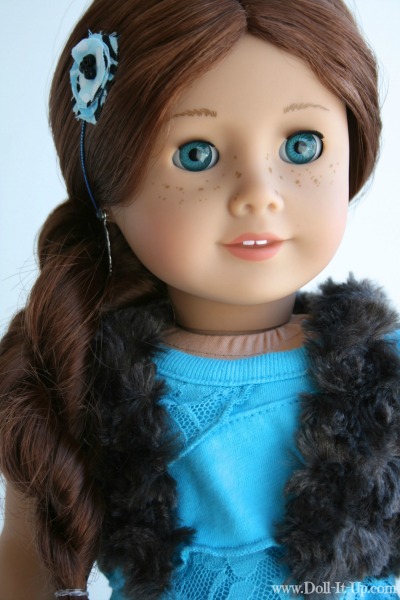
That’s it! Two colorful Rit Dye hair flowers for a dolls head!
Of course scale this up a bit and it would make fun matching girl and doll flower headbands!
Give Rit a try for doll sized projects! Brace yourself though, because you won’t believe how fun it is!!
Anna


