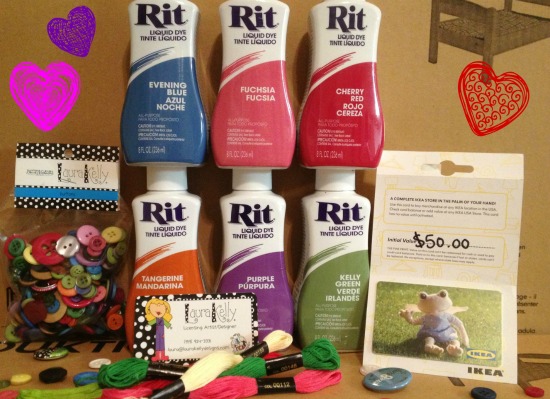
Don’t miss the link to a fabulous giveaway at the end of this post with a chance to win Rit Dye and an Ikea gift card sponsored by Laura Kelly and Rit Dye!
I am dyeing up a storm at my house. It all started with a challenge to the Doll Diaries Team Members, to create doll sized projects with Rit Dye. I took the challenge! I am excited to share two projects this week, one here on Doll It Up and one at Doll Diaries! The project ideas are soon to come, but I decided to create a post that touches on dyeing doll sized projects, to share what I’ve learned so far! If you are a newbie, like me, I hope it takes some of the mystery out of the process and sparks your imagination to the endless possibilities at hand!
Cool Things I Discovered About Rit Dye
- Colors, colors, and more colors! Seriously, seemingly endless color combinations all at your fingertips at the ColoRit Color Formula Guide. Check it out! I dare you to find your favorite color! It’s there!
- Colors in Bold! I set out to test the limits of intense colors and Rit has them! Now I feel like I have any mood at my fingertips with Rit in hand!
- Experiments allowed! Read the instructions and then create! You will soon see that this process is so easy and forgiving! Follow a few simple tips and you really can’t go wrong!
Now for some doll sized dying!
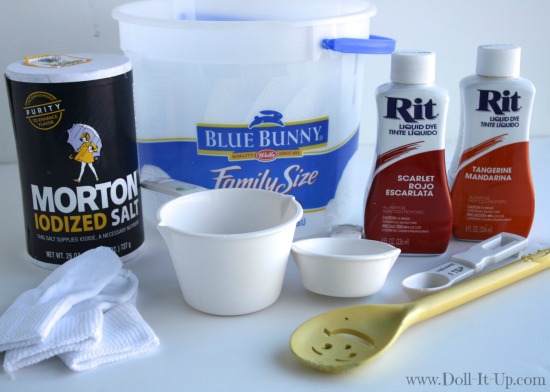
Let’s take a look at what we’ll need.
- Rit Dye
- bucket
- measuring cups
- measuring spoons
- spoon for stirring
- salt
- water
- items to dye
- plastic gloves or sandwich baggies (not pictured)
- plastic tablecloth (not pictured)
The dye can leave color on any of your supplies, work surface, or sink. Be sure to follow all instructions on the package to avoid staining. None of my supplies were stained but I used old items just in case!
Remember:
- Before you start, be sure to read the instructions on your Rit Dye packaging! These tips are not intended to replace them!
- Check out the Rit Dye Techniques page to find many, many more ideas and tips for how to use Rit Dye!
- The best summary of do’s and don’ts is on Rit’s Tips for Success. If you follow them you will be sure to succeed!
Let’s Talk Size!
With doll sized projects, we are dying on the mini! Your projects need room to freely move around in the water and dye solution and your project will come out evenly dyed and lovely! The old ice-cream bucket and 8 cups of water worked great for projects on the mini scale!
What’s mini?
- doll outfits
- doll fashion accessories
- doll size decorations
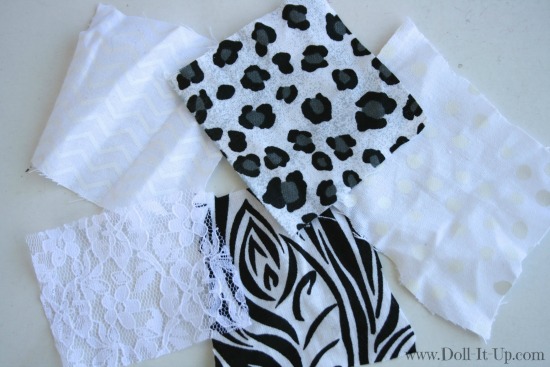
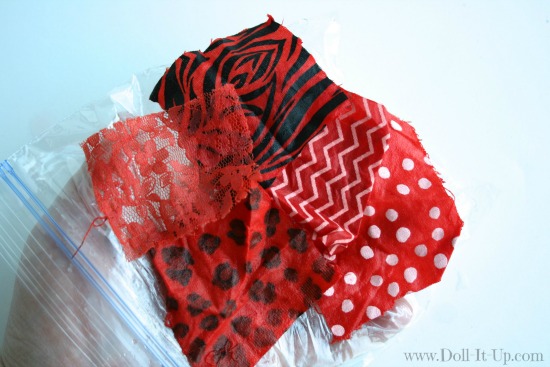
Here is my fabric line up, 100% cotton white on white fabric, 100% cotton white and black printed fabric and 100% nylon lace.
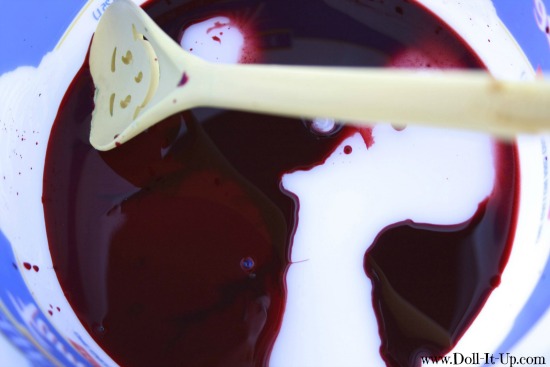
Measure the Rit Dye and put it in a bucket. Use the ColoRite Color Formula Guide to choose which color you will use. This recipe was Warm Red #500 and called for 2 tsp Tangerine and 1 tsp Scarlet. I doubled it and used 4 tsp Tangerine and 2 tsp Scarlet.
Add 8 cups of the hottest tap water and give it a stir.
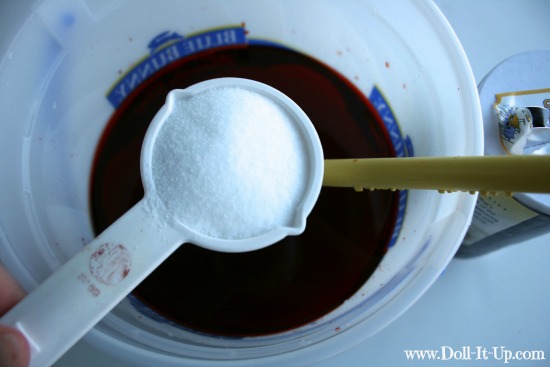
Add 1/4 c. of table salt and stir it until the salt dissolves.
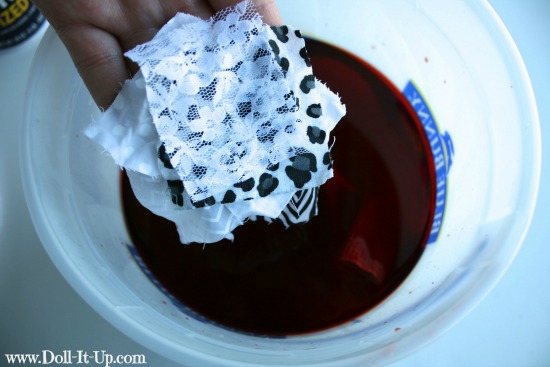
Rinse the fabric you want to dye in warm water and ring out the water. Place it in the dye.
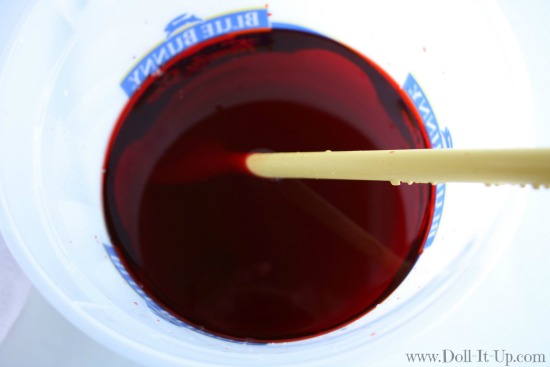
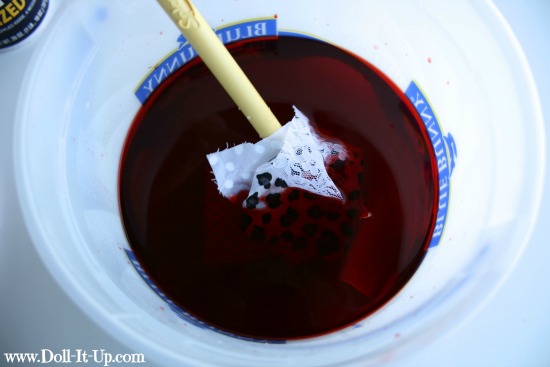
Stir it with the spoon.
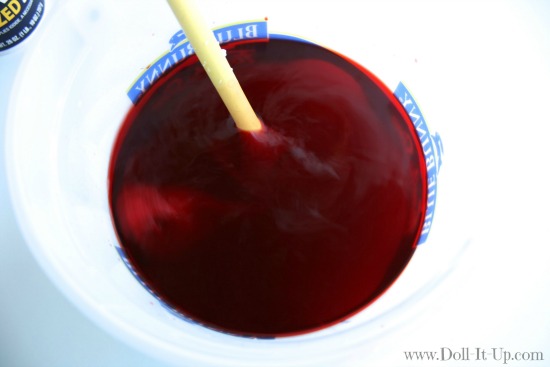
Continue stirring for 5 minutes.
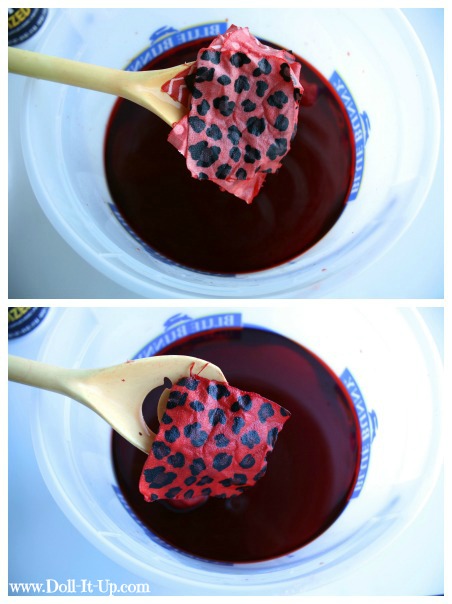
Here are the swatches after 5 minutes and then after 40 minutes. This touches on an important point…bold color. Several factors are important for bold color,
- Fabric Type: Don’t miss the fabrics Rit recommends and warns against!
- Water Temperature: Warm water is key!
- Dye amount: More Dye=Bold Color and Less Dye=Light color! You decide!
- Time: Longer Time=Bold Color and Less Time=Light color! You decide!
With gloves on (Or sandwich bags if that’s all you have!), dip out the fabric and wring out the liquid. Rinse it in the sink with warm and then cold water until the water runs clear. Throw it in the washing machine and wash it on cold and then dry it in the dryer.
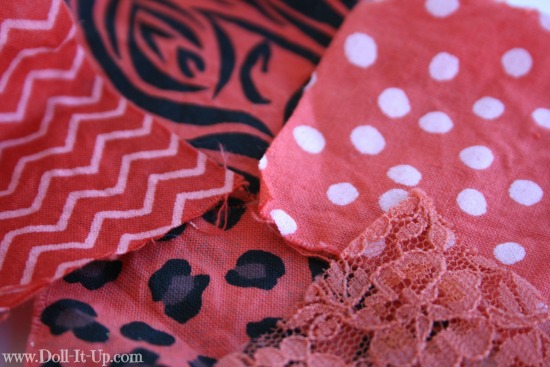
The result? Beautiful, bright, and bold colors! By the way, isn’t it cool how the white patterned fabric didn’t take on the dye?
And what about adding your own color splash to black and white fabric? Endlessly fun!
As for that nylon lace? It had tricks up it’s sleeve and didn’t always come out the same color as the cotton fabrics. The lesson’s learned! Experiment, experiment, experiment! Test-out swatches first, re-dye projects, mix up your own color combos and have fun! Rit Dye is easy to use and offers you a splash of color to your doll projects! What are you waiting for?! 🙂
Stay tuned for a few fun projects coming soon!
-Anna
Don’t miss a Rafflecopter giveaway loaded with goodies, hosted by Laura Kelly and Rit Dye!
**A thank you to Rit Dye and Laura Kelly for today’s product to create with!

You rock for putting this together for beginners. Thanks bunches and bunches!!!
Thanks for sharing Rit Dye! I am excited for many more Rit Dye projects to come!