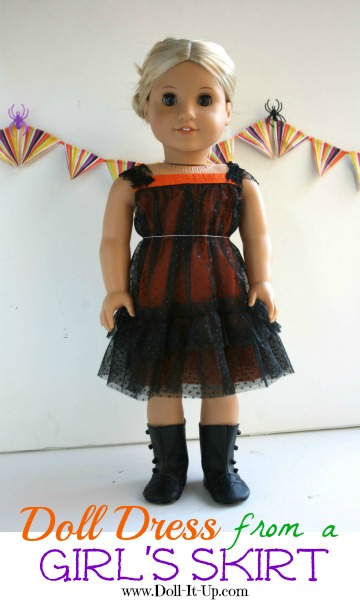
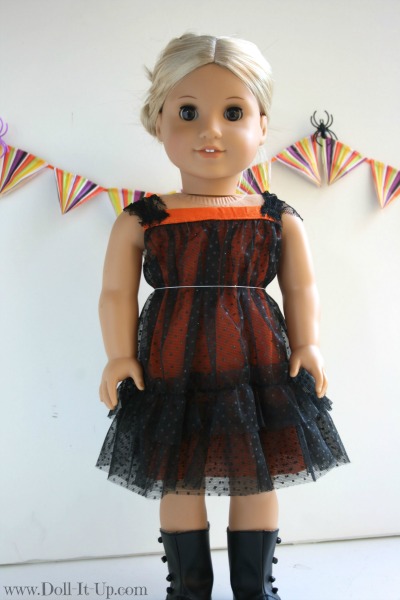
This little dress has been waiting and waiting to be made. It seems I always have lofty plans to sew up the festive doll cloths well before the holiday approaches. Plans are one thing and reality another! One thing is for sure, we will continue to enjoy this dress beyond this week into future fall’s to come!
Now let’s take a closer look!
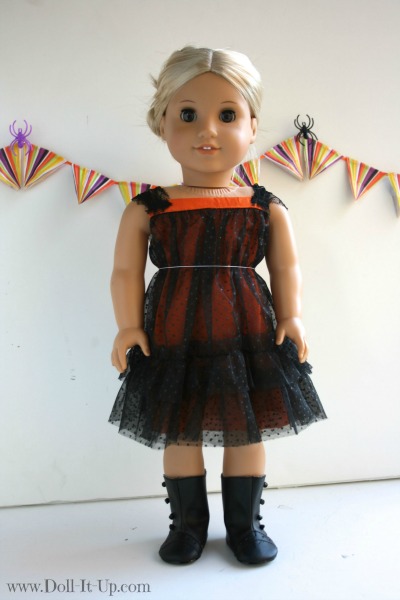
I love the effect of the black over the orange fabric!
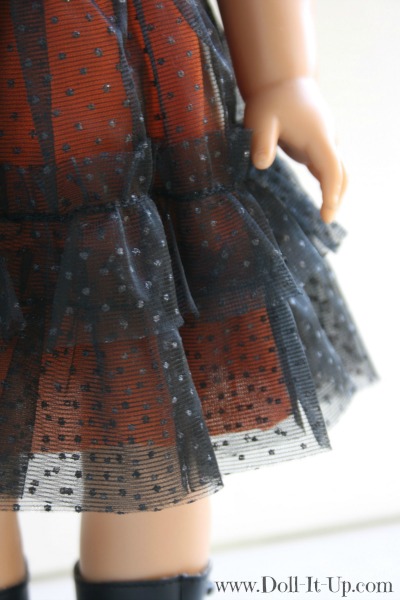
What about the ruffle detail near the bottom of the skirt? Too cute!
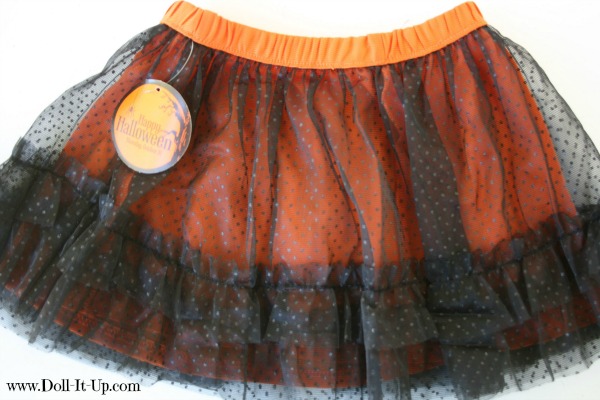
Yes all this cuteness started as a girl’s skirt. It is a Halloween Skirt sold at Walmart, size 18m. I love repurposing clothing and have made several versions of this doll dress.
Whould you like to make one too? Here is the tutorial and here and here are a few variations. One reason I love turning a girl’s skirt into a doll dress is how quick the project is.
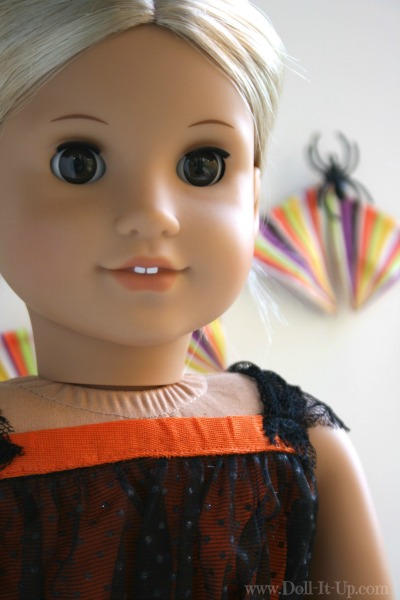
This one was even quicker because I didn’t cut the two layers of the skirt apart and sew them back together. After I removed the elastic from the skirt I folded the neckline of the dress so the orange lining showed on the front. the orange is folded over the existing seam. I pinned and top stitched along the edge of the orange.
The only other change I had to make from the other doll dresses I’ve made from a skirt was with the arm holes. Pinning and then stitching the two fabrics right-sides-together, I was careful to not stitch through the orange border on the neckline. When I turned the dress right-side-out that left the edges of the orange neckline unfinished. It wasn’t going to fray, but I didn’t love how it looked. The sleeve was part of the solution! When placing the sleeve, I stitched it to the outside, raw edge of the neckline. Mission accomplished! The raw edge is disguised!
I’m glad I went this route and kept the two layers intact. The black layer on top has a slight gather and this was an easy way to keep the gather and in turn a fuller skirt on the dress. A simple elastic chord around the waist slightly draws the dress in and adds more shape to the dress.
Now let’s focus to the back of this photo. Yes, the little pennant banner hung to start the festivities. It is so simple to make and has a fun design. Both point to the source of the ease and cute factor. What is that, you say?
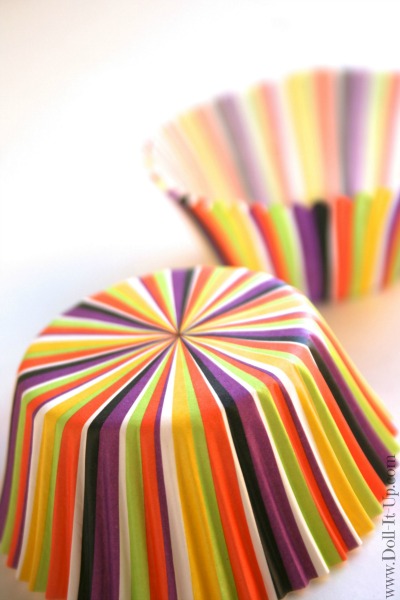
These cupcake liners!
Cupcake liners are in their heyday! They are cheap, widely available and come in endlessly cute patterns and colors! That makes them perfect for crafting!
You may remember the scalloped banner I made a while back. This is the triangle version. Let’s take a look!
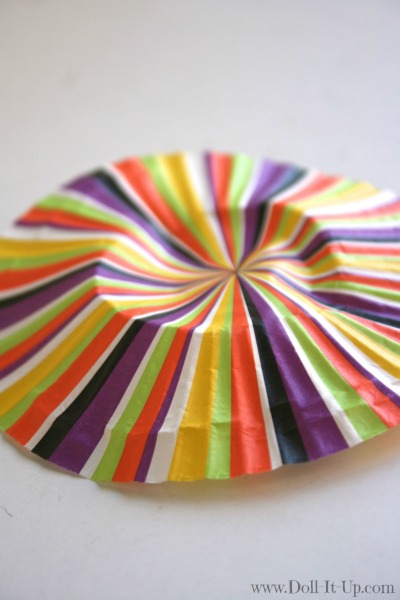
Flatten out the liner.
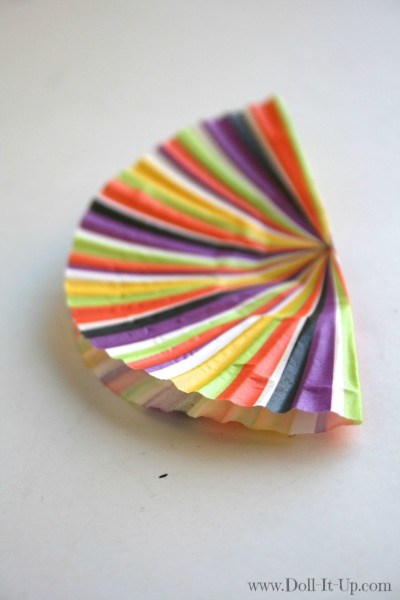
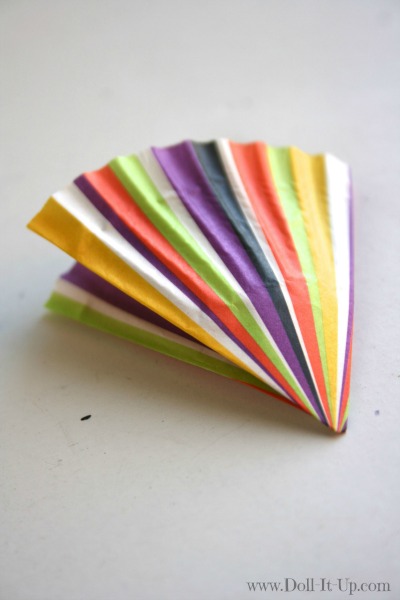
Fold the liner in half.
Fold the half into thirds.
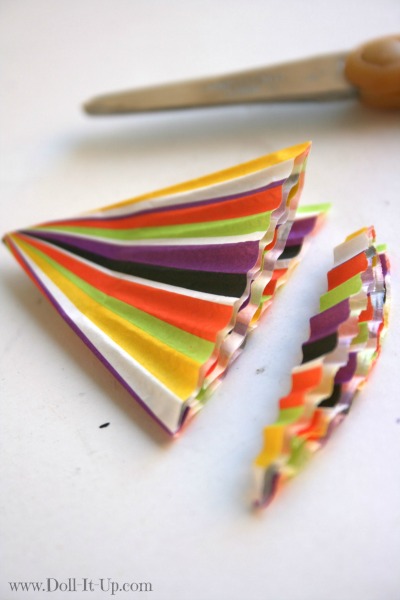
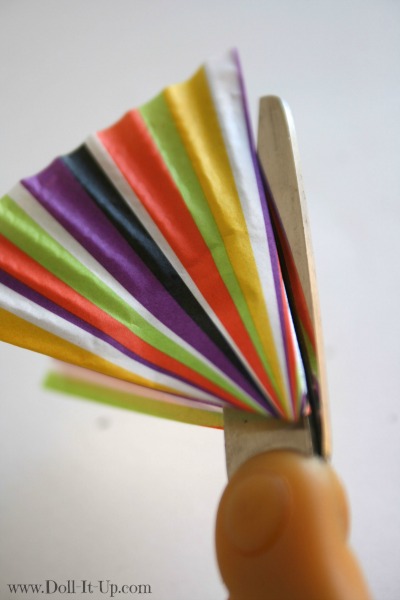
To make the sides of the triangle straight we are going to trim the curve off at the top of the folded liner.
Cut along the fold lines where we folded it into thirds.
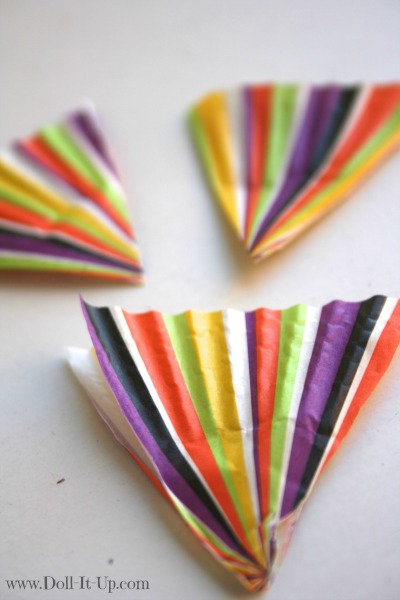
Now we have 3 double triangles. Trim along the folds on the sides of the triangle. There are now 6 separate triangles. Keep the triangles in pairs so there are 3 sets. Glue each set along a ribbon with 1/4″ between each triangle set.
Flatten, fold, trim and glue cupcake liners until your banner is the length you want.
Pin it up for the festivities! I used push pins to hang ours. For a little decoration I glued spiders from a spider ring to the end of each pin.
With the dress and banner complete we are almost ready for the doll Halloween festivities at our house! Ooo, I’m excited!
I hope you enjoyed these two repurpose projects!
Anna

I love it! I need to get sewing…
Thanks Kitty! Your girls would love it!
Funny story- my mom had pinned this on Pinterest and I knew that the craft was from you! It’s so cute!