My daughter came home with a drawstring backpack from her 7th grade sewing class this spring. I knew I wanted to figure out a doll size version! Today I want to share it with you!
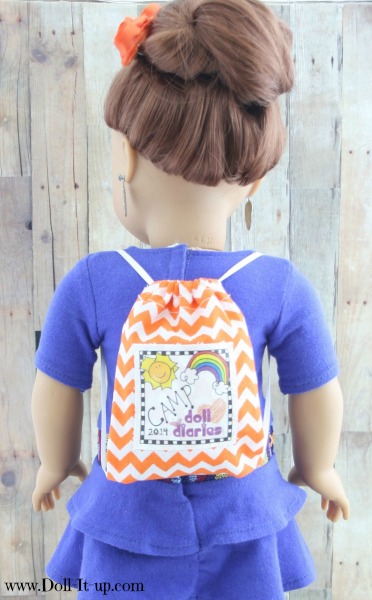
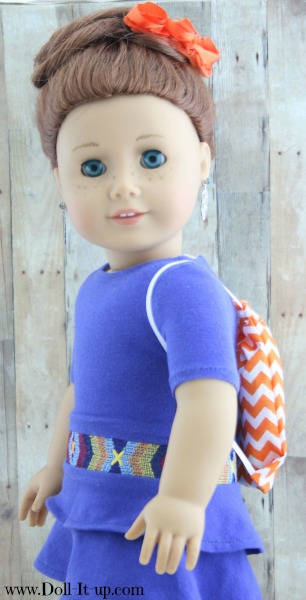
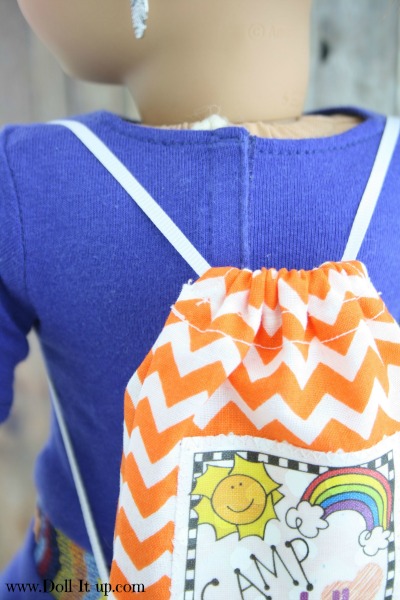
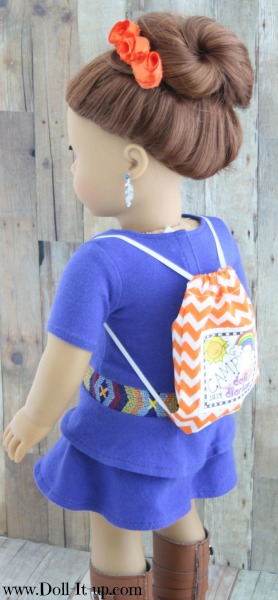
A drawstring backpack is the perfect size to hold a few things, it is a fun accessory, and you can even customize it with an iron-on to make a great souvenir!
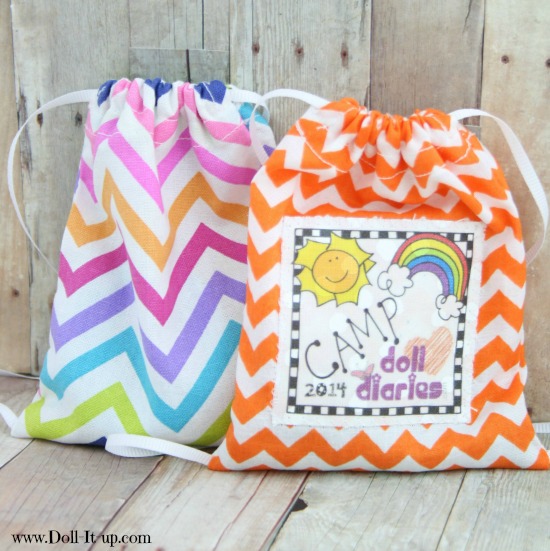
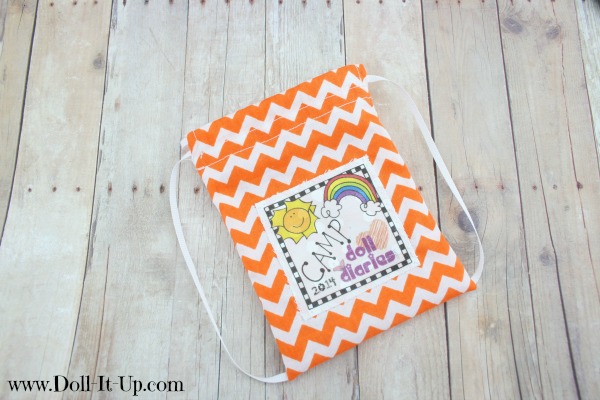
We have one plain backpack and one souvenir backpack I made for Camp Doll Diaries with the logo. As a side note, if you want to buy one of these Camp Doll Diaries backpacks, instead of sewing one, they are available at the Doll Diaries Etsy store! Right now supplies are limited but I am sewing up another batch of them for the Doll Diaries Etsy shop soon!
Let’s get started on the drawstring backpack!
Supplies:
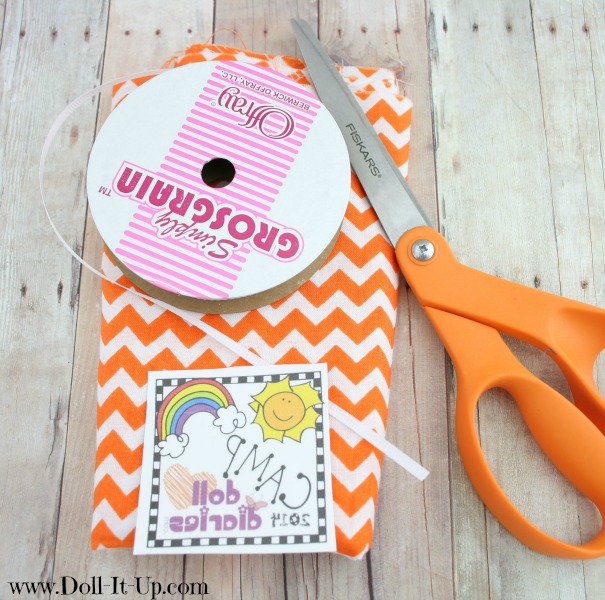
- 1/3 yard of fabric
- 22″ of 1/8″ ribbon
- small safety pin
- scissors
- iron-on transfer paper (Camp Doll Diaries Logo for transfer paper is here.)
- Drawstring Backpack Pattern
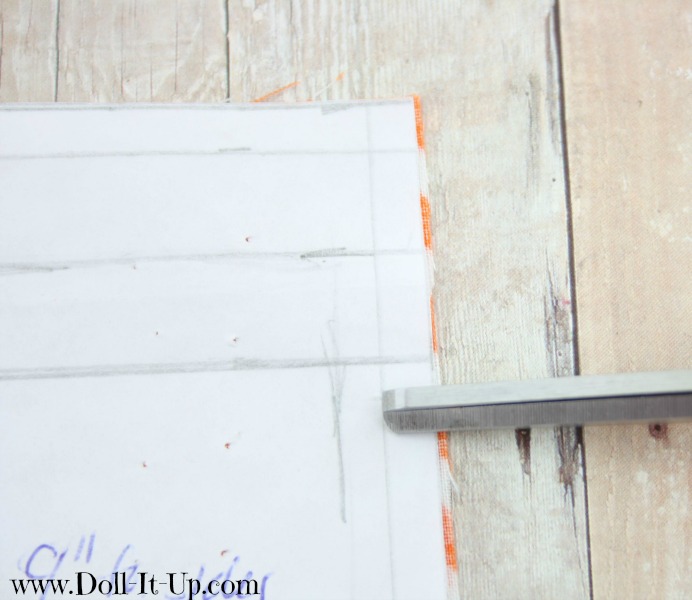
Place the bottom edge of the pattern on a fold, pin and cut out.
In this picture I am using a rough draft of the pattern. Use the printed pattern as a guide and make a small cut on each side where it is marked with a red line.
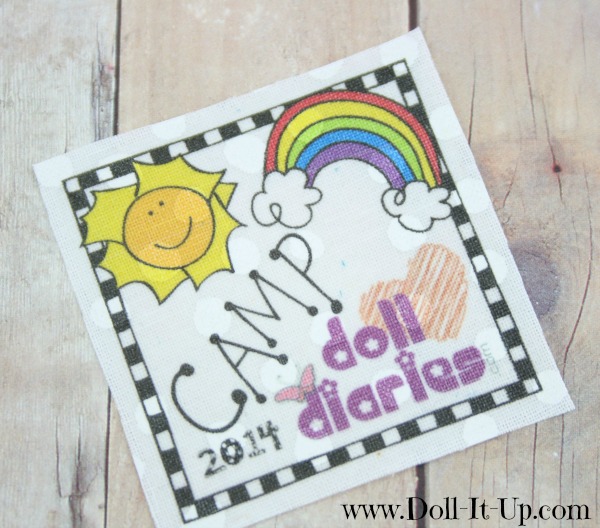
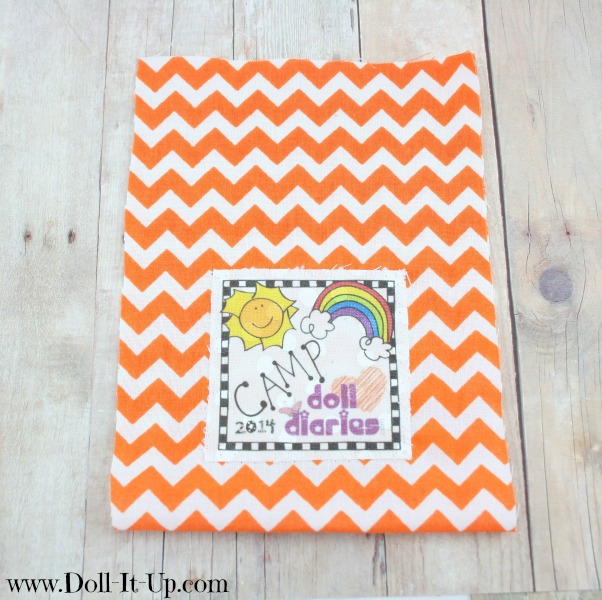
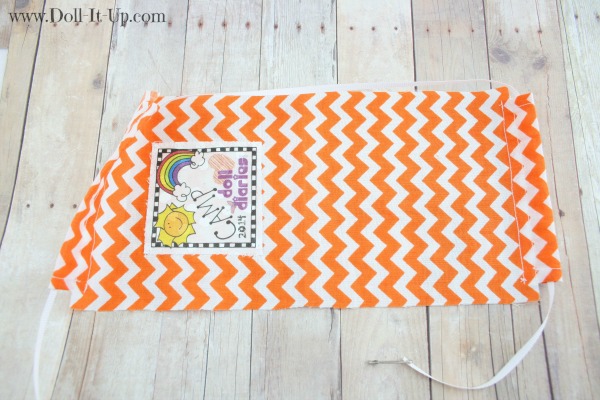
I am adding a Camp Doll Diaries Iron-on Transfer to this little backpack. This transfer works on light colored fabric so I first ironed it to a piece of white fabric…
…and then stitched it on. If your transfer works on patterned or colored fabric then you can always add the transfer after the backpack is made.
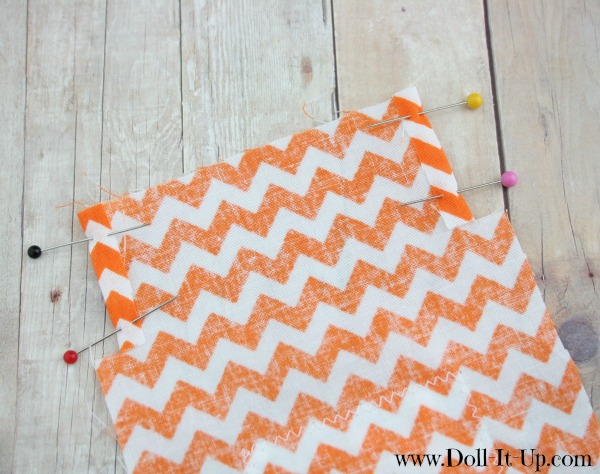
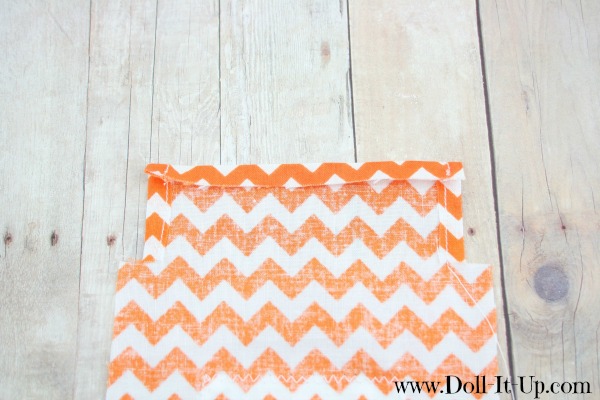
We are going to work on the casing that will hold the drawstring. Lay the fabric out flat. Fold and pin the top sides 1/4″ where you made the small cut in the fabric on each side.
Stitch.
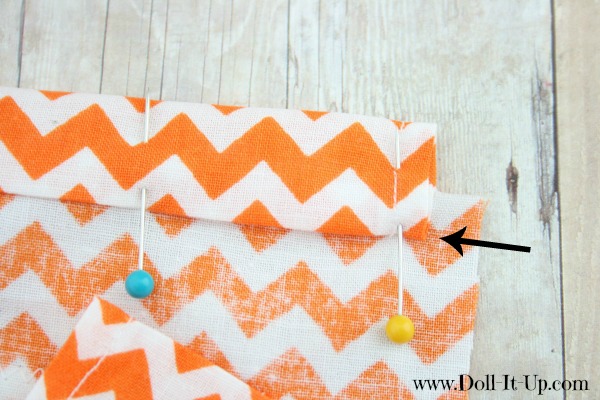
Fold down and iron the top and bottom 1/4″.
Fold casing following the marks on the pattern.
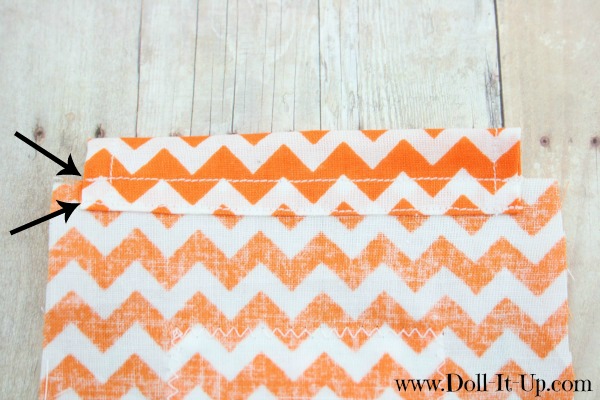
Stitch 1/4″ from edge. The seam should line up with the cut on the sides. Stitch close to the bottom edge. The two arrows point to the two stitch lines.
Both the top and bottom are stitched the same way.
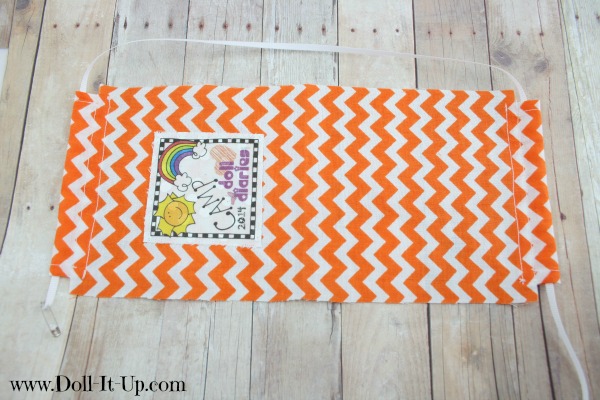
Now we will thread the drawstring. I am using 22″ of 1/8″ ribbon. First decide which casing will be the front and which will be the back of the backpack. It is easy with this backpack because it has an iron-on. The casing closest to the iron-on is the front.
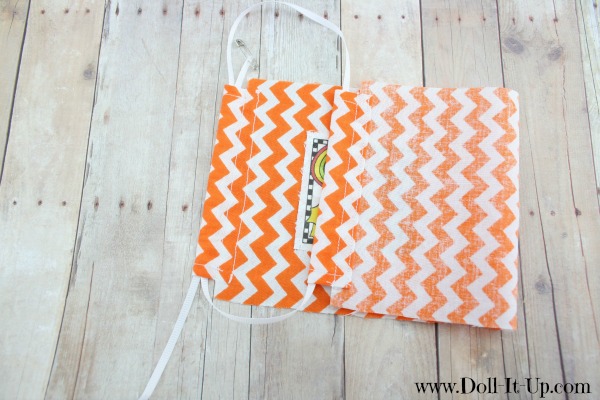
Place a small safety pin on the end of the ribbon. Thread it through the back casing.
Thread one side of the ribbon through the front casing.
Pull the ends of the ribbon and bring the front and back of the backpack together.
Take the second ribbon end from the back casing and thread it through the front casing. Yes, the ribbons cross through the front casing!
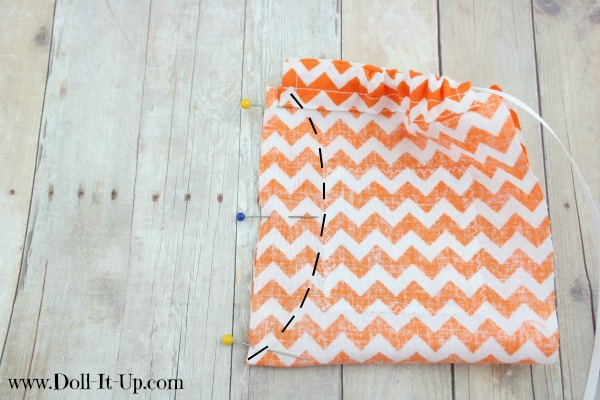
Line up the front and back casings. Place the ribbon between the fabric. The black dashed line shows how the ribbon lies between the layers of fabric. The end of the ribbon will connect at the bottom fold. Pin the fabric and ribbon close to the fold. Pin the rest of the side, matching up fabric and casings at the top. With your fingers feel between the layers to be sure you are not going to sew the ribbon in the side seam except where it is pinned at the fold.
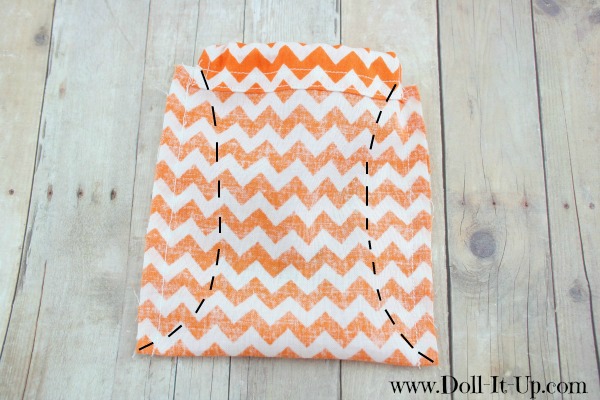
Stitch and repeat with the other side seam. Again the black dashed line gives an idea of where the ribbon should lay between the layers of fabric.
Trim the threads and turn right side out.
Pull the drawstrings and it cinches up the top.
The drawstring backpacks are so fun to make in different colors and patterns! I have a few more ideas that I hope to make soon! I will share when I do! This is a quick and easy project! I hope you will give it a try!
-Anna



I will totally have to make some of these! Thanks!
I hope you give it a try! They are an easy project!
Aunt Anna, I <3 this idea! Its sooooooooooo adorbs!!!!
Ahh, thanks Lily!
So cute!Gonna do this!
So cute! Perfect for camp!
<3Hope
Thanks Hope! They are a fun camp accessory!
I am making one for my granddaughter for her to use she is only 22 and 1/2 inches tall