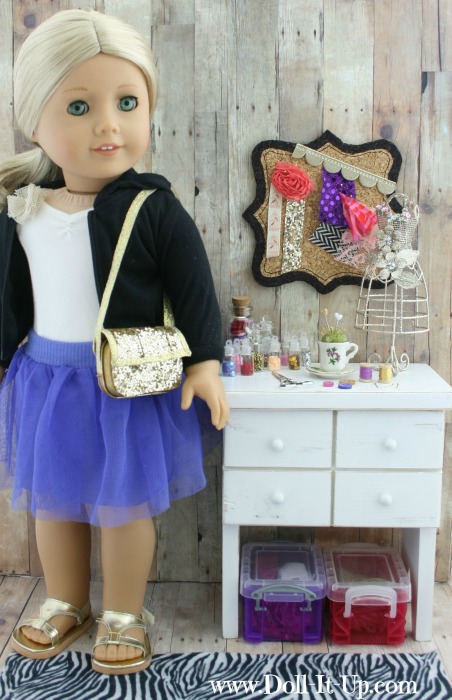
I recently started on a doll size sewing/design scene. I’ve had a few ideas floating around in my head since the first of the year when Isabelle (AG, GOTY 2014) came out. I’ve been excited about this space so I’m glad to have a start on it! The scene will have several areas and today I am showing you the first area I’ve completed.
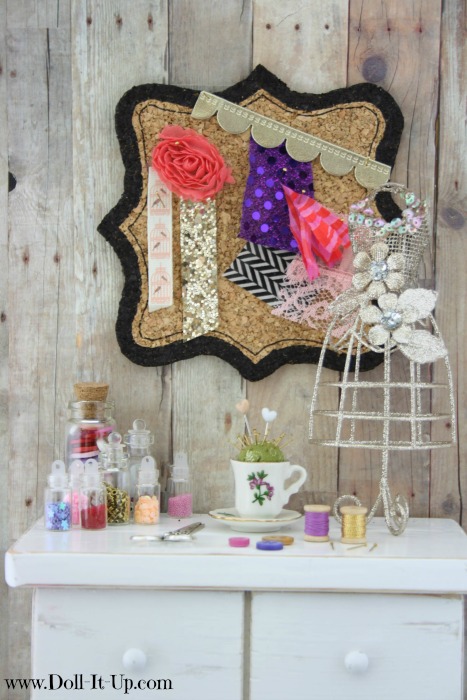
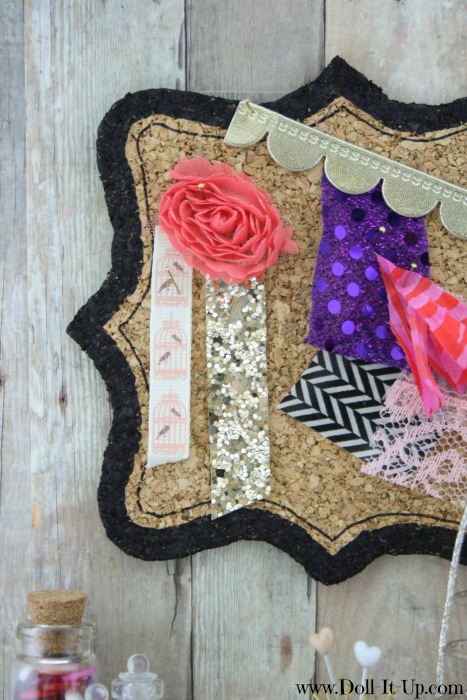
The main feature in this area is the bulletin board. I knew I wanted to make an inspiration board and when I walked past the display of shaped bulletin boards at Staples, my mind was made up to craft a doll size version!
I covered the fashion inspiration board in swatches and samples. If you want to make one of these bulletin boards for your doll space I have the instructions and a printable pattern right after this little tour of the details in the sewing/design room!
Now let’s take a look at some of those other details! I will tell you a little about each item, how to make your own, or where mine came from.
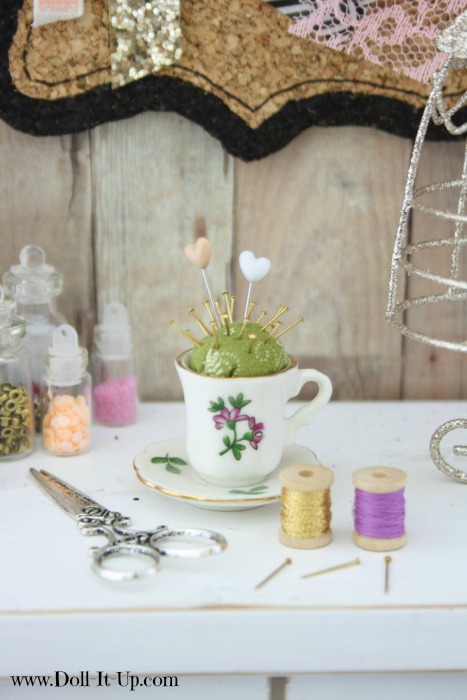
Teacup Pincushion The teacup pincushion was made by my mom a number of years ago. She gave my daughter a full size teacup pincushion along with this adorable doll size one. To make your own, first glue a teacup to a saucer. Fill the teacup with quilt batting. Remove the batting and set aside. Cut out a circle of coordinating fabric and wrap it around the quilt batting that was set aside. Glue it into the top of the teacup. Add a few pins and you have a doll size pincushion that really works! I had the mini pins in my collection for a long time and I’m not sure what they are used for. As for a source for the teacups, this one is from an antique store. I have collected a few teacups and saucers from thrift stores. I have a few plastic sets that would work great for this as well!
Spools The spools of thread are scrapbook embellishments, wound with real thread.
Scissors The scissors are a charm sold in the beading section of JoAnn’s
I have a variety of mini sewing notions. Let’s take a look at them!
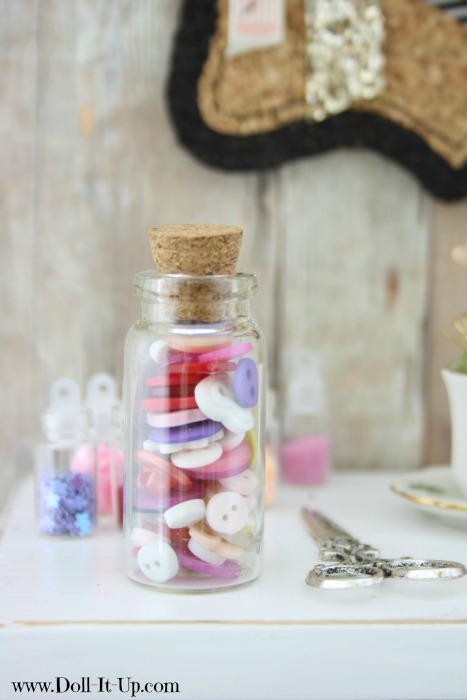
Buttons There is a collection of buttons on hand to finish an outfit or add a little decoration. I picked out the tiny buttons from my button collection.
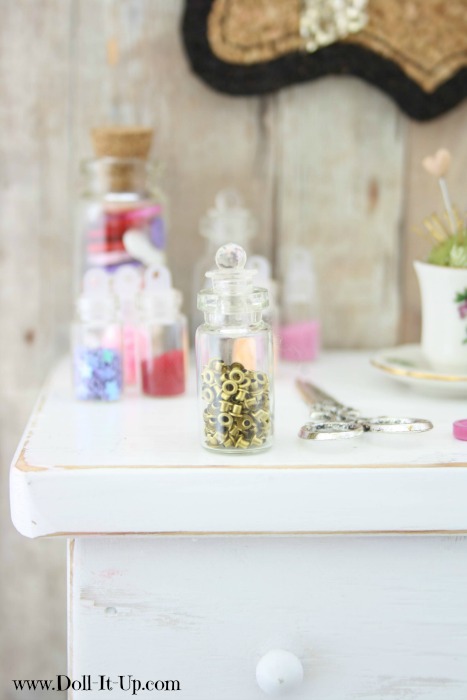
Eyelets A jar holds eyelets to add to fabric. The eyelets are a scrapbook supply.
Mini Jars The larger jars are sold as scrapbook embellishments. The tiny jars I found at the dollar store with nail glitter. The jar pictured came with sugar crystal sprinkles for cupcakes. I’ve used the jars in other doll scenes. They are all fun sizes!
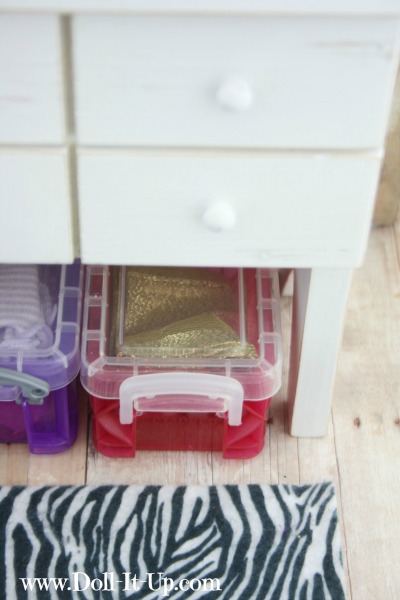
Storage Containers Taking a peak under the dresser we find storage containers full of fabric, ready for the next sewing project! I found these containers at Staples.
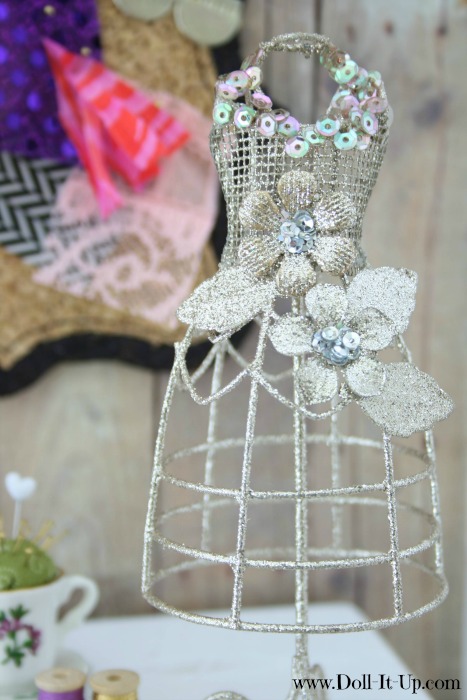
Dress Form This decorative dress form is a fun find. It is an ornament from a local boutique. I cut the hanger off the top.
Now let’s get to that bulletin board! I’ve included 4 shapes to choose from. They would be fun in a variety of spaces. Try it in a doll size bedroom, office, or kitchen, just to name a few!
Supplies:
- Doll size Bulletin Board Pattern PDF
- cork board (or cork board patterned paper and black thick craft foam)
- scissors
- sharpie, fine tip and regular tip
Cork board is sold in sheets at the craft store. You can also use patterned paper that looks like cork board and glue it to thick black craft foam. Some of the shapes, like the flower pattern, might be easier to make with the paper/craft foam combo.
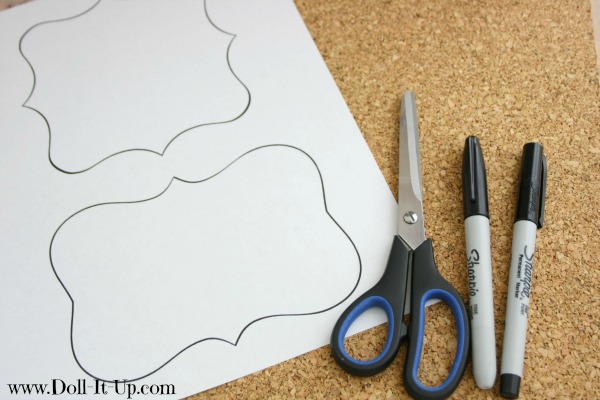
Print out the PDF pattern. Cut out the shape you want to use for your bulletin board.
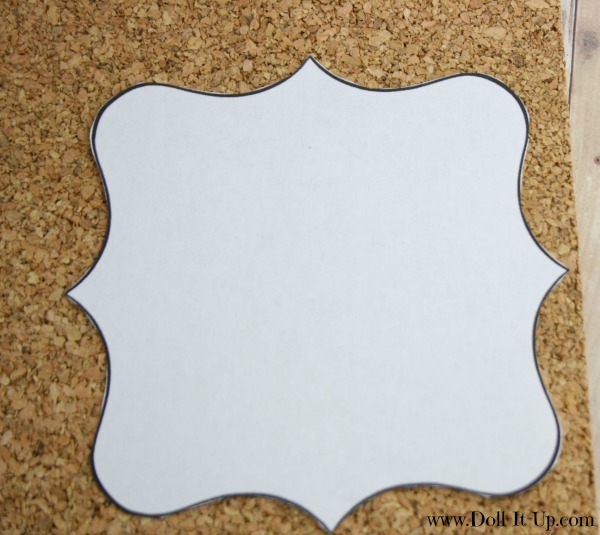
Lay the pattern on a piece of cork board.
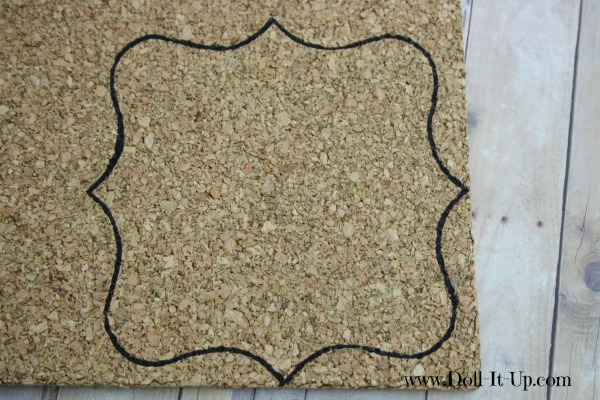
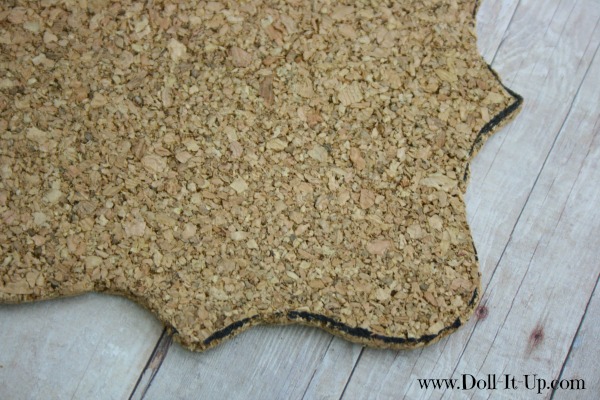
With a sharpie trace around the pattern onto the cork. If you are using patterned paper then be sure to trace and cut the shape out of the patterned paper and the black craft foam.
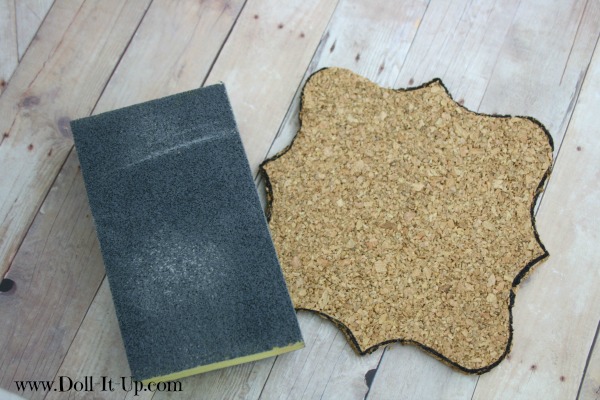
The cork wasn’t hard to cut through but it was a little tough to cut smoothly. To blend the edges, gently sand the edges. If you are using the patterned paper glue it on top of the craft foam.
It’s okay if the Sharpie line comes off of the cork while sanding.
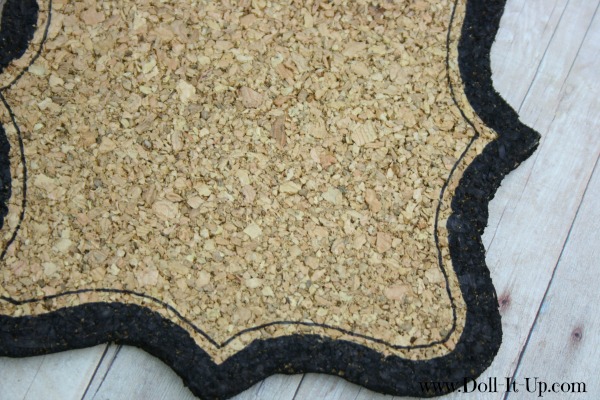
Draw a boarder around the edges with a Sharpie. Color it solid on the sides and the top. For the patterned paper version you’ll just draw and fill in the boarder on the paper. The sides will already be black because it is made of black foam. With a fine tipped Sharpie, draw a thin line following the shape of the border. It’s time to hang up the bulletin board with tape or a thumbtack!
Fill the bulletin board with things that go with the theme of the doll scene you are placing it in! It is just what this little sewing/design room needed!
-Anna

This such a cute room and has so many cute little details. I really like the board tutorial I am going to have to make one for my dolls room.
-Eve
So cute… love your sewing room!
Thats really cute! I made one of my own a few weeks before this actually! You can see it here: http://agdoll-icious.blogspot.ca/2014/04/how-to-make-doll-bulletin-board.html
This is cute. They know sell sewing rooms at target. However, I like this one better for one reason: It is super creative. I love how I would be making something for my dolls. I think that if you make it instead of buying it, it is more special. I will HAVE to try this diy. It is a unique idea. Thank you so much for doing this d.I.y.!!!
Hannah, It’s so fun to create! I agree it does make it special and you can bring your own ideas into it! Thanks so much!