I’ve been working on a few fun crafts, projects, and giveaways inspired by my recent trip to Cancun Mexico that I can’t wait to share!! Check back, there will be a little fun this week and next week!
Once in a while, with the push of new projects, I forget about sharing a fun project.
Today’s project was my contribution to a giveaway Diana Rambles hosted last year. I took pictures at the time, to share with you how to add a little sparkle to dress up a dance outfit.
I was inspired by attending my niece’s dance recitals over the years. I was always amazed at all the sparkle on stage!
I wanted to come up with an easy way to accessorize a dance outfit to boost up the sparkle and shine, fit for a performance!
The Tutu
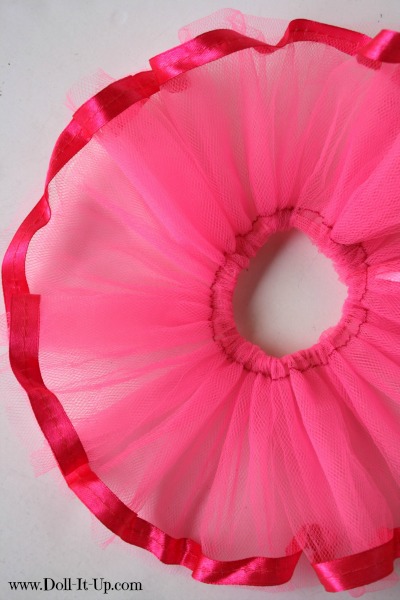
If you need a dance skirt to complete the look, there are a couple of quick options. You can make a simple tutu from scratch or resize one from a girl’s size tutu.
A few years ago I wrote out the instructions for making a tutu from a girl’s size or making one from scratch. The two skirts I’m using today were made from the tutorial. Follow this link for more details and to make your own!
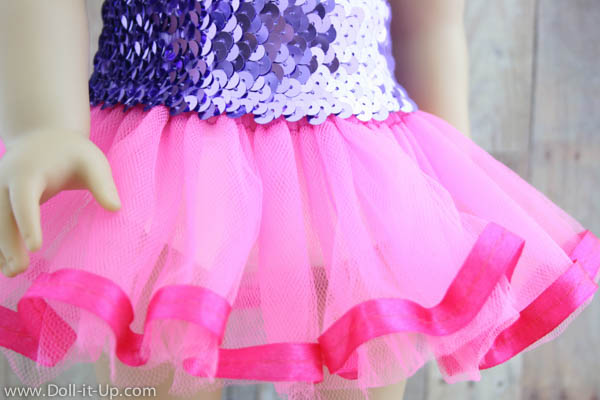
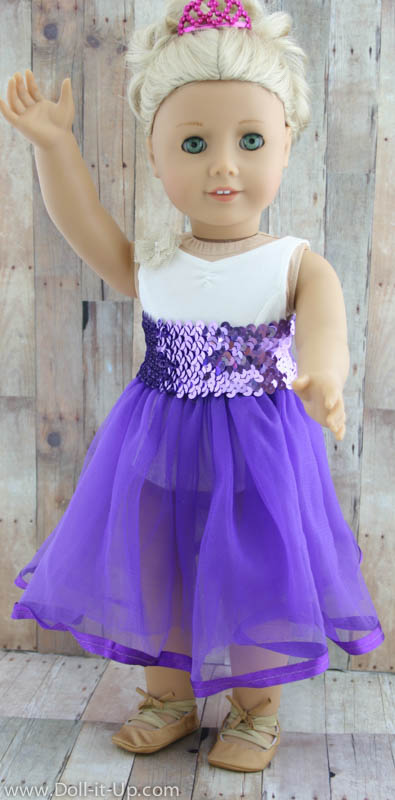
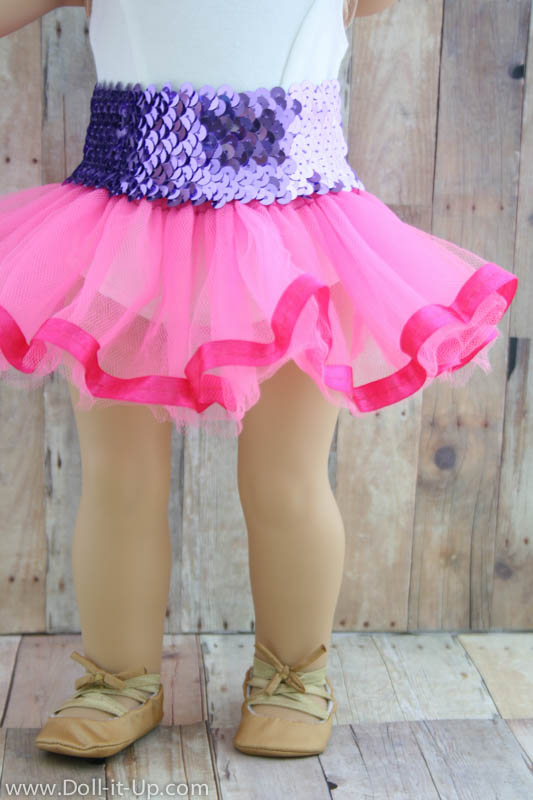
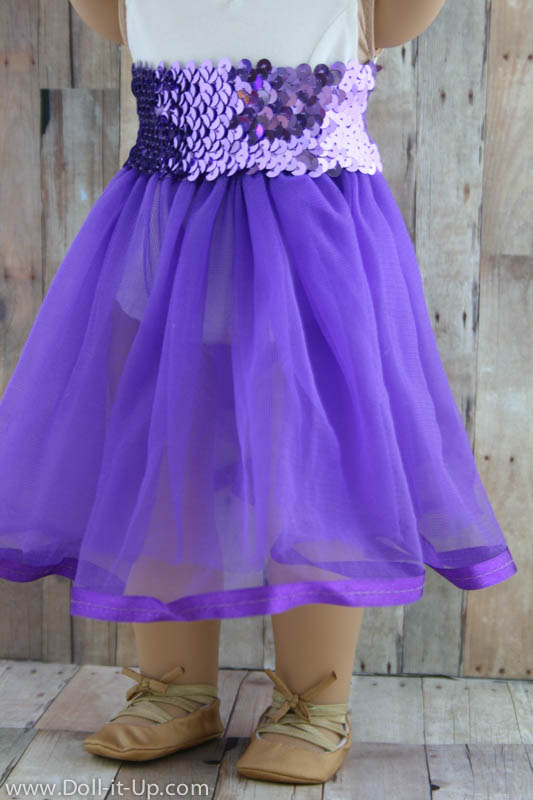
Today I’m styling the dance outfits with a long and short tutu.
In the tutorial I resized the girl’s tutu to make a short doll size tutu. To make a long one you need to do less adjusting.
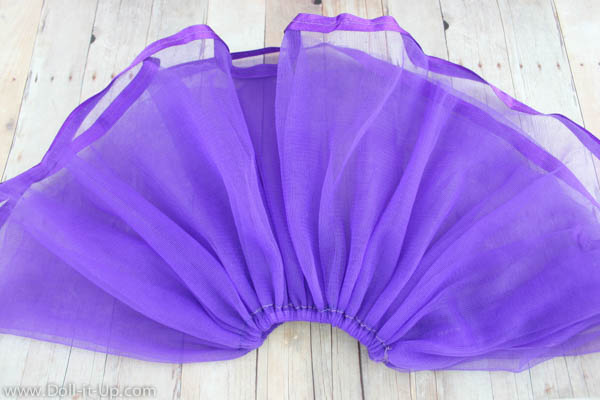
The length of the girl’s tutu is 7 1/4″. It is made with a double layer of tulle.
If you are adjusting a girl’s size tutu you may only need to shrink down the waist size. For this skirt it was a quick adjustment by simply opening up the casing, pulling the elastic tighter, and sewing it in place.
If you want to make a long tutu from scratch, start with a rectangle of fabric measuring 14 1/2″ x 58 1/2″. Follow the tips and suggestions here to make your own.
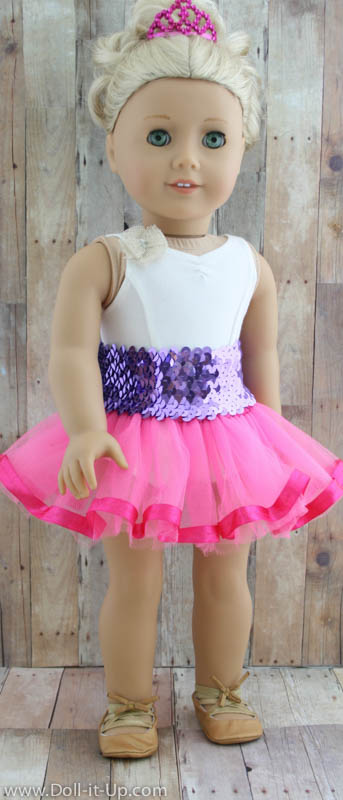
The short tutu is made from the same skirt, only folded in half so it is fuller.
Complete instructions to make the short tutu are at the same link above.
Sparkly Waistband
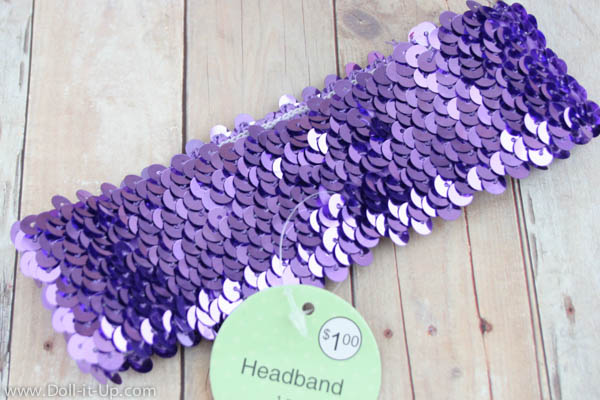
Dance outfits often have eye catching sparkle. To add sparkle to this outfit I added a sequin waistband made from a headband. I often see these headbands in the dollar section at JoAnn’s.
The headband is too long and needs to be adjusted to fit a doll.
To make your own waistband, measure the doll’s waist and divide that number in half. Lay out the headband folded and turned inside out. Measure and pin the headband inside the seam. 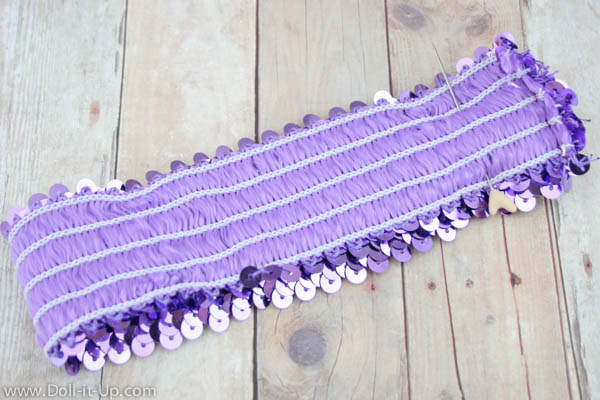
Sew twice along the inside of the line with a zig zag stitch to hold it secure. Trim off the extra fabric.
No-Sew:
If you want to make this no-sew and the glue gun is your friend you are in luck!
Glue the layers together between the pin and the edge.
After it cools, open up the headband and gently pull on the glued seam to make sure it will endure stretching.
Add more glue if needed. Leave a 1/2″ of the glued strip and trim off the extra.
The headband makes a perfect sparkly waistband and really dresses up the dance outfit!
The waistband is wide so you can pull it up, just under her arms, to give the outfit a high waisted look.
It is also fun worn at the natural waist line.
Pull back the curtain, she is ready for a dance performance!
I have another dance accessory to share soon. Every dancer needs one of these to tote her dance costume to a rehearsal or performance. It’s another upcycle project, which are always my favorites!
See you soon!
-Anna
Here’s the scoop on today’s post:
Doll
- Caroline is a BeForever historical doll from American Girl.
Outfit
- Leotard is Isabelle’s Rosette Leotard from American Girl.
- Shoes are the golden ballet style shoes from Rebecca’s Costume Chest from American Girl.
- Crown is made from a tutorial on Doll Diaries.
- Tutus are made from a tutorial on Doll It Up.
Scene
- Backdrop is made from patterned paper.

