We are on a journey. It is the transformation of a shelf into a dollhouse. Join in the fun! If you missed it, here is Part 1-{getting started}, and Part 3 {prepping for fabulous}***
Choosing the shelf for your dollhouse is the most important step. It is the base or foundation for what the project will become. Today we will touch on choosing a shelf to fit what you are looking for in a dollhouse and make sure it is also perfectly sized for 18″ dolls. So what should you look for and what will work best for you? There are several factors you need to consider first.
How much space do you have for a dollhouse?
Answers to this question will help you decide how big of a shelf to look for. We saw a really creative idea for making a dollhouse work with your space a number of years ago. My daughter and her good friend both enjoyed American Girl dolls. We had refinished a shelf into a dollhouse, a Christmas present for my daughter, and her good friend wanted to make one for her dolls. The problem was that space was really limited in her room. She was so creative and with her families help they made a tall narrow house to fit the space perfectly. She made furniture and decorated it to fit the small rooms in the dollhouse. It worked perfectly and was such a fun dollhouse! Her dad was a general contractor and could easily build the shelf. Of course building is always an option but we will be focusing on finding that shelf that fits your space and needs!
What rooms and furniture do you want to include in your dollhouse?
Bedroom, living room, kitchen, school room, dining and nursery are some of the rooms we have decorated in our dollhouse. Deciding what rooms to include in your dollhouse will help make a plan for what the dollhouse will be used for. Maybe a bedroom and dining room are the essential rooms for a house.
What if you have special pieces of doll furniture you want to include? With some planning you will be sure to make a place for it. What about planning rooms around special interests or hobbies like a sports/game room. Having a basic plan for the rooms will help you decide how many shelves your basic structure needs. It will also help you plan the layout of the dollhouse and any modifications and changes you may need to make to the shelf.
Who will be using it?
A dollhouse for setting up scenes and play needs to be within reach. Shelves can be tall and often the top shelf is too tall for a child to easily see and reach. Take into consideration the level of each shelf and whether it will optimize play for the child. If you want something she can grow into you could always use the top floor for storage and set it up the lower shelves for play. When she is older and taller, the top shelf can be used as a room.
Dollhouses also make a wonderful way to display doll collections. When considering a shelf to make into a dollhouse for a collection, decide if the collection or scenes can be appreciated at the different heights of each shelf. Sometimes the bottom shelf sits right on the ground and sometimes it sits 6 inches off the ground. What would you prefer? How high is that top shelf? Is it too high so that the contents would be angled out of view?
Just right for 18″ dolls.
Now that you have an idea of the amount of space set aside for your dollhouse, what you want to include and who you are creating it for, it’s time to size it up for an 18″ doll! Follow along and I will show you how. This is real live dollhouse making in action!
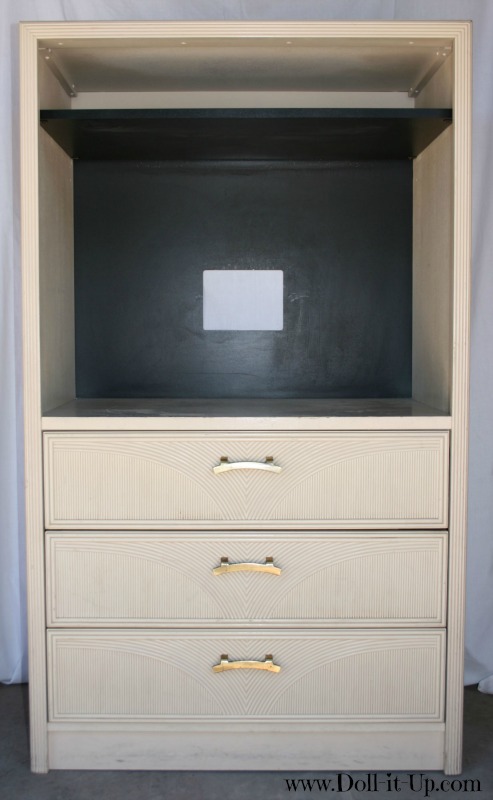
Let’s take a look at the basic shelf. As a reminder, this is one of three shelves that are exactly the same. (I gave a little background in Part 1 if you missed it).
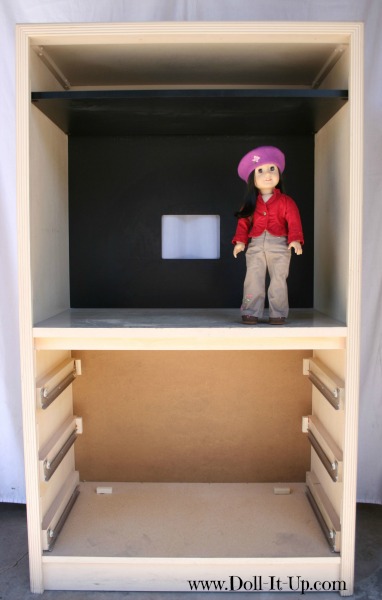
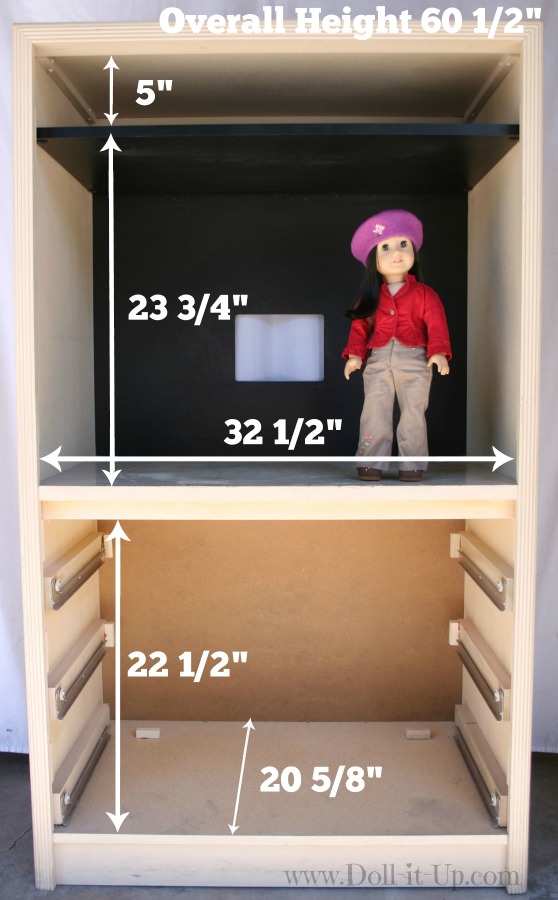
Our shelves have drawers in the lower section. The first thing is to remove the drawers to see if this space would work as the first floor in the dollhouse.
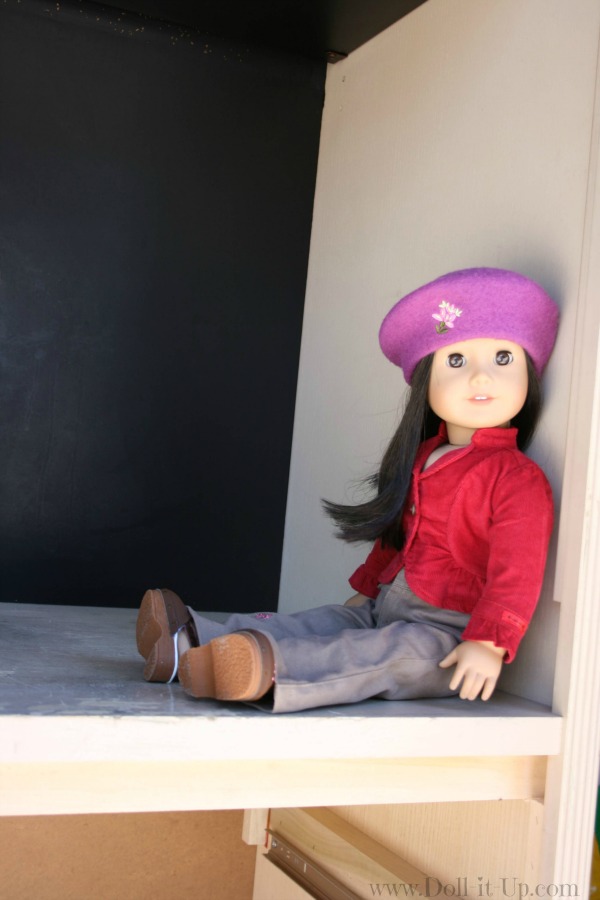
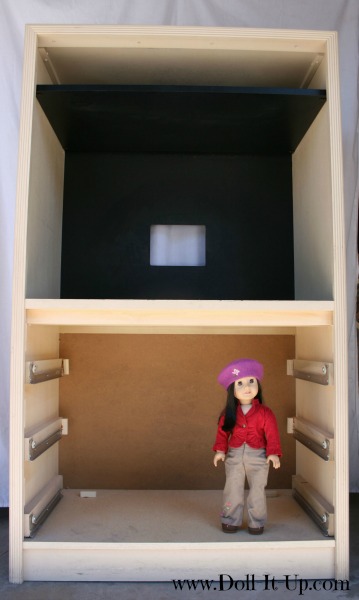
Now to try a doll standing up in the main spaces of the dollhouse. It’s time to decide if the rooms are tall enough.
Our top and bottom shelves are different heights. There seems to be plenty of head room though.
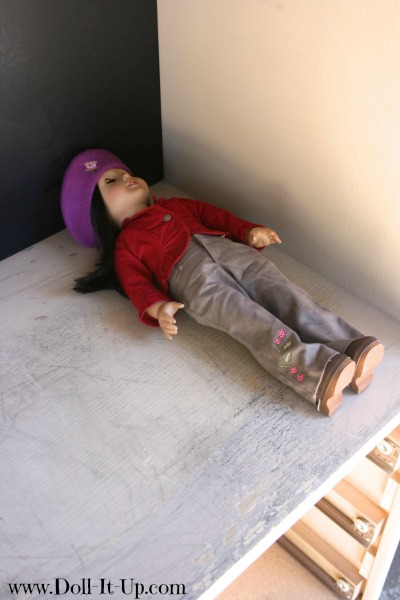
Now to lay a doll down and visualize the depth of the shelf. This gives an idea of whether there is enough room for a bed to fit the depth of the shelf.
Trying a doll in the dollhouse can give you a basic idea of how the doll will fit in the shelf and how much room there will be for furniture. If you already have the furniture for the dollhouse compare the measurements of the furniture with the shelf. Either way, before you decide, write down all the measurements for the whole project. Here is how ours came out. Don’t fret if your shelf is not the same. The sizes and shapes are endless! Hopefully this will just give you an idea of where to get started with your shelf!
Other important details:
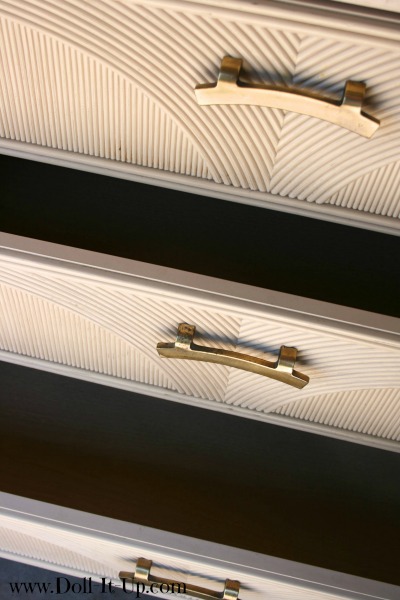
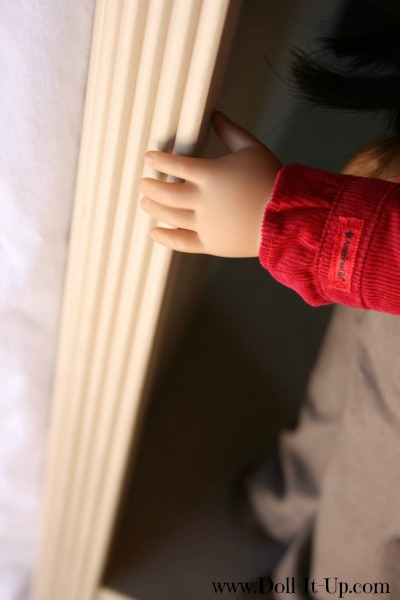
There are always other details on the shelf to take in and consider. These shelves have molding around the front. It gives it a nice finished look. I love the texture and detail it adds. The molding will also give us options when painting the exterior.
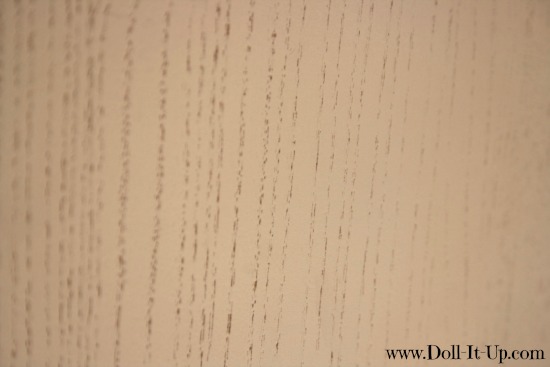
Take a look at what your dollhouse is made out of. Ours has a real wood veneer. That means there is a thin layer of wood attached to particle board underneath. After working on the dollhouse I realized it is definitely not as fabulous as solid wood. Keep an eye out for solid wood and you will have more options for refinishing it.
I am including a list of the main points from this post. Remember the measurements in the example are just a starting place to help you sort out what you want and need in a dollhouse. I have seen and made a number of dollhouses and there are so many fabulous ways to make one! In the end your dollhouse shape and size should be determined by how much space you have, what furniture you want to include and who you are making it for. Don’t forget to try a doll or get out the measuring tape to size up the space for dolls . Get creative! This list is intended as a place to start and get thinking about what will work for you.
Things to consider when choosing a shelf for a dollhouse:
- Height of each floor. How much space is there above the dolls head? Consider at least 4 inches .
- Depth of the shelf. Ours could have been at least an inch deeper to work better with the furniture. I want to say at least 22″
- Height of the shelf overall. This depends on how old the child is that will be using it. These shelves are 60″ and are perfect for younger children.
- Overall width of the shelf. This can really depend on how much space you have for the dollhouse and how much doll furniture you want to use in it .
- The Look. You can take inspiration from the shape, size and look of the shelf to decide how you want to refinish it.
- What it’s made of. Preferably solid wood.
Up next on Project Dollhouse {part 3 prepping for fabulous}!

These definitely are good questions to think about when making a doll house! Will really come into use. Thanks!
Thanks! Yes a little planning helps a ton!
Thank you, Anna, for posting this! It helped me a lot because I really want to have a dollhouse like that (mine in on the floor right now), and I’m always looking for tips on how to make it =)
~Abigail
Thanks Abigail!