 Are you looking for fun little ornaments to make for your doll tree? I know I am! Today I’m participating in The Adorable Little Ornaments Linky Party, that is bringing together a whole host of mini ornaments created by different bloggers. Check out links to lots and lots of fun ideas at the end of the post. Don’t miss the giveaway at the bottom of the page. You can enter to win Sculpey Clay and buttons to make your own projects! A special thanks to Laura Kelly, Sculpey Clay and Buttons Galore for hosting this event!
Each year everyone in the family gets a new ornament. It’s a tradition that I grew up with and the last few years it has a new twist! The ornaments are homemade! It is really fun to get out those homemade ornaments and hang them on the tree each year! They have become our favorites!
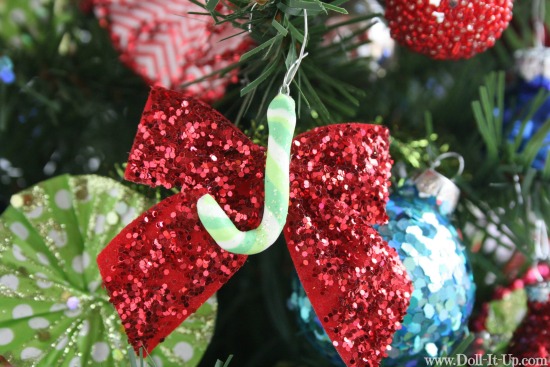
It seems that this year the tradition has taken yet another twist…to the dollhouse! This year’s ornament is quick and easy to make and so I decided to include the dolls in on it!
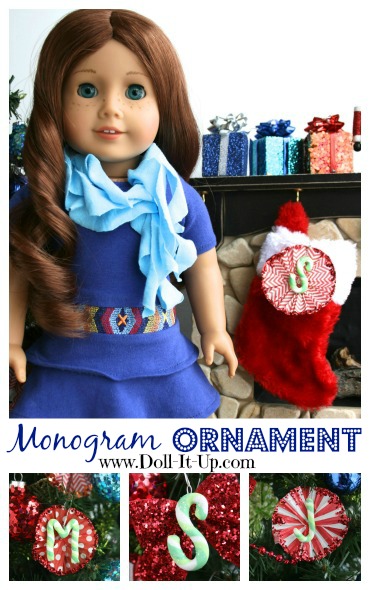
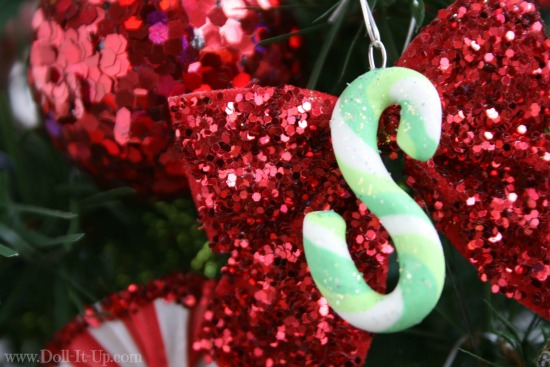
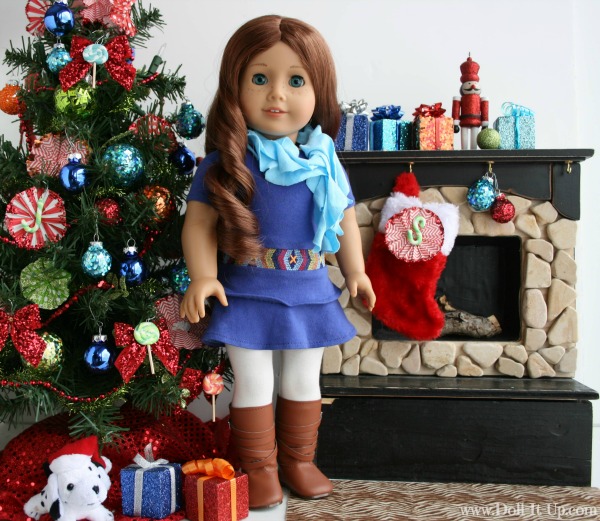
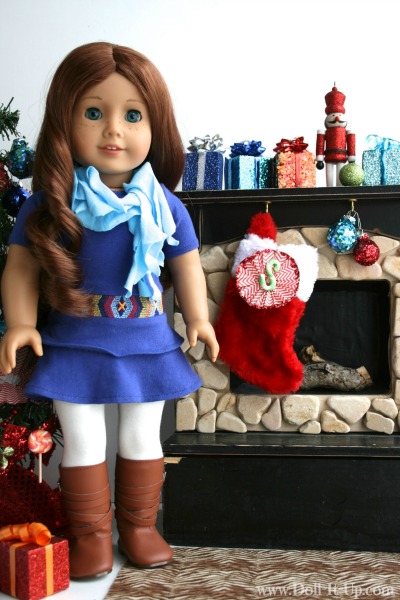
“S” is for Saige.
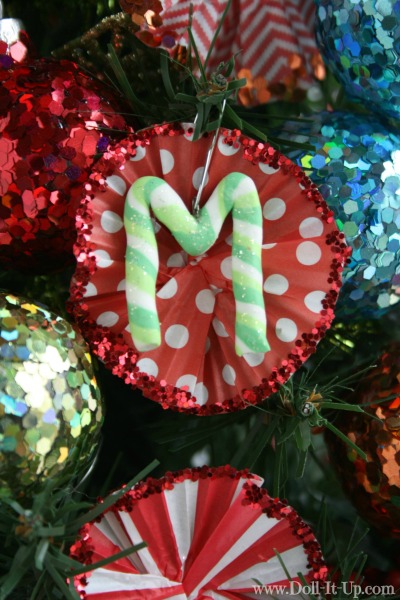
Morgan gets an “M”.
Julie won’t be left out with her “J”!
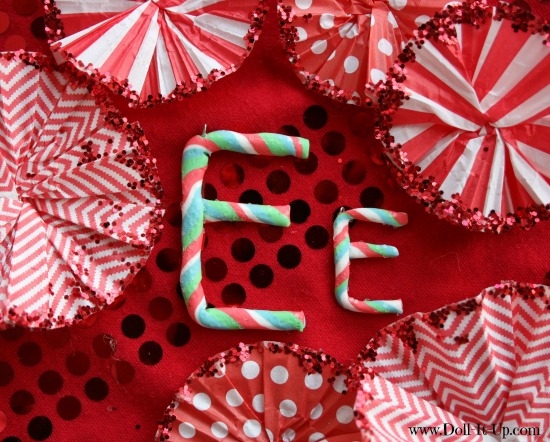
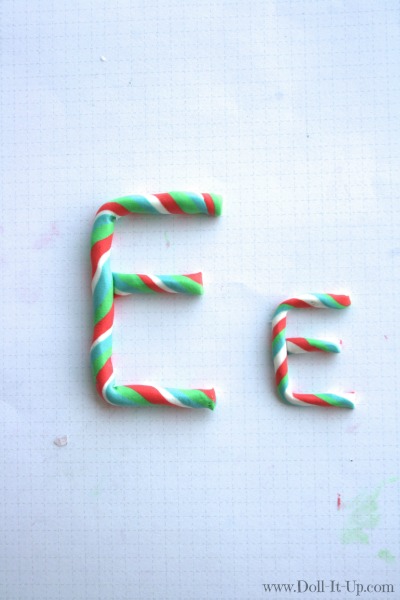
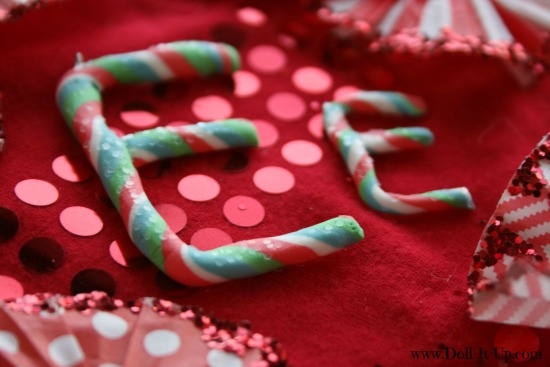
I decided to make matching “E’s” for my daughter Emma and her very first doll Emily. There is one for the family tree and one for the doll tree!
They are cute on the tree and simply fun on stockings!
Let’s take a look at what I used to make these little monograms!
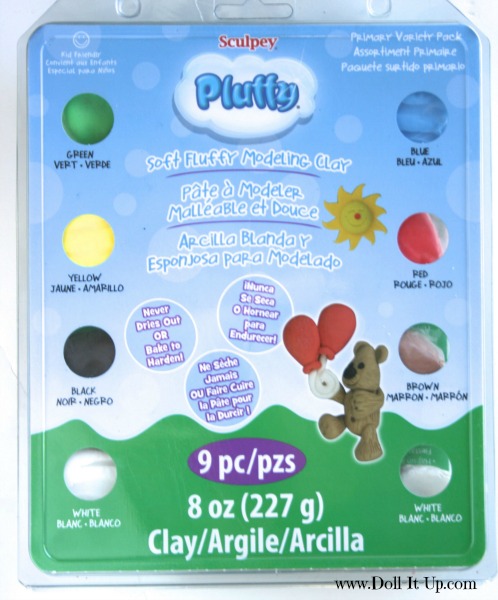
For this ornament I am using Sculpey’s Pluffy Clay. It is a bakeable clay. If you saw the weekly craft I write for Doll Diaries you will know I’ve recently had my first touch of bakeable clay. I discovered something new and I really like it! Yeah!
Back to Pluffy…This stuff is lightweight, squishy, and my favorite is, it doesn’t harden without baking it in the oven!
My Pluffy Clay pack came in primary colors and I soon got to work mixing up my own custom colors.
Yes, you know the trick…blue + green=turquoise!
Now let’s make this ornament!
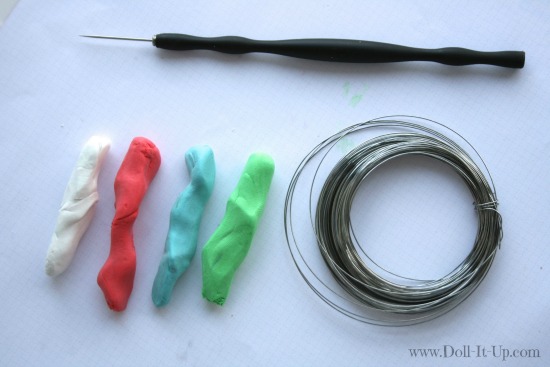
Supplies:
- clay (I’m using Sculpey Pluffy Clay)
- piercing tool
- wire
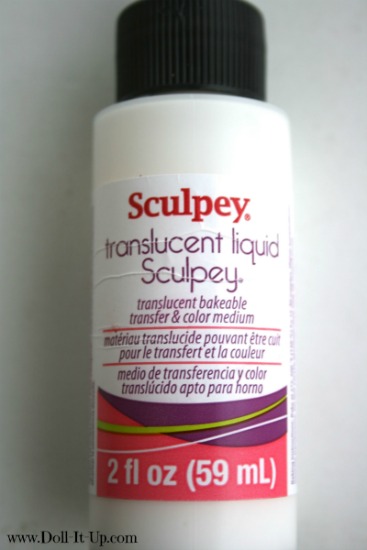
- Sculpey Translucent Liquid or a recommended flexible glue (optional)
- baby wipes for clean up
- tin foil (to make and bake on)
Before we get started I wanted to talk about Sculpey Translucent Liquid. I picked mine up at the craft store the other day because I thought I might need it to glue letter pieces together. It turns out the clay pieces stayed together well with just a little pressure when putting them together.
I ended up using the Translucent Liquid to give the wire ornament hanger a better bond to the clay. I found the thin nature of the monogram letters gave little for the hanger to stick into and the wire came out after baking. With a little translucent liquid before baking, the ornament hangers were sturdy. On the Sculpey website there are other flexible glues they recommend for the clay. You may already have some of these glues around the house so check out the list!
Now let’s make an ornament!
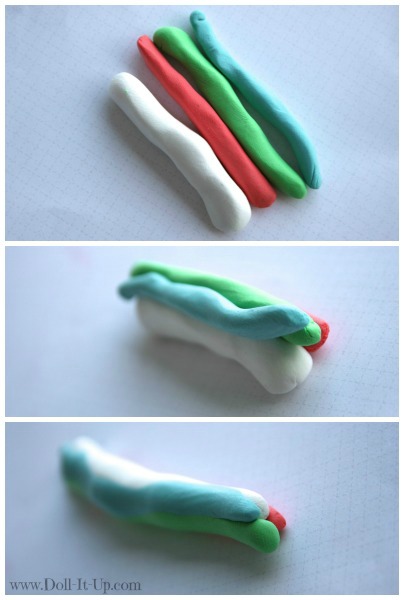
Roll out 1 or more pieces of clay, all to the same length.
Place the pieces of clay together.
Gently roll the clay together. The separate pieces of clay will started to “melt” together. As you roll it will get thinner.
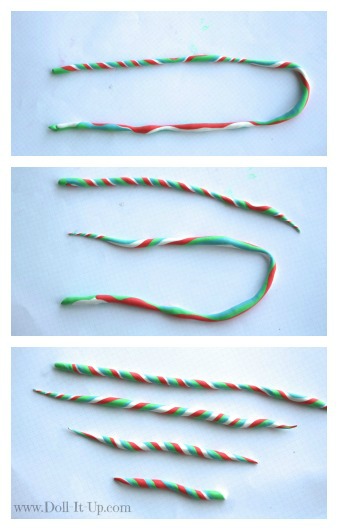
When the rope gets close to the desired thickness (I’m shooting for 1/4″), gently twist the rope to give it the candy cane striping.
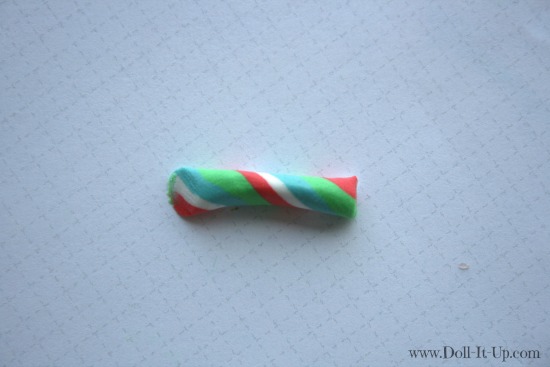
If your rope is getting long as you work your way down, it may twist thin and break in places. Don’t worry it’s not a problem!
Gently twist the rope segments until they all have the candy cane striping.
It is okay to have separate segments of rope clay because we are making letters and they are built with a variety of different size pieces.
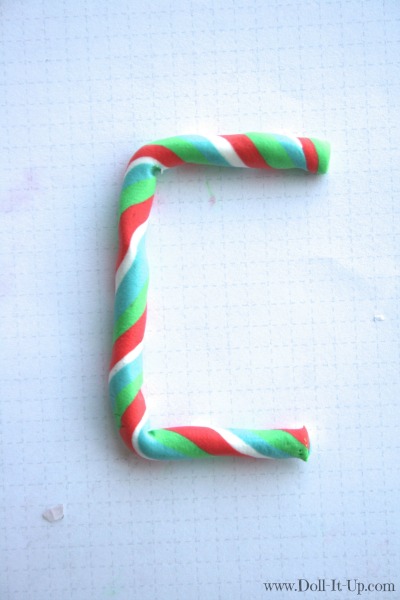
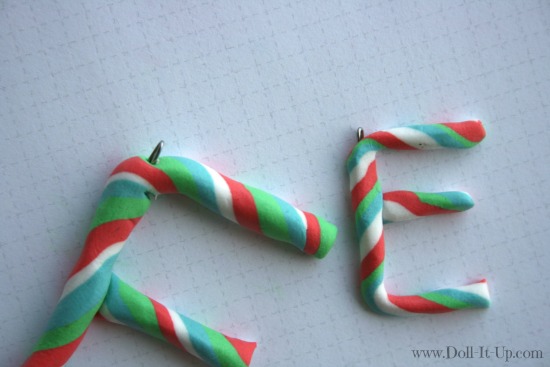
I am going to walk you through the process of putting together a letter that is made up of seperate pieces. Yep, we are making the letter “E”. I first bent a segment of the rope into the basic shape. Strive to use the least number of separate pieces as possible.
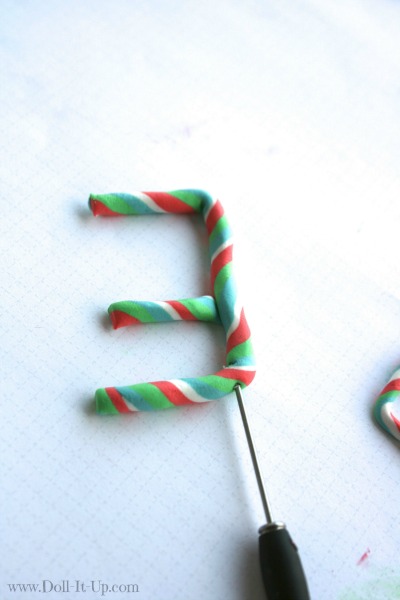
Cut any remaining pieces to the right length. My “E” is missing it’s middle leg.
Gently press one side of the piece where it is connecting to the rest of the ornament.
I decided to make a teeny tiny ornament to match the first.
Let’s hang the ornament!
Once you decide where to add the ornament hanger, pierce it with a piercing tool.
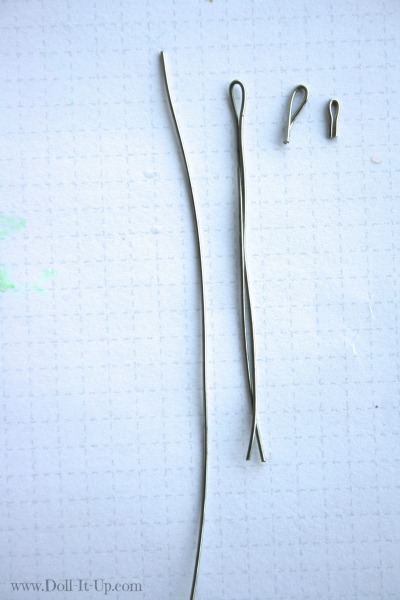
To make a hanger, cut a piece of thin wire to 3″ long.
Fold the wire in half, making a loop at the top.
Holding the loop, cut the wire close to the loop.
Make a loop for each ornament. My second loop is slightly smaller than the first.
Try the loops in the holes. If you are using the Sculpey Translucent Liquid, remove the loop and add a little in the hole. Replace the loop in the liquid.
If you want to use no adhesive or another flexible glue, simply leave the hanger in place while baking. After baking the monogram pull out the hanger and replace it with glue inside.
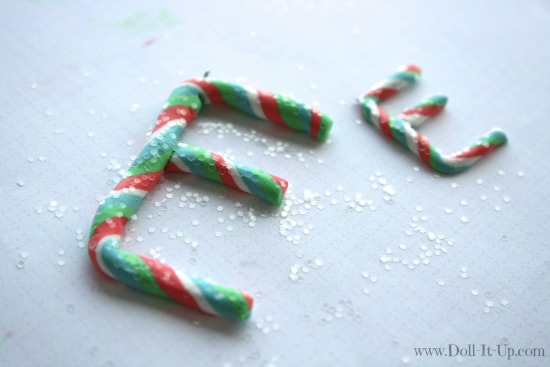
Everything is better with a little shimmer and shine! If you agree, sprinkle the ornament with clear or white glitter and gently press in place.
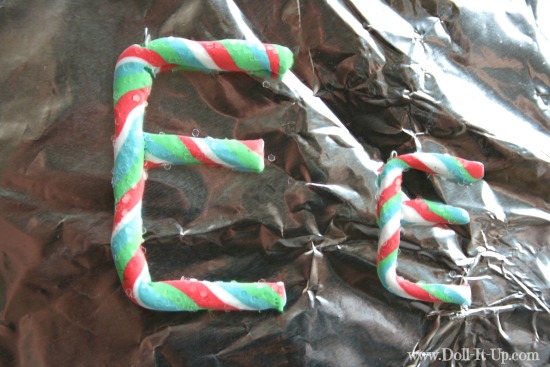
If you have not been building your project on the baking pan then gently place it there.
Follow the instructions on the clay packaging to bake. Just 15 minutes later they are out of the oven, cooled and ready to hang!
Yes, I’m a little sentimental…and I like to make things fun. My oldest is growing up and this is a tribute to yesteryear and the Christmas she received her first 18″ doll. It is sentimental for me and I hope a fun little memory for my daughter!
I love the way these little ornaments are dolling up the tree!
I’m also enjoying these little ornaments on stockings! They are a great way to personalize any size of stockings, big or small!
Enjoy this personalized ornament for girl’s and dolls!
-Anna
**I received Pluffy Clay and clay tools for this project from Sculpey and Laura Kelly. A thanks to both of them for giving me a chance to try out this product. As always, all opinions are my own!

That’s a great idea, I love the technique and the adorable letters. Thanks for the detailed tutorial.
These are so stinkin’ adorable. I LOVE them and am so honored that you participated in this fun Linky Party!
These are just so sweet, and look great on the stockings and mini tree!
soooo cute! 🙂
Great idea and i love the colors.
Sorry, I’m commenting like crazy, but where did you get the fabric for the tree skirt? How much was it?
Emma, I love your comments! The fabric for the tree skirt is called confetti dot. JoAnn’s sells it. I’m not sure the price but I bought more yesterday because it is on sale this week! I always buy it in smallish amounts because usually doll sized projects are small! If you buy 1/3 yard or 1/2 yard for a small projects it helps save a little money, too!
Thanks! I’ll have to go check it out! I made all of these ornaments yesterday, including the fan flowers on your tree. I also have a really pretty orange fabric with gold confetti, only it is really thin.
It sounds like you’ve been having fun!! You fabric sounds lovely.:)
I love, love, love that use of clay!!