For Fashion Friday today I have a spin-off of last week’s project. (It’s here if you missed it.) Most of the time when I’m working on a project it leads to an idea for another project. I don’t always run with the next idea but this week I did!
Here are the highlights of this weeks project-
- Matching shirts!-Easy and inexpensive way to make them!
- Printable pattern for you!
- Glitter-The real stuff. Ooo, and making lovely custom colors!
As for the glitter, a reader, Rebecca, asked last week if glitter could be swapped out for sparkly paint and today we’ll make it with glitter! BTW, just love the questions, comments, and feedback so, thanks Rebecca and all of you wonderful readers!
Let’s get started!
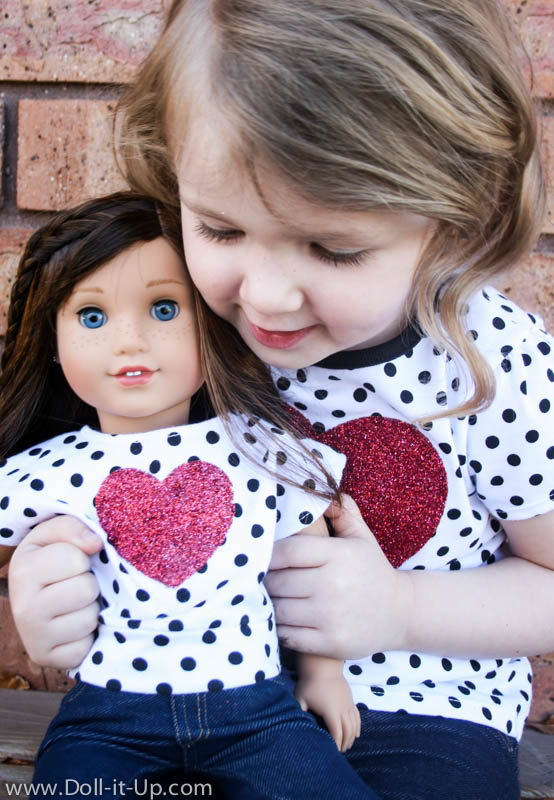
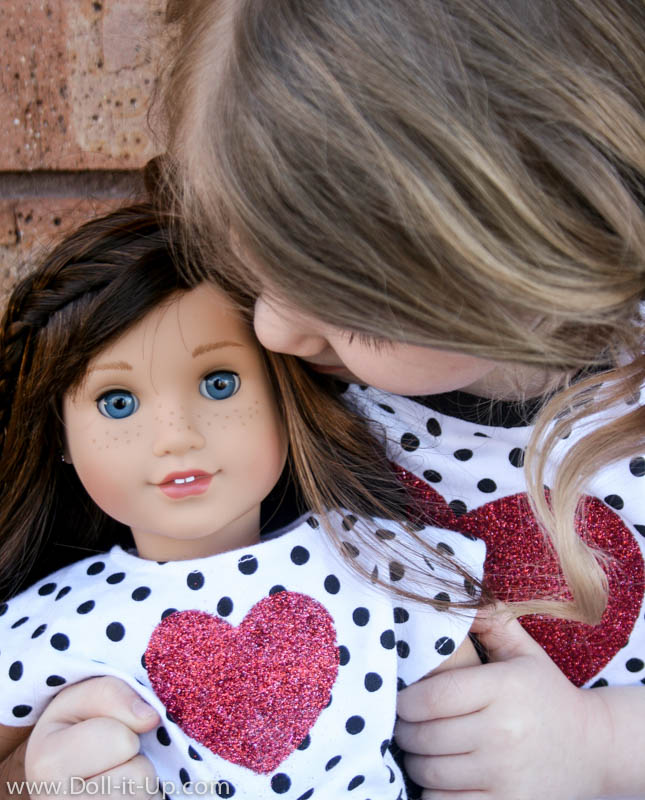
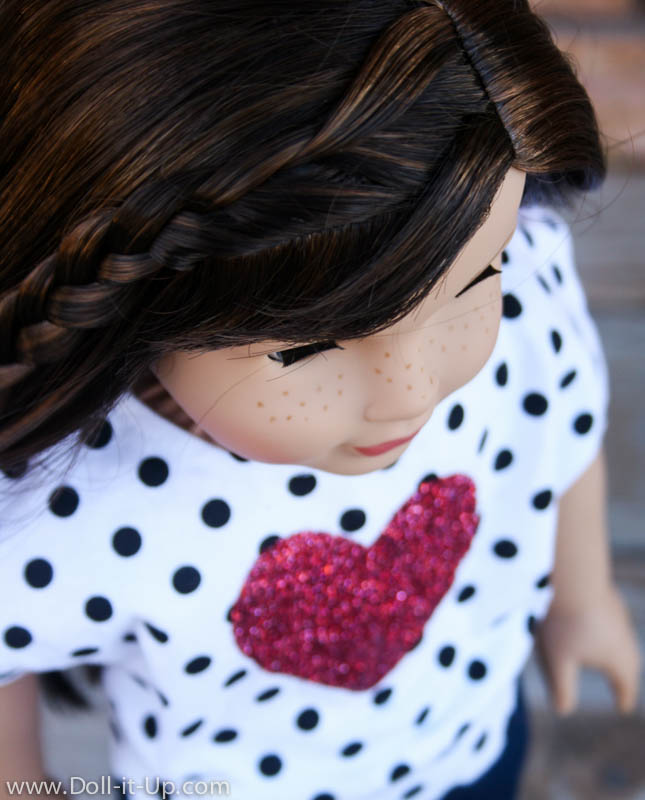
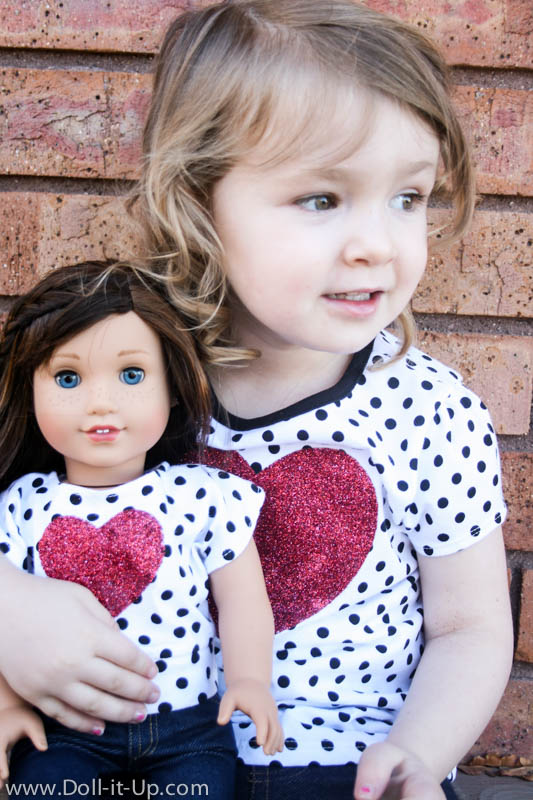
With Valentine’s Day coming up I wanted to make another sparkly heart shirt, like last week, but this time a matching girl and doll size set.
A while back I picked up one of these black and white t-shirts from Walmart for a project. I checked back this week and they still have them, so I grabbed another to use as fabric to sew into a matching doll shirt.
I love to scan the girl’s clothing section for inexpensive clothing that can be made into doll clothes and now I’m going to scan it for clothing I can use for matching girl and doll clothes! 🙂
When I went to add the heart, the fabric paint wasn’t working out like I had in mind, so I used fashion glitter instead. Fashion glitter is a very fine glitter and in combination with the glitter bond glue, is made to last through washings.
I’ve used this glitter on fabric and many other projects but not on shirts before.
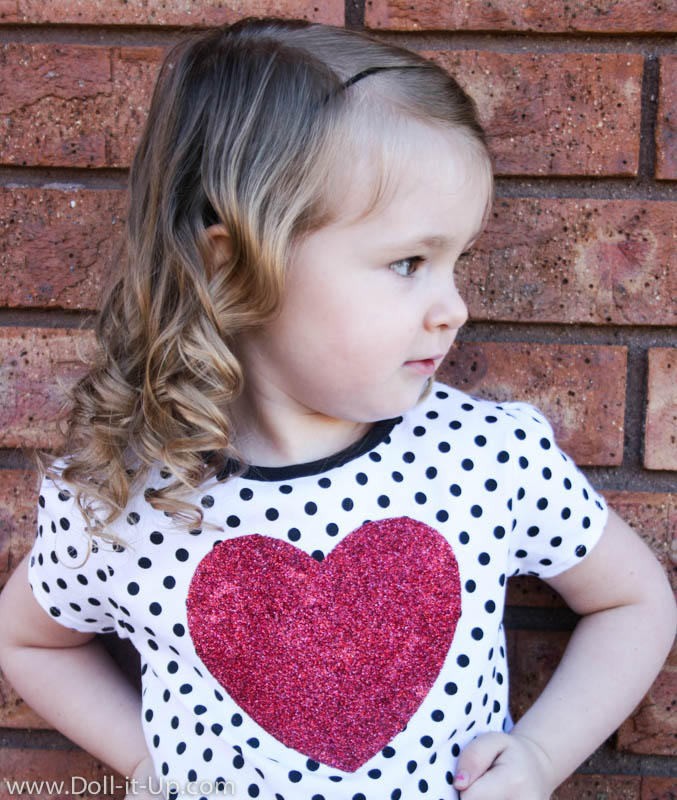
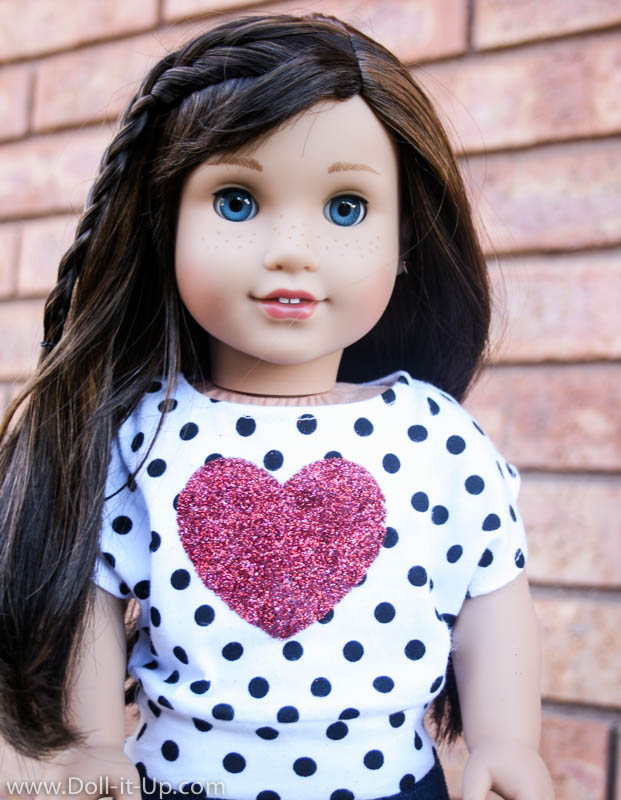
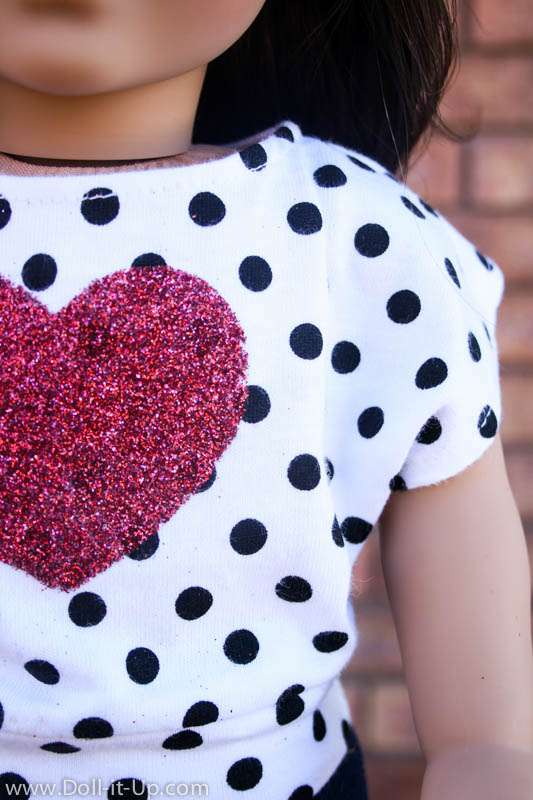
I mixed up my own combo of glitter colors and I love the effect! I am loving the sparkle, shimmer and shine of those colors combined!
This week I’m also sharing the pattern I used for the heart stencil on the doll shirt and the girl’s shirt.
You can adapt the idea to make any design you would like for the front of the shirt. If you want to try the heart, printing off the pattern will take some of the guess work out of it for you!
Let’s get started!
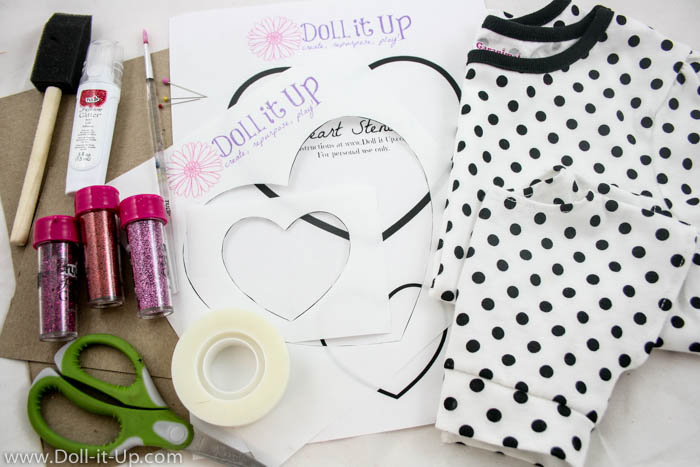
Supplies:
- girl’s shirt
- doll shirt
- Heart Stencils
- freezer paper
- tape
- cardboard
- fashion glitter
- glitter glue
- paint brush
- scissors
- pins
Glitter
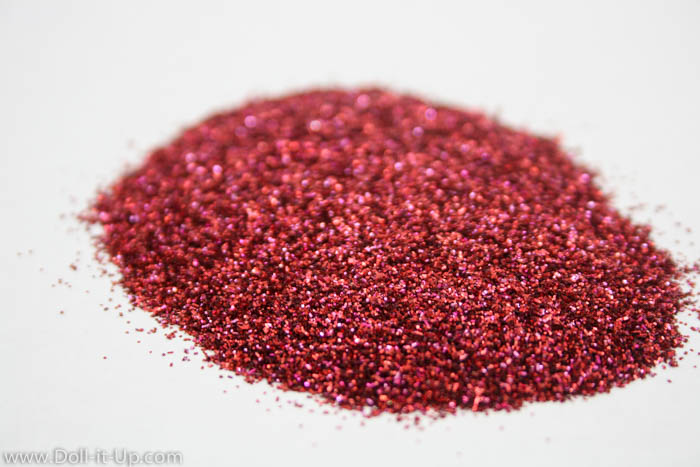
I stewed over this project longer than I should have because I couldn’t decide on a color. I started with the fabric paint and nothing excited me. Next I tried glitter. I really wanted a red heart but the red glitter was too bold. Finally I hit the sweet spot by making my own glitter mix.
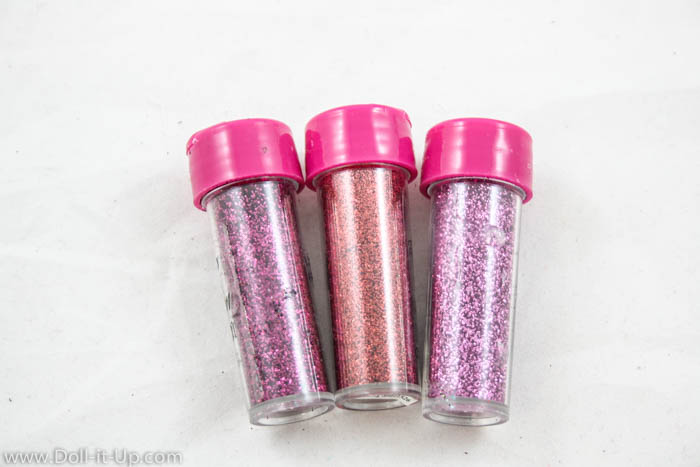
The perfect combo was to start with red and add a little light pink and a little dark pink glitter.
Mix it all together and they created an awesome shade of red!
Mixing glitter opens up so many options with color. If you want to tweak a color you have in mind, go for it with a sprinkle of this and a sprinkle of that.
Creating a Stencil
The sky’s the limit on your stencil design! If you have a design in mind visit this tutorial where I talk in more detail how to make your own.
This week I included the heart patterns I used for both the girl’s shirt and the doll shirt. The heart for the girl’s shirt was sized for 4T. If you want to make it for a different size shirt just reduce or enlarge the girl’s heart on a copy machine.
To attach the stencil use the same instructions in the tutorial here.
Make it Sparkle!
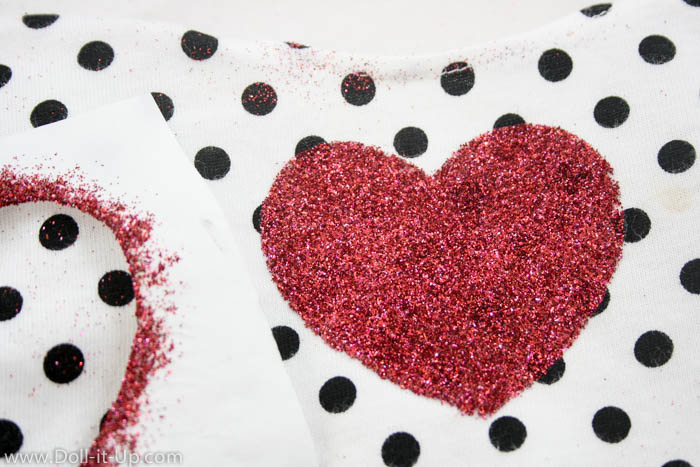
After the stencil is attached to the shirt, place a piece of cardboard inside the shirt between the layers. Paint the opening with fashion glitter bond glue. Take care to not get glue outside of the freezer paper pattern or you will have glitter in places you weren’t planning on! 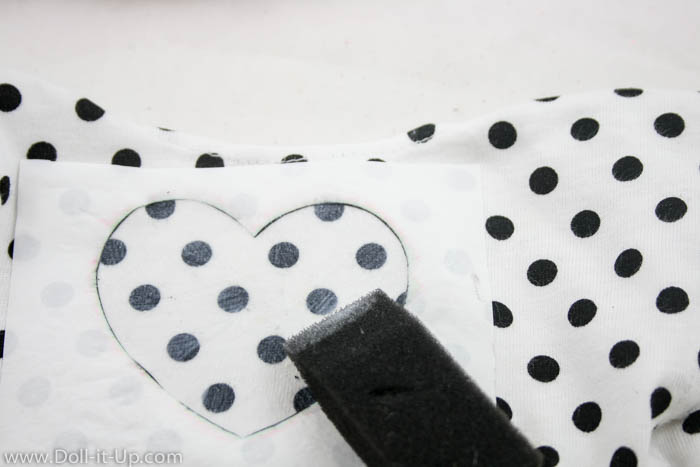
Sprinkle glitter generously over the glue.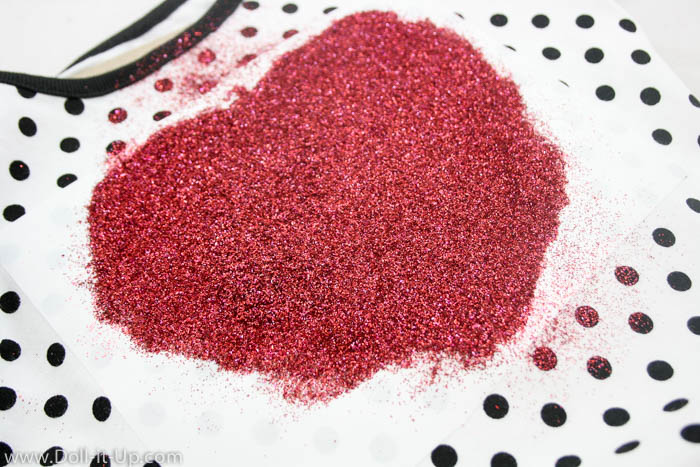
Carefully dump off excess glitter onto a sheet of paper.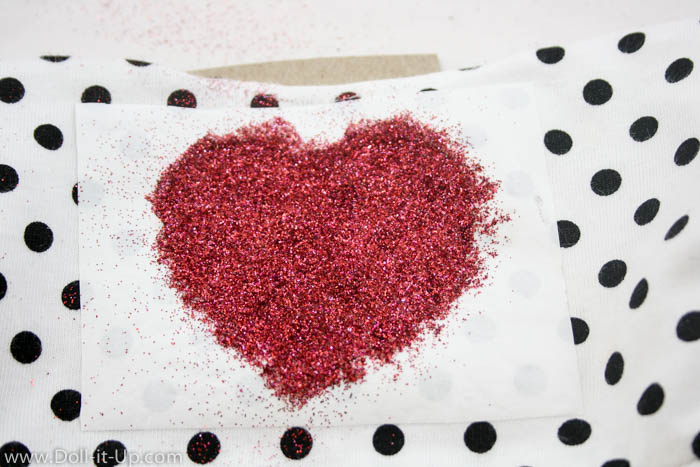
While the glue is still wet carefully peel off the pattern.
Set it aside in a flat spot to dry completely.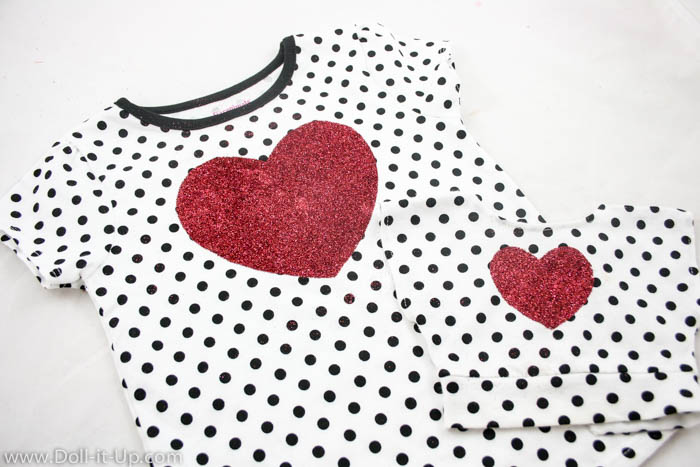
When they are dry, shake off extra glitter.
This glitter and glue combo is supposed to stay on the shirt through wearing and washing. I’ll have to give you an update on that after we’ve lived with the shirt awhile. So far the glitter shed has been minimal.
It was fun to adapt the project I made last week to use glitter and make a matching shirt set for Valentine’s Day!
I love the sparkly glittery heart!
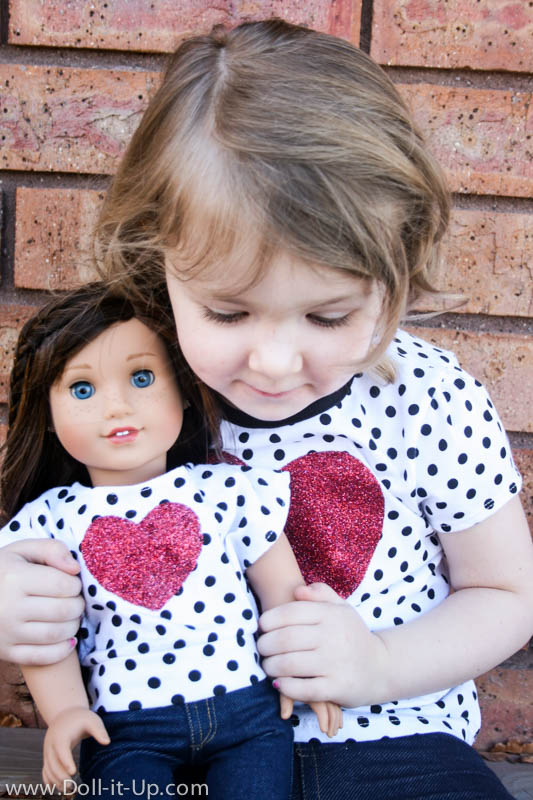
My daughter will wear this fun shirt well past Valentine’s.
This little girl is growing each day so realistically I’ll be lucky if she wears it through the summer!
As for the doll size shirt we’ll be able to enjoy it much longer. I’m sure it will also be a cute memento of when my daughter was 3. 🙂
As my daughter is getting older it has been fun to come up with easy ways to make matching outfits with her doll.
I have a few more ideas in the works that I can’t wait to share!
I hope you enjoy the adaptability of projects like this. Whether you want to make matching shirts or one just for your doll, have fun creating!
-Anna



Thanks for answering my question! I don’t have that type of glitter or glue, otherwise I would make it!
Rebecca, don’t worry about using the same glitter and glue if you aren’t planning on washing the shirt. This is the way to make it the most permanent. Sometimes it doesn’t matter and you don’t need to have it so durable. Experiment and use what you have!
Oh this is such a cute shirt! I will defiantly try to make this ( though crafts like this don’t usually turn out the way I plan 😉 ). I love the pictures, and your daughter is adorable!
-Seven Little Daisies
Thanks and good luck on the project! I know I’ve had plenty of projects that don’t turn out. I hope this one goes smoothly for you! If you are being creative and having fun then your crafting is successful in my book!
She seems to love Grace so much! Great pictures of your daughter and the new doll!
Sophia, It’s true, she has a soft spot for dolls!
Awesome project! I love the red glitter against the black and white polka dots. Your daughter is precious!
Thanks Farrah! After going back and forth I’m so glad I went with the red!
These little ones are precious and I know I’ll miss these days when they are gone! That thought helps me to enjoy today more!