Last year I crafted up a storm for the holidays and didn’t have time to write about all of the projects. I will be sharing them here and there over the next little while.
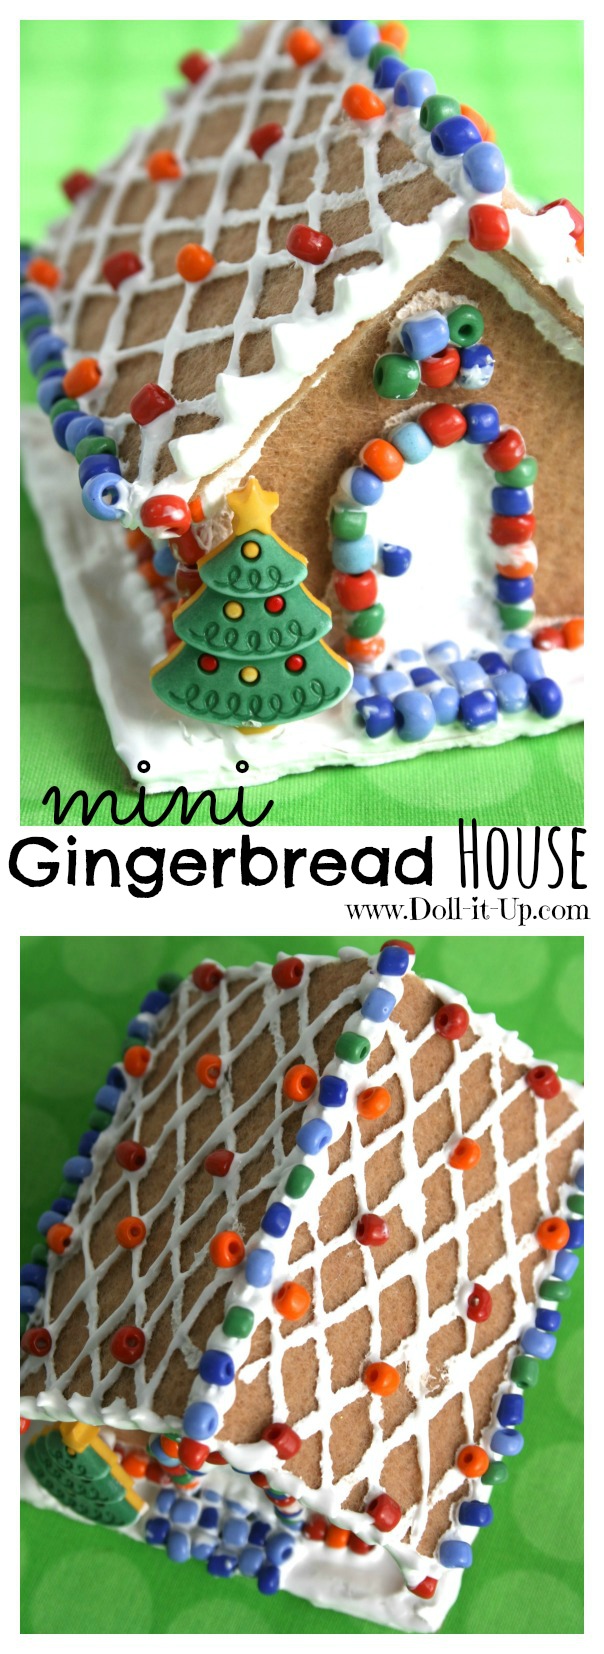
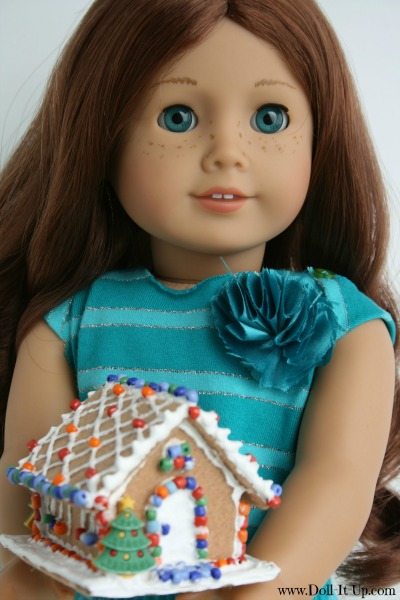
Today’s project was a lot of fun to make and unlike the edible version, we can get it out every year! This mini gingerbread house is inspired by my love/fascination of gingerbread houses. Maybe the part about having a crush on gingerbread houses is a topic for another day, but let’s just say it was time to make one for our dolls!
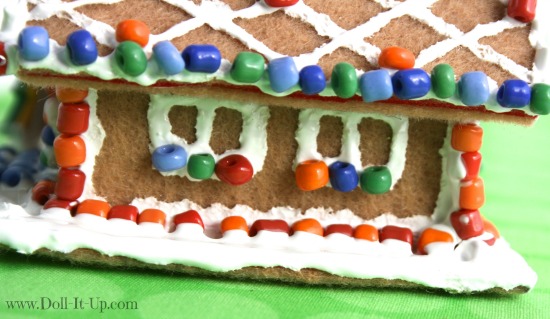
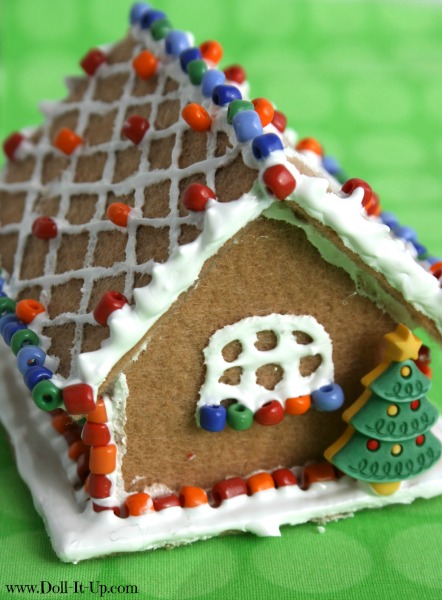
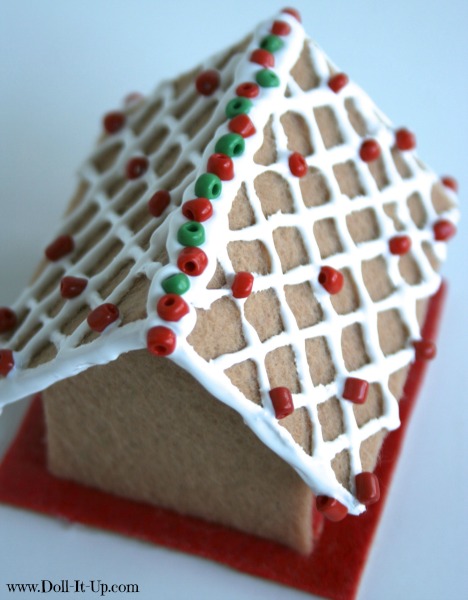
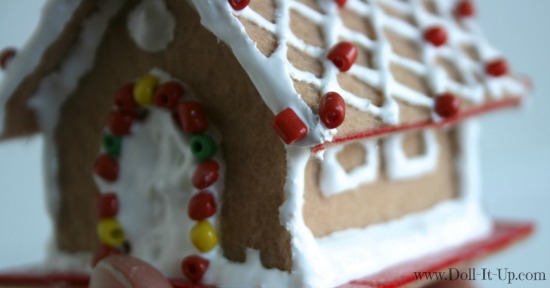
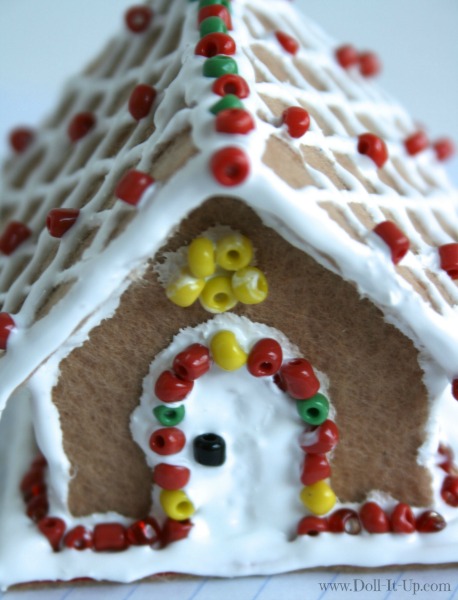
Let’s take a closer look. Keeping doll play in mind, this gingerbread house is durable, detailed…
playable,…
adorable,
and perfectly doll sized!
This project is made so easy with Phoomph. Phoomph has adhesive on both sides that sticks to fabric. It makes fabric stiffer and easier to cut. It is great for making dimensional things out of fabric. That is how simple felt, backed with Phoomph, can be built into a gingerbread house!
If you don’t have Phoomph you could try using a thin cardboard in it’s place and an adhesive to attach the felt. Get creative, this project is very adaptable!
Let’s get started!
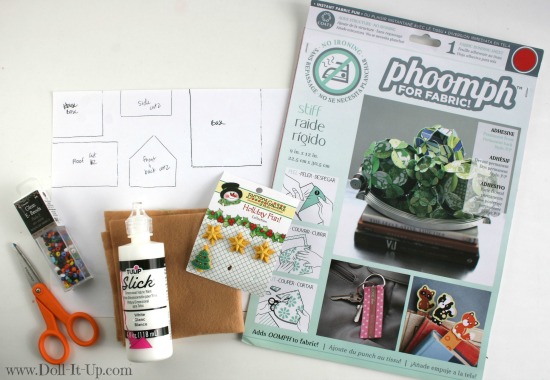
Supplies:
- Gingerbread House Pattern Printable
- Phoomph
- scissors
- beads
- dimensional fabric paint
- tan felt
- Christmas tree buttons (mine are from Buttons Galore)
- glue
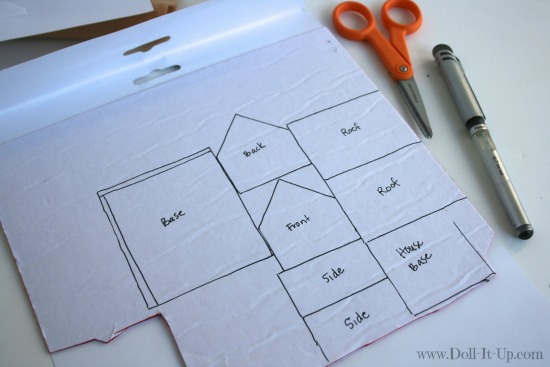
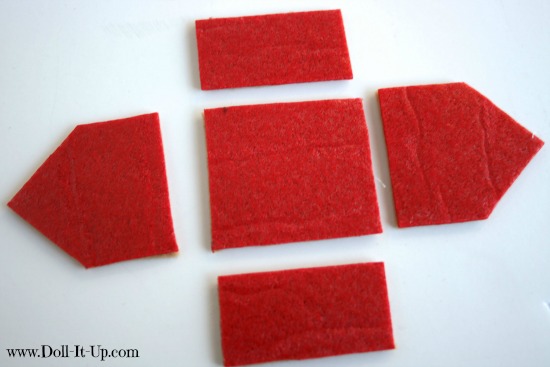
Print off the pattern, cut out the pieces and trace them onto the paper backing on the Phoomph. Some of the pieces are marketed “cut 2”, so don’t forget to trace them twice. I traced mine right next to each other, so I didn’t waist the Phoomph.
Then I was distracted and messed up the next step. Don’t be like me and cut the pieces out individually! It will be quicker to just cut around the entire mass, leaving the Phoomph all connected.
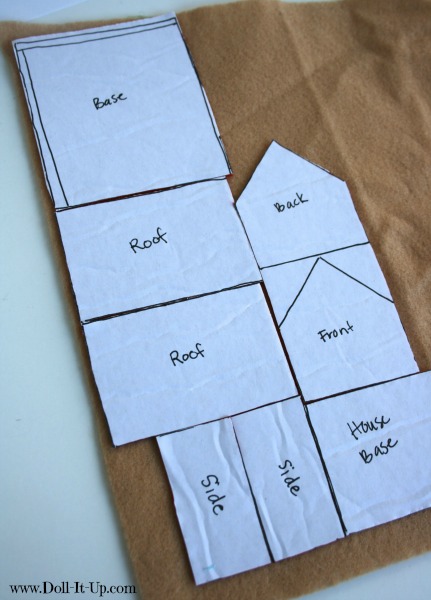
Peel off the paper backing on the blank side of the Phoomph. Press it to a piece of felt.
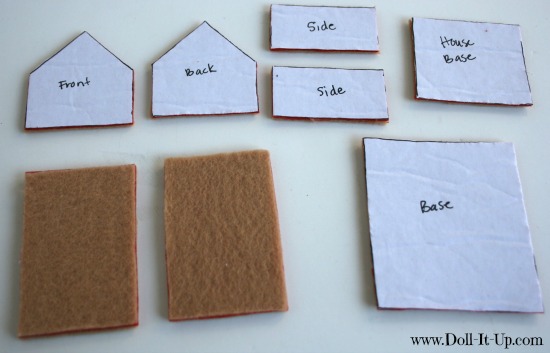
Cut out each piece.
On the “roof” piece, peel off the second paper backing and press it to a piece of felt. These are the only pieces that are double-sided with felt.
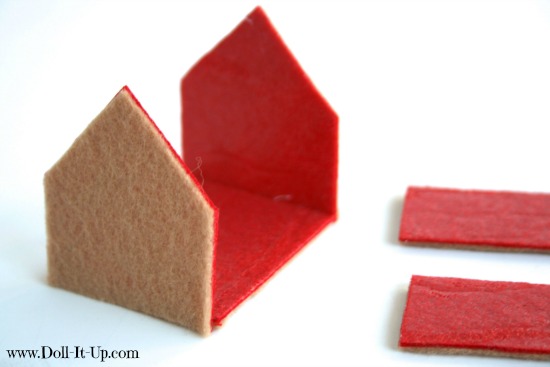
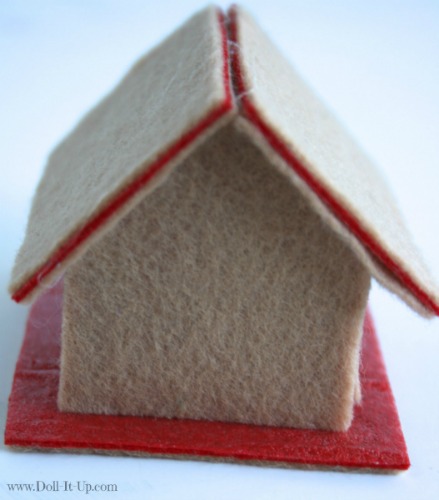
Lay out the basic structure of the house and take off the paper backing on each piece.
I need to mention that as I attached the pieces of the house I used minimal glue, because I was relying on the stickiness of the Phoomph. It held nicely when it was all together but as I was placing individual pieces sometimes I would accidentally pull off a piece I had already placed.
I think it would have been easier to just glue as you go along.
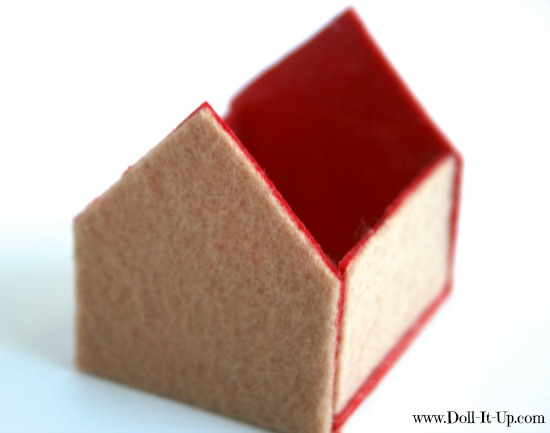
Connect all the basic walls.
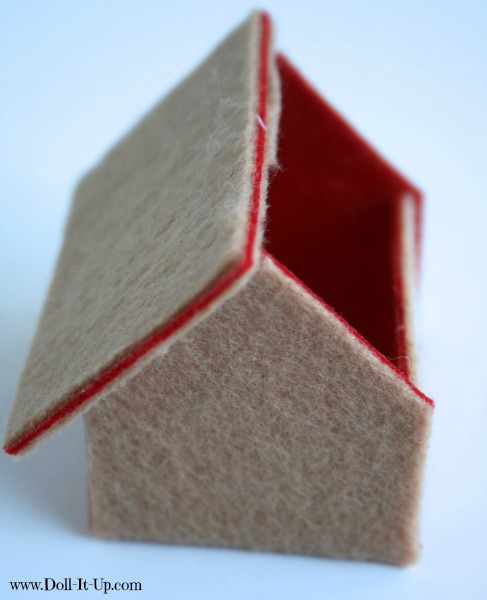
To attach the roof, place glue along the top edges of the house and set the roof in place.
After both sides of the roof are placed, run a bead of glue down the roof line.
Now let’s decorate!
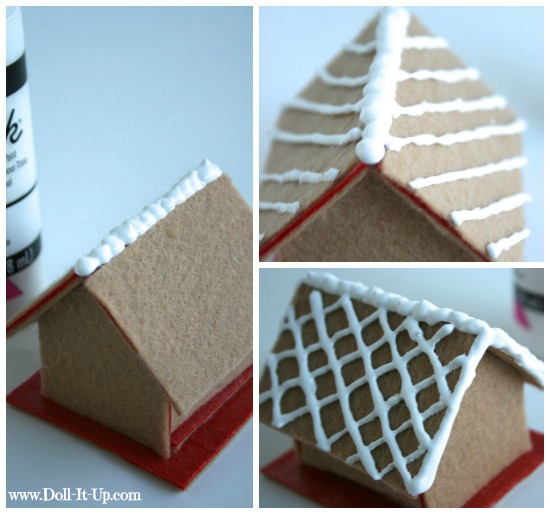
For the icing, use dimensional fabric paint. Work on the roof first.
There are many ways to decorate a gingerbread house, so add your own personal touch!
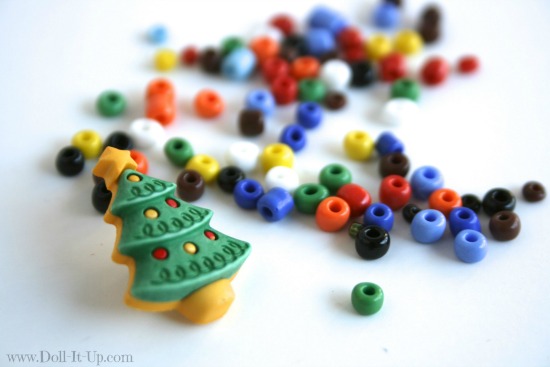
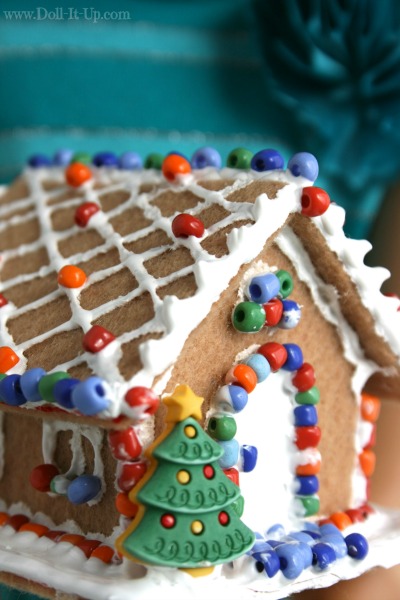
For the “candies” I’m using beads and a button.
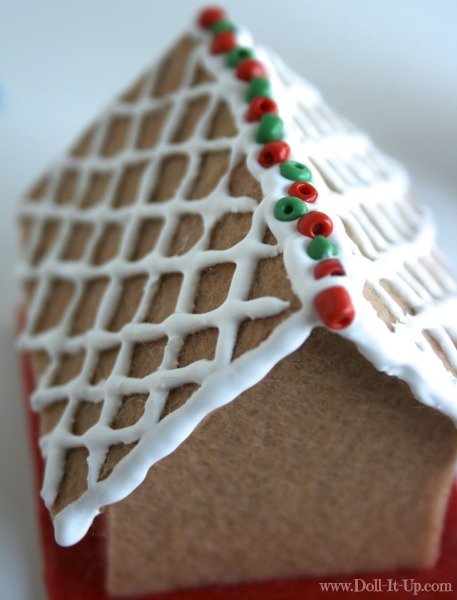
After the “icing” sets up a few minutes, place the “candies”.
If you put the beads on too soon, the paint will be too runny and the beads will fall off. Place one bead to test out the readiness.
After the roof is decorated, set it aside to dry 4 hours. It is a lot easier to decorate the rest of the house if the roof is dry.
Add icing and candy details to the rest of the house.
Lastly add “icing snow” to the ground…
…a path and a button tree.
Allow it to dry 4 hours and it’s ready for play!
I hope you enjoy this doll sized, adorable, detailed, playable, and durable little gingerbread house!
It’s easy to make and sure to last from year to year!
Anna
Thanks to Coats and Clark and Laura Kelly for the Phoomph to create with! As always all ideas and opinions are my own!


super cute!
Thank you Morgane!
I wish I had seen it earlier….might have save me a lot of frustration….
Oh man! We all have those days!
The pattern is cut off on the edges
I ran the pattern up against the edge of the paper. That makes the edge of the paper the edge of the pattern. I hope that makes sense. Hopefully it works just fine. If there are problems printing it I can add the late edges.
I LOVE it! So creative Anna!
Thanks Rebecca!
WHAT?! You made that? When I first saw it I just thought it was a mini gingerbread house. That is truly amazing. Super job!
Thank you!:)
Anna- would fabric puffy paint work on cardboard too???????????????
Yes, fabric puffy paint works on paper or cardboard!
Thanks! I looked on Amazon for puffy paint , and all i could find was fabric kind, so when my mom gets home, I’ll ask her if i can buy some!!!!:)LOL