As I sat down to write about the dollhouses we made I realized I have a lot to say. I wanted to tell you how they came to be, how we picked them out, what it took to refinish them, and details about the look of the interior and exterior. I didn’t want to just share the pretty pictures but I wanted to share the process with you! Since I’ve refinished a handful of shelves to make into dollhouses I also wanted to share the kind of details that would help you along the way if you are thinking of making a dollhouse. With those thoughts in mind I have decided to divide up this journey into a little series. I think this format will be a fun way to share the experience and an easier way to follow along. Today we will start the journey and through the next few days you will see the transformation of these shelves into dollhouses! Join me for the adventure! ***
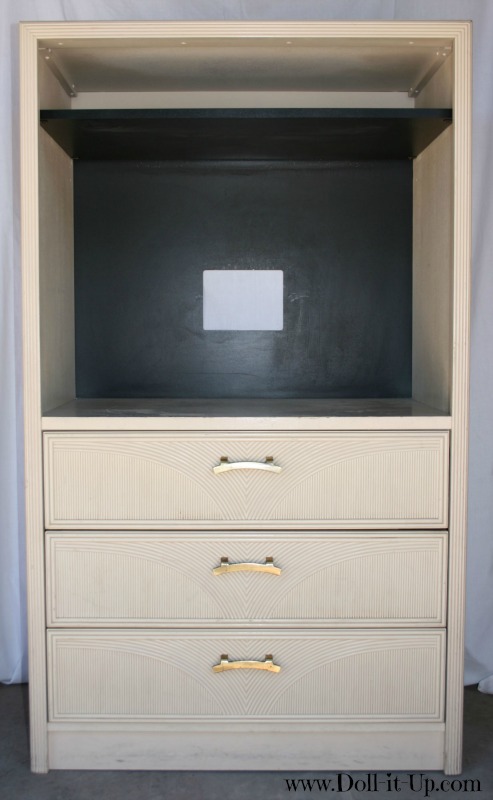
Last fall I came upon a set of shelves that I wanted to refinish into dollhouses for Christmas. They were armoire cabinets from a hotel. I stumbled on an army of them at a thrift store. I liked the idea of refinishing several shelves together because they were exactly the same. The second and third would be a chinch after going through the process with the first. Things are always easier and quicker the second time.
I brought 3 home for $25 each. In the end I made 2 of the dollhouses for my nieces. As for the 3rd, my 14 year niece refinished it for her little sister.
We set aside some space for our “Santa’s workshop” in the garage. My niece and I worked on the shelves a little bit at a time after school and on weekends. It was an exciting day when we finished them up, just in time for Christmas!
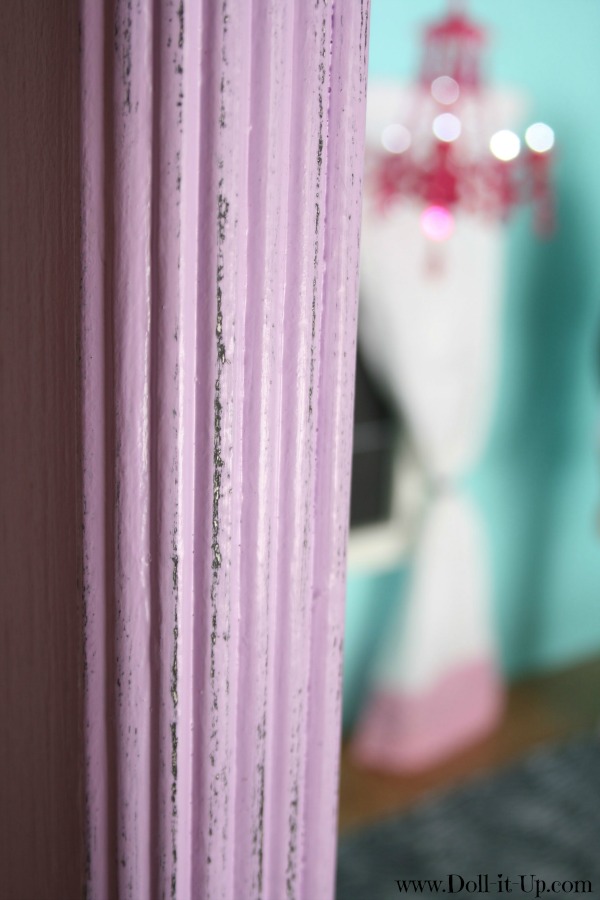
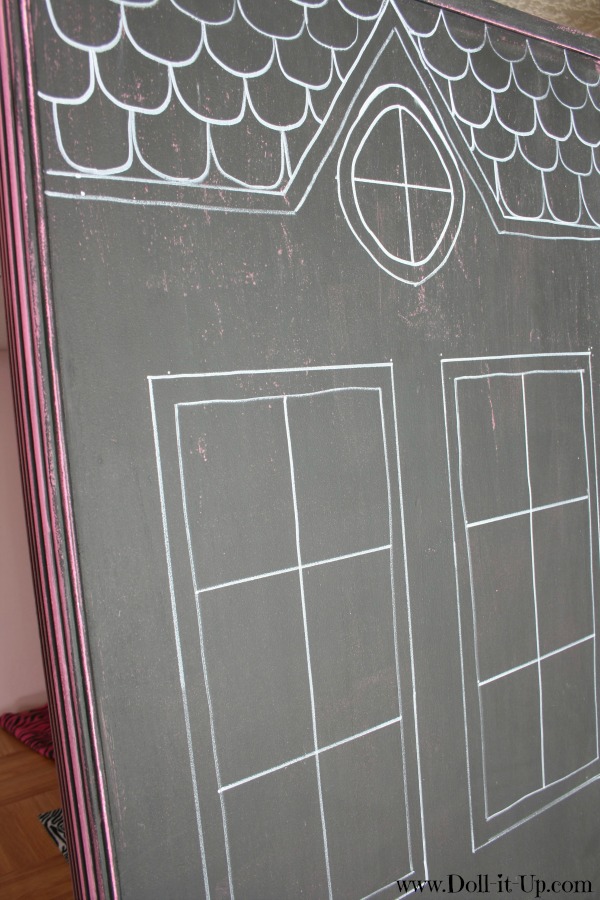
All three houses have the same basic structure but we personalized the colors and finishes for each girl.
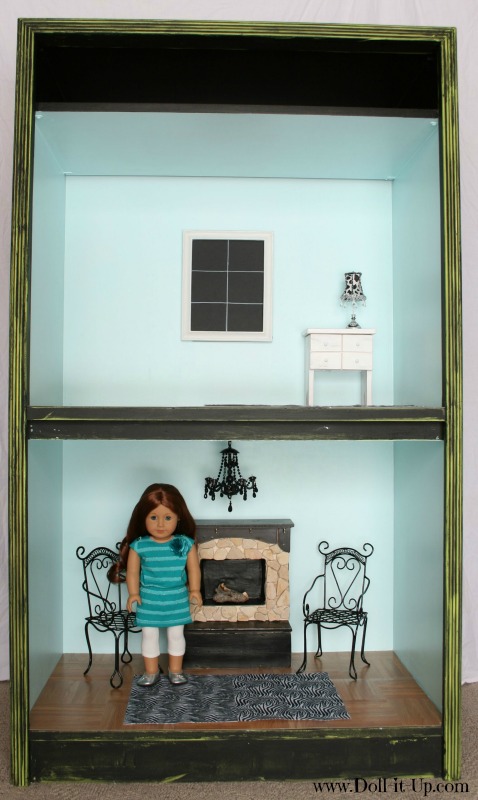
Over the next few days we will take a journey to see the transformation of this shelf.
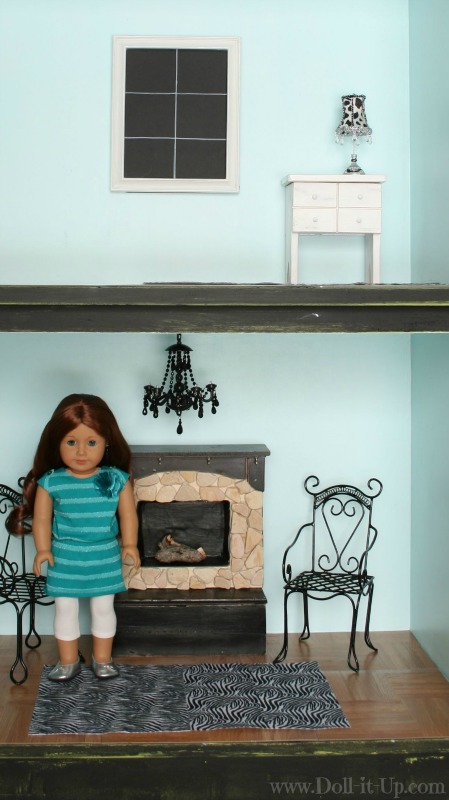
Three shelves into three dollhouses. The results are delightful and fun!
There will be tips, advice and details you won’t want to miss if you’ve ever thought about making a dollhouse for your 18″ dolls! I am so excited to share the journey of this project with you. It is a labor of love.
-Anna


Let me just say: WOW! This is just amazing. Can’t wait to see the part 2!!
So glad you like it! I’m excited to share the process from start to finish!
Cute Anna!
this is a cool idea and a nice family project.
your fireplace looks perfect in there.
Thank you! Since these were Christmas gifts for my nieces I didn’t fully decorate them but I had to put a few things in there for pictures!
Cannot wait!
Cool!
I cant wait for the next one
Thanks! Links for Part 2 and Part 3 are at the bottom of the post but I still need to finish Part 4! 🙂