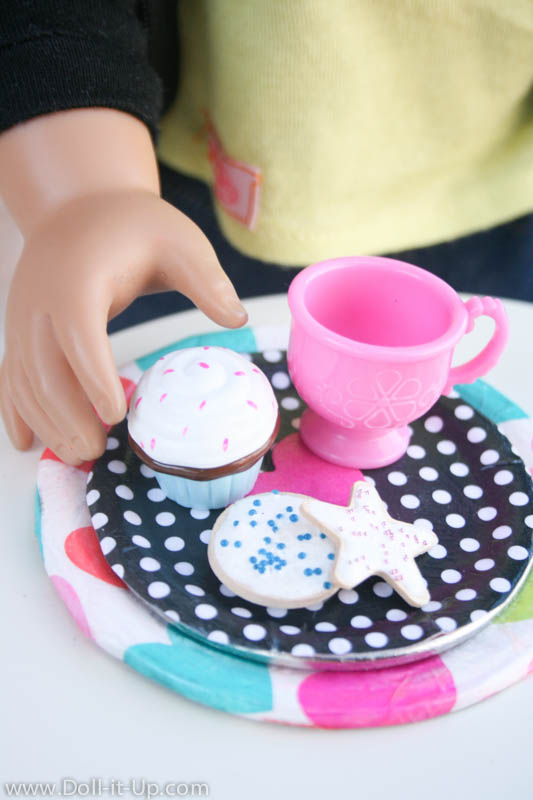
I love quick and easy projects for dolls. Something you can whip out and enjoy. One project from Doll It Up that has been popular on Pinterest lately is an easy doll plate made with a canning lid and tissue paper. (The project is here if you missed it!)
It is fantastically fast and easy but sometimes I feel limited by the tissue paper I have on hand. I decided to work the project and experiment with other paper.
I found patterned paper to be my friend.

I love it because you can buy patterned paper individually from a craft store or steal it from your own paper crafting stash! This keeps the project inexpensive!
Another bonus is that you don’t have to paint the lids first because the paper is not see-through like tissue paper.
It’s fun to have options creating projects for dolls, so you can use what you have on hand and what works for you!
Does this mean I’m throwing out the tissue paper version? Oh, no, in fact I made a mix of both plates in different sizes. I needed to use the heart tissue paper and I threw in some fun colors on hand.

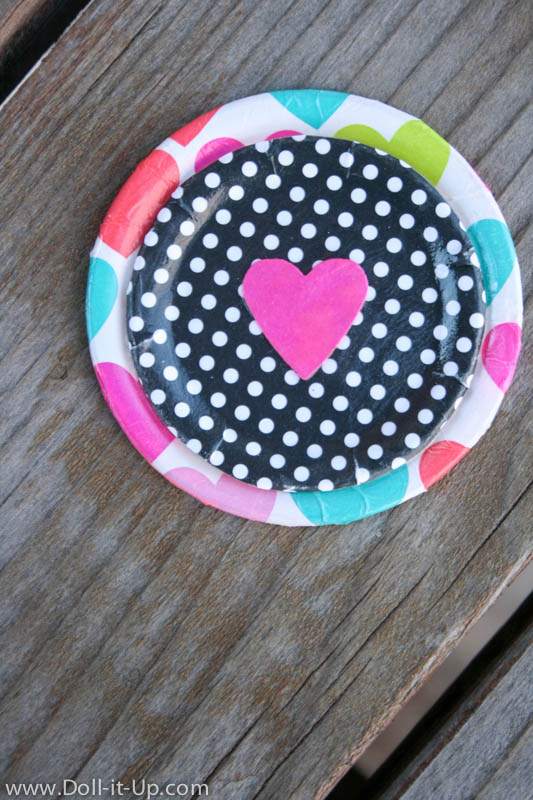
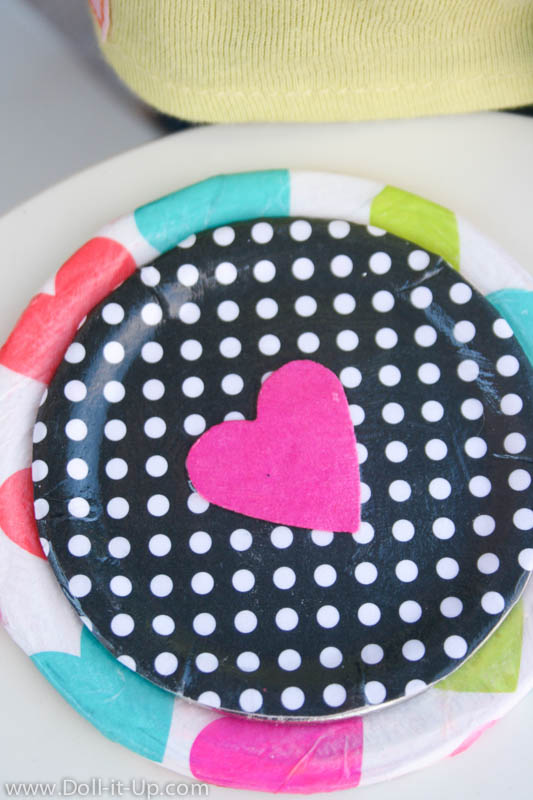
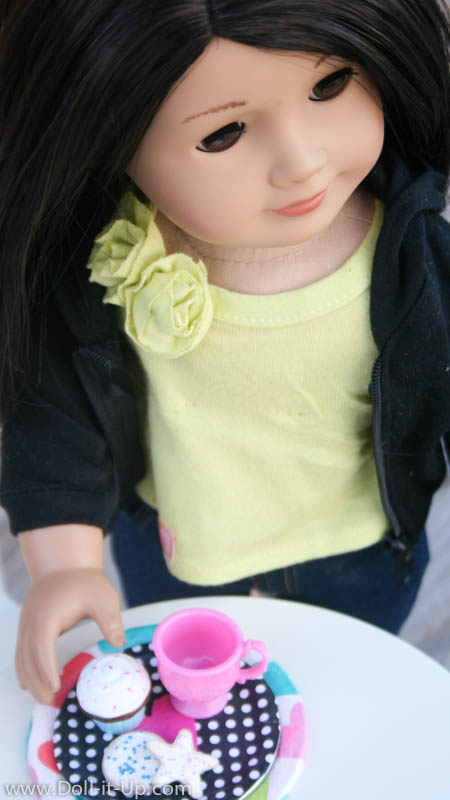
One thing that’s fun about working with two sizes of canning lids is that you can stack them together and the larger “plates” peek out and look like chargers (decorative plates).
Sometimes another version of a project just opens up the possibilities!
Let’s get started!
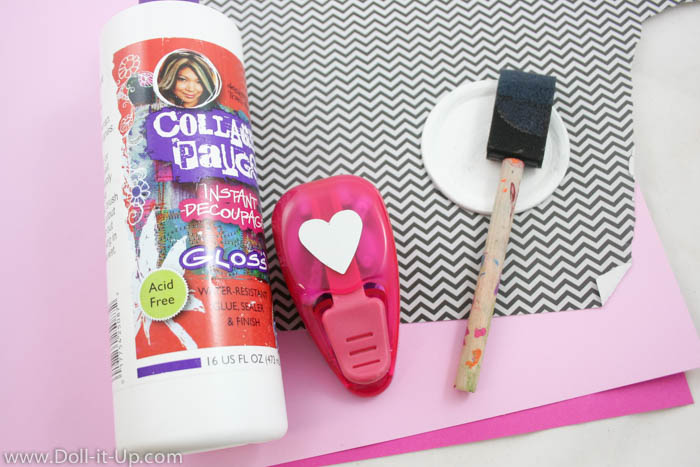
Supplies:
- patterned paper
- canning jar lids in wide and regular (you can purchase these next to the canning supplies in grocery stores)
- paint brush
- decoupage like Collage Pauge or Mod Podge
- pencil
- scissors
- heart paper punch (optional)
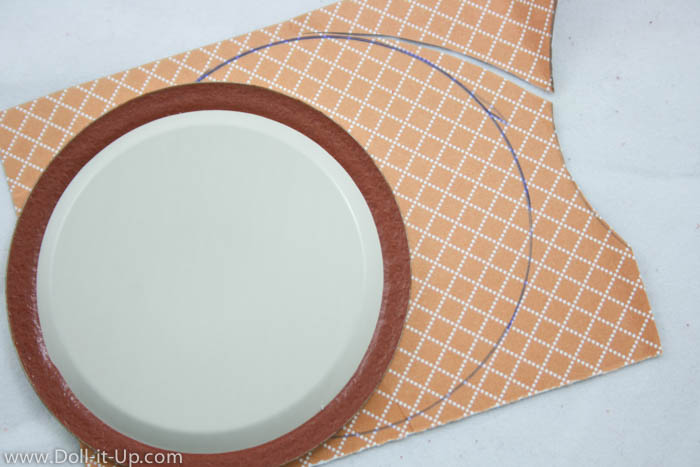
Trace the canning lids onto the back of your patterned paper and cut out. Just so you aren’t confused by the photos, my patterned paper is orange on one side and black and white on the other side.
Spread the decoupage on the canning lid and the back of the patterned paper. It is important to put it on the pattern paper because it will soften the paper and help it smoothly mold to the lid shape.
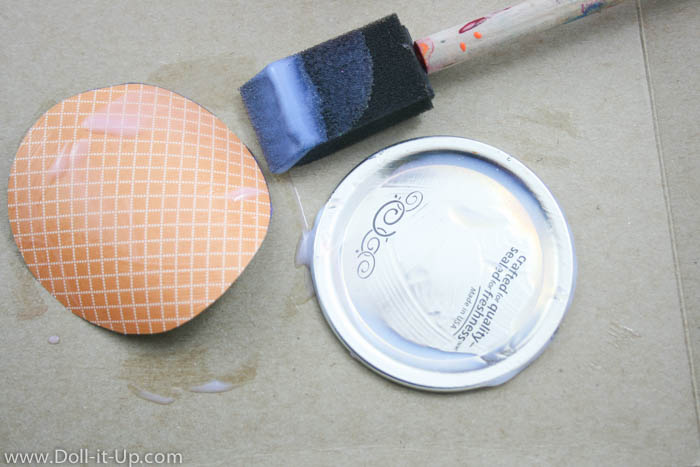
Center the paper on the lid. Start pressing and smoothing from the center out. Mold the paper into the indentation around the rim and up and over the rim. Don’t force or rub the paper. It will continue to soften from the adhesive and may tear or rub off.
Press and curve the edge of the paper over the edge of the lid.
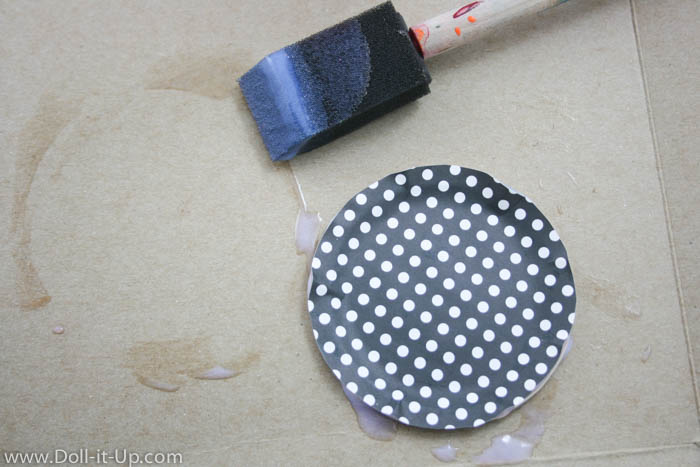
When the paper is in place add a top coat of decoupage.
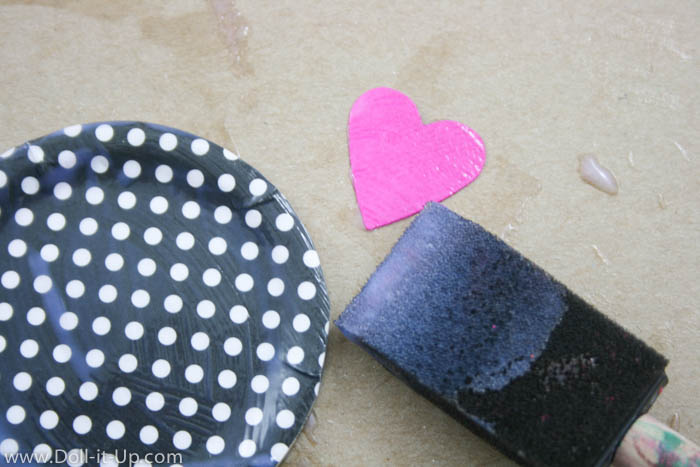
For the smaller plates I added a cut-out to decorate the centers. I used a heart paper punch, left over from my paper crafting days. You could also draw your own, trace or print out a shape.
To attach it, paint decoupage to the back of the cutout, and then add a top coat after it’s in place.
Set it aside to completely dry.

Make the plates in two sizes and stack them for an extra fun look!
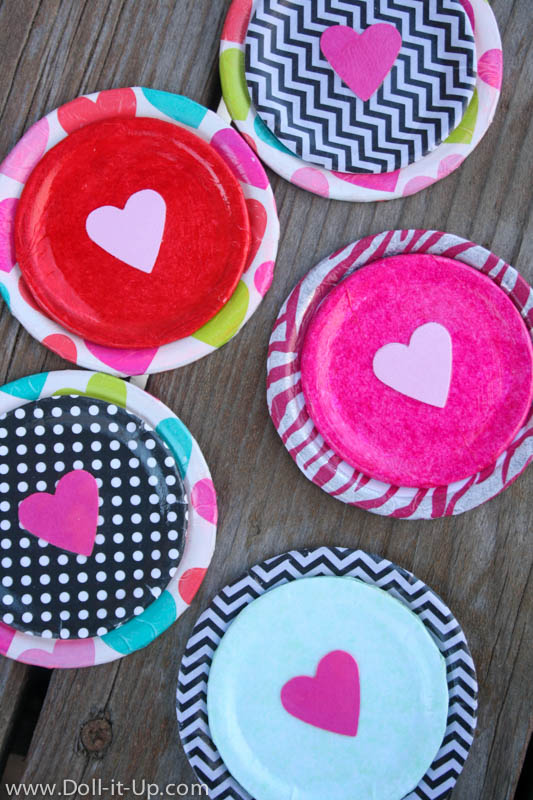
I was going to make a matching set of 4 but I gave in to my need for color and made a mix and match set of fun of colors and patterns.
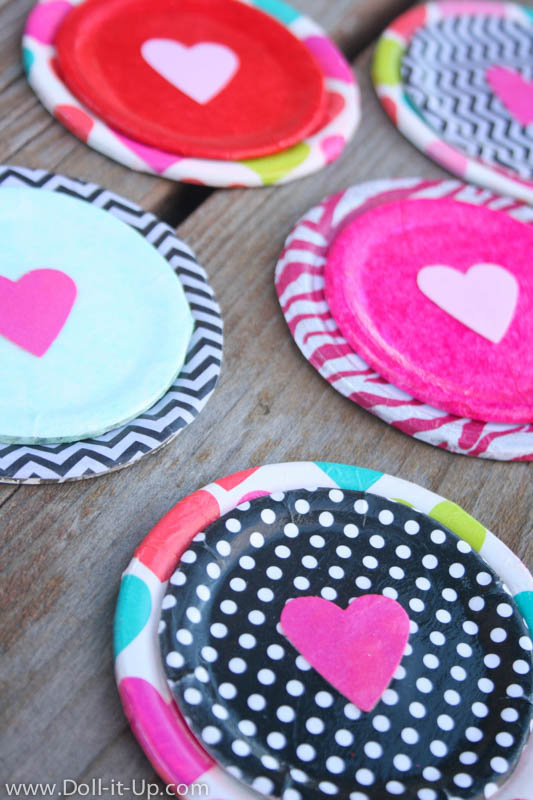
Upcoming Valentines Day definitely influenced my choice of the hearts theme but we also love hearts any time of year around here, so it will get plenty of use!
If you like themed doll food and dishes for different holidays this project would be fun adapted for any time of year!
I hope you enjoy this easy peasy adaptation of a fun craft for dolls! I am always excited to find new ways to do something especially when it involves something I have on hand!
Keep crafting for dolls!
-Anna
What an awesome idea! I never would’ve thought to transform old canning lids into party plates. Brilliant and thanks for sharing! 🙂
Thank you Farrah! The canning lid gives the plate the perfect shape!
This is so cute! Would it work without mod podge?
Yes, I bet you could use Elmer’s glue! If you try it let me know!
I love this! Looks great!
Thanks Nonna!
Be careful handling the lids. They are sharp on the edges. I have cut myself a couple of times on them and pretty deep. After covering the edges with paper and Mod Podge they shouldn’t be sharp anymore. I would just be careful especially if a child is helping.
Thanks Sharon for the warning! The sides are blunt on the canning jar lids I have. It’s good to make sure the ones you have are safe before you use them for a craft!
Please use canning jar lids for this craft. This is a purchased item. They have smooth edges. Please do not confuse this with a lid from a tin can!!!! They are very different, with the latter being very dangerous for children even when covered with paper.
Sheron, Thanks for clarifying, I never thought of that confusion! Yes, this craft calls for a lid you buy for canning jars. A tin can lid would be sharp and dangerous!
When you say “patterned paper” are you using regular wrapping paper?
The patterned paper I am using is lightweight paper for scrapbooking. Wrapping paper may work wonderfully, give it a try!
Do you put colored paper on the back side of the lid, too?