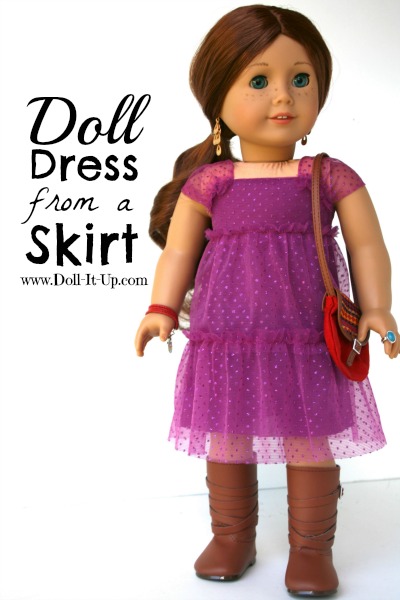
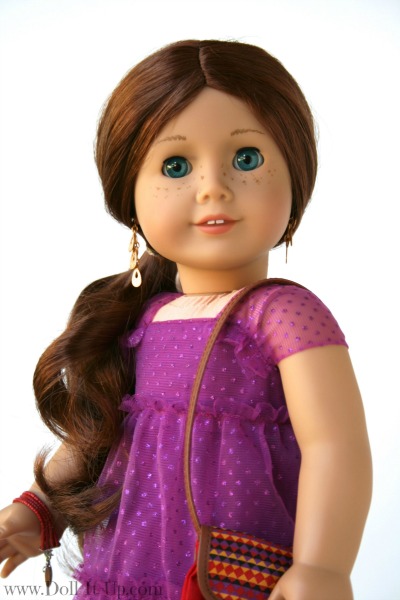
Yesterday I whipped up another little doll dress from a skirt. It is so quick and easy to sew using repurposed clothing!
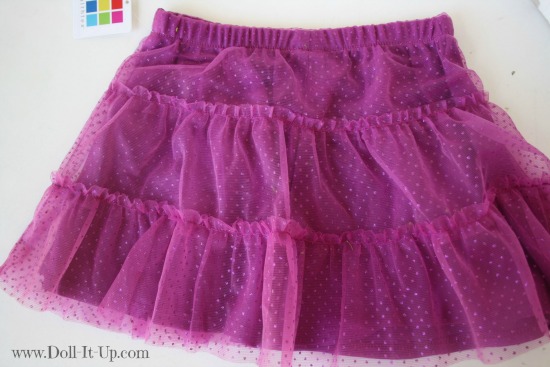
I have a little stash of skirts just for this purpose. While shopping I keep an eye out for skirts with a great price, that have nice details and are a fun color. This skirt fits all three!
I came across this one at Walmart for $5. One skirt will make two doll dresses, one to keep and one to share with a friend!
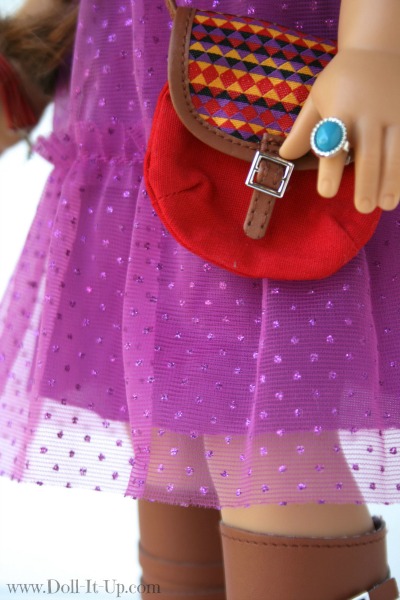
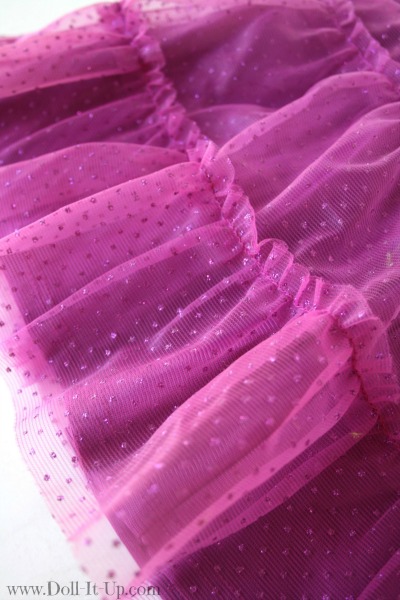
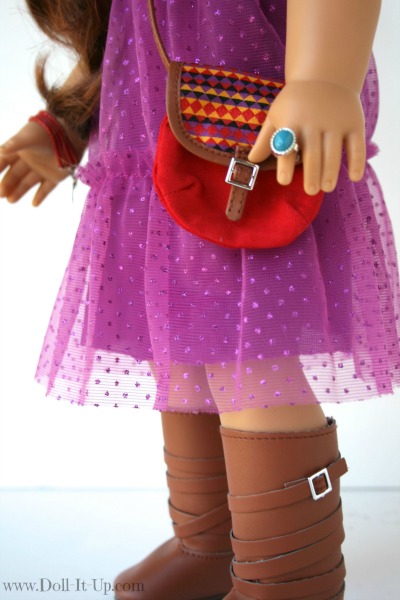
As for the details, that is what caught my eye when I first came across this little skirt! The sparkly dots are a perfect tiny pattern for dolls.
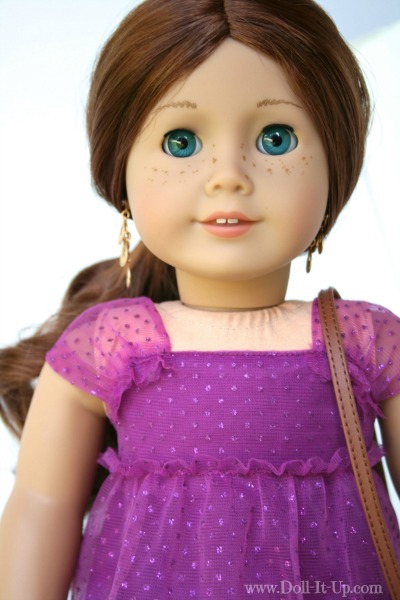
I love the texture of the lightweight mesh.
I have to say I’m also a sucker for ruffles. Do you think this is a passing phase? 🙂
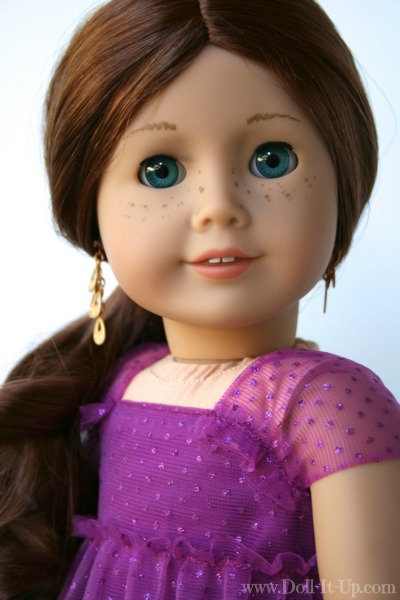
Last but not least the color of this skirt is just fun! When I sat down to take the pictures I was surprised to see how much I liked it with Saige’s accessories. I can’t wait to try it with other accessories!
A few months back I showed you how to make a doll dress from a skirt. This dress is the same basic design. This time around I decided to use a different sleeve. I also made a few changes because of a few different characteristics of this skirt. If you would like to see how to put this little doll dress together from a skirt come with me!
Here is the little skirt I started with. It is size 3T. I don’t have a hard fast rule of thumb about skirt sizes for doll dresses. I like to wrap it around the doll and ask a couple of questions to get an idea of how it might fit.
- Does half of the skirt, from side seam to side seam, fit all the way around the doll with room for the seam allowance?
- If there are ruffles, do they line up well with the proportions of the doll?
With this skirt, the top panel fits well for the bodice. The first ruffle marks the high waistline on the doll dress.
I also like to work with fabric that is forgiving and doesn’t unravel or fray. What can I say, it’s easier! 🙂
This skirt has two layers. The top layer is sheer and the bottom layer is a lining. I need to make a few adjustments and include both layers in the doll dress.
I didn’t take pictures of this first leg of the project because I was sewing in the wee hours of the morning, while the children slept. (How else do mothers get anything done?:)) I planned on making basically the same dress as my previous tutorial. When it was all said and done I realized there are a couple of small differences I wanted to share. I hope you are able to follow! Don’t miss the other tutorial and the loads of pictures and explanations that accompany it! The basics are very similar. If you refer to it, I’m hoping this explanation makes sense!
To get started I followed the basic method I used here. I used the top sheer fabric to get a good fit and the placement of the armholes. I was concerned the stretchy lining might mess up the placement of the armholes on the less stretchy sheer fabric. I then laid the sheer fabric on the lining, pinned it, to keep it from sliding, and cut the same shape out of the lining.
Once the two layers were cut, I sewed them together just like I added the lining to the bodice in the previous tutorial. Of course the lining in this dress is about the same length as the dress since the top layer is sheer.
I took extra care with the seam along the neckline, trimming the seam allowance and turning it right-side-out to see how visible it was through the sheer fabric.
Up to this point you can see the two doll dresses are put together in a very similar way.
Where I really made a change from the other tutorial was with the sleeves. I needed a different sleeve to highlight the sparkly and sheer fabric. The sleeve I decided to use is super quick and easy and another favorite shortcut when working without a pattern.
When the sun came up, out came my camera. I took some shots of putting the sleeves together so you can make them with me!
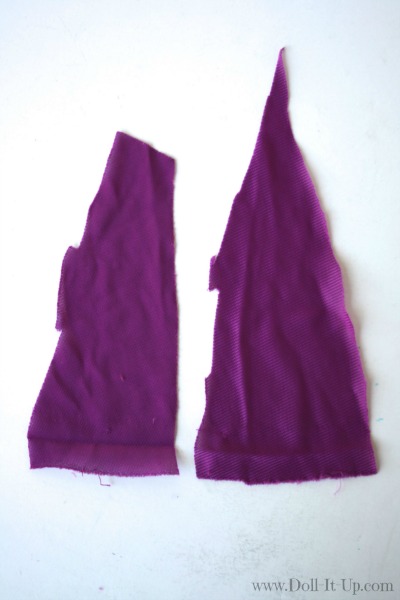
When cutting the dress to fit the doll I ended up with two scraps of fabric in both the sheer fabric and the lining. They were just big enough to make sleeves. I used the sheer for the sleeve and the lining to show you how to make the sleeve.
Here are the scraps of the lining.
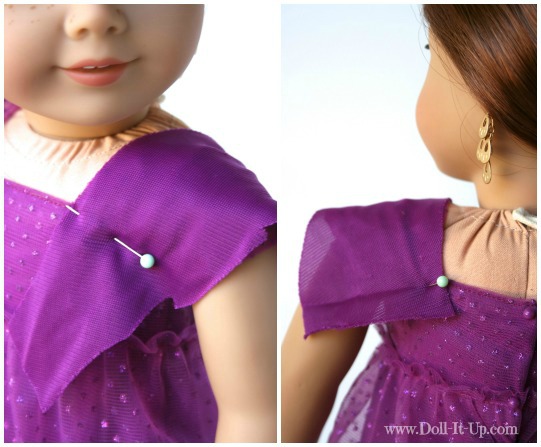
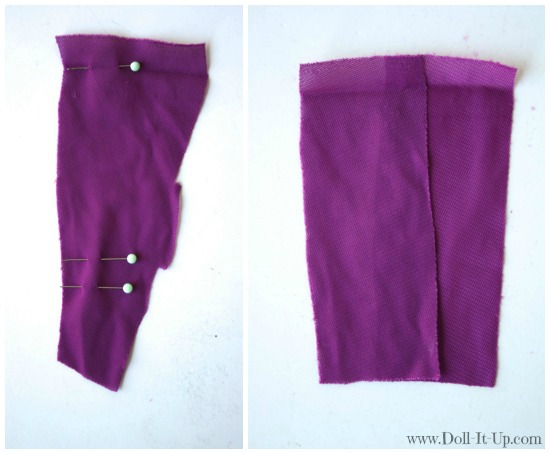
We need two rectangles to make both sleeves. To figure out the rectangle length, I pinned the fabric on the front bodice and the back bodice. I pinned it where it would attach to the dress. On the portion of the sleeve attaching to the back bodice I left an extra 1/4″ for the seam allowance. Next, I unpin the sleeve fabric from the dress but left the pins in the fabric as a guide.
To figure out the overall length I placed a second pin 1/4″ from the first for the seam allowance. I cut along the bottom pin and trimmed the side to make a rectangle. I pinned the first rectangle to the other scrap of fabric and cut out the second rectangle.
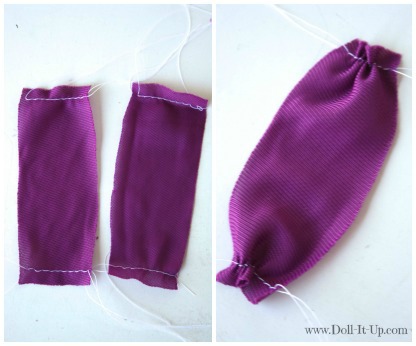
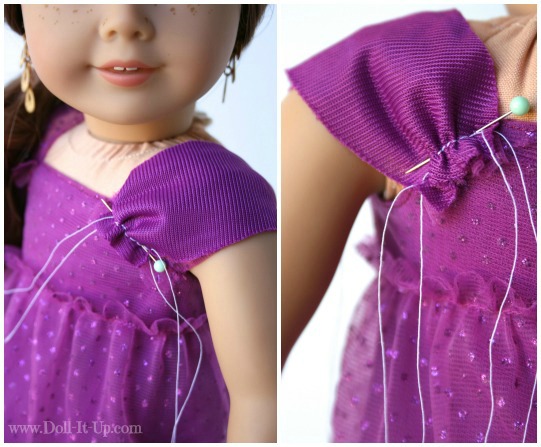
Gathering the ends of each rectangle, using a 1/4″ seam allowance, I coaxed a little shape and curve into these rectangles.
To get the right placement of the sleeve I played around with the position, pinning it in different spots.
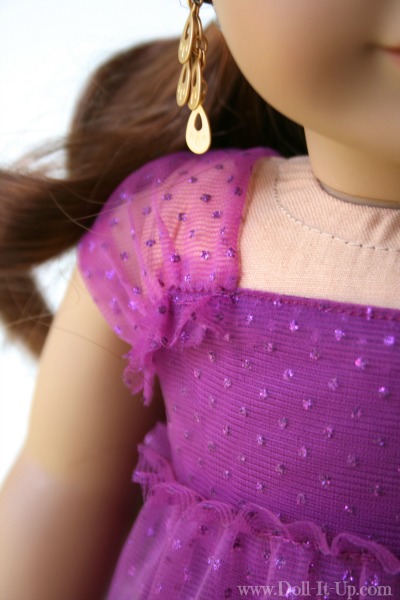
Usually I pin the sleeve to the inside of the bodice, hiding the gathered edge. This time I sewed it to the outside of the bodice because the look matched all the gathered edges of the ruffles on the dress. I especially like the look with the sheer fabric.
When in place I stitched down the sleeve along the gather line. If you are stitching it on the inside of the bodice, layer the gather line and the top stitching line. Stitch along the top stitching line.
I need to mention that you can use wider rectangles for fuller sleeves. Vary the look by positioning the sleeve on a different point on the front and back bodice. I decided to position the sleeve wrapping down the side of the square neck bodice. I liked the little cap sleeve it made.
On the back bodice I kept the gather tighter. Play around with it until you get the look you want!
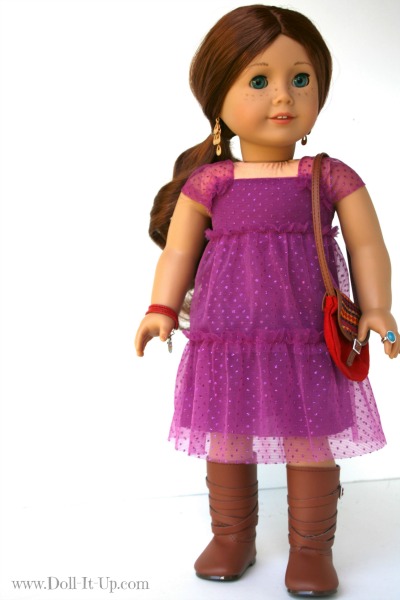
In no time there’s a new dress in the wardrobe. A quick little sewing project to transform this from a skirt to a doll dress!
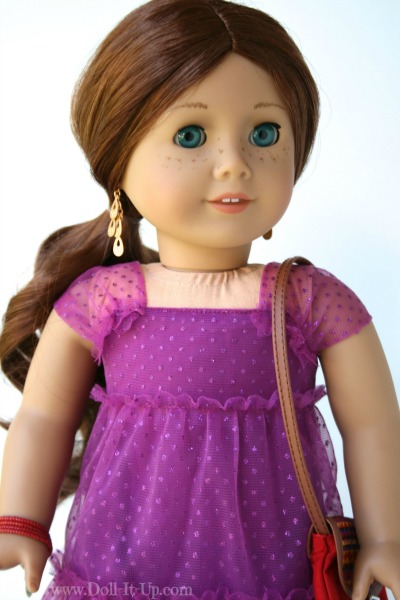
Little scraps of fabric make lovely sleeves. No hemming and no fussing.
To show off the sheer fabric I trimmed the lining a little shorter on the skirt of the dress.
I love how this little creation is so unique because of all the fun details the skirt came with!
Now we are enjoying all of those details on this sweet little doll dress!
Sew, Repurpose and Play!
Anna


Love it!
Love the color too.
it is so cute i am going to try to make it!
Soo cute
I have been repurposing for a while now. I even volunteer at our church’s thrift store so I do have a great connection. I “pinned ” of your goodies to my board so you should get some more visitors. Thank you so much for your generous and creative spirit. Bless you, Rhonda
Love your work! I volunteer at our church’s thrift shop so I get a lot of nice things. Love your tutorials. Love your style. Keep it up. I “pinned”” a few so maybe you will get a few more visitors, I get some everyday. Bless you, Rhonda
Would have never known that it was made out of skirt!! Great job!
You are so creative & kind to share your ideas. I know that you have retired and that this may not be possible, but is there any chance that the links to the tutorials can be fixed? It appears that all of the tutorials (other than this page for the sleeves) have bad links or maybe you have removed them purposely? Thank you for all you did. My daughter and I have made wonderful memories making a lot of your crafts through the years.