Our first American Girl dolls were from the Historical Character line. I really love the connection to history through play and imagination. I don’t have all of the American Girl Historical dolls but it is still fun to create scenes and play sets based on those dolls.
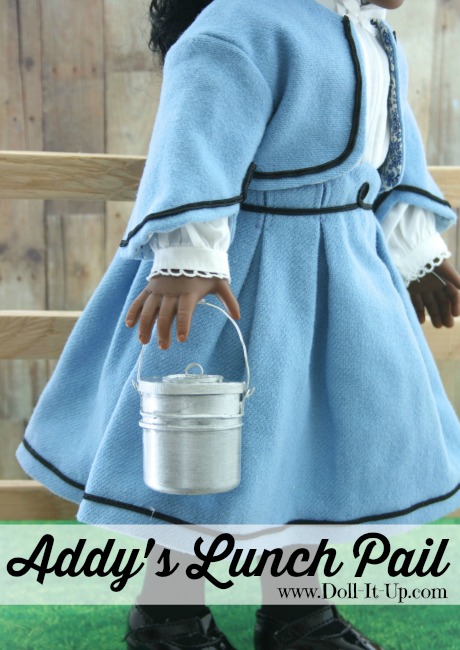
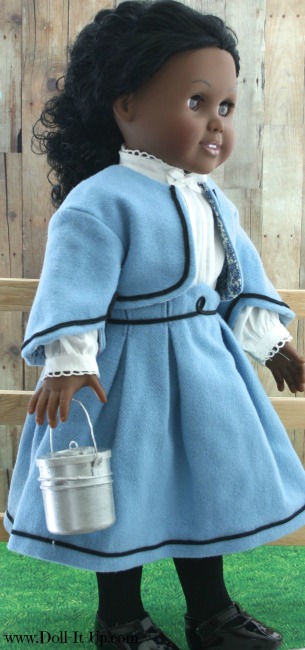
Today is Addy’s birthday and to celebrate I have two crafts inspired by items from Addy’s set by American Girl.
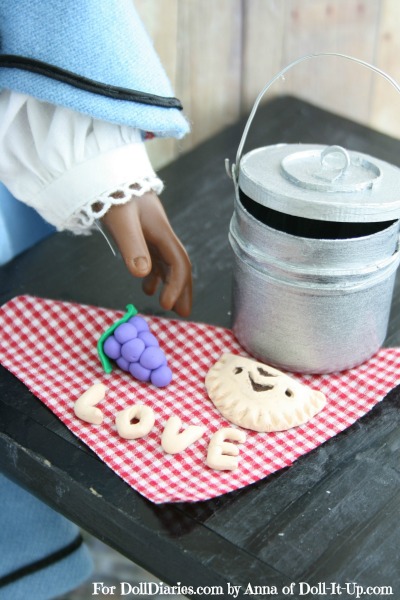
First I’ll show you how to make Addy’s tin pail to carry her lunch, all out of repurposed items. And the second craft is to fill that little pail with something tasty! A sneak peak and link to that craft will follow at the end of the post.
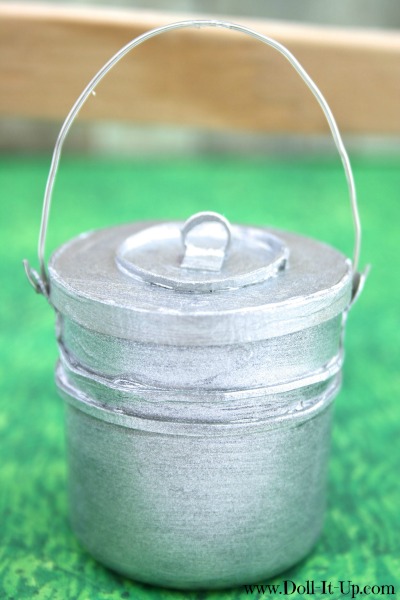
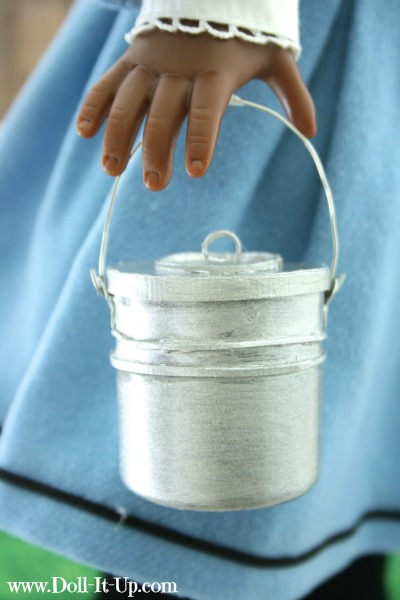
This little pail has so many fun details! My favorite part is that the lid is removable so you can fit things inside!
Let’s take a look at the supplies. To make the pail and lid we will repurpose a lid and thin cardboard!
Supplies:
- scissors
- jump ring
- wire
- lid from a spray can (i.e. spray paint, hair products, cleaners)
- foam paint brush
- silver paint (craft paint or spray paint)
- thin cardboard
- needle
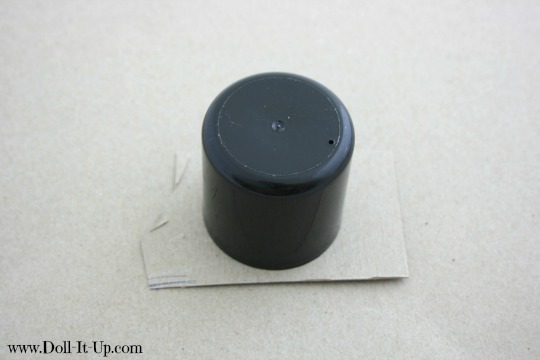
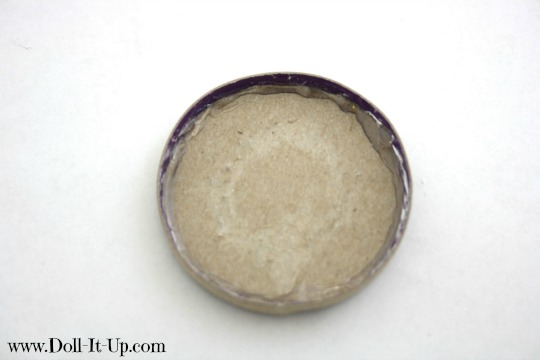
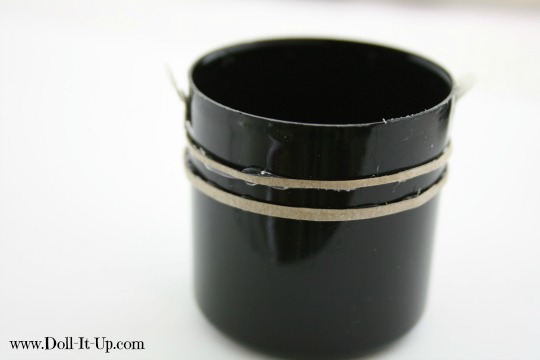
For the tin pail I am using a lid from a spray can. I think mine was the lid to hair mousse.
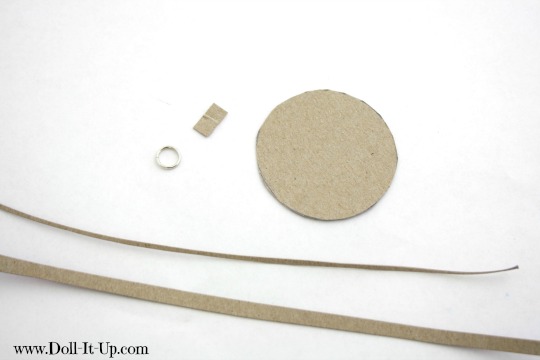
First we are going to get started on the lid of the tin pail. It will be made out of thin cardboard. Trace the open end of what you will be using as the tin pail onto a piece of thin cardboard.
Cut out the circle, along with a small rectangle of cardboard, a thin strip of cardboard, and a super skinny strip of cardboard. Grab your jump ring, we will need it to assemble the lid.
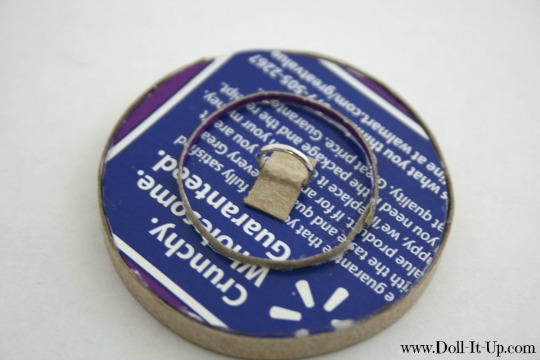
Glue the thicker of the two strips around the outside of the circle.
Flip the circle over and glue the super skinny cardboard strip in a circle around the middle of the circle. In the center, attach the jump ring with a the small cardboard rectangle. The lid is finished and ready for paint! Set it aside and we will paint all the pieces at the same time.
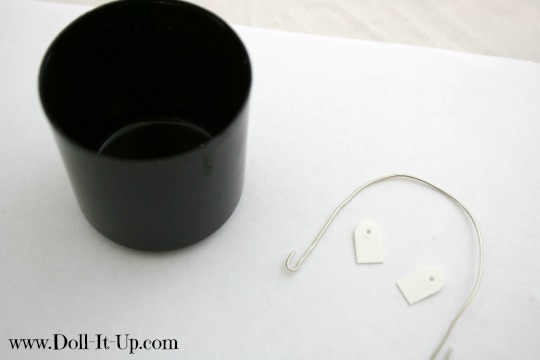
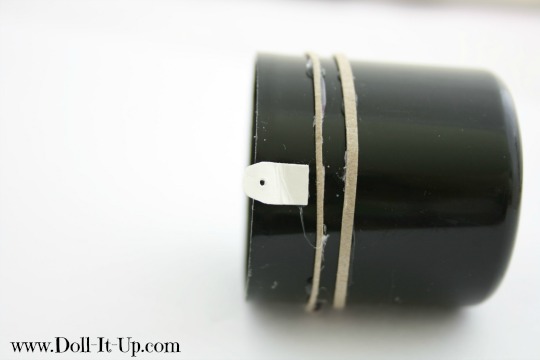
Now let’s add a few details to the pail! Cut 2 small rectangles that are rounded on one end. Carefully pierce the rounded end with a thick needle.
Bend a piece of wire into a handle. Curve up each end.
Glue two strips of cardboard onto the lid. Don’t place the strips too close to the edge otherwise they will interfere with the lid closing.
Glue the rounded rectangles on opposite sides of the lid. Be sure to overlap it on the top edge.
Now both pieces are ready for paint! I started out with craft paint. It looked good but needed multiple coats. I switched to spray paint to speed things up. If you decide to stick with the craft paint just be sure to let it dry completely between coats to get the best finish!
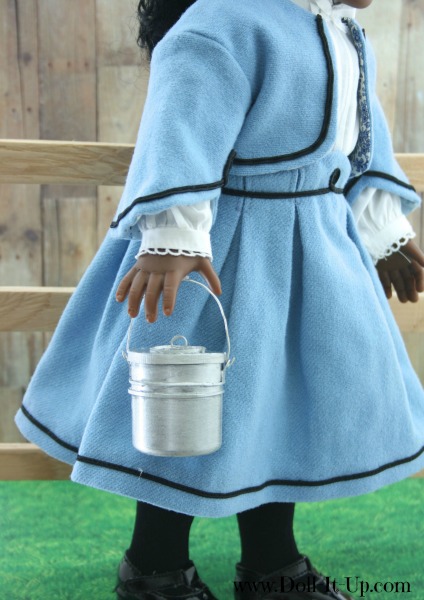
After the paint is dry put the handle and lid on. There’s only one thing missing…
Addy’s lunch! Join me over at Doll Diaries where we are making Addy’s lunch today! That makes two crafts to wish Addy a happy birthday!
When I was on the American Girl website yesterday I noticed that the Tin Pail Lunch Set this was fashioned after was sold out. There you go, it’s a great reason to craft your own!
Just in case you are interested, here is more about today’s post.
- Doll- Madison, Springfield Collection
- Outfit- Sewn from a pattern
- Scene- Scrapbook paper for background. The fence made by
my husband and I.
Play in the Past, Play for the Future!
-Anna


This craft turned out so good!
This is great! What outfit is your doll wearing?
Wait…. Oops! Never Mind.
Cute 🙂